How to Upgrade Your Vehicle's Lighting Safely
Upgrading your vehicle’s lighting is one of the most popular and immediate ways to improve nighttime visibility, modernize your car’s appearance, and enhance overall road safety. Whether you’re considering a switch to LED or HID lamps, the process goes far beyond just swapping bulbs. The reliability and safety of your upgrade depend on using compatible lamp wiring harnesses and following industry best practices. In this comprehensive guide, the AutoPartEx Technical Editorial Team explains how to upgrade your lighting safely, diagnose common pitfalls, and ensure your vehicle remains compliant with safety standards.
For a detailed look at the backbone of any lighting upgrade, visit our Lamp Wiring Harness: The Backbone of Reliable Vehicle Lighting category page. A robust wiring harness is essential for both performance and safety—especially as you move to higher-output LED or HID solutions.
Why Upgrade Your Vehicle’s Lighting?
Modern lighting systems offer significant advantages over traditional halogen setups. The move to LED (Light Emitting Diode) or HID (High-Intensity Discharge) lamps can:
- Dramatically improve visibility and reaction times at night.
- Reduce energy draw from your vehicle’s electrical system, contributing to better fuel efficiency and less strain on alternators (see Fuel Efficiency).
- Offer longer service life, reducing the frequency and cost of bulb replacements.
- Provide a modern aesthetic that can increase your vehicle’s value and appeal.
However, the benefits of these advanced lighting technologies are only realized when the upgrade is performed correctly—with the right wiring harness and attention to compatibility, safety, and regulatory requirements.
The Hidden Risks of Improper Lighting Upgrades
Many drivers are unaware that simply swapping bulbs—especially from halogen to LED or HID—can introduce significant risks:
- Electrical Overload: Incorrect harnesses or direct bulb swaps can overload circuits, leading to blown fuses, melted connectors, or even vehicle fires.
- Glare and Misalignment: Non-OEM upgrades often cause misaligned beams and excessive glare, endangering other drivers and risking legal violations.
- CAN Bus Errors: Modern vehicles use CAN Bus systems to monitor lamp function. Incompatible bulbs or harnesses can trigger dashboard errors or even disable safety systems.
- Non-Compliance with Safety Standards: Improperly installed lighting can violate National Highway Traffic Safety Administration (NHTSA) requirements, leading to inspection failures or fines.
Understanding and addressing these hidden problems is crucial for a safe, reliable upgrade.
Understanding Lamp Wiring Harnesses: The Upgrade’s Backbone
A lamp wiring harness is more than just a bundle of wires—it’s a precisely engineered system that ensures safe, consistent power delivery to your lamps. When upgrading to higher-output LEDs or HIDs, the harness:
- Provides correct voltage and amperage, preventing overloads.
- Integrates relays and resistors as needed for LED/HID compatibility.
- Offers plug-and-play compatibility or custom fitment for specific makes and models.
- Shields sensitive electronics from voltage spikes and electromagnetic interference.
For a deep dive into harness construction and selection, see our Lamp Wiring Harness: The Backbone of Reliable Vehicle Lighting feature.
Key Considerations Before You Upgrade
Before purchasing any lighting upgrade kit, assess the following:
1. Vehicle Compatibility
- Headlamp Design: Does your vehicle use reflector or projector housings? LEDs work best in projectors; HIDs may cause glare in reflectors unless the housing is specifically designed for them.
- Socket Type: Identify your OEM bulb socket (e.g., H4, 9005, D2S) to ensure harness and lamp compatibility.
- Electrical System: Is your vehicle equipped with a CAN Bus? If so, you’ll need a harness with integrated decoders or resistors.
2. Regulatory Compliance
- DOT/SAE Certification: Only use lamps and harnesses meeting Department of Transportation (DOT) and Society of Automotive Engineers (SAE) standards.
- Local Laws: Some jurisdictions restrict aftermarket HID/LED conversions unless the entire headlight assembly is changed.
3. Wiring Harness Quality
- Conductor Material: Prefer copper over aluminum for lower resistance and better durability (see Materials Technologies).
- Connector Type: Weather-sealed connectors resist corrosion and moisture intrusion.
- Relay Integration: Upgrades drawing more current than OEM should always use a relay harness to protect factory switches and wiring.
Diagnosing Your Current Lighting System
Before you begin your upgrade, a thorough diagnostic of your existing lighting system is essential. This helps avoid compounding existing issues and ensures your upgrade will function as intended.
Diagnostic Checklist
- Inspect Headlamp Housings: Look for cracks, yellowing, or moisture intrusion.
- Check Existing Wiring: Examine for frayed insulation, corroded connectors, or melted plastic.
- Fuse and Relay Condition: Test all relevant fuses and relays for continuity and correct amperage rating.
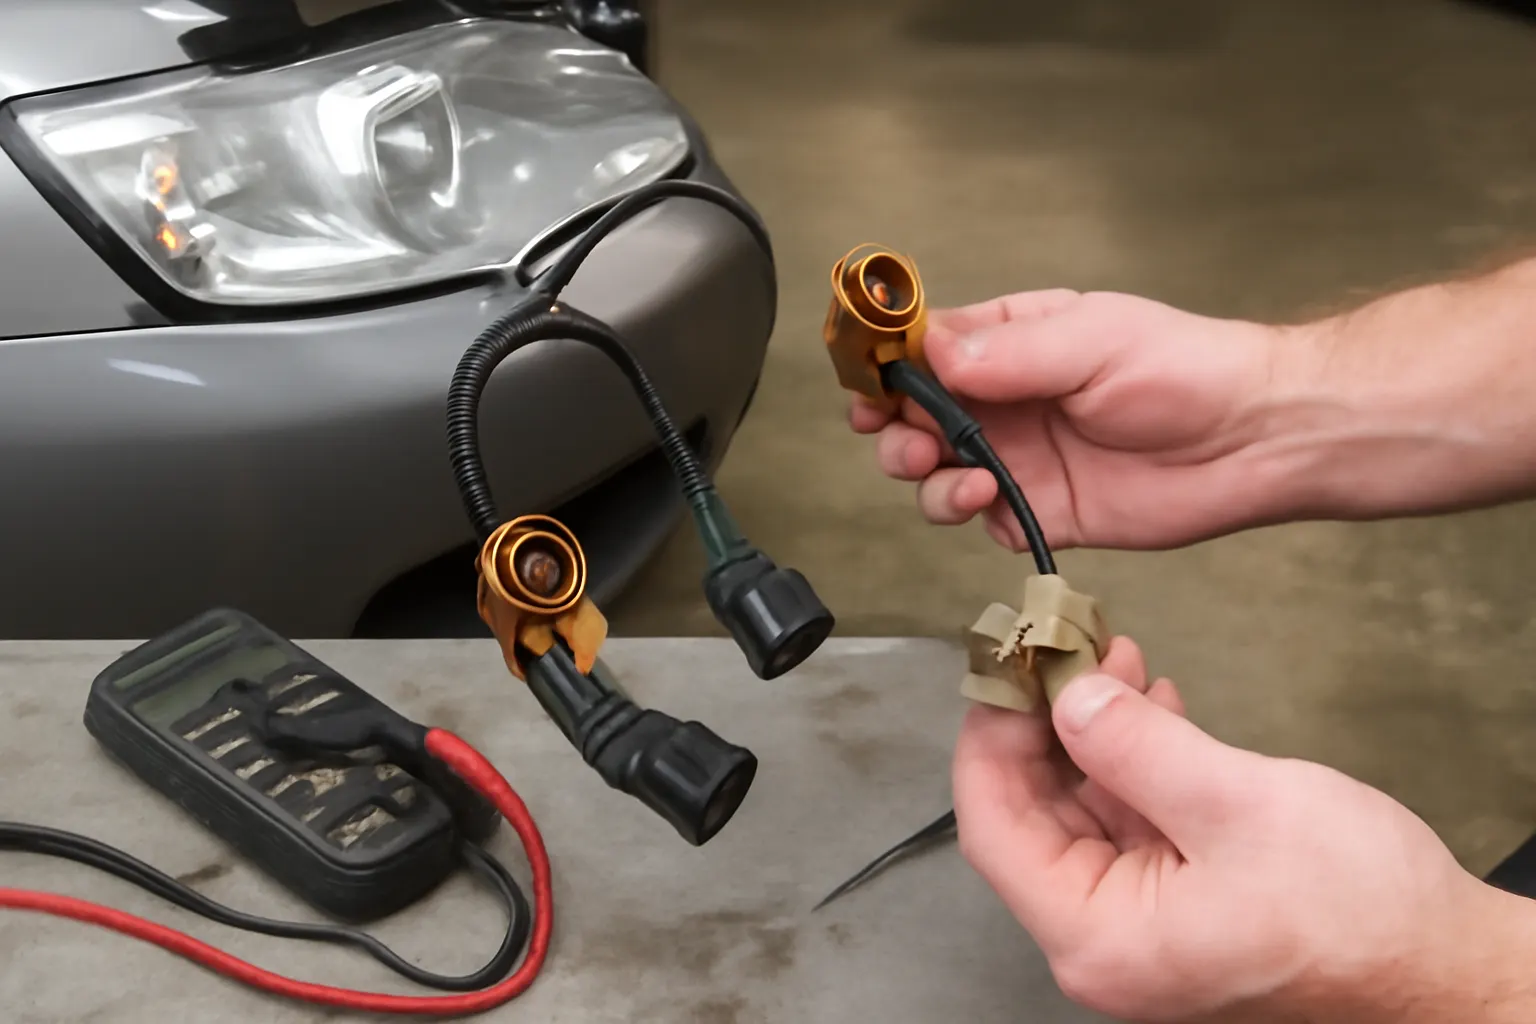
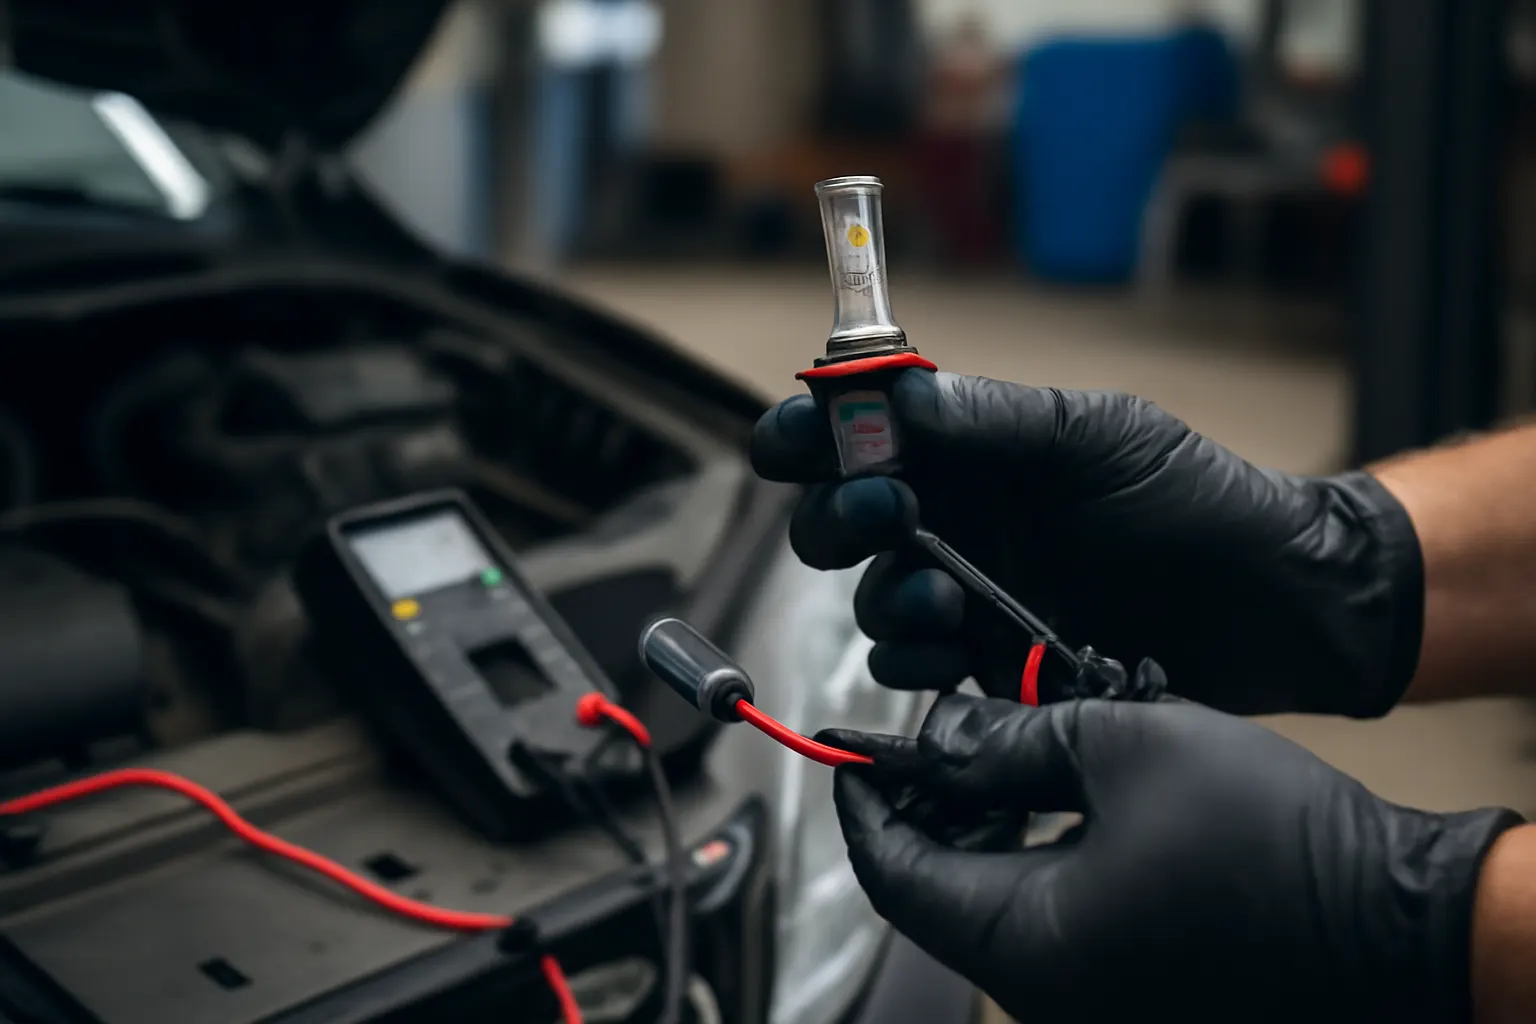
- Test Voltage at Sockets: Use a multimeter to ensure proper voltage is reaching the headlamp sockets.
- Assess Ground Connections: Clean or replace corroded ground points.
- Scan for CAN Bus Errors: On modern vehicles, use a diagnostic scanner to check for lighting-related error codes.
If you encounter persistent electrical issues, refer to our guide on Diagnosing Automotive Lighting Electrical Issues.
Selecting the Right Upgrade: LED vs. HID
LED (Light Emitting Diode) Upgrades
Pros:
- Instant-on, bright white light.
- Lower power consumption.
- Long lifespan (up to 30,000 hours).
- Less heat output.
Cons:
- Beam pattern can be poor in reflector housings.
- May trigger CAN Bus errors without proper harness.
HID (High-Intensity Discharge) Upgrades
Pros:
- High lumen output, excellent for projector housings.
- Good color temperature range.
Cons:
- Requires ballasts and sometimes additional relays.
- Longer warm-up time.
- Can cause excessive glare if not aligned properly.
Choosing a Harness for Your Upgrade
- LED Kits: Look for harnesses with built-in CAN Bus decoders and resistors.
- HID Kits: Require harnesses with integrated relays and ballasts, and often a direct battery connection.
Always refer to your vehicle’s service manual and the upgrade kit’s compatibility chart before purchase.
Step-by-Step Installation Guide
A safe and effective lighting upgrade follows a systematic installation process:
1. Preparation
- Disconnect the Battery: Prevents accidental shorts and protects sensitive electronics.
- Gather Tools: Multimeter, screwdrivers, socket set, wire strippers, electrical tape, and dielectric grease.
- Read Instructions: Review both the vehicle service manual and the upgrade kit documentation.
2. Remove OEM Bulbs and Harness
- Carefully remove the headlamp assembly if required.
- Unplug the factory bulb and disconnect the original harness.
3. Install the New Wiring Harness
- Route the new harness away from hot engine components and moving parts.
- Use factory mounting points or included hardware to secure relays and ballasts.
- Connect the new harness to the OEM headlamp connector, ensuring a snug, weatherproof fit.
- Attach ground wires to clean, bare metal chassis points.
4. Install New Lamps
- Insert the LED or HID bulbs into the housing, avoiding contact with glass elements.
- For HID: Mount ballasts securely and connect all wiring per manufacturer instructions.
5. Test the System
- Reconnect the battery.
- Test all lighting functions: low beam, high beam, DRL, and turn signals.
- Check for dashboard errors or flickering.
6. Aim and Align Headlights
- Use a headlight aiming tool or follow your vehicle’s manual to ensure beams are properly aligned.
- Ensure cut-off is sharp and does not cause glare to oncoming drivers.
Common Installation Mistakes and How to Avoid Them
Even experienced DIYers can make mistakes during a lighting upgrade. Here are the most frequent errors and their solutions:
- Skipping the Relay Harness: Directly wiring high-wattage bulbs to the factory harness can melt connectors or damage switches.
- Poor Grounding: Inadequate ground connections lead to flickering or nonfunctional lamps. Always clean ground points and use star washers.
- Incorrect Bulb Fitment: Forcing an LED or HID bulb into an incompatible socket risks damaging both the bulb and housing.
- Neglecting Moisture Protection: Failing to use dielectric grease or weather-sealed connectors can lead to corrosion and intermittent faults.
- Improper Beam Alignment: Misaligned lamps can dazzle other drivers and fail safety inspections.
For more on preventing wiring-related issues, see our guide on Preventing Corrosion in Automotive Wiring.
Checklist: Safe Lighting Upgrade Essentials
Use this checklist to ensure your upgrade is both effective and safe:
| Task | Completed (✔/✗) |
|---|---|
| Verified vehicle’s bulb type and housing | |
| Confirmed upgrade kit is DOT/SAE compliant | |
| Selected harness compatible with vehicle | |
| Inspected and repaired existing wiring | |
| Used relay harness for high-output lamps | |
| Secured all relays and ballasts | |
| Cleaned and tightened ground connections | |
| Applied dielectric grease to connectors | |
| Tested all lighting functions | |
| Aimed and aligned headlights | |
| Checked for dashboard errors | |
| Complied with local regulations |
Maintaining Your Upgraded Lighting System
Proper maintenance ensures your investment in upgraded lighting continues to deliver peak performance and safety:
- Regular Inspection: Check harnesses, connectors, and housings for signs of wear, corrosion, or overheating every oil change interval.
- Clean Lenses and Housings: Dirty or fogged lenses reduce light output and can cause beam scatter.
- Monitor for Flicker or Dimming: These are early signs of wiring or ballast failure.
- Replace Worn Components Promptly: Don’t delay if you notice cracked insulation or loose connectors.
Routine maintenance is especially important in regions with harsh winters or high humidity, where corrosion is a persistent threat.
Troubleshooting: When Upgrades Don’t Go as Planned
If your new lighting system isn’t performing as expected, systematic troubleshooting will help:
- No Light Output: Check fuse, relay, and battery connections. Test voltage at lamp sockets.
- Flickering or Intermittent Failure: Inspect ground wires, harness connections, and for CAN Bus errors.
- Dashboard Warnings: Install or replace CAN Bus decoders if upgrading to LEDs.
- Excessive Glare: Re-aim headlights and ensure correct bulb orientation.
- Moisture in Housings: Reseal assemblies and use weatherproof harness connectors.
Persistent issues may indicate a need for a higher-quality harness or professional installation.
OEM vs. Aftermarket Harnesses: What You Need to Know
Choosing between OEM and aftermarket harnesses is a critical decision:
- OEM Harnesses: Guarantee fitment and compatibility, but may not support higher-output upgrades.
- Aftermarket Harnesses: Offer relay integration, CAN Bus support, and custom fitment for upgrades—but vary widely in quality.
For a full breakdown, read our analysis: OEM vs. Aftermarket Lamp Wiring Harnesses: What You Need to Know.
Ensuring Regulatory Compliance and Road Safety
Upgrading your lighting isn’t just about performance—it’s a matter of safety and legal compliance. The NHTSA enforces standards for lamp brightness, beam pattern, and installation. Non-compliant upgrades can lead to:
- Inspection failures or fines.
- Increased liability in the event of an accident.
- Contribution to glare-related accidents and reduced road safety.
Always select upgrade kits and harnesses that are DOT/SAE certified and ensure your installation is by-the-book.
The AutoPartEx Advantage for Lighting Upgrades
At AutoPartEx, we understand that a successful lighting upgrade is built on quality parts, technical expertise, and reliable support. Our curated selection of lamp wiring harnesses ensures you’ll find the right fit for your vehicle—whether you drive an Acura, a classic AMC, or any modern make. Our technical resources help you avoid costly mistakes, maximize safety, and enjoy the full benefits of today’s lighting technology.
Explore our Lamp Wiring Harness: The Backbone of Reliable Vehicle Lighting category to find harnesses engineered for LED and HID upgrades, complete with relay integration, CAN Bus support, and weather-sealed connectors.
Expert Action: Upgrade with Confidence
Upgrading your vehicle’s lighting is a high-impact improvement—when done correctly. Remember:
- Diagnose your existing system before upgrading.
- Choose the right harness and lamps for your application.
- Follow a systematic installation process, prioritizing safety and compliance.
- Maintain your upgraded system to ensure long-term reliability.
If you encounter complex electrical issues or are unsure about regulatory requirements, consult a qualified automotive electrician or reach out to AutoPartEx for expert guidance. With the right approach and components, your lighting upgrade will deliver superior performance, safety, and peace of mind for years to come.
References
- Fuel Efficiency — United States Department of Energy
- Materials Technologies — United States Department of Energy
- Vehicle Safety and Equipment — National Highway Traffic Safety Administration