OEM vs. Aftermarket Lamp Wiring Harnesses: What You Need to Know
When your vehicle’s lights start flickering, fail to turn on, or you’re planning a lighting upgrade, the wiring harness is often at the heart of the solution. The choice between an Original Equipment Manufacturer (OEM) and an aftermarket lamp wiring harness can make a significant difference in terms of reliability, safety, performance, and cost. This guide delivers a comprehensive, technical comparison—so you can make the right decision for your vehicle’s lighting system.
If you’re seeking a foundational understanding of lamp wiring harnesses and their role in vehicle lighting, start with our Lamp Wiring Harness: The Backbone of Reliable Vehicle Lighting category overview. For now, let’s dig deep into the OEM vs. aftermarket debate, revealing hidden pitfalls and best practices for diagnosis, selection, and installation.
Quick Answer: OEM vs. Aftermarket Lamp Wiring Harnesses
OEM lamp wiring harnesses are made to the exact specifications of your vehicle’s manufacturer, ensuring optimal fit, material quality, and compliance with all safety regulations. Aftermarket harnesses can offer cost savings, broader compatibility, and sometimes performance enhancements, but may vary in quality, fitment, and regulatory compliance. The right choice depends on your application, budget, and expectations for longevity and reliability.
The Hidden Problem: Quality and Compatibility Risks
At first glance, a lamp wiring harness may seem like a straightforward component—a collection of wires and connectors linking your vehicle’s lighting to its electrical system. However, the real challenge lies in ensuring that the harness you choose will provide safe, reliable, and lasting performance. Poor fitment, substandard materials, and non-compliance with vehicle standards can lead to electrical failures, safety hazards, and even damage to other components.
Why the Right Harness Matters: The Backbone of Lighting Reliability
A lamp wiring harness is not just a passive conduit for electricity. It is engineered to withstand heat, vibration, moisture, and chemical exposure while maintaining consistent electrical connectivity. The harness is integral to the performance of headlamps, tail lamps, signal lamps, and auxiliary lights. A failure in this system can compromise your safety and that of other road users—making harness selection a mission-critical task.
- Safety Compliance: Harnesses must meet federal safety standards, especially regarding insulation, connector quality, and resistance to failure modes such as short circuits or corrosion (see NHTSA Equipment).
- Material Technologies: Advances in materials improve harness weight, flexibility, and resistance to environmental stressors (DOE Materials Technologies).
- Vehicle Diagnostics: Modern vehicles rely on harness integrity for accurate diagnostics and error reporting.
Technical Comparison: OEM vs. Aftermarket Harnesses
OEM Harnesses
- Exact Fitment: Designed for the specific make, model, and year—ensuring plug-and-play installation.
- Material Quality: Use of manufacturer-approved materials, often tested for long-term durability under real-world conditions.
- Regulatory Compliance: Guaranteed to meet all federal safety standards and manufacturer requirements.
- Warranty Support: Typically backed by the vehicle manufacturer’s warranty.
Aftermarket Harnesses
- Universal or Broad Fitment: May fit a range of vehicles, but not always with the precision of OEM.
- Material Variability: Quality can range from premium to subpar, depending on the manufacturer.
- Potential for Upgrades: Some aftermarket harnesses offer features like heavier-gauge wires, improved connectors, or support for higher-wattage bulbs.
- Cost Savings: Often less expensive than OEM, but savings can be offset by installation challenges or reduced longevity.
Fitment and Compatibility: The Critical First Step
One of the most common pitfalls in harness replacement is improper fitment. Even minor deviations in connector design, wire length, or mounting points can lead to installation headaches and functional issues.
Checklist: Ensuring Proper Fitment
- Confirm the harness is specified for your exact vehicle year, make, and model.
- Match connector types (shape, pin count, locking mechanism).
- Verify wire gauge and color coding align with factory specifications.
- Check for necessary mounting tabs or clips.
- Assess compatibility with aftermarket lighting, if installed.
Tip: Use your vehicle’s VIN and consult manufacturer diagrams to cross-check harness part numbers and compatibility.
Material Science: Insulation, Conductivity, and Durability
Harness materials directly affect performance and lifespan. OEM harnesses typically use high-grade copper conductors and insulation materials rated for automotive environments—resisting heat, oil, and abrasion (DOE Materials Technologies). Aftermarket harnesses may use a variety of materials:
- Conductors: Copper is standard, but some aftermarket options use aluminum or copper-clad aluminum, which can increase resistance and heat generation.
- Insulation: OEM insulation is often cross-linked polyethylene or similar, while some aftermarket harnesses use lower-grade PVC, which is less durable.
- Connectors: Quality varies widely; look for connectors with weatherproof seals and robust locking mechanisms.
Material Checklist:
- Copper conductors (preferably tinned for corrosion resistance)
- Heat- and chemical-resistant insulation
- UV-stabilized sheathing for exterior harnesses
- Sealed connectors for exterior or high-moisture locations
Performance and Reliability: What’s at Stake?
The primary function of a lamp wiring harness is to deliver consistent power to lighting components under all operating conditions. Subpar harnesses can introduce a range of issues:
- Voltage Drop: Thinner or lower-quality wires can lead to voltage loss, dimming lamps or causing erratic behavior.
- Intermittent Connections: Poor connector fitment can result in flickering or non-functional lights.
- Heat Buildup: Undersized wires or substandard materials can overheat, potentially leading to insulation failure or fire.
- Corrosion: Inferior materials are more susceptible to moisture intrusion and corrosion, especially in exterior or underbody locations.
OEM harnesses are engineered and tested to avoid these issues; aftermarket harnesses require careful vetting.
Safety and Regulatory Compliance
Vehicle lighting is a regulated safety system. The National Highway Traffic Safety Administration (NHTSA) sets standards for wiring, connectors, and lighting performance. OEM harnesses are built to these standards by default. Aftermarket harnesses may or may not meet the same criteria—especially if sourced from unknown manufacturers or intended for off-road use.
Key Compliance Points:
- Insulation thickness and flame resistance
- Connector locking force
- Resistance to short circuits and open circuits
- Corrosion resistance
Buyer’s Advice: Always look for harnesses that explicitly state compliance with SAE and DOT standards.
Diagnosing Harness Issues: When Replacement Is Needed
Before replacing a lamp wiring harness, verify that it is indeed the source of the problem. Common symptoms of harness failure include:
- Flickering, dim, or non-functional lights
- Blown fuses or tripped relays
- Burnt or melted wire insulation
- Corroded or loose connectors
Diagnostic Steps:
- Visual Inspection: Look for damaged, pinched, or corroded wires.
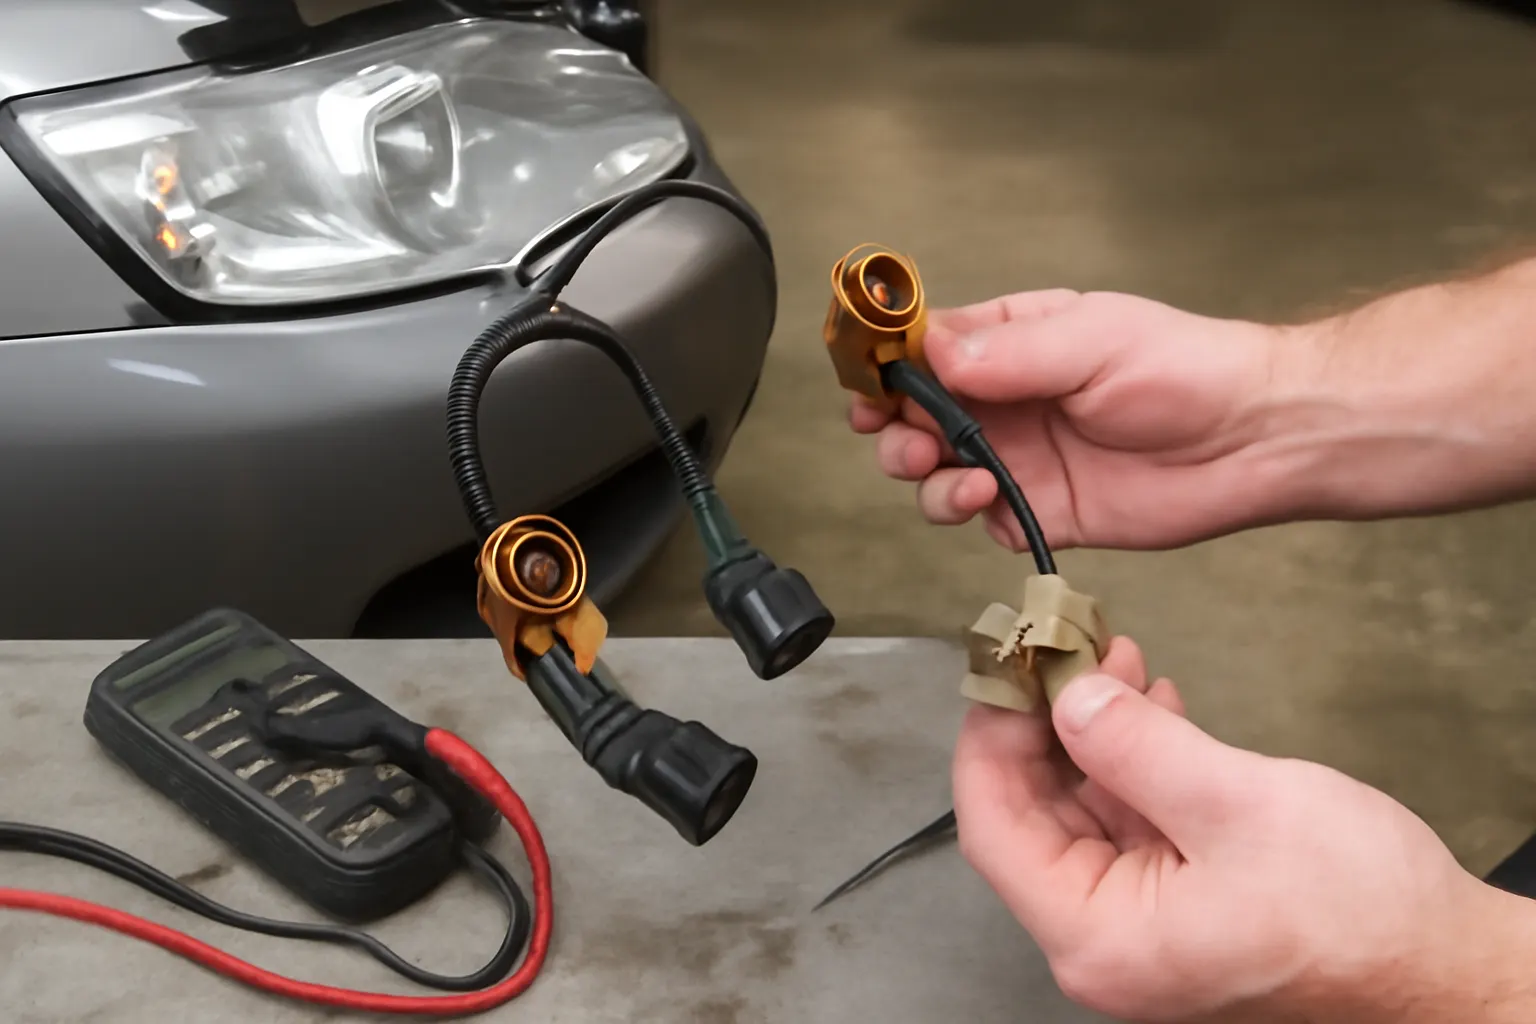
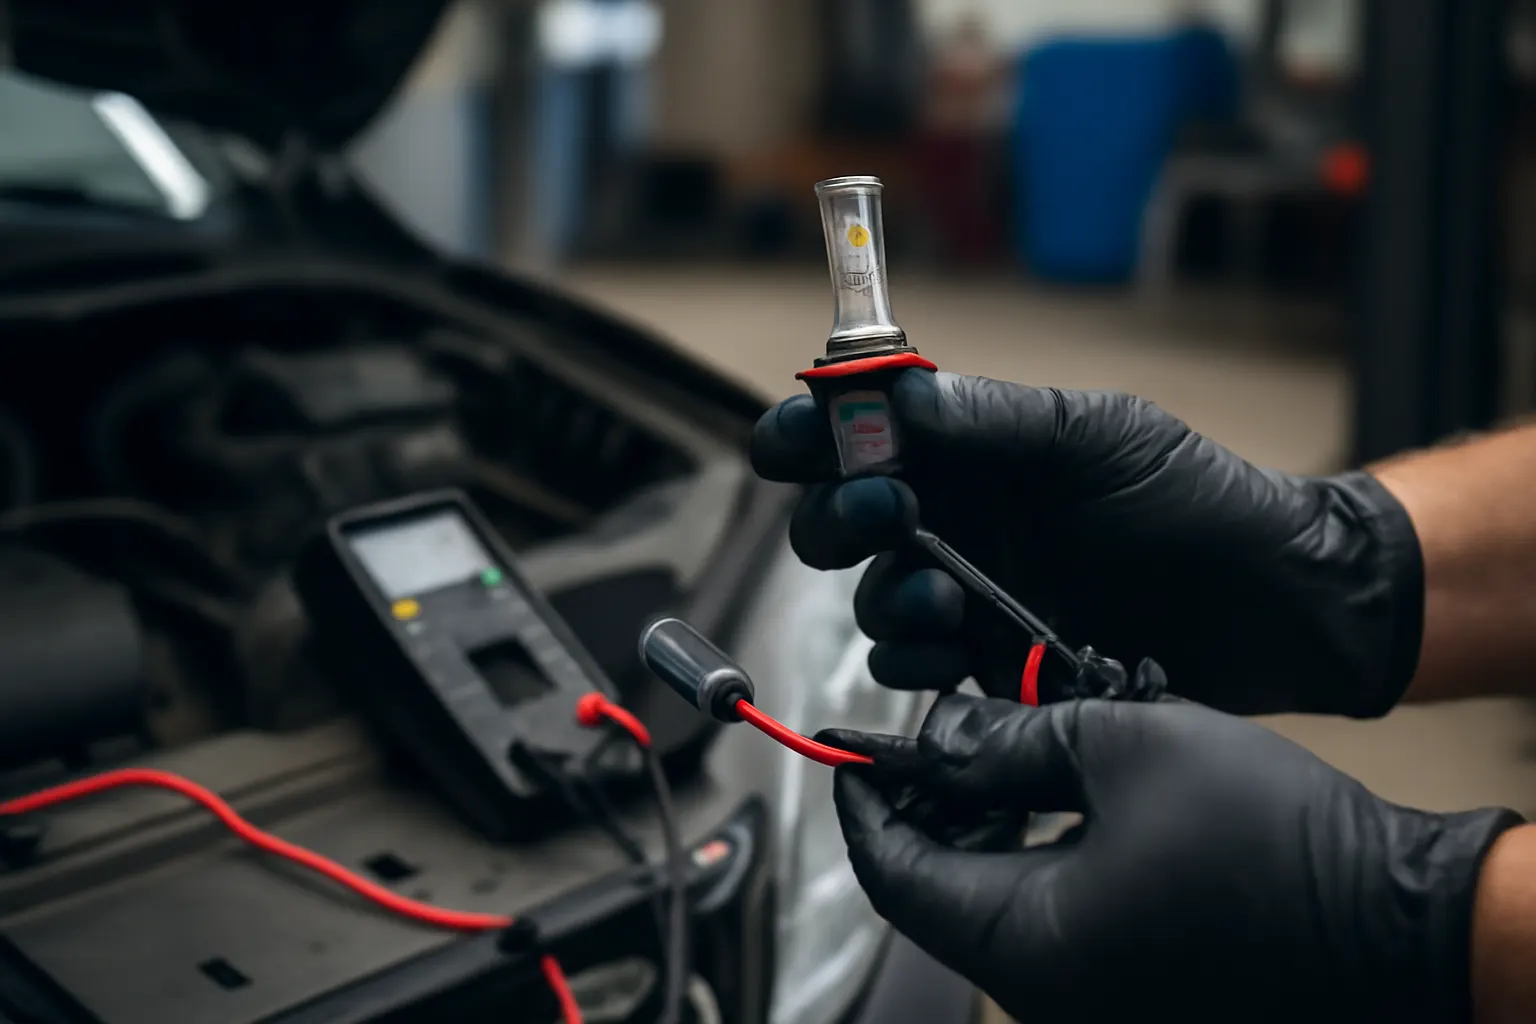
- Continuity Testing: Use a multimeter to check for open circuits.
- Voltage Drop Testing: Measure voltage at the lamp connector with lights on.
- Connector Testing: Check for secure fit and absence of corrosion.
For a detailed guide, see Diagnosing Automotive Lighting Electrical Issues.
Installation: Best Practices for Harness Replacement
A successful lamp wiring harness replacement depends on methodical installation:
Preparation
- Disconnect the battery to avoid electrical shorts.
- Consult the vehicle’s wiring diagrams for routing and connector locations.
- Lay out the new harness and compare to the original.
Removal
- Carefully disconnect all connectors, avoiding force that could damage terminals.
- Remove mounting clips or fasteners in sequence.
- Note the routing path and anchor points.
Installation
- Route the new harness as per OEM layout, avoiding sharp edges or hot surfaces.
- Secure with appropriate clips and fasteners.
- Ensure all connectors are fully seated and locked.
- Reconnect the battery and test all lighting functions.
Pro Tip: For vehicles with advanced lighting systems (e.g., CAN bus or adaptive lighting), use only harnesses designed for those applications to avoid triggering diagnostic errors.
Maintenance: Keeping Your Harness in Top Condition
Preventative maintenance extends the life of your lamp wiring harness:
- Regular Inspection: Check for signs of wear, corrosion, or abrasion during routine maintenance.
- Connector Care: Apply dielectric grease to connectors in high-moisture areas.
- Corrosion Prevention: Use sealed connectors and protective sheathing, especially in northern or coastal climates (see Preventing Corrosion in Automotive Wiring).
- Avoid Overloading: Do not install higher-wattage bulbs without verifying harness capacity.
Cost Analysis: Upfront Savings vs. Long-Term Value
While aftermarket harnesses can cost 30-70% less than OEM, hidden costs may arise from:
- Additional labor for modifications or troubleshooting
- Premature failure and replacement
- Potential damage to other electrical components
Cost-Benefit Checklist:
- Calculate total installed cost, including labor and any required adapters.
- Factor in expected lifespan and warranty coverage.
- Consider the cost of downtime or repeated repairs.
Sourcing: How to Choose a Quality Harness
Whether opting for OEM or aftermarket, source your harness from reputable suppliers. Avoid generic, unbranded harnesses sold without clear specifications.
Checklist for Sourcing:
- Look for harnesses with detailed application guides, part numbers, and manufacturer information.
- Seek out products tested to SAE or OEM standards (SAE Standards).
- Read customer reviews, focusing on fitment and longevity.
- Confirm return policies in case of mismatch or defect.
Upgrading Your Vehicle’s Lighting: Harness Considerations
If you’re upgrading to LED or HID lighting, or adding auxiliary lamps, your harness choice becomes even more critical. Higher current draw or new control modules may require a harness with heavier-gauge wires, additional relays, or specialized connectors.
- Upgrade Kits: Some aftermarket harnesses are designed specifically for lighting upgrades—ensure they include all necessary components.
- Compatibility: Verify that the harness supports the intended lighting technology and control protocols.
- Installation: Follow all instructions for integrating with your vehicle’s electrical system. For more, see How to Upgrade Your Vehicle's Lighting Safely.
The AutoPartEx Approach: Technical Guidance and Trusted Sourcing
At AutoPartEx, we understand that reliable lighting is non-negotiable for safety and vehicle integrity. Our technical editorial team rigorously evaluates both OEM and aftermarket lamp wiring harnesses, providing only those that meet stringent quality, fitment, and compliance standards. We support DIYers, installers, and fleet managers with in-depth diagnostics, clear installation guides, and a curated selection of harnesses for every application.
Explore our full range of Lamp Wiring Harness: The Backbone of Reliable Vehicle Lighting solutions, or consult our experts for guidance tailored to your vehicle and lighting needs.
Conclusion: Making the Right Choice
The decision between OEM and aftermarket lamp wiring harnesses is not simply about price. It is a technical, safety-critical choice that affects the reliability and performance of your vehicle’s lighting system. By understanding fitment, materials, regulatory compliance, and installation best practices, you can ensure your lighting harness delivers optimal performance—whether you choose OEM precision or a well-vetted aftermarket solution.