
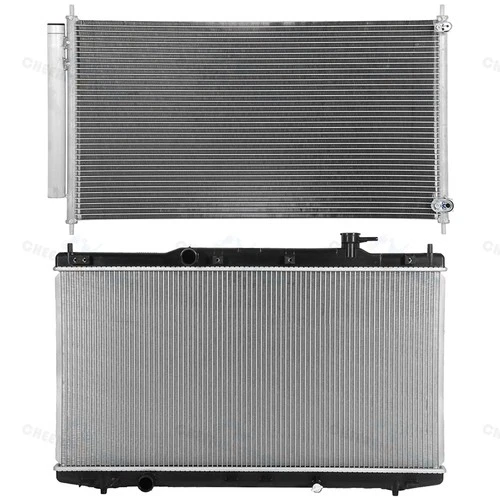
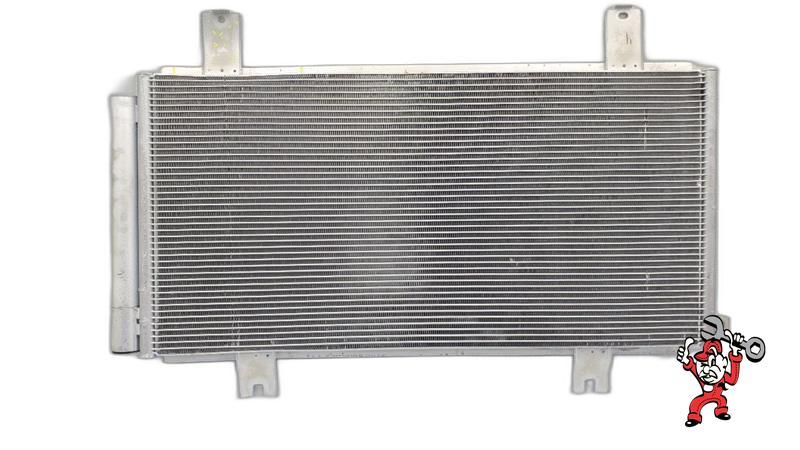
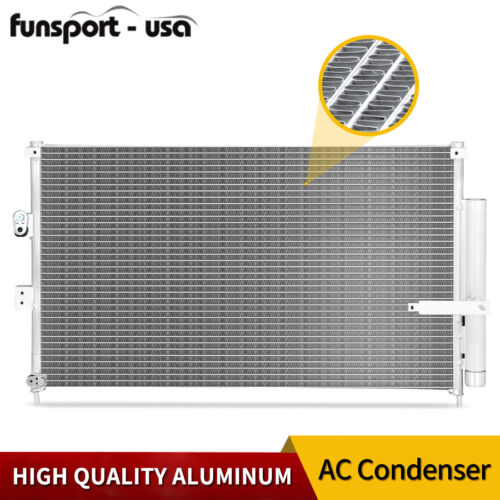
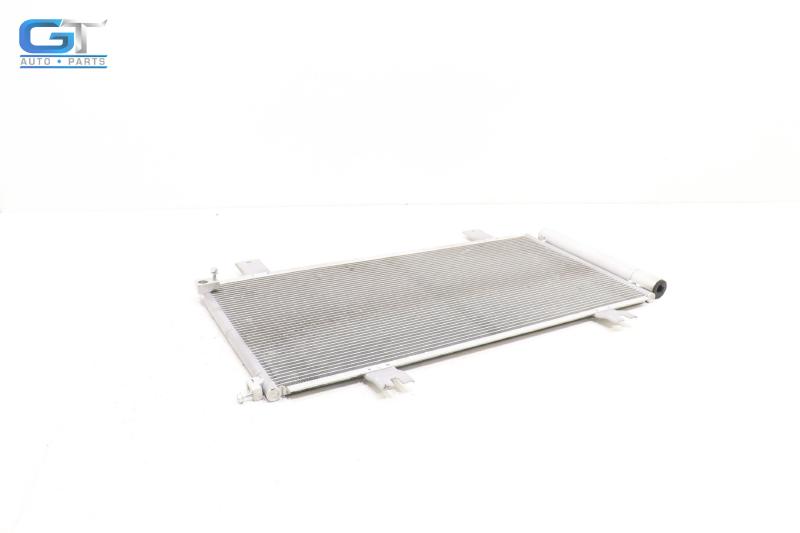
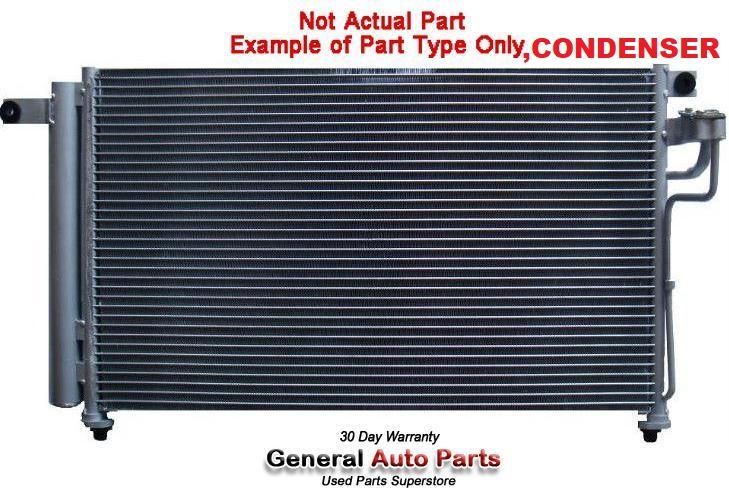
AC Condenser
AC Condensers: Heat Rejection Engineering for Confident Cabin Cooling
The AC condenser is the front-line heat exchanger in your HVAC stack, forcing 250+ PSI refrigerant vapor to shed energy and return to a stable liquid before it reaches the metering device. When that heat rejection phase is precise, vent temps stay within 5°F of spec even when the vehicle is idling in a 105°F parking lot.
Most drivers immediately blame the AC compressor or low refrigerant for warm air, but 4 out of 10 comeback repairs traced by fleet service providers are actually condenser airflow failures. Because the condenser sits in the same airflow path as the radiator and shares fans with the AC condenser fan assembly, even a thin film of road salt, bent fins, or a partially blocked cooling stack can spike head pressure and knock the entire system offline.
The fix starts with data: measure subcooling, inspect the cooling stack, and verify fan CFM before condemning parts. When the condenser is the bottleneck, choose assemblies that match OEM tube counts, sensor ports, and mounting tabs. AutoPartEx cross-references OE numbers, multi-fit aftermarket units, and premium upgrades so you can bundle condensers with matching AC condenser fan shrouds or foam seal kits from one cart and restore system balance on the first repair.
Filters & Navigation
Showing 12 of 64 products


Mastering AC Condenser Diagnostics and Replacement
Heat Load Math That Drives Every Diagnosis
A condenser must drop refrigerant temperature roughly 30°F below saturation to keep liquid stable. Every 10°F increase in ambient temperature can raise head pressure by 20-25 PSI, so clogged fins or missing duct seals quickly push pressures into the red zone. High static pressure also makes the AC compressor work harder, stealing horsepower and fuel economy while risking clutch failure.
Failure Signals Hidden in the Fins
Visual inspections will surface most condenser failures if you know what to look for:
- Matte, chalky patches show road salt and calcium deposits that insulate the tubes and slow heat transfer.
- Oil mist or UV dye around the lower tank points to stone strikes or vibration cracks that vent refrigerant before it reaches the dryer.
- Sections of fins that are folded flat indicate pressure-washer abuse; losing 20% of fin surface can raise head pressure more than 40 PSI in traffic.
- Debris packed between the condenser and radiator traps heat, so always pull the stack apart and clean from the back side.
Diagnostic Blueprint Before You Replace Anything
Follow a step-by-step process instead of guesswork:
- Record ambient temp, high-side pressure, and vent temp. A 25°F or higher difference between vent and ambient usually confirms airflow issues.
- Use a thermal camera or contact thermocouples to measure temperature drop across the core; less than 20°F indicates internal restriction or fan failure.
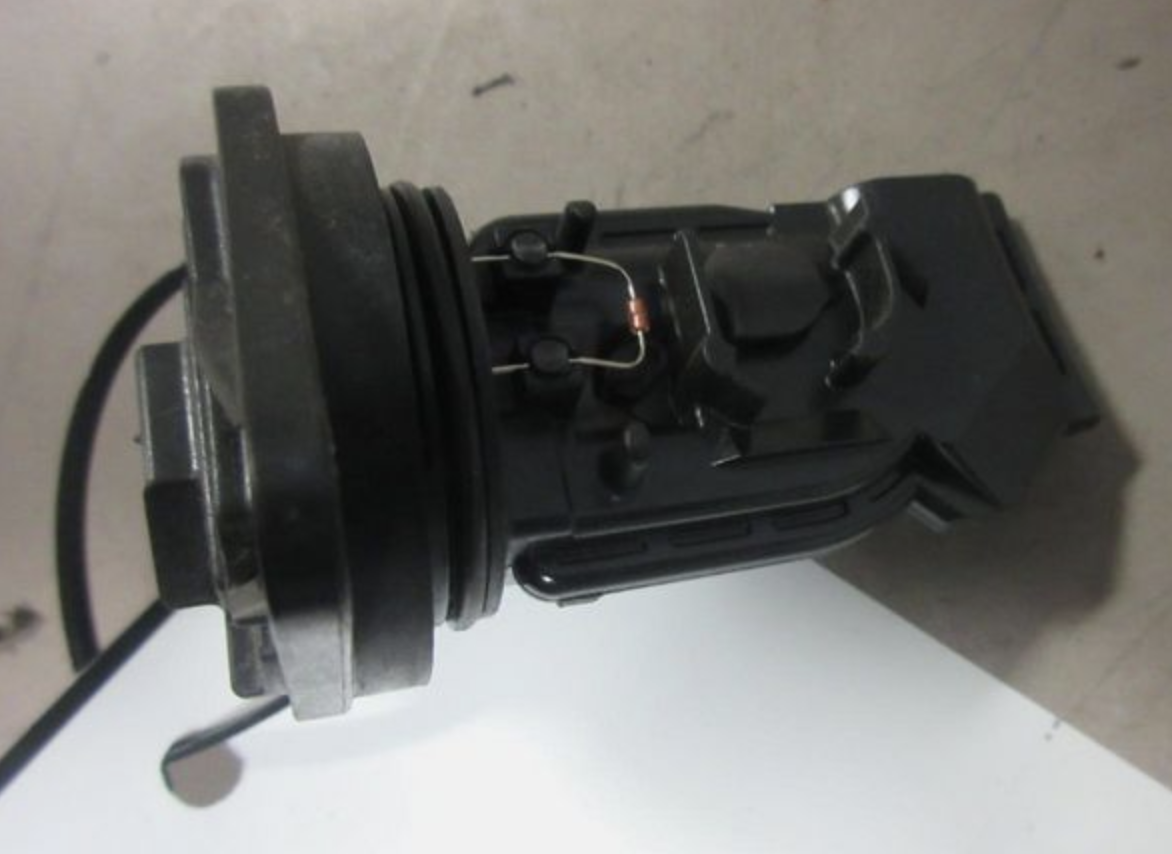
- Command the AC condenser fan or dual-speed fan module with a scan tool. Low current draw often points to worn motors even if the fan spins.
- After compressor failure, plan to replace the condenser instead of flushing; micro-channels trap debris that will recirculate and destroy the new pump.
Replacement Strategy and Parts Fitment
Precision fitment keeps labor times predictable:
- Match hose routing, sensor bosses, and dryer mounting points so the condenser bolts in without stressing the lines.
- Bundle new foam seals, mounting grommets, and upgraded radiator-mounted condenser fan hardware to maintain airflow.
- Pressure-test the condenser to 350 PSI before reassembly to confirm weld integrity and avoid costly rework.
- Finish every install with a calibrated vacuum/charge cycle and document subcooling numbers for future reference.
Related Guides & Articles

Cooling Stack Airflow Diagnostics
Step-by-step process for measuring pressure drop and ensuring your condenser and radiator work together.
View Guide
Thermal Camera Tips for AC Service
Learn how to read thermal gradients across a condenser core to confirm internal restrictions before ordering parts.
View Guide
Preventing Condenser Damage After a Compressor Failure
Why replacing the condenser protects your new compressor and keeps warranty administrators happy.
Read More
Upgrading Fans for Stop-and-Go Traffic
How higher-CFM fans and new shrouds stabilize head pressure during summer gridlock.
Read More