How to Upgrade Your Vehicle's Lighting Safely
Upgrading your vehicle’s lighting system—especially when moving to advanced LED or HID lamps—can dramatically improve nighttime visibility, safety, and driving comfort. But a safe, reliable upgrade hinges on proper installation and, crucially, the use of compatible lamp wiring harnesses. This guide walks you through best practices, hidden pitfalls, and technical insights to ensure your lighting upgrade is both effective and safe.
If you’re searching for the right wiring harnesses or want to understand their role in automotive lighting reliability, start with our Lamp Wiring Harness: The Backbone of Reliable Vehicle Lighting category page for foundational knowledge.
The Immediate Answer: Upgrade Lighting Safely with the Right Harness
Modern LED and HID lamps offer superior brightness, efficiency, and longevity compared to halogen bulbs. However, these benefits come with higher electrical demands and specific compatibility requirements. The most important step for a safe upgrade is matching your new lamps with a wiring harness designed for their current draw, voltage, and connector type. This not only ensures optimal lamp performance but also prevents electrical issues, overheating, and potential safety hazards.
Key Takeaway: Never install LED or HID lamps using your vehicle’s original halogen wiring harness without verifying compatibility. Use a harness rated for your new lamps’ specifications to guarantee safe operation and preserve your vehicle’s electrical integrity.
The Hidden Problem: Incompatibility Risks with Lighting Upgrades
Many DIY enthusiasts and even some professional shops overlook a critical detail: the original lamp wiring harness is often engineered for the lower power and simple circuitry of halogen bulbs. Upgrading without considering the harness can lead to:
- Melted connectors or wiring due to excessive current.
- Flickering or non-functional lamps from voltage mismatches.
- Blown fuses or relays caused by inrush current from HID ballasts or high-output LEDs.
- Electrical interference affecting sensitive vehicle electronics.
These issues are not just inconveniences—they can compromise safety and may even result in equipment failure or vehicle fires. According to the National Highway Traffic Safety Administration (NHTSA), equipment failures related to lighting and wiring are a notable source of vehicle recalls and safety investigations.
Understanding the Technical Challenges of Modern Lighting
Electrical Load and Circuit Design
Halogen bulbs typically draw 55–65 watts per lamp, while HID and LED systems can vary widely, sometimes requiring higher startup current (HID) or lower but more sensitive voltage regulation (LED). Your vehicle’s original wiring harness, relays, and fuses are rated for the OEM bulbs. Installing higher-wattage lamps or ballasts can overload these components.
Connector Compatibility and Signal Types
OEM harnesses may use proprietary connectors or specific signal types (e.g., PWM dimming, CAN bus communication). Aftermarket LED or HID kits may not be directly compatible, leading to installation headaches or malfunctioning lamps.
Heat Management and Material Technology
Newer lighting systems can generate more or less heat in different locations (lamp vs. ballast vs. wiring). The harness’s insulation and connector materials must be rated for these conditions. The U.S. Department of Energy highlights that advanced materials are critical for managing heat and maintaining long-term system performance.
Why Your Lamp Wiring Harness Matters
Your lamp wiring harness is more than just a bundle of wires—it’s the backbone of your vehicle’s lighting system. A compatible harness:
- Delivers the correct voltage and current to your lamps.
- Protects against shorts, overloads, and corrosion.
- Interfaces with relays, fuses, and vehicle control modules.
- Ensures compliance with safety regulations and standards.
An inadequate or poorly matched harness can cause persistent electrical problems and may void insurance or safety certifications.
Choosing the Right Harness for LED and HID Upgrades
Key Selection Criteria
When upgrading, consider the following:
- Current and Voltage Rating: Ensure the harness can handle your new lamps’ electrical demands.
- Connector Type: Match the harness connectors to your lamps and vehicle sockets.
- Relay and Fuse Integration: Look for harnesses with built-in relays and fuses for added protection.
- CAN Bus Compatibility: For modern vehicles, select harnesses that integrate with CAN bus or PWM systems to avoid dashboard errors or flickering.
- Material Quality: Opt for harnesses with high-temperature insulation and corrosion-resistant connectors.
OEM vs. Aftermarket Harnesses
Not all harnesses are created equal. OEM harnesses are generally reliable but may not be designed for aftermarket LED or HID upgrades. Aftermarket harnesses can offer improved features but vary in quality. For a deep dive, see OEM vs. Aftermarket Lamp Wiring Harnesses: What You Need to Know.
Step-by-Step: Safely Upgrading Your Vehicle’s Lighting
Preparation and Planning
- Research Your Vehicle: Consult your owner’s manual for bulb specifications, wiring diagrams, and fuse ratings.
- Select Quality Components: Choose reputable brands for both lamps and harnesses.
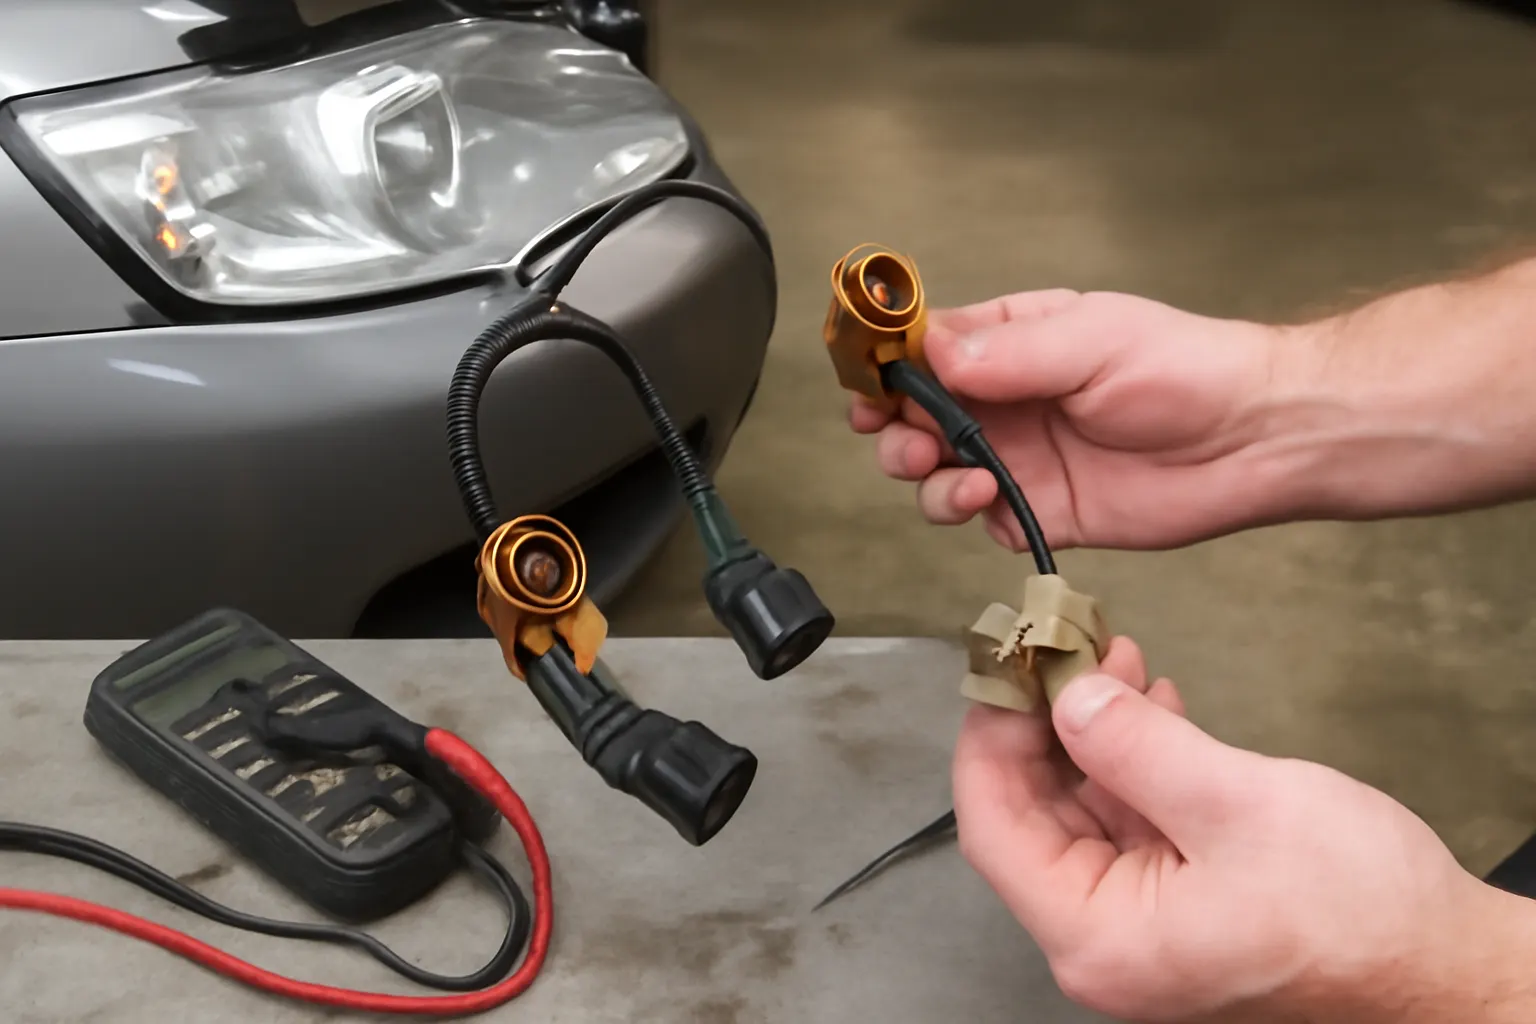
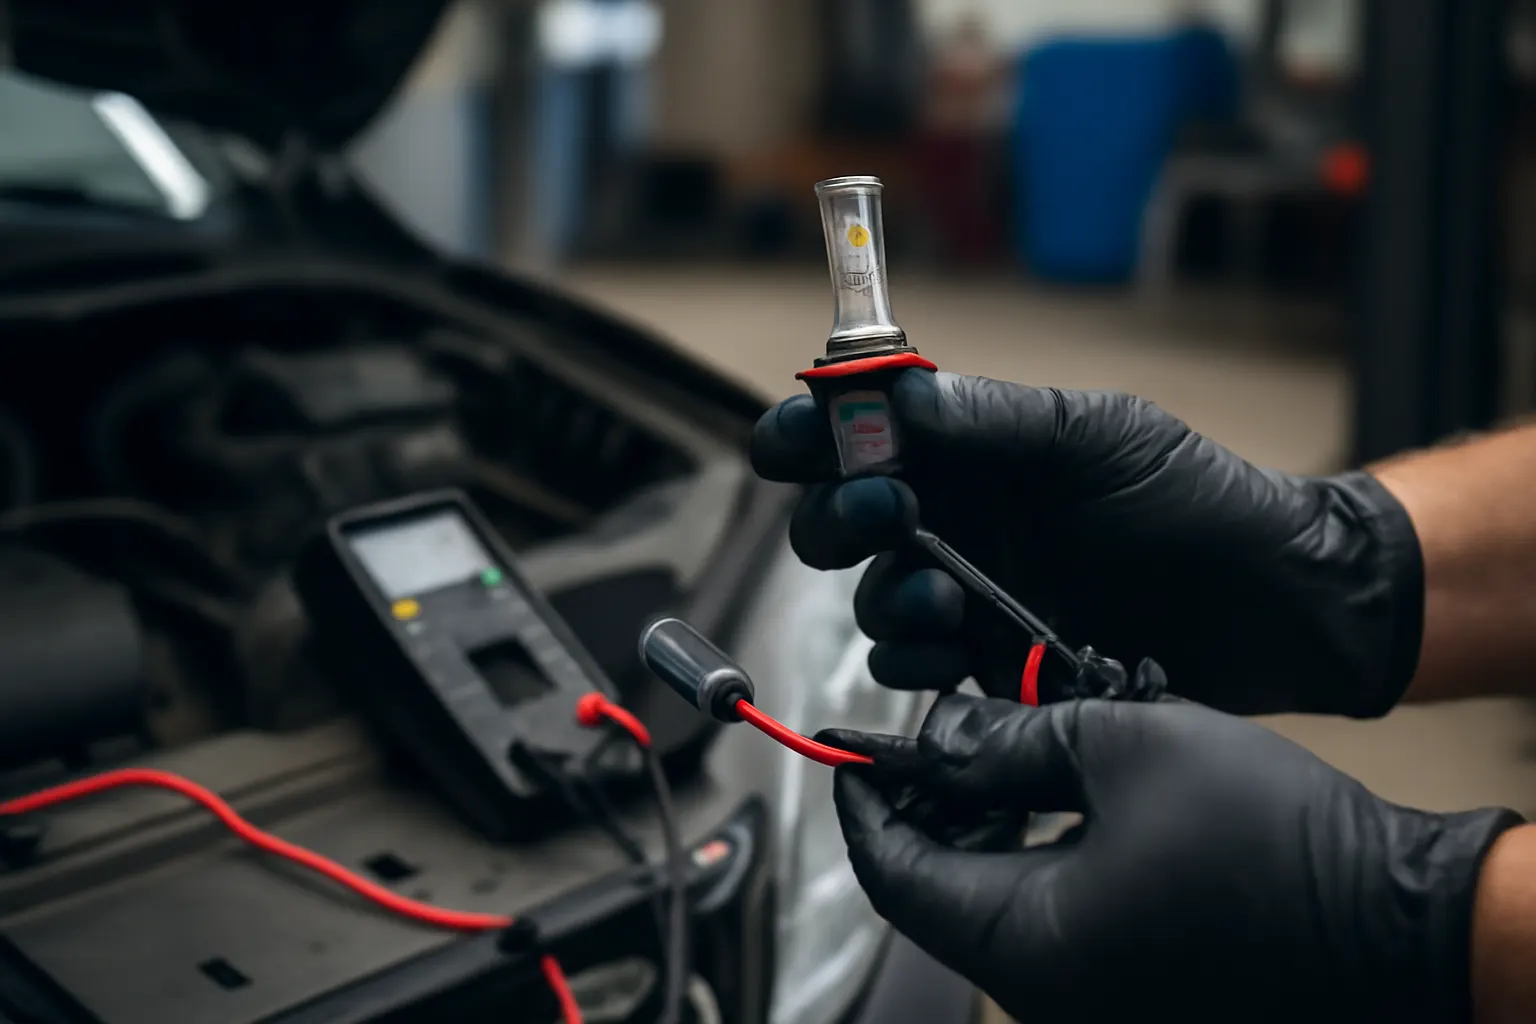
- Gather Tools: You’ll need screwdrivers, pliers, electrical tape, wire strippers, and a multimeter.
Installation Process
1. Disconnect the Battery
Always disconnect the negative terminal to avoid electrical shorts.
2. Remove Old Bulbs and Harness
Access the headlamp assembly and carefully disconnect the original harness.
3. Install the New Harness
- Route the new harness along the original wiring path.
- Secure with zip ties, avoiding sharp edges and hot engine components.
- Connect to the battery or fuse box as instructed.
4. Install New Lamps
Connect the new lamps to the harness, ensuring a snug fit.
5. Test the System
Reconnect the battery, turn on the lights, and check for correct operation—look for brightness, no flickering, and absence of warning lights.
6. Finalize Installation
Secure all wiring and reinstall any removed components.
Diagnostic Checklist: Ensuring a Trouble-Free Upgrade
Use this checklist before and after installation to minimize risks:
| Step | Task | Pass/Fail |
|---|---|---|
| 1 | Verify harness current/voltage rating matches lamps | |
| 2 | Check connector compatibility | |
| 3 | Inspect for damaged wires or corrosion | |
| 4 | Confirm relay and fuse integration | |
| 5 | Test lamp function before final assembly | |
| 6 | Check for dashboard errors or flicker | |
| 7 | Ensure wiring is secured and away from heat/sources | |
| 8 | Inspect for exposed wires after installation |
If any step fails, address the issue before driving.
Diagnosing Common Post-Upgrade Issues
Even with careful planning, issues may arise. Here’s how to diagnose and resolve them:
Flickering or Non-Functioning Lamps
- Likely Cause: Inadequate harness current rating, poor ground, or incompatible connectors.
- Solution: Check harness specs, inspect connections, and test with a multimeter.
Dashboard Error Messages
- Likely Cause: CAN bus or PWM incompatibility.
- Solution: Use a compatible harness with built-in resistors or CAN bus decoders.
Blown Fuses or Relays
- Likely Cause: Harness not rated for inrush current or lamp wattage.
- Solution: Upgrade to a harness with higher-rated relays/fuses.
For in-depth troubleshooting, see Diagnosing Automotive Lighting Electrical Issues.
Maintaining Your Upgraded Lighting System
Routine Inspections
- Visual Inspection: Check harness and connectors every oil change.
- Corrosion Check: Look for green/white residue on terminals—apply dielectric grease as needed.
- Heat Damage: Inspect insulation for brittleness or discoloration.
Cleaning and Protection
- Clean Connectors: Use electrical contact cleaner to remove debris.
- Secure Wiring: Re-tighten zip ties and reposition as necessary.
For more on long-term reliability, read Preventing Corrosion in Automotive Wiring.
Sourcing Quality Lamp Wiring Harnesses
Buying the right harness is as important as correct installation. Here’s what to consider:
Where to Buy
- Authorized Dealers: OEM or certified aftermarket harnesses.
- Reputable Online Retailers: Look for detailed specifications and customer reviews.
What to Look For
- Certifications: Compliance with SAE standards and NHTSA regulations.
- Warranty: Prefer products with at least a one-year warranty.
- Detailed Specs: Ensure the listing includes current, voltage, and connector types.
Avoiding Counterfeits
- Check Branding: Counterfeit harnesses may have misspelled logos or generic packaging.
- Test Before Use: A quick continuity and resistance check with a multimeter can reveal poor-quality wiring.
The Role of Standards and Regulations
Safety Compliance
Lighting upgrades must comply with federal and state safety standards. The NHTSA sets requirements for lamp brightness, beam pattern, and wiring safety.
Engineering Standards
SAE International provides technical standards for automotive wiring, connectors, and lighting systems. Using harnesses that meet or exceed these standards ensures reliability and legal compliance.
Recalls and Safety Bulletins
Check the NHTSA recalls database for any known issues with specific lighting products or harnesses before purchasing.
Advanced Topics: Integrating with Modern Vehicle Electronics
CAN Bus and PWM Systems
Modern vehicles often use digital communication (CAN bus) or pulse-width modulation (PWM) to control lighting. Installing an incompatible harness can cause:
- Dashboard warning lights
- Headlamp malfunction
- Communication errors with other vehicle systems
Choose harnesses specifically labeled as CAN bus or PWM compatible.
Adaptive Lighting and DRL Integration
If your vehicle features adaptive lighting or daytime running lights (DRLs), verify that your new harness supports these functions. Some advanced harnesses include additional circuitry for seamless integration.
Environmental and Efficiency Considerations
Energy Savings
LED lamps can reduce electrical load, potentially improving fuel efficiency marginally by reducing alternator demand (DOE Fuel Efficiency). However, this benefit is realized only if the wiring harness is efficient and free of excessive resistance.
Material Durability
Harnesses made with advanced polymers resist heat and aging, supporting long-term performance (DOE Materials Technologies). Investing in higher-quality materials pays off in reduced maintenance and fewer failures.
When to Consult a Professional
While many enthusiasts can handle basic upgrades, certain situations call for expert help:
- Complex Electrical Systems: Vehicles with advanced electronics, CAN bus, or adaptive lighting.
- Custom Retrofits: Installing lamps not originally offered for your vehicle.
- Persistent Electrical Issues: If problems persist after upgrade, consult a certified technician.
A professional can ensure correct installation, code compliance, and system diagnostics.
AutoPartEx: Your Partner for Safe Lighting Upgrades
At AutoPartEx, we understand the critical role of lamp wiring harnesses in vehicle safety and performance. Our curated selection of harnesses, connectors, and lighting accessories meets rigorous quality and compatibility standards. Whether you drive an Acura, AMC, or any other make, our platform connects you with parts that fit and perform as intended.
Review our Lamp Wiring Harness: The Backbone of Reliable Vehicle Lighting category to find harnesses tailored to your upgrade project. Our technical guides and support team are here to help you achieve a safe, professional-quality installation.
Conclusion: Upgrade with Confidence
Upgrading your vehicle’s lighting is one of the most impactful safety and appearance improvements you can make. But it’s not as simple as swapping bulbs—success depends on a holistic approach that includes the right wiring harness, compliance with standards, careful installation, and ongoing maintenance.
By following the technical guidance and checklists in this article, you can enjoy brighter, more reliable lighting—without risking your vehicle’s safety or electrical system. Remember: the right harness is the backbone of any lighting upgrade.