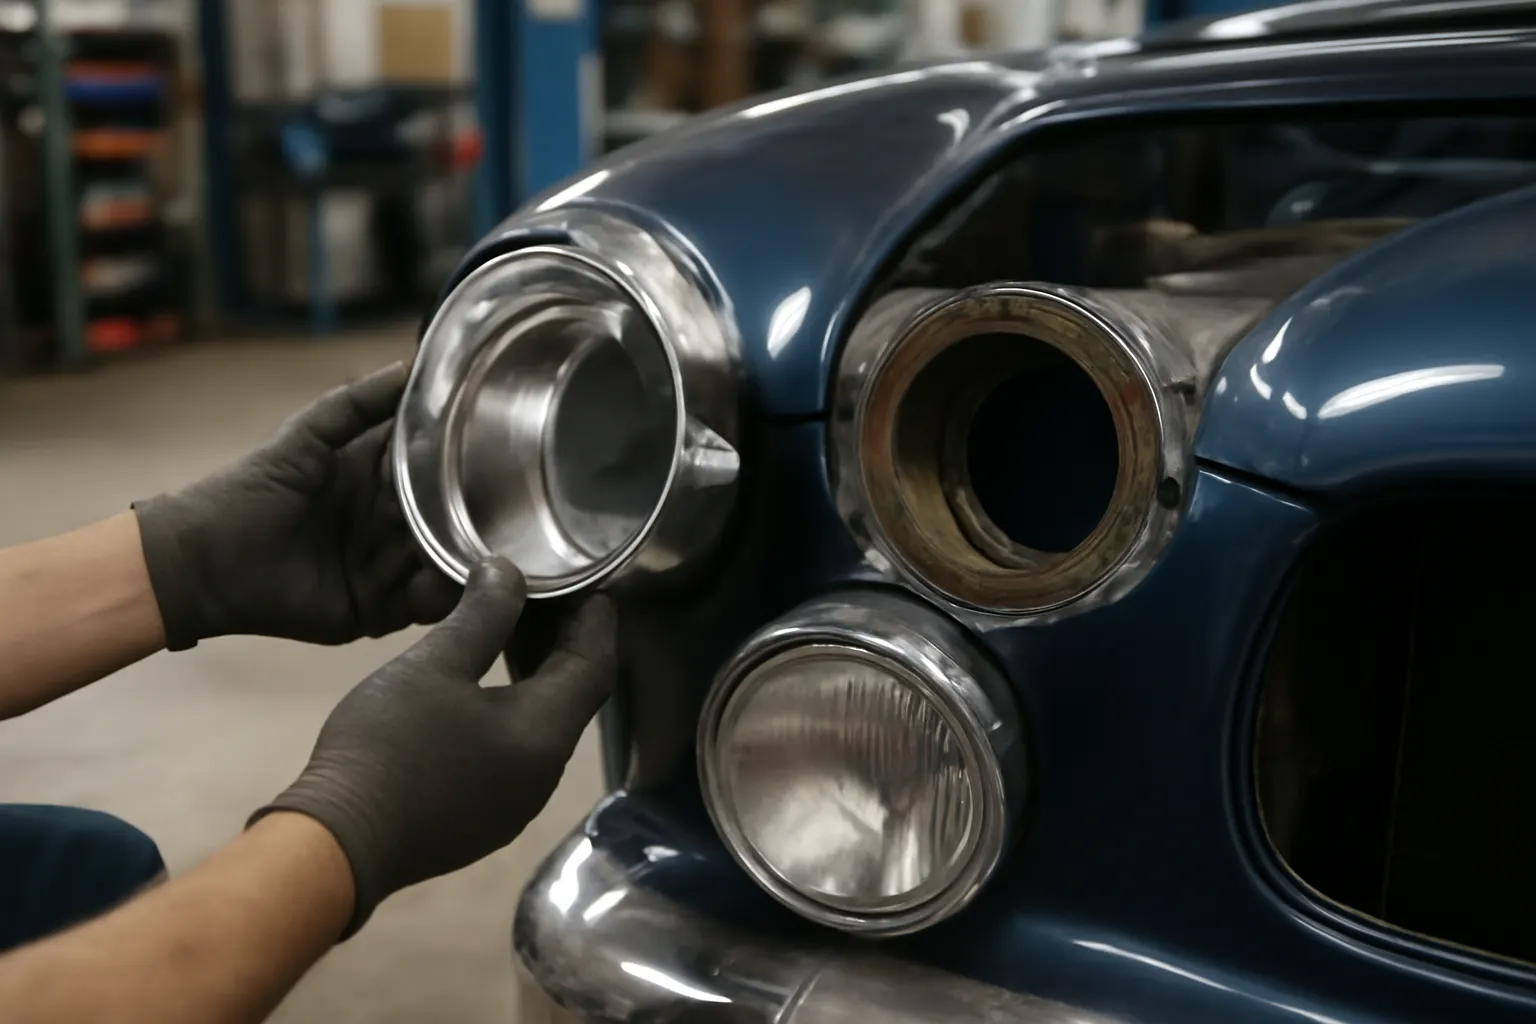
How Headlight Buckets Impact Beam Pattern and Safety
Headlight buckets are more than just mounting points for your vehicle’s headlamps—they are engineering linchpins that directly influence beam pattern, road visibility, and your ability to pass safety inspections. A correctly specified and well-maintained headlight bucket ensures your headlights are securely positioned, providing precise illumination, minimizing glare, and keeping your vehicle compliant with safety regulations. In this technical guide, we’ll break down exactly how headlight buckets affect beam pattern and safety, and what you need to know to keep your lighting system in peak condition.
For a comprehensive breakdown of bucket types, adjustment methods, and restoration tips, see our Headlight Bucket Technical Guide: Precision Mounting for Optimal Illumination.
The Immediate Answer: Why Headlight Buckets Matter for Beam Pattern and Safety
A headlight bucket’s primary role is to hold the headlamp in a fixed, precise orientation relative to the vehicle’s body and road surface. This alignment is essential for producing the correct beam pattern—projecting light where it’s needed for driver visibility and safety, while avoiding glare for oncoming traffic. When the headlight bucket is damaged, corroded, bent, or incorrectly installed, the entire headlamp assembly can shift, leading to misaligned beams, reduced illumination, and potential failure during safety inspections.
Passing safety inspections—mandated by the National Highway Traffic Safety Administration (NHTSA)—requires that your headlights meet strict standards for aim, brightness, and beam cutoff. The headlight bucket is foundational to achieving and maintaining these standards. Even a minor deviation in bucket geometry can cause a compliant headlamp to fail inspection or, worse, compromise on-road safety.
The Hidden Problem: Subtle Bucket Issues That Sabotage Lighting
Many drivers and even seasoned restorers overlook the headlight bucket when troubleshooting poor headlight performance or failed safety checks. The symptoms of a compromised bucket are often mistaken for bulb failure, lens clouding, or electrical issues. Yet, a misaligned, rusted, or worn bucket can subtly—but significantly—distort the headlight’s beam pattern.
Common hidden bucket problems include:
- Corrosion or metal fatigue: Weakens mounting points, allowing the headlamp to vibrate or sag.
- Bent or distorted flange: Alters the headlamp’s angle, skewing the cutoff and beam aim.
- Worn adjustment screws or springs: Prevents accurate aiming, causing beams to drift over time.
- Improper fitment: Using a non-OEM or incorrect aftermarket bucket can change the lamp’s position, even if it appears to fit.
These issues often evade casual inspection, but they have outsized effects on your vehicle’s lighting performance and compliance.
The Technical Details: How Buckets Influence Beam Geometry
The Role of the Headlight Bucket in Optical Alignment
The headlight bucket acts as the mechanical reference for the lamp’s position, orientation, and stability. It interfaces with the vehicle’s body structure and provides the mounting surface for the lamp, adjustment hardware, and sometimes the aiming mechanism itself. The bucket’s geometry—angle, depth, and mounting hole alignment—directly determines where the light is projected.
Key technical factors:
- Horizontal and vertical aim: The bucket’s mounting angle sets the baseline for horizontal (left/right) and vertical (up/down) beam direction.
- Lateral stability: A rigid, undamaged bucket ensures the lamp does not vibrate or shift, preserving beam consistency.
- Depth and setback: The bucket’s depth determines how far the lamp sits from the lens or trim ring, affecting beam focus and edge sharpness.
Beam Pattern and Safety Standards
According to SAE and NHTSA standards, headlights must produce a defined beam pattern with a sharp cutoff, specific illumination zones, and minimal upward glare. The bucket’s alignment is critical for meeting these requirements. Even small deviations in bucket geometry can:
- Move the beam cutoff too high (causing glare)
- Shift the beam too far left or right (reducing driver visibility or blinding oncoming traffic)
- Spread the beam unevenly (creating dark spots or hot spots)
Example: A bucket that is bent inward by just 2–3 degrees can raise the beam cutoff by several feet at 25 feet away, enough to fail inspection or create hazardous glare.
Safety Inspection Failures: How Buckets Cause Non-Compliance
Most state and national safety inspections include a headlight aim check, using a beam alignment tool or aiming screen. The inspector checks that both the vertical and horizontal aim fall within strict tolerances, typically within a few degrees of factory specification. If the bucket is compromised, even new lamps and bulbs will fail to produce a compliant beam.
Typical failure points linked to buckets:
- Aim out of tolerance: Bucket mounting angle incorrect due to damage or poor installation.
- Loose lamp assembly: Bucket hardware worn, lamp moves during vibration or adjustment.
- Improper lamp seating: Non-OEM buckets or missing adjustment springs prevent proper seating.
NHTSA’s Vehicle Safety and Equipment guidelines emphasize that all lighting equipment, including mounting hardware, must function as intended for road safety compliance.
Diagnosing Bucket-Related Beam Issues
When headlight performance is poor, follow this diagnostic sequence to isolate bucket-related problems:
Step-by-Step Diagnostic Checklist
-
Visual Inspection
- Remove the lamp and inspect the bucket for corrosion, cracks, or distortion.
- Check for missing or worn adjustment hardware (screws, springs, seats).
- Confirm that the bucket is firmly attached to the vehicle body.
-
Lamp Seating Test
- Reinstall the lamp and verify that it sits flush against the bucket flange.
- Wiggle the lamp gently; any movement indicates worn hardware or metal fatigue.
-
Adjustment Range Check
- Attempt to aim the lamp using the adjustment screws.
- If the range is limited or the lamp cannot hold aim, suspect a worn or bent bucket.
-
Beam Pattern Test
- Park the vehicle 25 feet from a wall, turn on the headlights, and observe the beam cutoff.
- Look for uneven cutoff, excessive scatter, or beams aimed too high/low or left/right.
-
Compare Sides
- Compare left and right beam patterns. If only one side is misaligned with identical bulbs and lenses, the bucket is likely at fault.
Pro Tip: For classic or restored vehicles, always check bucket condition before replacing bulbs or headlamp assemblies. Many beam issues trace back to aged or ill-fitting buckets.
Installation and Replacement: Getting the Bucket Right
Proper installation of a headlight bucket is essential for precise beam alignment. Whether you’re restoring a classic or repairing a daily driver, follow these installation best practices:
Headlight Bucket Installation Checklist
- Select the correct bucket: Confirm fitment by matching OEM part numbers or using reputable aftermarket cross-references.
- Clean mounting surfaces: Remove rust, debris, and old sealant to ensure a flush fit.
- Install new adjustment hardware: Replace old screws, springs, and seats to restore full aiming range and stability.
- Align the bucket: Use manufacturer specifications for mounting angle and position. Some vehicles provide alignment tabs or guides.
- Torque hardware evenly: Avoid overtightening, which can distort the bucket.
- Test lamp seating and beam aim: After installation, check that the lamp seats firmly and the beam pattern is correct before final assembly.
For a deep dive into selecting and installing the right bucket for your application, see Choosing the Right Headlight Bucket for Your Restoration.
Maintenance Strategies: Keeping Your Buckets Roadworthy
Headlight buckets are exposed to moisture, road debris, and vibration. Regular maintenance can extend their life and preserve lighting performance:
- Inspect annually: Check for rust, cracks, and hardware wear during routine headlight or bodywork inspections.
- Clean and lubricate: Remove debris and apply anti-seize lubricant to adjustment screws to prevent binding.
- Replace worn parts: Don’t ignore loose springs, stripped screws, or missing seats.
- Treat rust early: Use rust converter or primer to halt corrosion before it weakens the bucket.
Restoration tip: For classic vehicles, consider upgrading to stainless or powder-coated buckets to resist corrosion and extend service life. See our Restoring Classic Headlight Assemblies guide for more details.
Sourcing the Right Headlight Bucket: OEM vs. Aftermarket
Not all headlight buckets are created equal. Sourcing the correct part is critical for beam accuracy and safety compliance:
- OEM buckets: Designed to exact factory tolerances, ensuring correct lamp position and beam pattern.
- Quality aftermarket buckets: Can be a cost-effective alternative, but verify fitment and geometry against OEM specs.
- Universal or “one-size-fits-all” buckets: Often compromise on alignment, leading to poor beam performance and increased risk of inspection failure.
When shopping, always:
- Cross-check part numbers and compatibility lists.
- Inspect for robust construction and precise mounting holes.
- Avoid buckets with thin metal, poor welds, or imprecise adjustment hardware.
Common Pitfalls: Misalignment, Glare, and Inspection Failure
Even a small error in bucket installation or selection can have major downstream effects:
- Misaligned beams: Cause driver fatigue, reduce road visibility, and may blind other motorists.
- Excessive glare: Fails safety inspections and increases accident risk.
- Premature bulb failure: Vibration from a loose bucket can shorten bulb life.
- Water intrusion: Damaged buckets can allow moisture into the lamp assembly, clouding lenses and corroding contacts.
Case example: A 1970s muscle car with a reproduction bucket that’s 3mm off in mounting depth produces a beam pattern that fails the cutoff test—forcing expensive rework before the vehicle can be legally driven.
Bucket Upgrades and Modernization
Modern vehicles sometimes use composite lamp assemblies with integrated buckets, but many classic and specialty vehicles still rely on replaceable metal buckets. Upgrading to improved materials or enhanced adjustment mechanisms can boost both performance and longevity.
- Stainless steel or aluminum buckets: Offer superior corrosion resistance.
- Enhanced adjustment hardware: Fine-thread screws and reinforced springs provide precise, durable aiming.
- Sealing enhancements: Improved gaskets and seals reduce water ingress.
When upgrading, always verify that the new bucket maintains the original lamp geometry and adjustment range.
Diagnosing Persistent Beam Problems: Beyond the Bulb
If you’ve replaced bulbs, cleaned lenses, and checked wiring but still have poor headlight performance, the bucket is a likely culprit. Persistent issues such as wandering aim, uneven cutoff, or ongoing inspection failures almost always trace back to bucket condition or installation.
Diagnostic flow for persistent problems:
- Re-inspect bucket geometry: Even minor bends or distortions can be hard to spot without careful measurement.
- Test with a known-good lamp: Swap in a verified lamp to isolate the bucket as the variable.
- Consult factory diagrams: Reference OEM service manuals for correct bucket orientation and hardware.
Don’t underestimate the bucket’s impact—many owners spend hundreds on bulbs or new lamps when a $50 bucket replacement is the real solution.
Safety, Compliance, and the Regulatory Landscape
Federal and state regulations, including those from the NHTSA and SAE, set strict requirements for headlight performance. Buckets are explicitly referenced as part of the mounting hardware that must maintain lamp position and aim throughout the vehicle’s service life.
- NHTSA inspections: Require that headlamps remain in adjustment after exposure to vibration and environmental stress.
- SAE standards: Specify allowable tolerances for lamp aim and mounting rigidity.
- Recalls: Many vehicle recalls have involved headlamp mounting hardware, not just the lamps themselves (NHTSA Recalls).
Failure to maintain compliant buckets can result in inspection failure, fines, or recall-related repair requirements.
Choosing the Right Bucket for Your Vehicle
Selecting the correct bucket is about more than just fitment—it’s about safety and compliance. Use this checklist to ensure you’re sourcing the right part:
Bucket Selection Checklist
- Confirm vehicle year, make, and model.
- Cross-reference OEM part numbers.
- Inspect mounting hole pattern and adjustment hardware compatibility.
- Verify material quality (prefer corrosion-resistant metals).
- Ensure adjustment range matches factory specs.
- Check for included hardware (springs, screws, seals).
- Read user reviews or restoration forum posts for fitment feedback.
For more on bucket selection, see Choosing the Right Headlight Bucket for Your Restoration.
AutoPartEx: Your Partner for Lighting Precision
At AutoPartEx, we understand the critical role headlight buckets play in your vehicle’s safety and compliance. Our curated selection includes OEM and high-quality aftermarket buckets, adjustment hardware, and restoration guides to help you achieve factory-correct beam patterns. Whether you’re restoring a classic, repairing a daily driver, or upgrading for modern performance, our technical resources and customer support ensure you get the right fit—every time.
Explore our full Headlight Bucket Technical Guide: Precision Mounting for Optimal Illumination for expert insights, diagrams, and product recommendations.
Conclusion: Don’t Overlook the Bucket
A headlight bucket may seem like a simple sheet metal bracket, but its effect on beam pattern and safety is profound. Proper diagnosis, installation, and maintenance of your buckets ensures that your headlights deliver optimal illumination, pass inspection, and keep you and other drivers safe. The next time you face a headlight issue, start your troubleshooting with the bucket—it’s the unsung hero of your vehicle’s lighting system.