
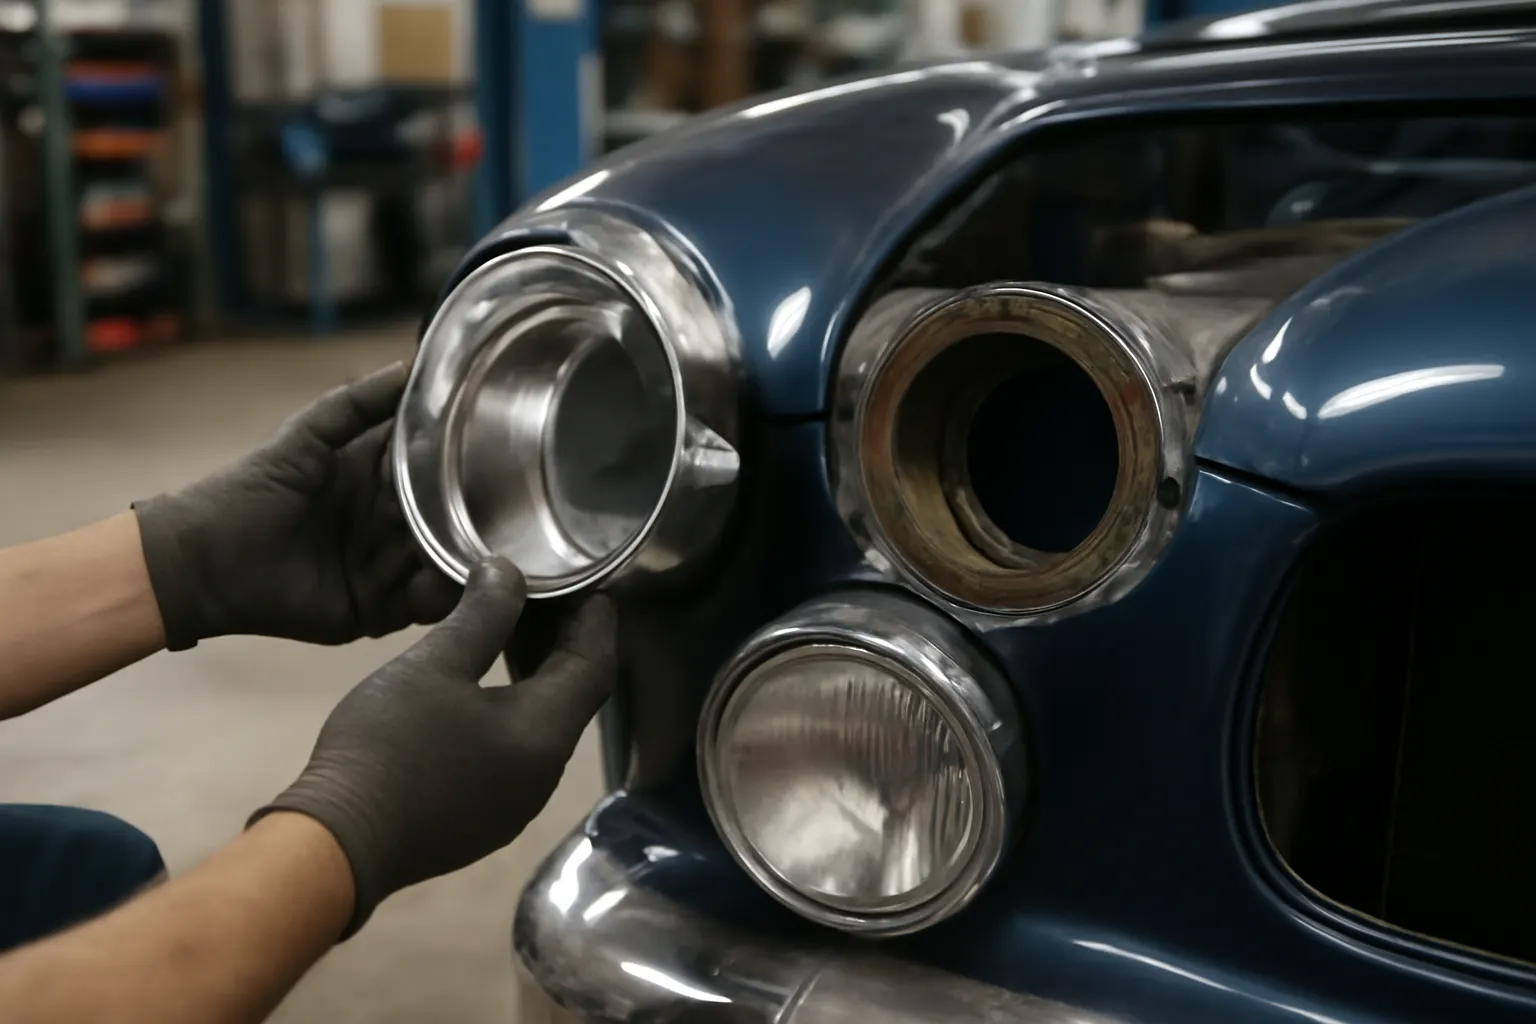
Choosing the Right Headlight Bucket for Your Restoration
Restoring a vehicle—whether it’s a classic car, a cherished truck, or a modern build—demands precision at every step, and your choice of headlight bucket is critical for both aesthetics and safety. The right headlight bucket ensures your lights are securely mounted, properly aligned, and able to deliver optimal illumination on the road. Whether you’re searching for OEM, NOS, or reproduction headlight buckets, understanding the differences and critical selection factors will help you avoid costly mistakes, ensure compliance with safety standards, and achieve a professional result.
If you’re just starting your restoration journey, our Headlight Bucket Technical Guide: Precision Mounting for Optimal Illumination provides foundational insights on fitment, adjustment, and component compatibility—crucial reading before you make your first purchase.
Immediate Answer: What to Look for When Selecting a Headlight Bucket
When selecting a headlight bucket for your restoration project, begin by confirming vehicle compatibility (make, model, year), then decide whether you need an OEM (Original Equipment Manufacturer), NOS (New Old Stock), or reproduction part. Prioritize buckets with corrosion-resistant materials, precise mounting points, and adjustability features. For classic vehicles, NOS or high-quality reproductions are often necessary to maintain period correctness and proper fit. For modern vehicles, OEM or direct-fit aftermarket buckets provide the best alignment and safety performance.
Key Selection Criteria:
- Confirm exact vehicle application—don’t rely on “universal fit” claims.
- Inspect material quality (steel, aluminum, or advanced plastics).
- Assess adjustability and mounting precision.
- Ensure compliance with current safety standards.
- Consider availability and authenticity for classic restorations.
The Hidden Problem: Why Headlight Bucket Choice Is More Critical Than It Seems
While the headlight bucket may seem like a simple mounting bracket, its role is far more technical and safety-critical. An ill-fitting or poorly constructed bucket can lead to misaligned headlights, compromised beam patterns, and even electrical or moisture intrusion issues. These problems are not just cosmetic—they directly affect nighttime visibility, oncoming driver safety, and your vehicle’s compliance with federal lighting equipment regulations.
Many restorers discover too late that a mismatched or low-quality bucket results in persistent headlight misalignment, vibration, or premature bulb failure. Worse, improper installation can lead to failed safety inspections or even liability in the event of an accident.
Technical Deep Dive: Headlight Bucket Functions and Failure Modes
A headlight bucket is more than a simple housing. It performs several critical functions:
- Structural Mounting: Provides a rigid, vibration-dampened mount for the headlamp, allowing for precise aiming.
- Protection: Shields the headlamp assembly from debris, moisture, and corrosion.
- Adjustment: Integrates mechanisms for vertical and horizontal headlight aim, crucial for beam pattern accuracy.
- Electrical Routing: Houses or supports wiring harnesses and connectors in a protected environment.
Common Failure Modes:
- Corrosion and Rust: Especially in steel buckets, leading to weakened mounts and electrical shorts.
- Deformation: From prior accidents or improper installation, causing misalignment.
- Material Fatigue: In older or poor-quality reproduction buckets, leading to cracks or loss of adjustability.
- Compatibility Issues: Buckets not designed for your headlamp or vehicle may interfere with aiming or sealing.
Understanding these functions and failure modes helps explain why sourcing the right bucket is essential to both the restoration’s appearance and its long-term reliability.
Understanding Bucket Types: OEM, NOS, and Reproduction
OEM (Original Equipment Manufacturer) Buckets
OEM buckets are manufactured by the same company that built your vehicle’s original parts. They offer guaranteed fit and finish, often with superior material quality and precise mounting points. For modern vehicles or high-value restorations, OEM buckets are the gold standard.
Advantages:
- Perfect fit and finish.
- Highest assurance of compliance with safety and lighting standards.
- Direct compatibility with factory adjustment mechanisms.
Drawbacks:
- Usually the most expensive option.
- Availability may be limited for older vehicles.
NOS (New Old Stock) Buckets
NOS buckets are genuine factory parts that were manufactured during your vehicle’s original production run but never installed. They are “new” in the sense of being unused, but may have aged in storage.
Advantages:
- Authenticity for concours or period-correct restorations.
- Factory-correct materials and construction.
Drawbacks:
- May show shelf wear or minor corrosion.
- Supply is extremely limited; prices can be high.
Reproduction Buckets
Reproduction buckets are newly manufactured parts made to replicate the original design. Quality varies widely: some are made to OEM standards, while others may cut corners on materials or fit.
Advantages:
- Readily available for popular classic models.
- Often more affordable than OEM/NOS.
Drawbacks:
- Variable fit and finish; always verify manufacturer reputation.
- May lack certain original features or material specifications.
Critical Fitment Checklist: Ensuring a Perfect Match
Before you order a headlight bucket, use this fitment checklist to avoid costly mistakes:
| Step | What to Check | Why It Matters |
|---|---|---|
| 1 | Confirm make, model, and year | Ensures base compatibility |
| 2 | Verify headlamp type (sealed beam, halogen, LED) | Different lamps require different buckets |
| 3 | Cross-check part number with manufacturer catalog | Prevents mismatches |
| 4 | Inspect mounting points and adjustment screws | Secures precise aiming and installation |
| 5 | Examine material (steel, aluminum, plastic) | Affects durability and corrosion resistance |
| 6 | Confirm finish (painted, plated, raw) | Impacts appearance and longevity |
| 7 | Review included hardware (clips, springs, screws) | Missing parts can halt installation |
| 8 | Check for compliance with safety standards | Required for legal road use |
Materials Matter: Engineering and Longevity
The choice of material for your headlight bucket directly impacts its durability, weight, and corrosion resistance. According to the United States Department of Energy, advanced materials such as high-strength steel, aluminum alloys, and engineered plastics are now commonly used to reduce weight and improve longevity in automotive body components1.
Steel: Traditional and strong, but prone to rust if not properly coated. Best for period-correct restorations but requires rustproofing in humid or salted environments.
Aluminum: Lightweight and corrosion-resistant, but may not be period-correct for all classics. Offers excellent heat dissipation and is common in modern vehicles.
Plastics/Composites: Increasingly popular in late-model vehicles for their light weight and resistance to corrosion, but may be less robust in heavy-duty or classic applications.
Expert Tip: When restoring a vehicle exposed to harsh weather or road salt, prioritize buckets with advanced coatings or select aluminum/plastic options for superior longevity.
Safety and Compliance: Meeting Modern Standards
Headlight buckets are not just cosmetic—they are part of your vehicle’s safety system. The National Highway Traffic Safety Administration (NHTSA) sets strict requirements for lighting equipment, including mounting integrity, adjustability, and beam pattern2. A poorly chosen or installed bucket can result in a misaligned beam, glare, or insufficient road illumination—leading to failed inspections or even traffic citations.
What to Check:
- Confirm that the bucket allows for full headlight adjustment range.
- Ensure that the bucket and mounting hardware are robust enough to withstand vibration and impact.
- Verify that the assembled headlight system meets local and federal lighting regulations.
For more on how buckets affect beam pattern and safety, see our editorial: How Headlight Buckets Impact Beam Pattern and Safety.
Diagnosing and Avoiding Fitment Issues
Even experienced restorers can be tripped up by fitment surprises. Here’s how to spot and avoid the most common issues:
Symptoms of a Poor Fit:
- Headlight sits crooked or protrudes from the fender.
- Adjustment screws do not engage or allow proper aiming.
- Gaps around the bucket allow water intrusion.
- Vibration or rattling at idle or on the road.
How to Avoid:
- Always test-fit the bucket before painting or final assembly.
- Compare the new bucket’s dimensions and mounting tabs to your original.
- Check adjustment mechanism engagement with the headlamp installed.
- Use new mounting hardware where possible to ensure secure attachment.
If you encounter persistent misalignment, our step-by-step guide on Diagnosing Headlight Misalignment Issues can help you pinpoint root causes and corrective actions.
Sourcing the Right Bucket: Where to Buy and What to Ask
OEM and NOS Parts
- Start with authorized dealerships, classic car parts specialists, or reputable online marketplaces.
- Always request part numbers and photos to confirm authenticity.
- For rare NOS parts, ask about storage conditions and inspect for corrosion or shelf damage.
Reproduction Parts
- Research manufacturer reputation—look for reviews and forum feedback specific to your vehicle.
- Ask about material specs and compare to OEM.
- Request detailed photos of mounting points and adjustment mechanisms.
Red Flags to Avoid:
- “Universal fit” claims—these rarely deliver precise alignment.
- Buckets lacking adjustment hardware or with thin, flexible mounting flanges.
- Sellers who cannot provide clear part numbers or vehicle application lists.
Installation Best Practices: Achieving Factory-Quality Results
Proper installation is as important as part selection. Follow these best practices for a trouble-free install:
Preparation:
- Clean mounting surfaces thoroughly, removing rust, old sealant, or debris.
- Test-fit the bucket and headlamp before final assembly.
- Paint or coat steel buckets to prevent future corrosion.
Installation Steps:
- Attach the bucket loosely using correct hardware.
- Install the headlamp and verify adjustment mechanism operation.
- Aim the headlamp according to manufacturer or SAE standards.
- Tighten all fasteners to specification, ensuring no distortion of the bucket.
- Seal around the bucket as required to prevent water ingress.
Expert Note: Never force a bucket into place—misalignment at this stage can cause long-term aiming and vibration issues.
Maintenance and Longevity: Keeping Your Headlight Bucket in Top Shape
Routine inspection and maintenance can extend the life of your headlight bucket and preserve lighting performance.
Maintenance Checklist:
- Inspect for rust or corrosion at least once per season.
- Check adjustment screws for free movement and lubricate if necessary.
- Ensure all mounting hardware remains tight.
- Check headlamp aim annually and after any front-end collision or heavy jolt.
- Touch up paint or coatings on exposed steel as needed.
For classic vehicles, consider periodic removal and detailed inspection, especially if the vehicle is stored in humid conditions or driven in winter.
Authenticity vs. Practicality: Making the Right Choice for Your Build
Your decision between OEM, NOS, and reproduction buckets depends on your restoration goals:
- Concours/Show Restoration: Prioritize NOS or OEM parts for absolute authenticity and value retention.
- Driver/Restomod: High-quality reproductions or OEM-equivalent aftermarket buckets may offer better durability and easier sourcing, especially for vehicles driven regularly.
- Custom Builds: Consider lightweight or modified buckets designed for modern lighting technology (e.g., LED or projector conversions), but ensure compliance with safety standards.
Pro Tip: Document your part choices for future reference or resale—buyers and judges appreciate detailed records.
How Headlight Buckets Affect Performance and Efficiency
While the headlight bucket itself is not a direct contributor to fuel economy, its role in precise headlight alignment and mounting can indirectly affect vehicle efficiency and safety. Properly aligned headlights reduce unnecessary electrical load and glare, enhancing nighttime driving confidence and reducing driver fatigue1. Additionally, modern lightweight materials in buckets contribute to overall vehicle weight reduction, supporting fuel efficiency goals.
If you’re interested in how modern materials and engineering are shaping vehicle systems, see the Materials Technologies resource from the Department of Energy.
When to Replace vs. Restore: Decision Factors
Sometimes, original buckets can be restored with cleaning, rust removal, and repainting. However, replacement is the better option when:
- The bucket is heavily corroded or structurally compromised.
- Mounting points are deformed or missing.
- Adjustment mechanisms are seized or broken.
- You’re upgrading to a different headlamp type (e.g., sealed beam to halogen/LED).
If you’re tackling a full headlight assembly rebuild, our Restoring Classic Headlight Assemblies guide covers cleaning, repair, and adjustment in detail.
AutoPartEx: Your Restoration Partner
At AutoPartEx, we understand that sourcing the right headlight bucket is a blend of technical precision and restoration artistry. Our catalog features a wide range of OEM, NOS, and high-quality reproduction buckets for classic and modern vehicles. Each part is backed by technical fitment data and expert guidance to help you achieve a factory-quality result—whether you’re restoring an AMC muscle car or fine-tuning a modern Acura.
Explore our Headlight Bucket Technical Guide: Precision Mounting for Optimal Illumination for more in-depth technical resources, or contact our team for personalized fitment and sourcing advice.
References
- Vehicle Safety and Equipment – National Highway Traffic Safety Administration
- Materials Technologies – United States Department of Energy
- Fuel Efficiency – United States Department of Energy

