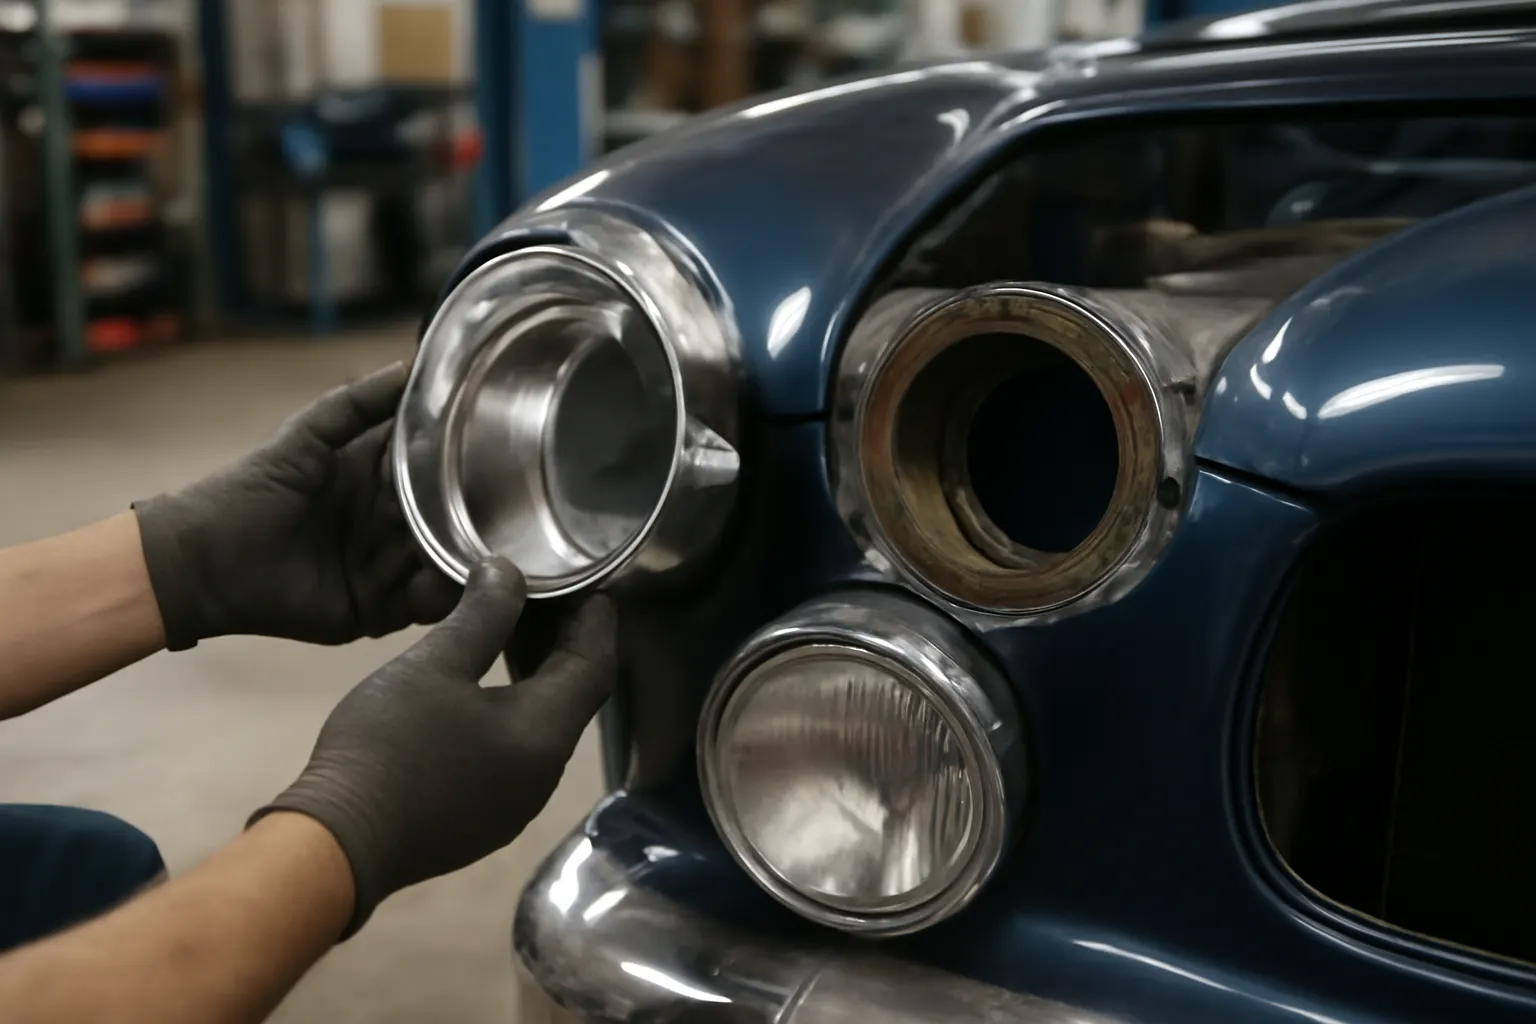
How Headlight Buckets Impact Beam Pattern and Safety
Headlight buckets are more than just mounting hardware—they are essential for precision aiming, optimal illumination, and passing safety inspections. If your vehicle’s headlight buckets are damaged, corroded, or misaligned, you risk not only failing safety checks but also compromising your nighttime driving visibility. Ensuring your headlight buckets are in top condition is a foundational step for reliable, road-legal lighting. In this comprehensive technical guide, we’ll examine how headlight buckets directly affect beam pattern and safety, reveal the less obvious issues that arise from improper fitment, and provide actionable steps to diagnose, upgrade, and maintain your headlight mounting system.
For a broader overview of mounting, restoration, and part selection, see our Headlight Bucket Technical Guide: Precision Mounting for Optimal Illumination.
The Immediate Importance: Headlight Buckets and Your Beam Pattern
A headlight’s beam pattern is only as precise as its mounting allows. The headlight bucket serves as the structural nest that cradles the lamp or sealed beam, dictating both the lateral and vertical aim. When properly installed and adjusted, the bucket ensures the beam projects in a controlled pattern, maximizing road visibility while minimizing glare for oncoming drivers.
Key Facts:
- Alignment: The bucket’s geometry and mounting points are engineered to maintain the headlamp’s critical angle.
- Safety Compliance: Regulatory bodies, such as the National Highway Traffic Safety Administration (NHTSA), require that headlights emit a specific beam pattern to pass inspection and ensure road safety [NHTSA Equipment].
- Illumination Quality: Even with the best bulbs, an out-of-alignment bucket produces scattered or misdirected light, reducing effective illumination.
Whether you’re restoring a classic, upgrading to modern lighting, or simply replacing a worn part, the bucket’s integrity is as critical as the bulb itself.
The Hidden Problem: Why Headlight Buckets Are Often Overlooked
Many DIYers and even experienced technicians focus on bulbs, wiring, or lens clarity when troubleshooting lighting issues. However, the headlight bucket’s role is frequently underestimated. Old, rusted, or bent buckets can subtly shift the lamp’s orientation, causing poor beam focus, premature bulb failure, and persistent misalignment.
Commonly Overlooked Issues:
- Corrosion: Rust or pitting can distort the bucket, introducing unwanted tilt or vibration.
- Wear and Tear: Fatigued springs or worn adjusters may not hold the lamp steady.
- Non-Original Parts: Universal or ill-fitting buckets may not match the original beam geometry, especially in restorations.
- Improper Installation: Incorrect torque or sequence during installation can twist the bucket, misaligning the beam.
These issues often go undiagnosed, leading to persistent lighting problems that aren’t resolved by simply swapping bulbs or lenses.
Deeper Dive: How Buckets Affect Beam Pattern and Safety
1. Structural Precision and Beam Focus
The bucket’s design and mounting points are engineered to keep the headlight at a precise angle relative to the vehicle’s chassis and road. Even a millimeter of shift at the bucket can translate to meters of deviation in the projected beam pattern.
- Vertical Aim: Controls how far the beam projects and prevents dazzling oncoming traffic.
- Horizontal Aim: Ensures the beam illuminates the correct portion of the road without spilling into opposing lanes.
- Vibration Damping: Quality buckets use spring-loaded adjusters or vibration isolators to keep the beam steady over rough terrain.
2. Regulatory Compliance and Inspection
Both state and federal safety inspections require headlights to meet specific aiming and illumination standards. The NHTSA mandates that all vehicles sold in the U.S. comply with Federal Motor Vehicle Safety Standard (FMVSS) 108, which includes beam pattern and brightness requirements [NHTSA Equipment].
A misaligned or unstable bucket can cause your vehicle to fail:
- Annual Safety Inspections
- Pre-purchase or Transfer Inspections
- Highway Patrol Spot Checks
3. Real-World Safety Consequences
Improperly aimed headlights are a leading cause of nighttime accidents. A scattered or dipped beam can leave hazards unlit, while an elevated beam can blind oncoming drivers. Both scenarios are directly tied to bucket condition and adjustment.
Diagnosing Headlight Bucket Issues: A Step-by-Step Checklist
Before replacing bulbs or lenses, use this diagnostic checklist to evaluate your headlight buckets:
| Step | Diagnostic Action | What to Look For |
|---|---|---|
| 1 | Visual Inspection | Check for rust, cracks, or deformation. |
| 2 | Manual Movement | Gently wiggle the headlight; excessive play indicates worn springs or adjusters. |
| 3 | Beam Test | Park on a level surface 25 feet from a wall. Mark beam center and compare left/right, up/down alignment. |
| 4 | Mounting Hardware | Inspect screws, clips, and springs for corrosion or missing parts. |
| 5 | Adjuster Check | Turn adjustment screws; resistance should be smooth, and the beam should move predictably. |
| 6 | Compare to Spec | Refer to your vehicle’s service manual for bucket and lamp positioning. |
If any of these steps reveal issues, the bucket—not the bulb—may be the root cause of your lighting problem.
The Impact of Bucket Material and Construction
The headlight bucket’s material—often steel, aluminum, or composite—affects its longevity, weight, and resistance to corrosion. Modern vehicles may use lighter composites for efficiency, while classics rely on steel for rigidity.
Pros and Cons by Material:
- Steel: High strength, but susceptible to rust. Often found in vintage and classic cars.
- Aluminum: Lightweight and corrosion-resistant, but can be prone to fatigue or cracking if over-tightened.
- Composite/Plastic: Lightweight and immune to rust, but may degrade with UV exposure or heat.
Choosing the correct material for your application ensures both safety and durability. For classic restorations, opt for high-quality reproductions that match original specs. For modern upgrades, consider corrosion-resistant options that won’t add unnecessary weight [DOE Materials Technologies].
Fitment: Why Precision Matters for Replacement Buckets
When sourcing replacement headlight buckets, precise fitment is critical. An ill-fitting bucket can lead to:
- Persistent Misalignment: Even small deviations in mounting holes or bracket geometry can misdirect the beam.
- Vibration and Flicker: Poor fit can cause the lamp to shake or flicker, reducing visibility and bulb life.
- Regulatory Failure: Non-OEM buckets may not match the aiming geometry required for safety inspection.
Fitment Checklist:
- Verify make, model, and year compatibility.
- Check for OEM part numbers or trusted aftermarket references.
- Compare mounting tabs, adjuster locations, and depth to original.
- Test fit before final installation.
For more on choosing the right part, see Choosing the Right Headlight Bucket for Your Restoration.
Installation Best Practices: Ensuring Accurate Alignment
Proper installation is as important as the part itself. Follow these best practices:
- Prepare the Mounting Surface: Clean all rust, debris, and old sealant from the headlight recess.
- Replace All Hardware: Use new screws, springs, and adjusters to ensure stable mounting.
- Torque Sequence: Tighten mounting screws in a cross-pattern to avoid twisting the bucket.
- Initial Alignment: Before final tightening, loosely install the headlight and check preliminary beam aim.
- Final Adjustment: Use the bucket’s adjusters to set the beam pattern according to your service manual.
After installation, always conduct a beam pattern test against a wall or alignment chart.
Maintenance: Keeping Headlight Buckets in Top Condition
Routine maintenance of your headlight buckets extends both their life and the performance of your lighting system.
Maintenance Tips:
- Regular Cleaning: Remove road grime, salt, and debris from the bucket and surrounding area.
- Inspect Annually: Check for corrosion, loose hardware, and smooth adjuster operation at least once a year.
- Replace Worn Components: Springs and adjusters are wear items—replace them if tension is lost.
- Protect Against Corrosion: Apply anti-corrosion spray or rust inhibitor, especially in road salt environments.
This preventive care not only protects your investment but also helps avoid sudden failures that could leave you in the dark.
Diagnosing Persistent Headlight Misalignment
If you experience chronic issues with beam aim or flicker, the bucket may be at fault—even if it appears visually intact. Key symptoms include:
- One-Sided Illumination: One beam consistently aims higher or lower than the other, regardless of bulb or lens changes.
- Frequent Bulb Failures: Vibration from a loose bucket can shorten bulb lifespan.
- Adjustment Drift: Beam aim doesn’t hold after repeated adjustment.
For step-by-step troubleshooting, see our guide on Diagnosing Headlight Misalignment Issues.
Headlight Buckets and Safety Inspections: What Inspectors Look For
Safety inspectors are trained to spot improper beam patterns and hardware defects. During an inspection, the following may be checked:
- Beam Pattern: Must fall within specified height and lateral spread.
- Steadiness: Beam must not flicker or vibrate with engine running.
- Condition of Hardware: Buckets, springs, and adjusters must be intact and free from excessive corrosion.
- Proper Fitment: No loose or makeshift mounting solutions.
Failing any of these checks can result in a rejected inspection sticker, requiring immediate repair before the vehicle is road-legal again [NHTSA Recalls].
Sourcing Quality Headlight Buckets: What to Look For
When purchasing replacement buckets, consider these criteria:
- OEM vs. Aftermarket: OEM ensures perfect fit, but quality aftermarket parts may offer improved corrosion resistance or adjustability.
- Material Quality: Prefer galvanized or powder-coated steel for classics, or high-grade composites for modern vehicles.
- Included Hardware: Kits that include new springs, adjusters, and seals save time and ensure a comprehensive repair.
- Supplier Reputation: Buy from reputable auto parts specialists with clear return policies and technical support.
AutoPartEx specializes in precision-fit headlight buckets for a wide range of manufacturers, including Acura, AMC, and classic restoration models.
The Role of Headlight Buckets in Classic Vehicle Restoration
Restoring classic vehicles introduces unique challenges. Original buckets may be unavailable or severely corroded, and aftermarket options must match not only the mounting but also the original beam geometry. Using the wrong bucket can ruin the authenticity and safety of your restoration.
Restoration Tips:
- Seek out suppliers with expertise in classic models.
- Cross-reference bucket part numbers with factory manuals.
- Consider professional restoration or fabrication if no direct-fit part is available.
- Always test beam pattern before final assembly.
For a deep dive into classic headlight restoration, see Restoring Classic Headlight Assemblies.
Upgrading Lighting: When to Replace the Bucket
If upgrading from sealed beam to composite or LED lighting, your existing bucket may not provide the correct mounting or aiming geometry. Many modern lighting upgrades require adapter buckets or brackets to ensure compliance with beam pattern regulations.
- LED/Projector Retrofits: Require precise bucket alignment to focus the sharper beam pattern.
- Aftermarket Housings: May include their own buckets or require custom mounting solutions.
- Legal Compliance: Always verify that your upgrade maintains the original aiming ability and meets FMVSS 108 standards [SAE Standards].
AutoPartEx: Your Partner in Safe, Reliable Lighting
At AutoPartEx, we combine technical expertise with a comprehensive product catalog to help you achieve factory-correct fitment and optimal illumination. Whether you’re sourcing restoration parts or upgrading for modern performance, our headlight buckets are engineered for precision and longevity. Our technical team is ready to assist with compatibility checks, installation guidance, and regulatory compliance questions. Explore our Headlight Bucket Technical Guide: Precision Mounting for Optimal Illumination for more expert resources.
Conclusion: Don’t Let Your Bucket Undermine Your Safety
The humble headlight bucket is a linchpin in your vehicle’s lighting system. Its condition, fitment, and alignment directly affect your beam pattern, nighttime visibility, and ability to pass safety inspections. By understanding the technical role of the bucket, performing regular diagnostics, and sourcing quality replacements, you ensure not only compliance but also confidence behind the wheel. Don’t let a hidden mounting issue threaten your safety—inspect, maintain, and upgrade your headlight buckets as part of your regular vehicle care routine.