Front Seat Adjustment Mechanisms Explained
Front seat adjustment mechanisms are the unsung heroes of automotive comfort and safety. Whether your vehicle uses a manual lever or a sophisticated power seat system, understanding how these mechanisms work is essential for diagnosing issues, selecting replacement parts, or upgrading your ride. This guide breaks down the core types of seat adjusters, their engineering, and what you should look for when repairing or upgrading—so you can make confident, safety-conscious decisions. For a broader look at seat track fitment and replacement, see our Front Seat Track Replacement & OEM Fitment: Technical Guide and Buyer’s Resource.
Why Front Seat Adjustment Mechanisms Matter Immediately
The ability to adjust your front seat isn't just about comfort—it’s a critical safety and ergonomic feature. Properly positioned seats provide optimal control over the vehicle, ensure effective airbag deployment, and minimize injury risk during a collision. Malfunctioning seat adjusters can cause driver fatigue, distraction, or even prevent you from reaching the pedals and controls safely. Whether you drive solo or share your vehicle, reliable seat adjustment is vital for every trip.
The Hidden Problem: Complexity and Wear in Modern Seat Adjustment Systems
Front seat adjustment mechanisms are more complex than many realize. While most drivers interact with a simple lever or button, these controls actuate a series of intricate linkages, gears, tracks, and sometimes electric motors. Over time, these components are subject to stress, wear, contamination, and even corrosion. Inadequate maintenance or improper repairs can lead to sudden failures—leaving the seat stuck, unstable, or moving unexpectedly.
The transition from manual to power seat systems has also introduced new failure points, such as electrical connectors, switches, and control modules. As vehicles age, these subsystems often require targeted diagnostics and specialized replacement parts.
Expanding the Problem: Safety, Standards, and the Risk of Poor Fitment
Seat adjustment mechanisms are under scrutiny from both safety regulators and manufacturers. The National Highway Traffic Safety Administration (NHTSA) mandates that seat adjusters withstand specific crash forces and function reliably under stress 1. A faulty or improperly installed seat adjuster can compromise crash safety, potentially resulting in severe injury.
Furthermore, not all replacement seat tracks and adjusters are created equal. Mismatched or poorly engineered aftermarket parts may not meet OEM specifications, affecting both fitment and safety. Understanding the technical details behind seat adjusters helps you avoid these pitfalls and ensures you select components that restore both function and compliance.
Types of Front Seat Adjustment Mechanisms
Understanding the primary types of front seat adjustment mechanisms is crucial before diagnosing issues or sourcing replacements. The two dominant categories are:
Manual Seat Adjustment Mechanisms
Manual systems use mechanical linkages, levers, and tracks. Common adjustments include:
- Fore-aft slide: Moves the seat forward or backward along a track.
- Seatback recline: Adjusts the angle of the seatback, usually via a rotary knob or lever.
- Height adjustment: Some vehicles feature a ratcheting lever or cam system to raise or lower the seat base.
Manual mechanisms are valued for their simplicity, reliability, and ease of repair, but they still require precise engineering to ensure smooth, secure movement.
Power Seat Adjustment Mechanisms
Power seat systems use electric motors, switches, and sometimes memory modules to offer a wider range of adjustments:
- Multi-directional slide: Allows fore-aft, up-down, and sometimes tilt adjustments.
- Lumbar support: Inflatable bladders or motorized supports adjust lower back support.
- Memory functions: Store seat positions for multiple drivers, requiring position sensors and control modules.
While offering superior comfort and customization, power systems introduce new diagnostic and repair challenges, especially as vehicles age or in harsh environments.
Anatomy of a Front Seat Adjustment System
A typical front seat adjustment system integrates several key components, regardless of whether it’s manual or power-operated:
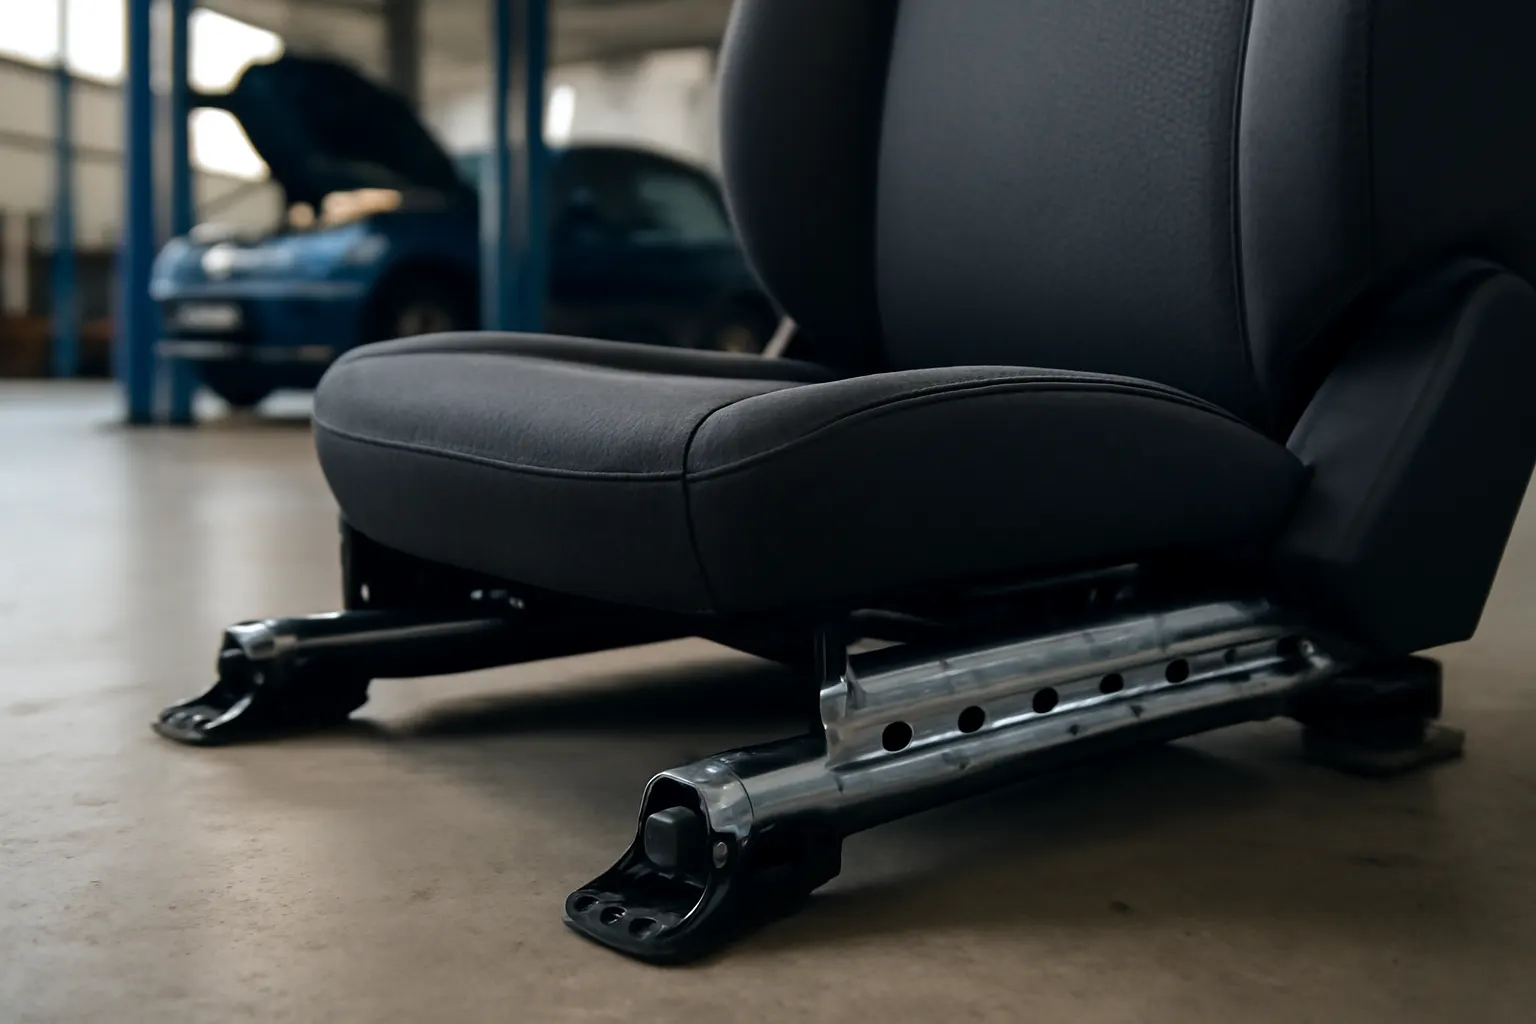
- Seat track (rail): The structural base that mounts the seat to the vehicle floor and allows sliding.
- Adjustment lever or switch: The user interface for moving the seat.
- Linkages and gears: Convert lever or motor movement into track motion.
- Locking mechanism: Ensures the seat stays securely in position.
- Motors and wiring (power seats): Drive adjustments and communicate with control modules.
- Sensors (memory seats): Track position for memory recall.
Understanding these components is essential for targeted diagnostics and effective repairs. For a deeper part-by-part breakdown, see our front seat adjustment components page.
Common Failure Modes and Diagnostic Checklist
Front seat adjustment issues can manifest in several ways, from a stuck seat to intermittent power operation. Here’s a practical diagnostic checklist to pinpoint the root cause:
Seat Adjustment Diagnostic Checklist
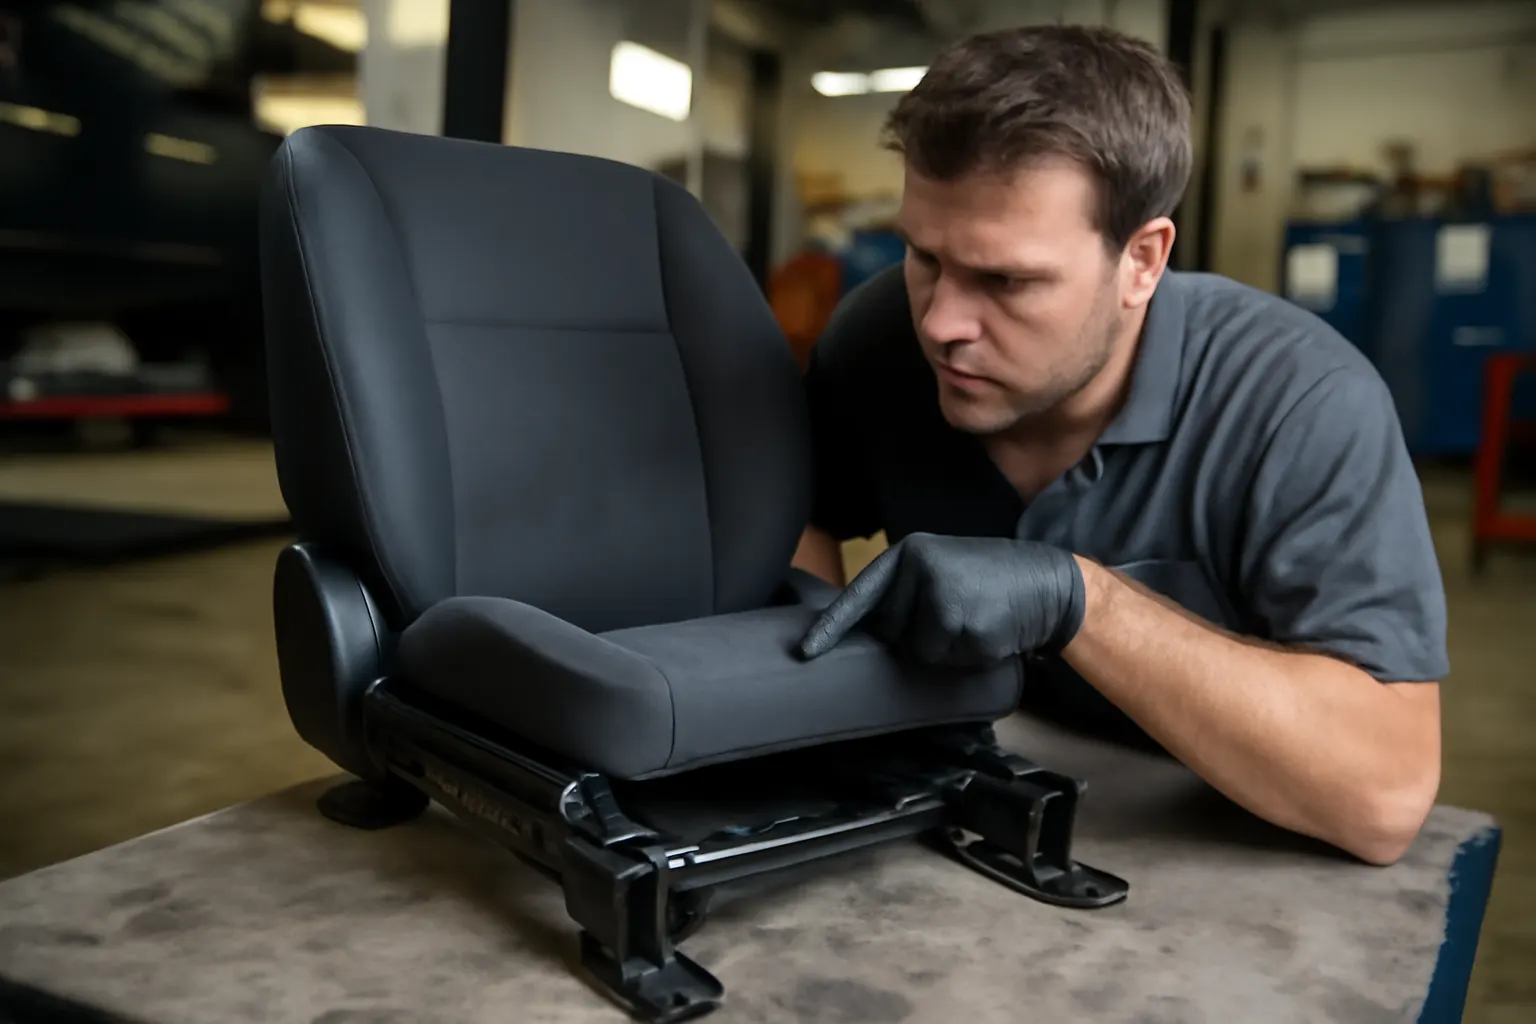
- Physical Inspection:
- Check for visible debris, corrosion, or foreign objects in the seat track.
- Inspect for broken levers, knobs, or switches.
- Manual Operation Test:
- Attempt all manual adjustments (slide, recline, height). Note any stiffness or abnormal resistance.
- Listen for grinding, clicking, or popping sounds.
- Power Operation Test (Power Seats):
- Test all powered functions with the ignition on.
- Observe if any movements are slow, jerky, or non-responsive.
- Check for blown fuses or tripped circuit breakers.
- Electrical Checks:
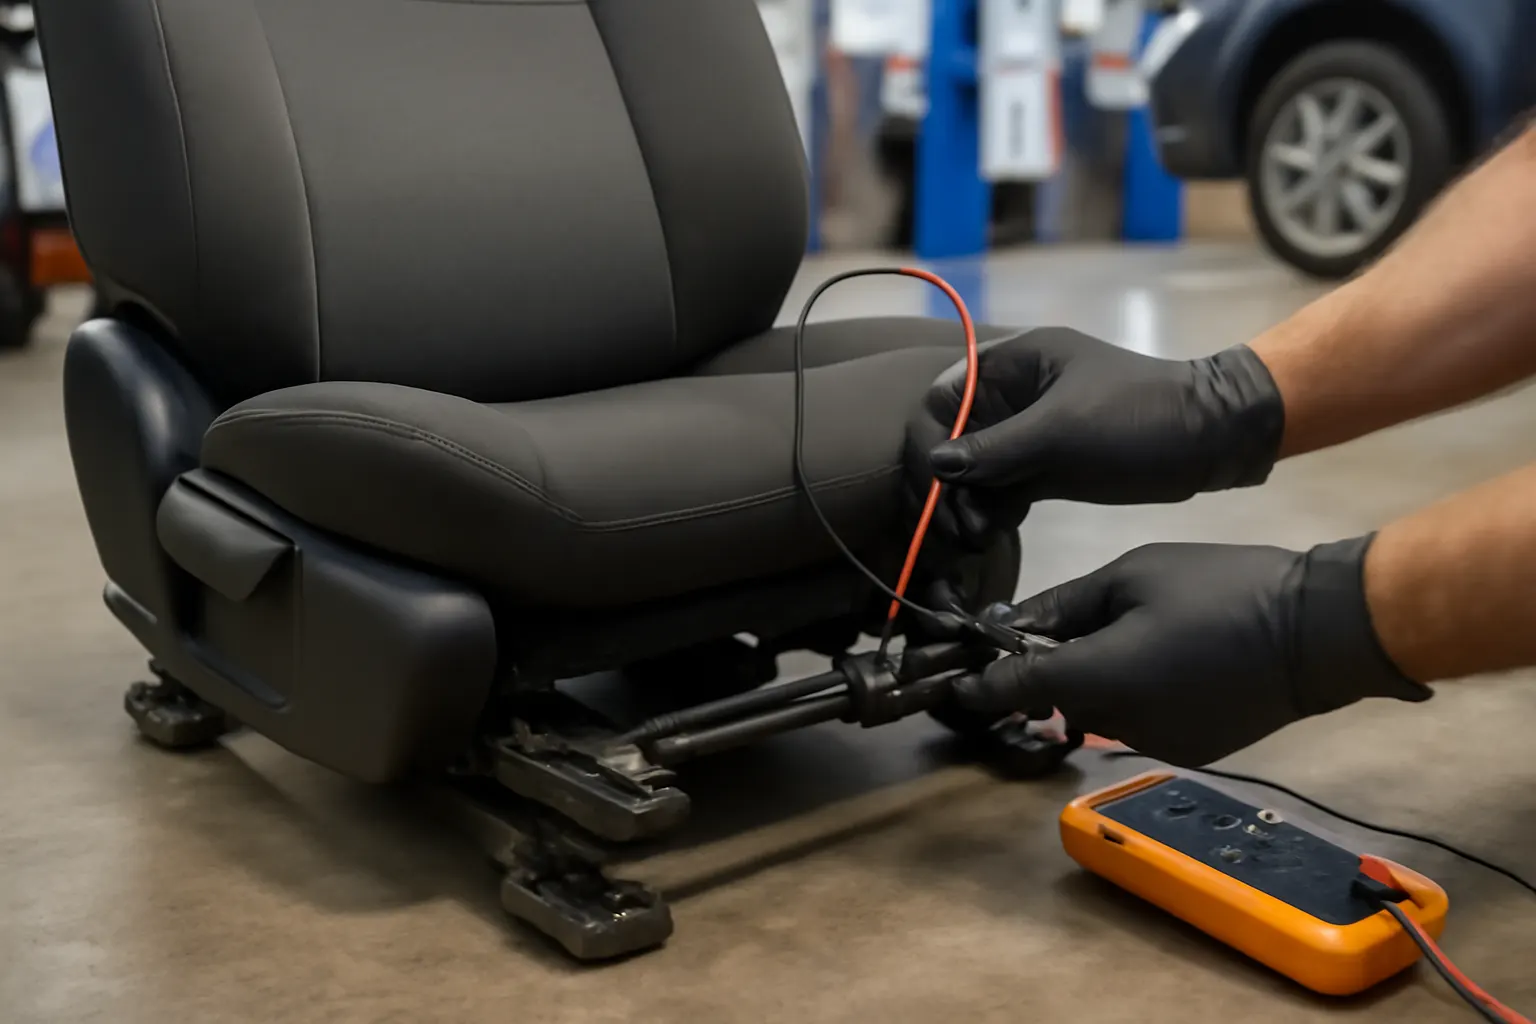
- Inspect wiring harnesses under the seat for damage or loose connections.
- Use a multimeter to test for voltage at the seat motors and switches.
- Locking Mechanism:
- With the seat in position, attempt to move it by hand; excessive play may indicate a faulty lock.
- OEM Fitment Verification:
- Compare part numbers and mounting points if replacing components.
If your inspection points to a worn or damaged track, see How to Diagnose and Replace Front Seat Tracks for step-by-step guidance.
The Role of Materials and Engineering Standards
Seat adjustment mechanisms must balance strength, weight, and durability—especially given their safety-critical function. According to the Department of Energy, modern automotive seat structures increasingly rely on high-strength steel alloys, lightweight aluminum, and advanced polymers to reduce vehicle weight without compromising safety 2.
Engineering standards set by organizations like SAE International specify the performance, fatigue life, and crash behavior of seat tracks and adjusters 3. These standards ensure that both OEM and high-quality aftermarket parts meet rigorous requirements for strength and reliability. Always confirm that any replacement seat mechanism is manufactured to these specifications.
Power Seat Systems: Electrical and Electronic Considerations
Power seat adjusters add a layer of complexity that can be daunting for DIYers and professional technicians alike. Here are some key technical considerations:
- Motors: Typically 12V DC motors, each dedicated to a specific axis (slide, height, recline).
- Switches: Multi-way switches send signals to the correct motor(s).
- Control modules: In memory seats, modules store position data and coordinate movement.
- Sensors: Hall-effect or potentiometer-based sensors track seat position for memory recall.
- Wiring and Fuses: Power seats draw significant current; robust wiring and dedicated fuses are required.
Electrical failures can stem from worn switches, burnt-out motors, corroded connectors, or blown fuses. Use a wiring diagram and multimeter for systematic troubleshooting.
Manual Seat Systems: Mechanical Wear and Serviceability
Manual adjustment mechanisms are generally more robust but can suffer from:
- Track contamination: Dirt, debris, or spilled liquids can jam the track.
- Worn gears or linkages: Over time, metal fatigue or plastic degradation can cause slop or failure.
- Bent or corroded rails: Impacts or exposure to moisture can deform tracks, resulting in rough operation or unsafe locking.
Routine cleaning and periodic lubrication with a manufacturer-recommended grease extend service life. If mechanical parts are damaged, replacement is usually straightforward with basic tools.
When to Repair vs. Replace: Practical Guidance
Deciding between repair and replacement depends on the type and extent of the failure:
- Minor issues: Cleaning, lubrication, or replacing a worn lever or switch can restore function.
- Major mechanical failure: Bent or broken tracks, stripped gears, or failed locks require replacement of the entire seat track assembly.
- Electrical failures: Replace faulty switches, motors, or wiring harnesses as needed. Memory modules may require reprogramming.
Always match replacement parts to your specific vehicle make, model, and seat configuration. For a detailed guide on sourcing and fitment, see Front Seat Track Replacement & OEM Fitment: Technical Guide and Buyer’s Resource.
Upgrading Seat Adjustment Mechanisms: What to Look For
Upgrading from manual to power seats, or adding memory functions, is possible in many vehicles—but requires careful planning:
- Compatibility: Ensure the new seat and track assembly matches your vehicle’s mounting points and electrical system.
- Wiring: Additional wiring harnesses and control modules may be needed for power or memory upgrades.
- Safety: Only use components that meet OEM or equivalent safety standards.
- Programming: Memory seat upgrades may require dealer-level reprogramming tools.
Aftermarket kits are available, but OEM or OEM-equivalent parts are recommended for best fit and safety. Always consult your vehicle’s service manual and wiring diagrams before attempting an upgrade.
Maintenance Tips for Long-Term Reliability
Proper maintenance of your seat adjustment mechanisms can prevent most common failures:
- Clean seat tracks regularly: Remove debris, coins, and spilled liquids that can jam mechanisms.
- Lubricate moving parts: Use a non-staining, manufacturer-approved grease on tracks and pivot points.
- Inspect electrical connectors: Periodically check for corrosion or loose connections under the seat.
- Test all functions: Operate all adjustments monthly to catch developing issues early.
- Check for recalls: Seat adjusters are subject to recalls; check your VIN against the NHTSA recall database.
Documenting maintenance and promptly addressing issues will extend the life of your seat adjusters and help retain vehicle value.
Sourcing Replacement Parts: OEM vs. Aftermarket
When sourcing replacement seat adjustment components, the primary options are OEM (Original Equipment Manufacturer) or aftermarket:
- OEM Parts: Guaranteed fit, meet all safety and engineering standards, but may be more expensive.
- Aftermarket Parts: Can offer cost savings and availability, but quality varies—look for parts that explicitly state compliance with NHTSA and SAE standards.
For a side-by-side comparison, see Choosing Between OEM and Aftermarket Seat Tracks.
Always verify part numbers, mounting points, and electrical connector compatibility before purchase. Consult parts diagrams or your dealer when in doubt.
Fitment Challenges: Avoiding Common Pitfalls
Incorrect fitment is a leading cause of seat adjuster issues post-replacement. Common pitfalls include:
- Misaligned tracks: Can cause binding, uneven wear, or unsafe operation.
- Incorrect mounting hardware: Always use the correct bolts and torque specifications.
- Electrical mismatches: Power seats may require additional relays or programming.
- Airbag and SRS considerations: Many modern seats integrate airbag sensors—disconnect the battery before working on seat wiring.
If you encounter persistent fitment or function issues, consult a professional or refer to our Signs Your Seat Track Needs Replacement for additional troubleshooting.
AutoPartEx: Your Partner in Safe, Reliable Seat Adjuster Solutions
At AutoPartEx, we understand that seat adjustment mechanisms are about more than just comfort—they’re a foundation of vehicle safety and driver confidence. Our curated selection of front seat adjustment components and seat track assemblies meets or exceeds OEM standards, ensuring proper fitment, durability, and peace of mind.
Our technical guides, like this one and our Front Seat Track Replacement & OEM Fitment: Technical Guide and Buyer’s Resource, empower you to make informed decisions, whether you’re a DIY enthusiast or a professional installer. When in doubt, our expert support team is ready to assist with fitment, sourcing, and installation advice.
Taking Action: Steps for Diagnosis, Repair, or Upgrade
Ready to address your seat adjustment system? Here’s an expert action plan:
- Diagnose: Use the checklist above to pinpoint manual or power seat issues.
- Source: Select OEM or high-quality aftermarket components, verifying compatibility.
- Prepare: Gather necessary tools, wiring diagrams, and safety gear.
- Replace or Repair: Follow manufacturer instructions for removal and installation.
- Test: Confirm all adjustments function smoothly and that the seat locks securely.
- Document: Keep records of repairs and parts for future reference or resale value.
- Stay Informed: Check for recalls and maintenance tips regularly.
Whether you’re fixing a stuck seat or planning a comfort upgrade, understanding the technology behind front seat adjustment mechanisms is the key to a safer, more enjoyable drive.
References
- Vehicle Safety and Equipment – National Highway Traffic Safety Administration
- Fuel Efficiency – United States Department of Energy
- Materials Technologies – United States Department of Energy
- SAE Standards – SAE International
- Vehicle, Car Seat, Tire, and Equipment Recalls – NHTSA