Body Electrical System Basics
Understanding your vehicle’s body electrical system is essential for reliable repairs, accurate diagnostics, and long-term vehicle performance. Whether you’re a professional technician or an advanced DIYer, mastering the foundational principles of automotive body electrical systems—including connectors, wiring, and sensor integration—can prevent costly mistakes and ensure every repair stands the test of time. In this guide, we’ll break down the essential concepts, common pitfalls, and proven best practices that keep your vehicle’s body electronics operating at peak reliability. For those seeking deeper technical resources or replacement components, our Sensor (Body, Misc) – Automotive Body Sensors, Diagnostics, and Replacement category provides a curated selection of parts and guides.
Why Body Electrical Systems Matter
Modern vehicles depend on robust body electrical systems for safety, comfort, and efficiency. From power windows and central locking to advanced safety sensors and lighting, these circuits are responsible for a growing share of a car’s operational features. The reliability of these systems directly impacts driver safety and satisfaction. According to the National Highway Traffic Safety Administration, electrical equipment and sensor reliability are key elements in overall vehicle safety and performance standards 1.
Body electrical failures can lead to issues ranging from non-functional door locks to critical safety system malfunctions. As vehicles become more complex, understanding these systems is no longer optional—it’s fundamental to effective maintenance and repair.
The Hidden Problem: Complexity and Integration
While body electrical systems may appear straightforward, their complexity has increased dramatically in recent years. Integration between modules—such as Body Control Modules (BCMs), sensor networks, and multiplexed wiring—means a single fault can cascade through multiple systems. This complexity brings several hidden challenges:
- Interconnected Circuits: Components like door sensors, trunk release switches, and interior lighting often share power and data lines. A fault in one area can disrupt others.
- Sensor Proliferation: Vehicles now feature dozens of sensors monitoring doors, hatches, lighting, and more. Each sensor must be correctly powered, grounded, and connected to communicate with control modules.
- Material Considerations: Advances in lightweight materials and new connector technologies have changed how wiring harnesses and connectors are designed and serviced 2.
This integration means that traditional “swap and see” troubleshooting can easily lead to misdiagnosis, repeat failures, or even damage to sensitive modules.
Key Components of Body Electrical Systems
A typical automotive body electrical system includes:
- Wiring Harnesses: Bundles of wires that distribute power and signals throughout the vehicle.
- Connectors: Plugs and sockets that join wiring to sensors, switches, and modules.
- Relays and Fuses: Protect circuits and control high-current loads.
- Sensors: Devices that detect physical conditions (like door position or ambient light) and report to control modules.
- Switches: User interfaces (e.g., window switches, lock buttons) and limit switches (e.g., door ajar sensors).
- Body Control Module (BCM): The electronic “brain” managing many body-related functions.
Understanding how these components interact, and the standards that govern their design (such as those from SAE International 3), is vital for accurate diagnostics and reliable repairs.
Wiring and Connector Fundamentals
Wiring and connectors are the backbone of every body electrical system. Here’s what you need to know:
Wiring
- Gauge and Insulation: Correct wire gauge ensures safe current capacity. Insulation materials are chosen for flexibility, heat resistance, and durability.
- Color Coding: Manufacturers use color codes for identification, but always confirm with wiring diagrams.
- Routing: Proper routing avoids sharp bends, pinch points, and heat sources that can cause premature failure.
Connectors
- Types: Common types include blade, pin, and sealed connectors. Each is chosen for specific current, voltage, and environmental requirements.
- Sealing: Many connectors in doors, trunks, and exterior locations require weatherproofing to prevent corrosion and water ingress.
- Locking Mechanisms: Secure locking tabs prevent accidental disconnection due to vibration.
For a deeper look at preventing water-related failures, see Preventing Water Damage to Vehicle Sensors.
Sensors in the Body Electrical System
Sensors are the eyes and ears of the body electrical system. Key types include:
- Door Ajar Sensors: Detect whether doors are open or closed, enabling courtesy lighting and security functions.
- Trunk/Hatch Sensors: Monitor the position of rear doors for alarm and lighting control.
- Ambient Light Sensors: Adjust instrument and interior lighting automatically.
- Occupancy Sensors: Used for airbag deployment logic and seatbelt reminders.
Each sensor must be correctly installed and calibrated. A poor connection or faulty sensor can cause false warnings, disable safety features, or drain the battery.
Common Failure Points and Diagnostic Pitfalls
Body electrical issues can be elusive. The most common failure points include:
- Corroded Connectors: Especially in doors, trunks, and underbody locations exposed to moisture.
- Broken or Pinched Wires: Frequently found at door hinges, trunk hinges, or areas with frequent movement.
- Loose Grounds: Body grounds are critical for proper sensor operation. A loose or corroded ground can cause intermittent faults.
- BCM Faults: Software glitches or hardware failures in the BCM can mimic wiring or sensor issues.
Diagnostic Pitfalls
- Assuming the Obvious: For example, blaming a window switch when the actual fault is a broken wire in the door harness.
- Overlooking Shared Circuits: A blown fuse for one circuit may affect multiple sensors or switches.
- Not Checking for Recalls: Some electrical faults are the result of manufacturer defects. Always check for relevant recalls 4.
For a step-by-step approach to sensor diagnostics, consult our Comprehensive Sensor Diagnostics Guide.
Step-by-Step Diagnostic Checklist
Before replacing any component, use this diagnostic checklist to ensure a systematic approach:
- Gather Vehicle Information
- VIN, year, make, model, and trim.
- Access factory wiring diagrams and service information.
- Check for Recalls and Technical Service Bulletins
- Review NHTSA’s recall database for known issues.
- Perform a Visual Inspection
- Inspect wiring harnesses for damage, corrosion, or chafing.
- Check connectors for bent pins, corrosion, or loose fit.
- Test Fuses and Relays
- Use a multimeter or test light to confirm circuit protection is intact.
- Verify Grounds
- Inspect and clean body and module ground points.
- Scan for Diagnostic Trouble Codes (DTCs)
- Use an OBD-II scanner to retrieve BCM and sensor-related codes.
- Test Sensors and Switches
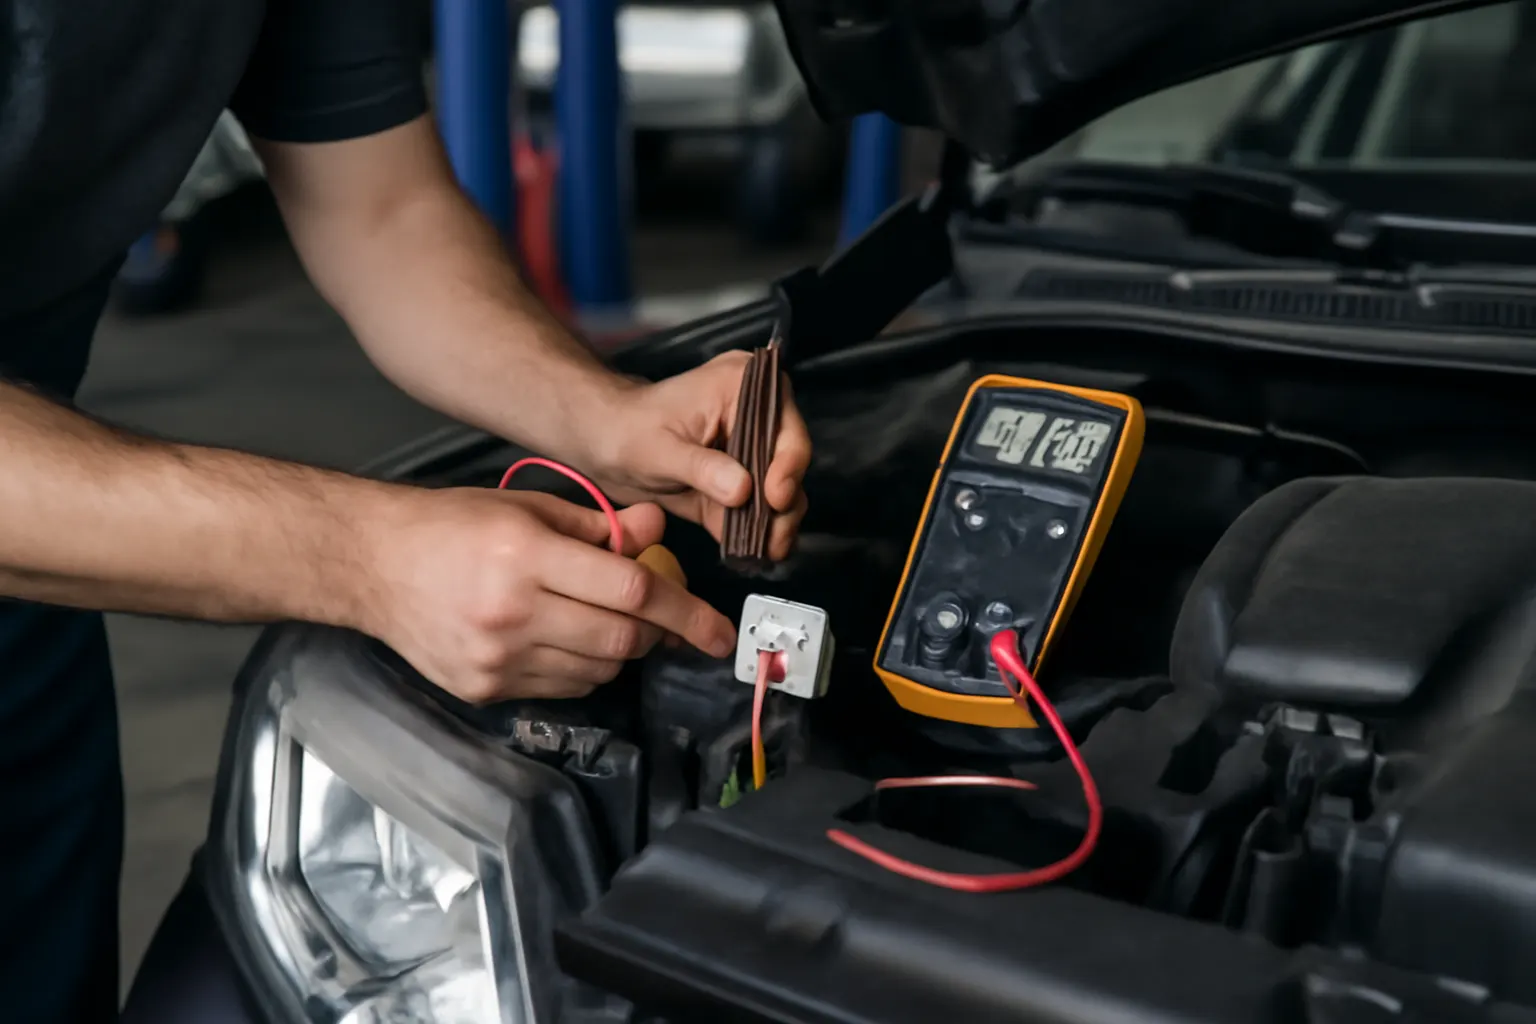
- Use a multimeter to check for correct voltage, resistance, and continuity.
- Check for Software Updates
- Some issues require BCM reprogramming or updates.
- Confirm Repair
- After repairs, clear codes and retest all affected systems.
Following this checklist reduces the risk of misdiagnosis and ensures a thorough, professional repair.
Best Practices for Reliable Repairs
Reliability in body electrical repairs depends on following industry best practices:
- Use OEM-Quality Parts: Aftermarket parts may not meet original specifications, especially for connectors and sensors. For guaranteed fit and reliability, choose quality components from trusted suppliers.
- Proper Soldering and Crimping: Poor electrical connections are a leading cause of repeat failures. Use manufacturer-approved crimp tools and soldering techniques.
- Seal All Connections: Apply dielectric grease and use heat-shrink tubing or weatherproof connectors in exposed areas.
- Avoid “T-Taps” and Scotchlocks: These quick-splice connectors can damage wires and cause intermittent faults.
- Document Repairs: Note any wiring changes, part numbers, and diagnostic findings for future reference.
When replacing door or trunk sensors, follow the procedures outlined in our How to Replace Door and Trunk Sensors guide for step-by-step instructions.
Material Technologies and Their Impact
The materials used in body electrical systems have evolved to balance weight, durability, and performance:
- Copper vs. Aluminum Wiring: While copper remains the standard for most circuits, some manufacturers use aluminum to save weight. Aluminum requires special connectors and anti-corrosion measures 2.
- High-Strength Plastics: Modern connectors and harnesses use engineered plastics for improved temperature resistance and longevity.
- Lightweight Harness Routing: Advanced harness designs reduce weight and improve fuel efficiency without sacrificing reliability 5.
Understanding these material choices is critical when selecting replacement parts or making repairs, as mismatched materials can lead to premature failure.
Safety and Regulatory Considerations
Body electrical systems are subject to strict safety and equipment regulations. The National Highway Traffic Safety Administration (NHTSA) sets standards for:
- Lighting and Visibility: Headlights, taillights, and interior illumination.
- Safety Sensors: Airbag occupancy sensors, seatbelt reminders, and door ajar switches.
- Diagnostic Capabilities: On-board diagnostics must detect and report faults in safety-critical systems 1.
Technicians must ensure all repairs comply with these standards to maintain vehicle safety and legal compliance. Always consult the latest OEM and regulatory resources before making modifications.
Tools and Equipment for Body Electrical Work
Equipping yourself with the right tools is essential for efficient and accurate repairs:
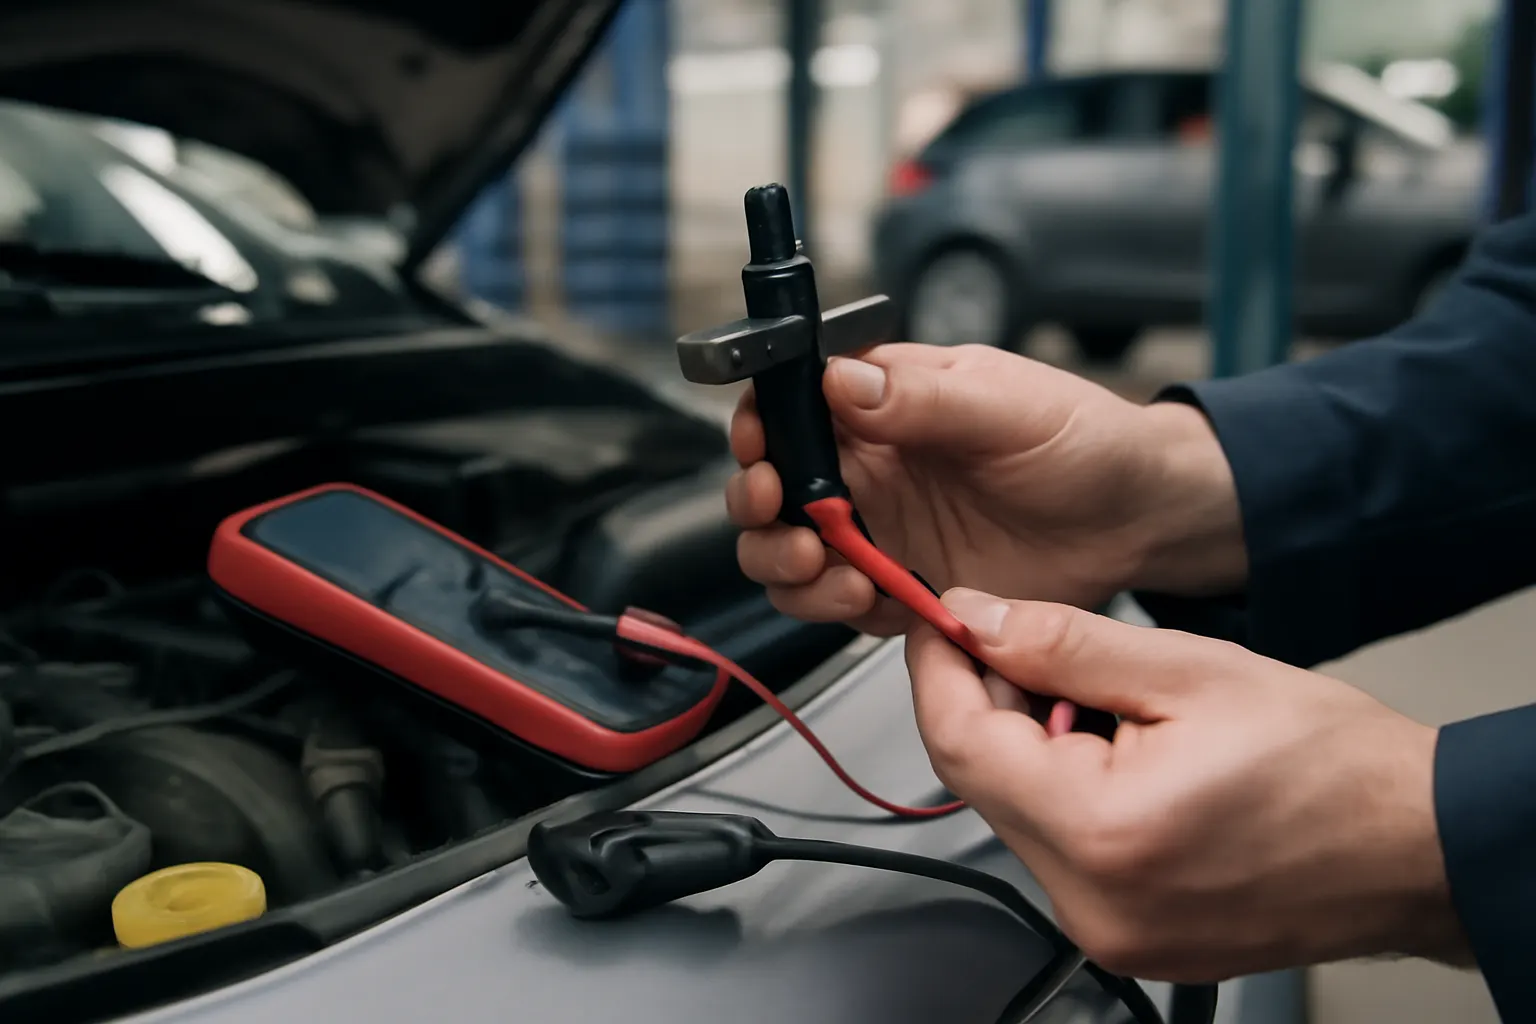
- Digital Multimeter: For voltage, resistance, and continuity checks.
- Test Light: Quick verification of power and ground.
- OBD-II Scanner: To read and clear BCM and sensor-related DTCs.
- Terminal Release Tools: For de-pinning connectors without damage.
- Wire Strippers and Crimpers: Precision tools for safe, reliable connections.
- Soldering Iron and Heat Gun: For permanent, weatherproof repairs.
- Insulation Tape and Heat-Shrink Tubing: For protecting splices and terminations.
Investing in quality tools pays off in faster diagnostics and fewer repeat repairs.
Diagnosing Intermittent and “Ghost” Electrical Issues
Few problems are more frustrating than intermittent electrical faults. These often result from:
- Temperature- or Vibration-Sensitive Connections: Loose pins or corroded terminals may work until disturbed.
- Water Intrusion: Moisture can cause temporary shorts or corrosion that worsens over time.
- Module “Sleep” or “Wake” Issues: Some BCMs have power-saving modes that can mask or trigger faults.
Troubleshooting Tips:
- Wiggle Test: Gently move wiring and connectors while monitoring system operation.
- Thermal Test: Use a heat gun or freeze spray to identify temperature-sensitive faults.
- Data Logging: Advanced scan tools can record live data to capture faults as they occur.
Persistence and methodical testing are key to resolving these elusive issues.
Sourcing Quality Parts and Components
Selecting the right replacement parts is critical for longevity and system integrity. Considerations include:
- Compatibility: Verify part numbers and connector pin-outs match your vehicle’s specifications.
- Supplier Reputation: Choose suppliers with a proven track record for quality and support.
- Material and Construction: Ensure materials match OEM standards for temperature, corrosion resistance, and mechanical strength.
- Warranty and Support: Opt for components backed by strong warranties and technical support.
AutoPartEx offers a curated selection of Sensor (Body, Misc) – Automotive Body Sensors, Diagnostics, and Replacement for most makes and models, with detailed fitment and installation resources.
Preventive Maintenance for Body Electrical Systems
Regular inspection and preventive maintenance can dramatically extend the life of your vehicle’s body electrical system:
- Inspect and Clean Connectors: At every service interval, check exposed connectors for signs of corrosion or wear.
- Check Harness Routing: Look for signs of chafing, pinching, or exposure to heat sources.
- Protect Against Moisture: Apply dielectric grease and replace damaged seals or grommets.
- Test Sensor Function: Periodically verify operation of door, trunk, and lighting sensors.
Preventive care reduces the risk of sudden failures and costly repairs down the road.
AutoPartEx: Your Partner in Body Electrical Excellence
At AutoPartEx, we combine technical expertise with a commitment to quality and customer support. Our extensive inventory, detailed guides, and responsive technical team make us the go-to resource for both professionals and DIYers tackling body electrical repairs. Whether you’re troubleshooting a stubborn sensor fault, replacing a corroded connector, or upgrading your vehicle’s body electronics, we provide the parts and knowledge you need to succeed.
Looking to expand your diagnostic skills? Explore our Comprehensive Sensor Diagnostics Guide for advanced troubleshooting strategies, or browse our Sensor (Body, Misc) – Automotive Body Sensors, Diagnostics, and Replacement section for quality parts that meet or exceed OEM standards.
Conclusion
Mastering the basics of automotive body electrical systems is essential for safe, reliable, and cost-effective repairs. As vehicles continue to evolve, so do the materials, connectors, and diagnostic strategies required for success. By following industry best practices, using quality components, and staying informed about the latest standards and technologies, you can ensure every repair stands the test of time. Trust AutoPartEx as your resource for parts, guides, and technical support—because your vehicle’s reliability starts with a solid electrical foundation.
References
- Vehicle Safety and Equipment – National Highway Traffic Safety Administration
- Materials Technologies – United States Department of Energy
- SAE Standards – SAE International