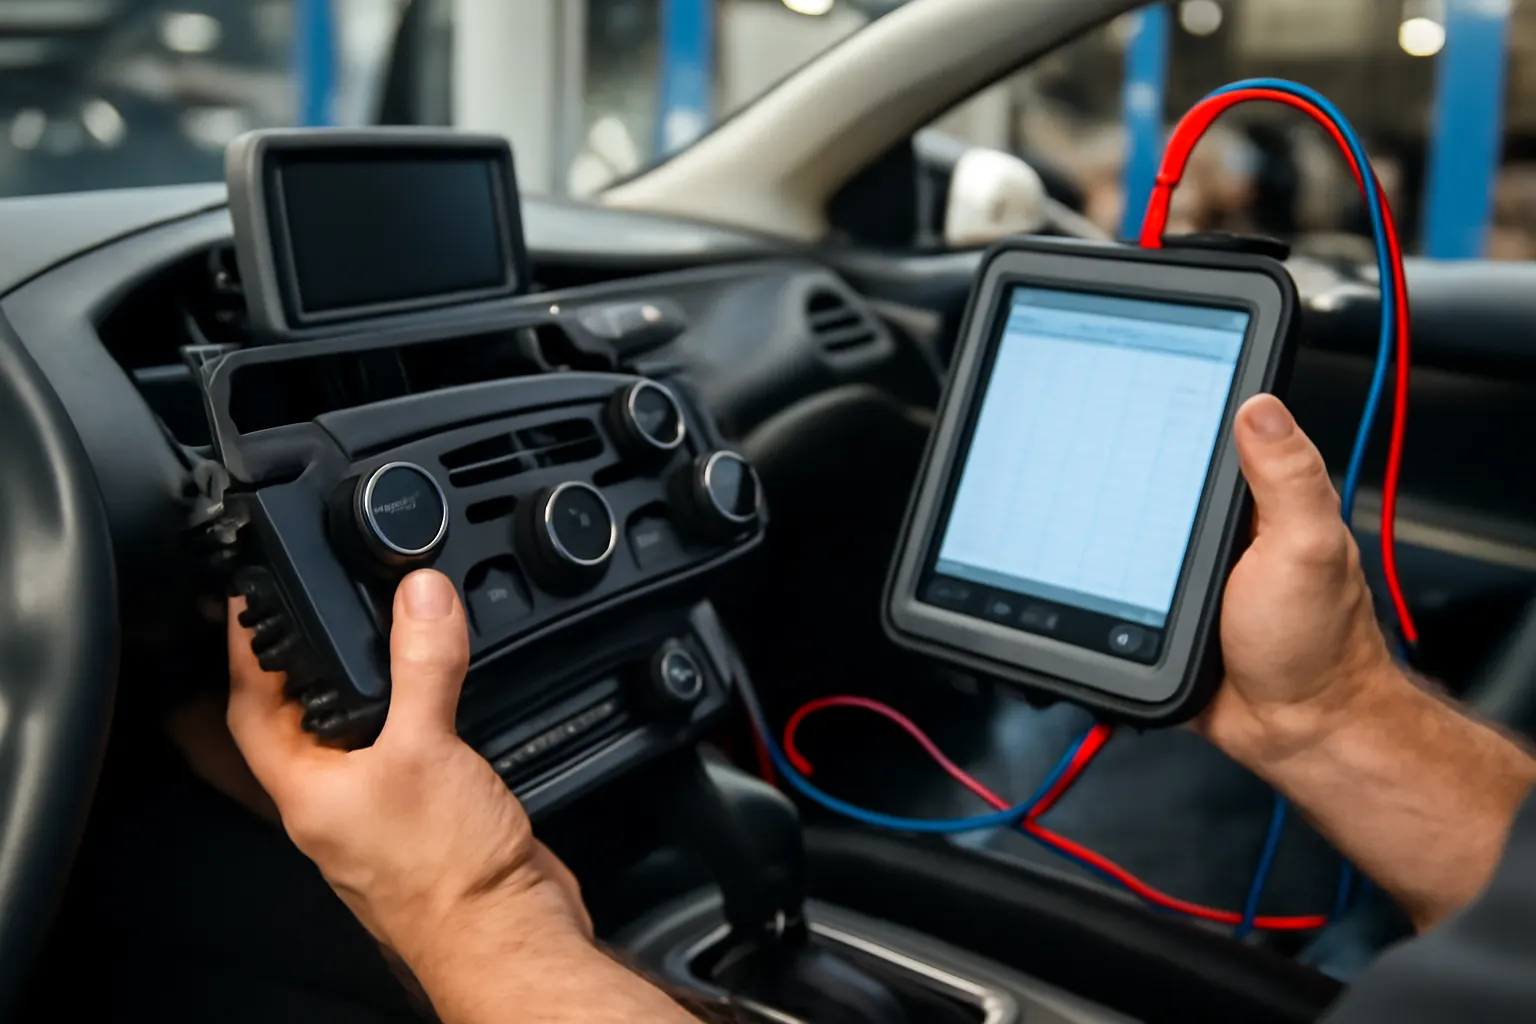
Why Your AC Isn’t Working: Control Head vs. Compressor Issues
Is your vehicle’s air conditioning blowing warm air, refusing to turn on, or cycling erratically? The root cause can often be traced to either the electronic control head (the “nerve center” of your climate system) or a mechanical failure like a faulty compressor. Distinguishing between these two categories is critical for fast, accurate, and cost-effective repairs—saving you time, money, and frustration. In this comprehensive guide, we’ll break down how to identify whether your AC woes are electrical (control unit) or mechanical (compressor), why it matters, and how to resolve each scenario.
If you’re new to the anatomy of modern HVAC systems, you’ll want to start with our overview: Heater/AC Control Units: The Nerve Center of Climate and Infotainment Systems.
The Fast Track: Immediate AC Diagnosis
When your AC fails, the most direct path to a solution is to determine whether the problem is rooted in the control head (also called the HVAC control module or climate control unit) or the compressor. Here’s how you can start:
- If the AC doesn’t respond to button presses, display screens are blank, or settings don’t change: Suspect the control head or related electronics.
- If the controls seem to work but there’s no cold air, strange noises from the engine bay, or the AC cycles on and off: Suspect the compressor or related mechanical components.
By narrowing the failure to either the control head or the compressor, you avoid wasted diagnostic time and unnecessary part replacements.
The Hidden Problem: Overlapping Symptoms and Misdiagnosis
Many AC issues present similar symptoms—warm air, intermittent cooling, or complete failure. However, the underlying causes can be very different, and misdiagnosis is common. For example:
- A blown fuse or failed relay may mimic a control head failure.
- A seized compressor clutch can cause the control head to shut down the system as a safety precaution.
- Faulty sensors or wiring can create confusing symptoms that appear to implicate either the control module or the compressor.
Overlooking these overlapping symptoms leads to unnecessary part swaps, increased labor costs, and extended downtime. That’s why a methodical approach—starting with symptom analysis, followed by targeted diagnostics—is essential.
Control Head vs. Compressor: What’s the Difference?
Before diving into diagnostics, it’s crucial to understand the distinct roles these components play:
Control Head (HVAC Control Module)
- Function: The control head serves as the user interface for your AC and heater, translating button presses or touchscreen commands into signals for actuators, blend doors, and the compressor.
- Location: Usually found in the center dashboard, sometimes integrated with infotainment systems.
- Failure Symptoms: Non-responsive controls, blank displays, inability to change settings, random operation, or error codes.
AC Compressor
- Function: The compressor pressurizes and circulates refrigerant, enabling heat transfer and cooling.
- Location: Mounted on the engine, driven by the serpentine belt.
- Failure Symptoms: No cold air, clicking or grinding noises, visible leaks, or a non-engaging clutch.
Understanding these roles helps isolate the source of your AC problem and guides your diagnostic process.
Why Accurate Diagnosis Matters: Cost, Time, and Safety
Misdiagnosing your AC issue can have significant consequences:
- Unnecessary Part Replacement: Swapping out a control head when the compressor is at fault (or vice versa) wastes money and may not solve the problem.
- Extended Downtime: Waiting for parts, scheduling repeat repairs, and re-diagnosing the system all add up.
- Potential Safety Risks: Faulty AC can impair window defogging and driver comfort, impacting visibility and concentration. According to the National Highway Traffic Safety Administration, functional climate control systems are a key aspect of vehicle safety and equipment standards.
A thorough, systematic approach avoids these pitfalls and ensures your AC is restored quickly and reliably.
Step-by-Step Diagnostic Checklist: Is It the Control Head or the Compressor?
Use this checklist to methodically determine whether your AC issue is electronic or mechanical:
AC Diagnostic Checklist
| Step | Action | Possible Findings | Next Steps |
|---|---|---|---|
| 1 | Turn on AC, observe control head display and buttons. | No response or display | Suspect control head failure |
| 2 | Listen for compressor clutch engagement (click) under the hood. | No click/sound | Suspect compressor, relay, or wiring |
| 3 | Check for cold air from vents. | Only warm air | Could be compressor, refrigerant, or blend door |
| 4 | Scan for HVAC-related diagnostic trouble codes (DTCs) with an OBD-II tool. | Codes present | Follow code-specific diagnostics |
| 5 | Inspect fuses and relays for HVAC and AC compressor circuits. | Blown fuse/relay | Replace and re-test; if repeated, investigate short or overload |
| 6 | Test voltage at AC compressor clutch connector (with AC on). | No voltage | Trace wiring back to control head/relay |
| 7 | Manually command AC compressor via scan tool (if available). | Compressor works | Control head may not be sending signal |
| 8 | Inspect compressor and lines for leaks, damage, or abnormal noise. | Leaks/noise present | Mechanical repair required |
This systematic approach minimizes guesswork and targets the true source of your AC problem.
Common Control Head Failures: Symptoms and Causes
The control head is a sophisticated electronic module, and its failure can manifest in several ways:
Typical Symptoms
- Non-Responsive Controls: Buttons, knobs, or touchscreen do not respond to input.
- Blank or Flickering Display: The screen or indicator lights are dark or unstable.
- Incorrect Output: Commands are ignored, or the system behaves erratically (e.g., blowing hot air when set to cold).
- No Signal to Compressor: The AC compressor never engages, even when requested.
Root Causes
- Internal Circuit Failure: Age, heat, or voltage spikes can damage internal circuits.
- Software Glitches: Especially common in modern vehicles with integrated infotainment.
- Connector/Pin Corrosion: Moisture or spilled drinks can lead to poor connections.
- Blown Fuses or Power Loss: Upstream electrical issues can mimic module failure.
If the control head is at fault, replacing it often requires programming or calibration. For more detail, see Diagnosing HVAC Control Module Failures.
Common Compressor Failures: Symptoms and Causes
The compressor is a robust mechanical unit, but it’s not immune to failure. Watch for:
Typical Symptoms
- No Cold Air: The most obvious sign, especially if the control head appears to function normally.
- Audible Clicking or Grinding: Indicates a failing clutch, bearing, or internal component.
- Compressor Clutch Not Engaging: Even when the control head requests cooling.
- Refrigerant Leaks: Oily residue or visible dye around compressor fittings.
- Frequent Cycling: The compressor turns on and off rapidly, often due to low refrigerant or internal damage.
Root Causes
- Wear and Tear: High mileage or heavy AC use accelerates compressor aging.
- Refrigerant Loss: Leaks reduce lubrication and cooling, leading to internal failure.
- Electrical Faults: Worn clutch coil, broken wires, or bad grounds.
- Contaminated System: Debris or moisture can destroy internal components.
Mechanical failures almost always require compressor replacement and a thorough flush of the AC system. See AC Compressor for sourcing and fitment guidance.
The Role of Sensors, Relays, and Wiring: Don’t Overlook the Supporting Cast
Both the control head and the compressor rely on a network of sensors, relays, and wiring harnesses:
- Pressure Switches: Prevent compressor operation if refrigerant pressures are unsafe.
- Temperature Sensors: Inform the control head of cabin and evaporator temperatures.
- Relays and Fuses: Control current to the compressor clutch and blower motors.
- Wiring Harnesses: Connect all components—any break, short, or corrosion can cause failure.
A problem in these supporting components may mimic a control head or compressor failure. Always include them in your diagnostic process.
Advanced Diagnostics: Using Scan Tools and Service Data
Modern vehicles integrate the HVAC system with the vehicle’s CAN bus, making advanced diagnostics possible:
- OBD-II/Scan Tools: Many scan tools can access HVAC modules, read trouble codes, and command actuators or the compressor for testing.
- Live Data Streams: Monitor sensor values, actuator status, and command signals in real time.
- Service Manual Schematics: Use wiring diagrams to trace circuits from the control head to the compressor.
Technicians and advanced DIYers should always consult factory service data and use professional-grade diagnostic tools for complex issues.
When to Replace the Control Head: Fitment, Programming, and Sourcing
If diagnostics confirm a failed control head, consider the following:
Fitment
- OEM vs. Aftermarket: Always match part numbers and check compatibility with your vehicle’s year, make, and model.
- Physical Fit: Ensure the new unit fits your dashboard and connects to your wiring harness.
Programming
- Many modern control heads require programming or calibration after installation.
- This may involve dealer-level scan tools or specialized independent shops.
Sourcing
- Buy from reputable suppliers: This ensures you receive the correct, high-quality part.
- Check for recalls: Some control heads are subject to manufacturer recalls—see Vehicle Safety and Equipment for details.
For installation guidance, see Replacing Your Vehicle’s Heater/AC Control Head.
When to Replace the Compressor: Sourcing, Installation, and System Flushing
If your compressor is at fault, here’s what you need to know:
Sourcing the Right Compressor
- Match by Part Number: There are many compressor designs—incorrect fitment can cause mounting or belt alignment issues.
- Check Brackets and Mounts: Some compressors require specific AC Compressor Bracket designs.
- Inspect Related Components: It’s wise to replace the receiver/drier or accumulator and orifice tube/expansion valve at the same time.
Installation Best Practices
- Evacuate and Recharge: Always evacuate the system before opening and recharge with the correct refrigerant and oil type.
- Flush the System: Remove debris and old oil to prevent immediate failure of the new compressor.
- Replace O-rings and Seals: Use new, compatible seals to prevent leaks.
For more on compressor sourcing, see AC Compressor.
Preventative Maintenance: Keeping Your AC Reliable
Proactive maintenance can extend the life of both the control head and the compressor:
- Run the AC Regularly: Even in winter, running the AC circulates oil and keeps seals lubricated.
- Check Refrigerant Levels Annually: Low refrigerant stresses the compressor and reduces cooling.
- Inspect Cabin and Engine Air Filters: Clogged filters can strain the HVAC system—see Air Box/Air Cleaner.
- Keep Electronics Dry: Avoid spills and address water leaks that can corrode control head connectors.
Routine attention reduces the risk of unexpected failures and keeps your climate system—and your comfort—intact.
The Impact of Materials and Technology on Modern HVAC Systems
Today’s climate control systems leverage advanced materials and electronics for efficiency and performance:
- Lightweight Components: Reduce vehicle weight, improving fuel efficiency.
- Integrated Modules: Modern control heads often combine HVAC and infotainment functions, requiring careful diagnostics and replacement.
- High-Efficiency Compressors: Newer designs use less engine power, contributing to overall vehicle efficiency and lower emissions.
For a deeper dive into the materials and design of automotive HVAC, see Materials Technologies.
Avoiding Common Pitfalls: What Not to Do
Many AC repairs are complicated by avoidable mistakes. Here’s what the experts recommend avoiding:
- Don’t Top Off Refrigerant Blindly: Overcharging or mixing refrigerants can damage the compressor.
- Don’t Ignore Electrical Diagnostics: Mechanical symptoms can have electrical causes—always check fuses, relays, and wiring.
- Don’t Skip System Flushing: Installing a new compressor into a contaminated system leads to rapid failure.
- Don’t Assume All Control Heads Are Plug-and-Play: Many require programming—failure to do so can result in inoperative systems.
Following best practices ensures a lasting, reliable repair.
AutoPartEx: Your Partner in Accurate AC Diagnosis and Repair
At AutoPartEx, we know that air conditioning issues can be confusing and frustrating—especially when symptoms overlap between electronic and mechanical causes. Our curated inventory, technical expertise, and easy-to-navigate Heater/AC Control Units and AC Compressor categories help you source the right part the first time. We back our catalog with industry standards, verified fitment, and technical guides so you can repair with confidence.
Next Steps: Take Action Like a Pro
- Follow the Diagnostic Checklist: Start with the basics and work systematically.
- Consult Service Data: Use wiring diagrams and scan tools where possible.
- Source Quality Parts: Use AutoPartEx to match your control head or compressor to your exact vehicle.
- Don’t Hesitate to Seek Help: If you’re stuck, professional technicians have the tools and experience for complex HVAC issues.
Restore your AC’s performance, comfort, and safety by addressing the right problem—control head or compressor—with the right knowledge and the right parts.