When to Replace Your Heater Motor: Warning Signs and Solutions
A failing heater motor can turn a comfortable drive into an uncomfortable ordeal, especially during extreme temperatures. Recognizing the early signs of heater motor failure and acting swiftly can prevent further damage to your vehicle’s HVAC system, avoid safety hazards, and save on costly repairs. This comprehensive guide will help you identify warning signals, understand the underlying issues, and take decisive steps to restore your heating performance. For a deeper dive into maximizing your HVAC’s reliability, visit our Heater Motor Technical Guide: Maximizing HVAC Performance and Reliability.
Immediate Answer: The Top Warning Signs Your Heater Motor Needs Replacement
A heater motor, also called a blower motor, is essential for circulating warm or cool air through your vehicle’s HVAC system. When it begins to fail, you may notice:
- Weak or inconsistent airflow from the vents
- Unusual noises (squealing, grinding, or rattling) when the blower is on
- HVAC fan not responding to speed settings
- The blower only works on certain speeds (often only high or low)
- Burning smell or smoke from the vents
- Complete loss of airflow, even with the HVAC system engaged
If you experience any of these symptoms, your heater motor may be at the end of its service life. Timely replacement is crucial—not only for comfort but also for preventing damage to related components such as resistors, wiring, and the HVAC control module.
Hidden Problem: The Risks of Ignoring Heater Motor Failure
While a malfunctioning heater motor may seem like a minor inconvenience, neglecting it can trigger a cascade of HVAC and electrical issues:
- Increased Electrical Load: A failing motor can draw excessive current, overheating wiring, fuses, or relays.
- HVAC System Strain: Poor airflow can cause the AC evaporator or heater core to freeze or overheat, affecting overall system health.
- Driver Visibility and Safety: Inability to defog or defrost windows reduces visibility, increasing accident risk—an issue highlighted by the National Highway Traffic Safety Administration.
- Potential for Fire: Overheating or short-circuited blower motors may emit burning odors or, in rare cases, cause electrical fires.
The longer you delay, the higher the chance of collateral damage and expensive repairs.
Understanding Heater Motor Function and Failure Modes
To make informed decisions, it’s essential to understand how your heater motor works and why it fails. The heater motor’s job is to force air through the HVAC system, ensuring even distribution of heated or cooled air throughout the cabin. It typically operates via an electric motor connected to a fan (blower wheel).
Common Failure Modes:
- Worn Brushes or Bearings: Over time, the brushes and bearings inside the motor wear out, causing noise, vibration, or intermittent operation.
- Electrical Overload: Faulty wiring, resistors, or control modules can cause the motor to receive incorrect voltage or amperage.
- Obstructions: Debris in the air box or blower housing can jam the fan, overloading the motor.
- Corrosion: Moisture ingress can corrode internal components, leading to shorts or open circuits.
These failure modes are often progressive but can accelerate under harsh conditions, such as heavy HVAC use, exposure to moisture, or poor maintenance.
Diagnostic Checklist: Is Your Heater Motor the Real Culprit?
Before replacing your heater motor, confirm the diagnosis to avoid unnecessary parts replacement. Use this step-by-step checklist:
- Check All Fan Speeds: Does the blower work on any speed? If only some speeds work, the resistor or control module may be faulty.
- Listen for Unusual Noises: Grinding or squealing usually means worn bearings or debris in the fan.
- Feel for Airflow: Weak or no airflow, even with the fan on high, points to a blower issue.
- Inspect for Smells or Smoke: Any burning odor or visible smoke requires immediate attention—disconnect the motor and inspect wiring.
- Test the Fuse and Relay: A blown fuse or faulty relay can mimic motor failure.
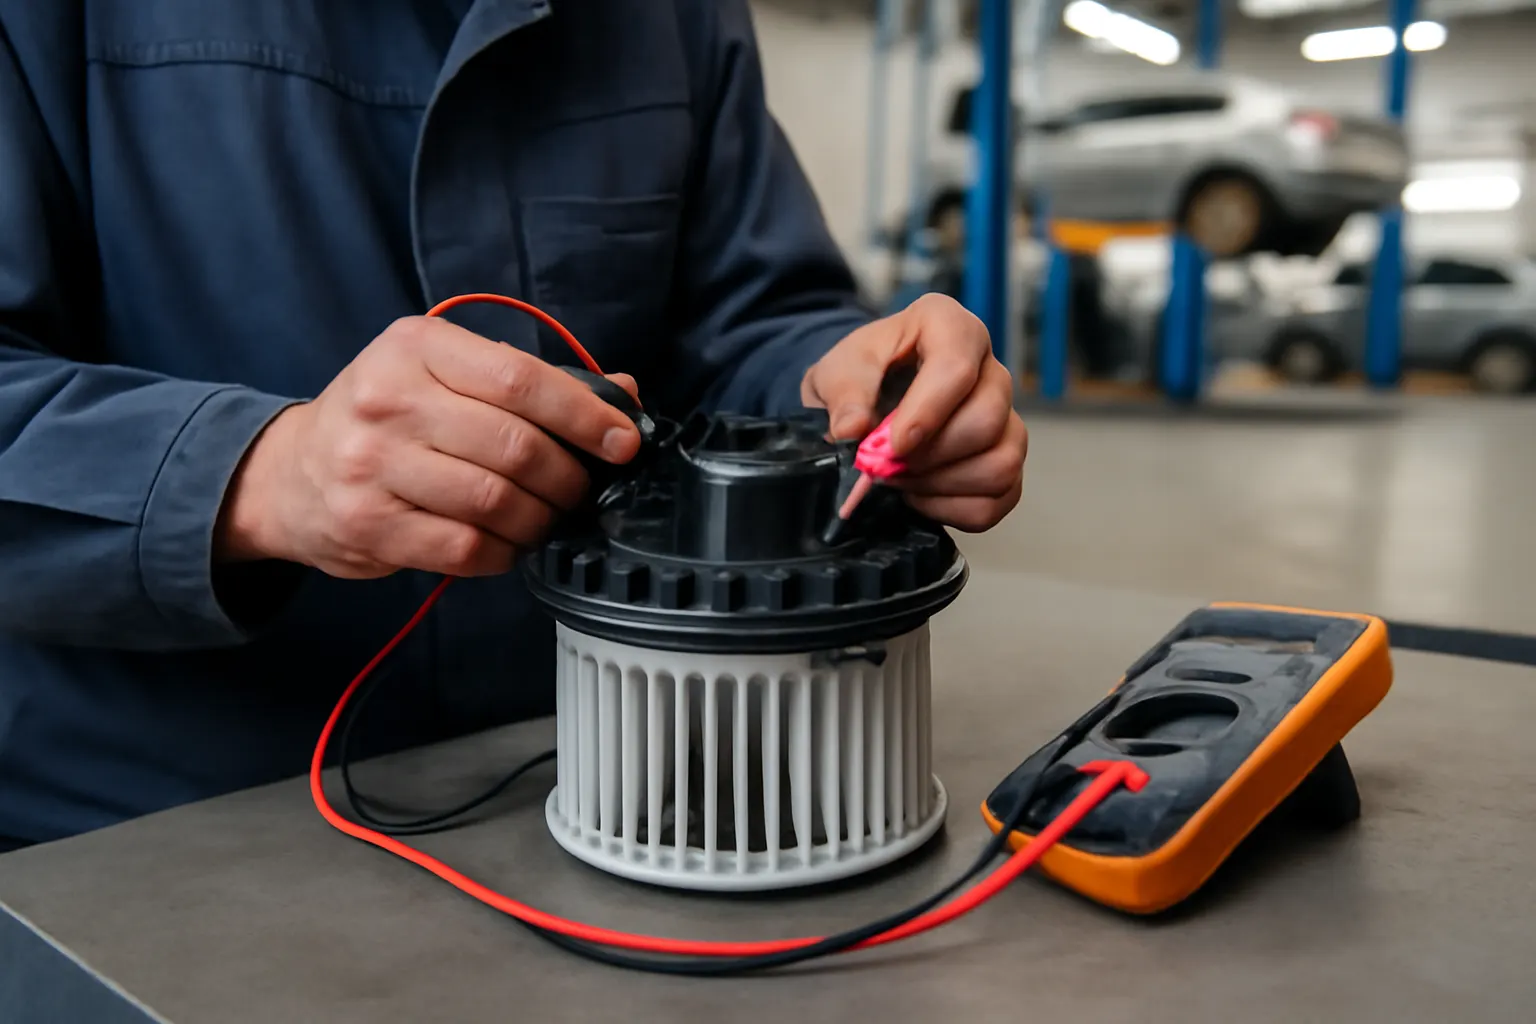
- Check for Power at the Motor: Use a multimeter to confirm voltage at the blower motor connector.
- Inspect the Air Box: Debris or clogged filters can restrict airflow, overworking the motor.
- Review HVAC Controls: If the fan doesn't respond to control inputs, check the switches, resistors, or control module.
If the blower motor receives power but doesn’t operate—or operates poorly despite all other components testing good—it’s time for replacement.
Common Symptoms in Detail: What to Watch (and Listen) For
Weak or Inconsistent Airflow
If you notice a drop in airflow regardless of the speed setting, the blower motor may be losing power or spinning slower than designed. This can be gradual or sudden and is often the first sign of trouble.
Unusual Noises
Sounds such as squealing, rattling, or grinding typically indicate worn bearings, a misaligned fan, or foreign objects in the blower housing. Persistent noise means the motor is nearing failure.
Blower Only Works on Certain Speeds
This is a classic symptom of a failing blower resistor or speed control module, but a compromised motor can also cause excessive resistor wear or even burn out the resistor pack.
Burning Smell or Smoke
A burning odor or visible smoke is a critical warning. Shut off the HVAC system immediately and disconnect the battery. Overheating motors can damage wiring and pose a fire risk.
Complete Loss of Blower Function
If the blower doesn’t run at all, check the fuse, relay, and motor for continuity. Total failure often means the motor’s internal windings or brushes have failed.
Why Timely Replacement Matters: The Technical and Safety Perspective
Delaying heater motor replacement can have cascading effects:
- HVAC System Damage: Prolonged motor failure can overheat the resistor pack, damage the control module, or melt connectors.
- Reduced Fuel Efficiency: According to the U.S. Department of Energy, inefficient HVAC systems can increase engine load, marginally affecting fuel economy—especially in hybrid or electric vehicles.
- Compromised Safety: Inability to clear fog or ice from the windshield is a major safety hazard, as per NHTSA.
- Increased Repair Costs: Secondary damage to HVAC electronics, wiring harnesses, or air distribution flaps can lead to expensive repairs.
Deeper Dive: Technical Causes Behind Heater Motor Failure
Wear and Tear
Like any electric motor, the heater motor endures mechanical and electrical stress. Brushes wear down, bearings lose lubrication, and windings can short or break.
Electrical Overload
If the HVAC system’s air filters or Air Box/Air Cleaner are clogged, the motor works harder, drawing more current and overheating. Poor connections or corroded terminals also increase resistance, stressing the motor.
Environmental Factors
Exposure to moisture, road salt, and temperature extremes accelerates corrosion of internal components and connectors. Vehicles in humid or snowy climates are especially vulnerable.
Manufacturing and Material Quality
Modern motors utilize advanced materials for weight and durability, as described by the Department of Energy’s Materials Technologies. Lower-quality aftermarket units may fail prematurely due to inferior bearings, brushes, or insulation.
Step-by-Step: How to Replace a Heater Motor
While the exact process varies by vehicle, the following steps outline a typical replacement:
- Disconnect the Battery: Prevent accidental shorts or airbag deployment.
- Access the Blower Motor: Usually under the dashboard on the passenger side or behind the glove box.
- Remove Panels or Glove Box: Some vehicles require removal of trim panels for access.
- Unplug the Electrical Connector: Carefully disconnect the blower motor wiring.
- Remove Mounting Screws or Bolts: Retain fasteners for reinstallation.
- Extract the Old Motor: Take care not to drop debris into the HVAC ducts.
- Inspect the Blower Wheel: If damaged, replace or transfer to the new motor.
- Install the New Motor: Align mounting holes and torque fasteners to specification.
- Reconnect Electrical Connector: Ensure a secure, corrosion-free connection.
- Test Function: Before reassembling panels, verify proper operation at all speeds.
- Reinstall Panels and Glove Box: Restore interior trim to original condition.
Pro Tip: Always inspect the Air Box/Air Cleaner for debris and replace the cabin air filter during heater motor replacement.
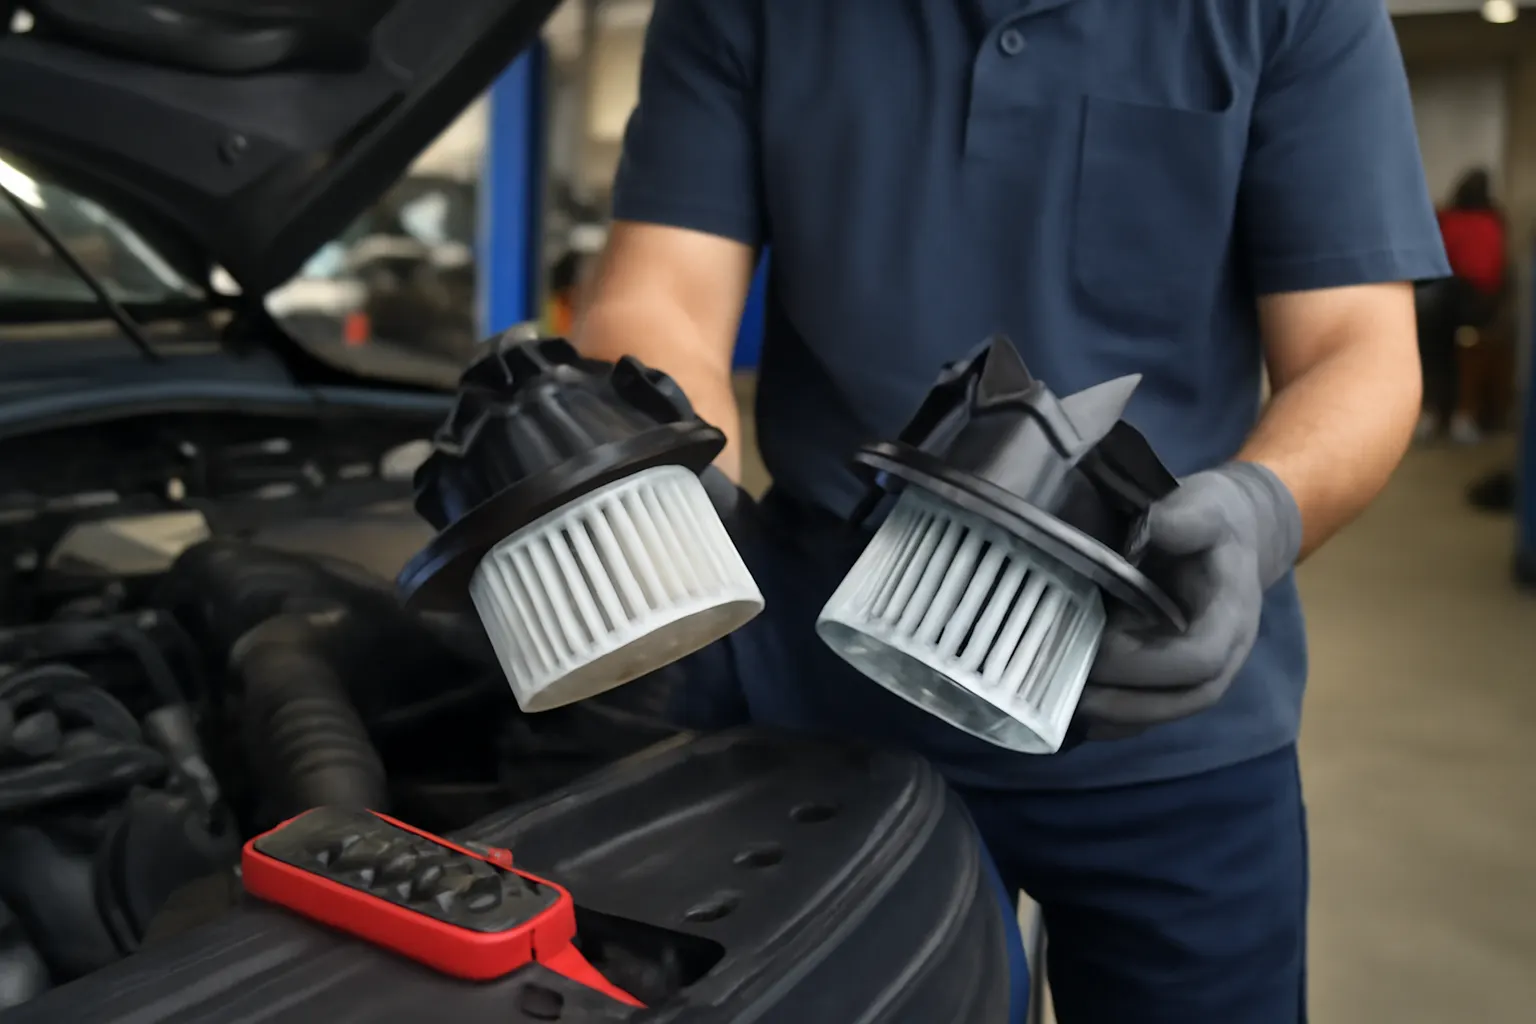
Choosing the Right Replacement: OEM vs. Aftermarket Heater Motors
Selecting a quality replacement is critical for longevity and performance. Consider the following:
- OEM (Original Equipment Manufacturer): Designed to exact vehicle specifications. Offers proven fitment, durability, and compliance with SAE Standards.
- Aftermarket: Can offer cost savings and upgraded features, but quality varies. Look for reputable brands with proven track records.
For a detailed comparison, see our editorial: OEM vs. Aftermarket Heater Motors: Which Is Right for Your Vehicle?.
Preventing Future Heater Motor Issues: Maintenance Best Practices
Proactive maintenance extends the life of your new heater motor:
- Replace Cabin Air Filter Regularly: Clogged filters force the motor to work harder.
- Keep the Air Box Clean: Remove leaves, debris, and moisture from the intake area.
- Inspect Electrical Connectors: Look for corrosion, loose pins, or melted plastic.
- Test Fan Operation Seasonally: Run the HVAC system at all speeds before each season.
- Address Unusual Noises Early: Investigate and resolve squeaks or rattles before they worsen.
These steps help ensure reliable performance and reduce the likelihood of premature failure.
Integrating New Heater Motors with Modern Climate Control Systems
Modern vehicles often feature advanced climate control systems that integrate sensors, automatic controls, and electronic modules. When replacing the heater motor:
- Verify Compatibility: Ensure the replacement matches the vehicle’s electrical and control system requirements.
- Calibrate HVAC Controls: Some systems require recalibration or reprogramming after motor installation.
- Check for Software Updates: Manufacturers may issue updates to improve blower control logic.
For more detail, see our guide: Integrating New Heater Motors with Modern Climate Control Systems.
Troubleshooting Persistent Airflow Issues After Replacement
If you still experience weak airflow or blower problems after replacing the motor:
- Recheck Installation: Ensure the blower wheel is correctly seated and unobstructed.
- Inspect HVAC Ducts: Blocked or collapsed ducts can restrict airflow.
- Test the Resistor or Control Module: These parts may have been damaged by the old motor.
- Examine the Air Box: Debris or a clogged Air Box/Air Cleaner can impede performance.
- Check for Recalls: Certain models may have known HVAC or blower motor issues. Consult NHTSA recall information.
Persistent issues may require advanced diagnostics by a professional technician.
Sourcing Quality Heater Motors: Fitment, Materials, and Safety
With the heater motor’s critical role in comfort and safety, sourcing a quality replacement is non-negotiable:
- Fitment: Always match the motor to your vehicle’s make, model, and year.
- Materials: Seek motors with high-quality bearings, corrosion-resistant casings, and robust windings, as recommended by the Department of Energy.
- Safety and Compliance: Choose parts that meet or exceed OEM and SAE Standards for safety and performance.
- Supplier Reputation: Use trusted sources like AutoPartEx for verified fitment and technical support.
AutoPartEx Advantage: Technical Guidance and Reliable Parts
AutoPartEx is dedicated to providing technical expertise, quality parts, and fitment confidence. Our comprehensive Heater Motor Technical Guide: Maximizing HVAC Performance and Reliability covers diagnostics, installation, and maintenance for a wide range of vehicles, including Acura, AMC, and Alfa. Our team ensures you receive the right part for your application, backed by industry-leading support and resources.
Expert Action: What to Do Next
- Diagnose: Use the checklist above to confirm heater motor failure.
- Source: Choose a quality, vehicle-specific replacement motor from a trusted supplier.
- Replace: Follow best practices for safe, effective installation.
- Maintain: Adopt proactive maintenance to extend the life of your HVAC system.
- Consult Experts: If unsure, consult a professional technician or reach out to AutoPartEx for guidance.
Timely action keeps your vehicle’s climate control system operating safely and efficiently, protecting both comfort and critical visibility.