
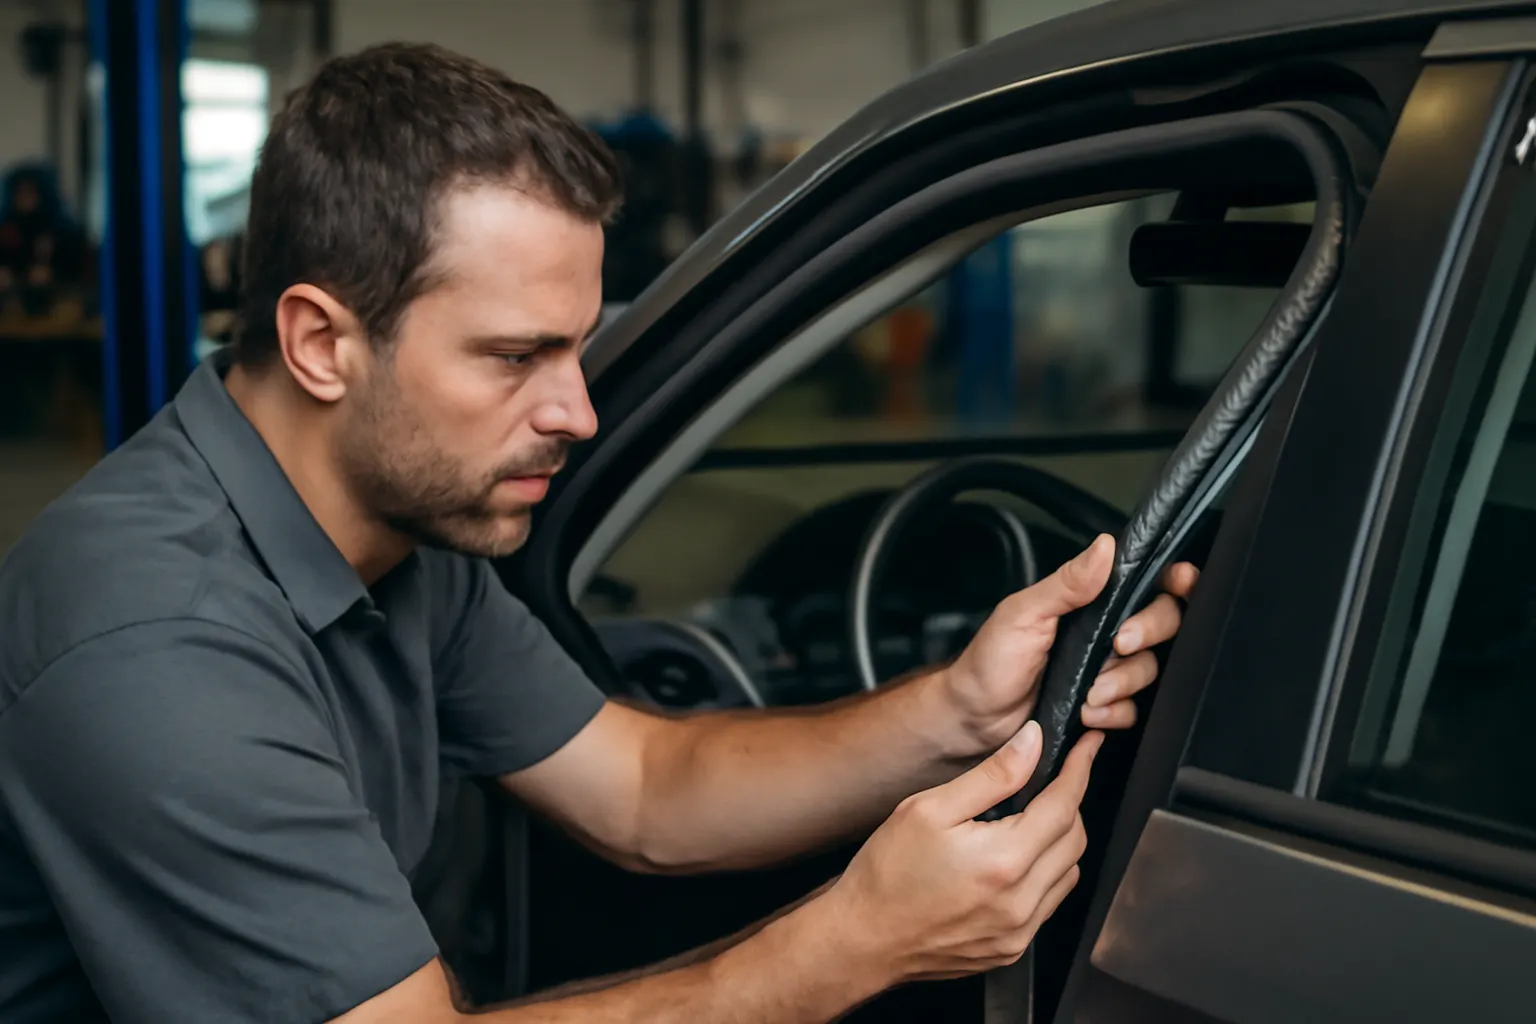
Common Weather Stripping Failure Signs
Weather stripping is your vehicle’s first line of defense against the elements, keeping water, wind, noise, and debris outside where they belong. Recognizing the early signs of weather stripping failure is essential for maintaining cabin comfort, protecting interior components, and preserving vehicle value. In this guide, the AutoPartEx Technical Editorial Team details the most common symptoms of weather stripping failure, why they matter, and how to address them before they escalate into costly repairs. If you’re seeking a deeper dive into automotive sealing solutions and parts, start with our Weather Stripping: Protect Your Vehicle from the Elements | AutoPartEx category page.
Why Identifying Weather Stripping Failure Early Matters
Weather stripping may appear to be a simple rubber or foam gasket, but its role in your vehicle’s structure and performance is pivotal. When it fails, the consequences can range from annoying wind noise to severe water damage, electrical faults, and even compromised safety features. Many drivers overlook early warning signs, only taking action after significant damage has occurred. Early detection and repair of weather stripping issues can prevent:
- Interior water leaks and mold growth
- Increased cabin noise and discomfort
- Damage to electronic components and upholstery
- Reduced energy efficiency due to HVAC loss
- Corrosion and rust in door sills and body seams
Understanding the hidden risks of weather stripping failure empowers you to maintain your vehicle’s integrity, comfort, and resale value.
The Hidden Problem: Weather Stripping Deteriorates Gradually
Unlike a blown fuse or a flat tire, weather stripping rarely fails overnight. Instead, it deteriorates slowly due to a combination of UV exposure, temperature cycling, ozone, road chemicals, and physical wear. This gradual process makes it easy to overlook until the damage is advanced.
Common Causes of Weather Stripping Wear
- Age and UV Exposure: Sunlight breaks down rubber and synthetic materials, causing brittleness and cracking.
- Temperature Fluctuations: Expansion and contraction from heat and cold create micro-tears and loss of elasticity.
- Physical Abrasion: Repeated door and window operation compresses and wears down the seal.
- Chemical Exposure: Road salts, cleaning agents, and atmospheric pollutants degrade the material compound.
- Improper Installation or Damage: Misaligned doors or windows, or accidental pinching, can deform or tear weather stripping.
Because weather stripping forms continuous seals around multiple vehicle openings—doors, windows, trunks, hoods, and even sunroofs—failure in any section can introduce problems throughout the cabin.
Top Signs Your Weather Stripping Is Failing
Spotting the early symptoms of weather stripping degradation is critical. Here’s a detailed breakdown of the most common warning signs:
1. Visible Cracks, Splits, or Gaps
Inspect the rubber or foam seals for any cracks, splits, or missing chunks. Pay close attention to corners and areas where the seal bends or compresses. Even small gaps can allow water and wind to penetrate.
2. Water Leaks After Rain or Car Wash
If you notice damp carpets, water stains, or moisture on interior panels after rain or washing your vehicle, suspect failed weather stripping. Water may pool in footwells or drip from headliners, especially near doors and windows.
3. Increased Wind Noise at Speed
A sudden or gradual rise in wind noise—especially a whistling or howling sound—often indicates a gap in the weather stripping. This is most noticeable at highway speeds or during crosswinds.
4. Mold, Mildew, or Musty Odors
Persistent dampness from leaks can foster mold and mildew growth. If your cabin smells musty or you see visible mold on carpeting or upholstery, weather stripping failure may be the culprit.
5. Difficulty Closing Doors or Windows
Weather stripping that has become misshapen or detached can interfere with proper door or window closure. If you have to slam doors or force windows closed, inspect the seals for damage or misalignment.
6. Drafts and Temperature Fluctuations
A failed seal allows outside air to enter, making it difficult to maintain cabin temperature. You may feel drafts around doors, windows, or the sunroof, especially in cold or windy conditions.
7. Rust and Corrosion on Door Sills
Persistent leaks lead to moisture accumulation in door sills and seams, accelerating rust and corrosion. Inspect these areas for bubbling paint or orange discoloration.
8. Degraded or Sticky Seal Surface
Weather stripping should be supple and slightly tacky to the touch. If it feels dry, brittle, or sticky, the material is likely breaking down and losing its sealing ability.
Weather Stripping Failure Checklist
Use this checklist to systematically inspect your vehicle’s weather stripping for signs of failure:
| Inspection Point | What to Look For | Action if Found |
|---|---|---|
| Door seals | Cracks, splits, gaps, or compressed sections | Replace or repair |
| Window channels | Torn, missing, or deformed rubber | Replace |
| Trunk and hatch seals | Water stains, visible gaps, or hardened rubber | Replace |
| Sunroof perimeter | Leaks, water trails, or loose seal | Replace or reseat |
| Hood-to-body seal | Gaps, missing sections, or poor adhesion | Replace or reattach |
| Floor and sill area | Dampness, stains, rust, or corrosion | Inspect seal, repair as needed |
| Cabin odor | Musty, mold, or mildew smell | Locate leak, clean and replace |
| Wind noise | Increase at speed, especially near doors/windows | Inspect and test seals |
Regularly performing this inspection—especially before seasonal changes—can prevent costly repairs and maintain optimal cabin comfort.
Technical Perspective: Why Weather Stripping Failure Matters
Weather stripping is engineered to serve as a dynamic barrier, flexing and compressing with each door or window movement. Modern automotive seals are formulated from advanced materials, such as EPDM (ethylene propylene diene monomer) rubber, silicone blends, or closed-cell foams, chosen for their resilience to weather, UV, and mechanical stress. According to the United States Department of Energy’s Materials Technologies, advancements in material science have led to lighter, more durable, and energy-efficient weather stripping solutions.
Impact on Vehicle Performance and Safety
- Noise, Vibration, and Harshness (NVH): Compromised seals elevate NVH levels, reducing ride comfort and perceived vehicle quality.
- Water Intrusion: Moisture can short-circuit electronic modules, corrode connectors, and damage seat frames or airbags.
- Structural Protection: Seals prevent water from reaching corrosion-prone seams and welds, preserving structural integrity.
- HVAC Efficiency: Air leaks force HVAC systems to work harder, increasing energy consumption and reducing fuel efficiency (DOE Fuel Efficiency).
The National Highway Traffic Safety Administration (NHTSA) also recognizes weather stripping as a key safety and equipment concern, as improper sealing can affect side-impact protection, airbag deployment, and door latching.
Diagnosing Weather Stripping Issues: Step-by-Step
A thorough diagnosis involves both visual inspection and functional testing. Here’s how to systematically check your vehicle’s weather stripping:
1. Visual Examination
- Open all doors, trunk, hood, and sunroof.
- Inspect each seal for cracks, tears, flattening, or missing sections.
- Look for signs of water trails, stains, or rust adjacent to seals.
2. Water Leak Test
- Close all doors and windows.
- Use a garden hose to spray water around the perimeter of each opening.
- Check the interior for water ingress, especially in footwells and under seats.
3. Dollar Bill Test
- Insert a dollar bill between the door and the jamb, then close the door.
- Pull the bill gently; resistance should be consistent around the perimeter.
- If the bill slides out easily or shows variable resistance, the seal may be compromised.
4. Noise and Draft Test
- Drive at highway speed and listen for wind noise.
- Use your hand to feel for drafts around doors and windows.
5. Odor and Moisture Check
- After rain or washing, check for damp carpets or musty odors.
- Lift floor mats and inspect for hidden moisture.
How to Address Weather Stripping Failure
Once failure is identified, prompt action is essential to prevent further damage. Solutions range from simple cleaning and conditioning to full replacement.
Cleaning and Conditioning
- Clean the Seal: Use a mild soap and water solution to remove dirt and debris.
- Condition the Rubber: Apply a silicone-based rubber conditioner to restore flexibility and prevent drying.
- Remove Mold or Mildew: Use a dedicated cleaner to eliminate biological growth and odors.
Repairing Minor Damage
- Small Tears or Gaps: Apply weather stripping adhesive or patch kits to seal minor defects.
- Loose or Detached Strips: Reattach using OEM-approved adhesive.
Replacing Weather Stripping
- Severe Cracks, Missing Sections, or Hardened Rubber: Full replacement is necessary.
- OEM vs. Aftermarket: Choose quality parts designed for your specific make and model for best fit and longevity. Consult How to Replace Door Weather Stripping for a step-by-step installation guide.
Weather Stripping Replacement: What to Expect
Replacing weather stripping is a straightforward DIY project for many vehicles, but some applications—such as frameless windows or sunroofs—may require advanced skills.
Tools and Supplies Needed
- Trim removal tools
- Weather stripping adhesive (OEM-specified)
- Replacement seals (OEM or high-quality aftermarket)
- Clean rags and mild cleaner
- Utility knife or scissors (for custom-fit applications)
General Replacement Steps
- Remove Old Seal: Carefully peel away old weather stripping, using trim tools to avoid damaging paint or trim.
- Clean Surface: Remove any residual adhesive and clean the mounting surface thoroughly.
- Test Fit New Seal: Dry-fit the new weather stripping to ensure proper alignment.
- Apply Adhesive: Follow manufacturer instructions for adhesive application.
- Install New Seal: Press the new weather stripping firmly into place, ensuring full contact and no gaps.
- Allow to Cure: Let adhesive set as specified before closing doors or windows.
For detailed, model-specific instructions, see our How to Replace Door Weather Stripping editorial.
Preventing Weather Stripping Deterioration
Proactive care extends the life of your vehicle’s seals and prevents premature failure.
Maintenance Tips
- Regular Cleaning: Wash seals with mild soap and water every few months.
- Conditioning: Apply a UV-protectant rubber conditioner twice a year.
- Avoid Harsh Chemicals: Do not use petroleum-based cleaners or solvents on rubber seals.
- Inspect After Extreme Weather: Check for damage after heatwaves, deep freezes, or heavy storms.
- Mindful Operation: Close doors and windows gently; avoid pinching or folding seals.
Seasonal Preparation
Before major seasonal changes, inspect and maintain weather stripping to prepare for increased rain, snow, or temperature swings. See Weatherproofing Your Vehicle for All Seasons for a comprehensive approach.
Sourcing the Right Weather Stripping for Your Vehicle
Not all weather stripping is created equal. Material composition, profile shape, and application method vary by vehicle make, model, and year.
OEM vs. Aftermarket
- OEM (Original Equipment Manufacturer): Guarantees fit, material quality, and longevity. Ideal for newer vehicles or when restoring factory performance.
- Aftermarket: Offers wider choices and potential cost savings. Quality varies—choose reputable brands and ensure compatibility.
Fitment Considerations
- Profile Shape: Match the cross-sectional profile to your vehicle’s original seal.
- Material: EPDM rubber is standard for most automotive applications due to its UV and ozone resistance.
- Application Area: Doors, windows, trunks, hoods, and sunroofs may use different types of seals.
Consult your owner’s manual, parts diagrams, or trusted suppliers like AutoPartEx for guidance.
The Role of Weather Stripping in Vehicle Safety and Efficiency
Weather stripping does more than keep you dry—it plays a direct role in vehicle safety, efficiency, and structural performance.
Safety Implications
- Door Latch Engagement: Proper seals ensure doors close securely, critical for side-impact protection.
- Airbag Deployment: Some side airbags rely on door position and seal integrity for correct deployment paths (NHTSA Equipment).
- Visibility: Leaks can fog windows or damage defroster elements, impairing driver vision.
Efficiency and Comfort
- HVAC Load: Air leaks force heating and cooling systems to work harder, impacting fuel economy (DOE Fuel Efficiency).
- Noise Reduction: Effective seals lower cabin noise, reducing driver fatigue and increasing comfort.
When to Seek Professional Help
While many weather stripping replacements are DIY-friendly, certain situations warrant professional attention:
- Complex Applications: Sunroofs, convertible tops, or frameless windows require specialized skills.
- Persistent Leaks: If leaks persist after replacement, structural or alignment issues may be present.
- Electrical Damage: Water intrusion affecting electronics or airbags should be addressed by qualified technicians.
A professional can also inspect for related issues, such as misaligned doors, damaged window regulators, or corroded mounting flanges.
AutoPartEx: Your Partner in Weather Stripping Solutions
At AutoPartEx, we understand that weather stripping is a critical—yet often overlooked—component of vehicle maintenance. Our curated Weather Stripping: Protect Your Vehicle from the Elements | AutoPartEx category features OE-grade and high-performance aftermarket seals for a wide range of vehicles. Our technical guides, such as The Science of Automotive Seals, empower you to make informed decisions and tackle repairs with confidence.
Whether you’re restoring a classic, weatherproofing a daily driver, or troubleshooting an elusive leak, AutoPartEx provides the resources, parts, and expertise you need to keep the elements outside—where they belong.
Key Takeaways and Next Steps
- Inspect regularly: Early detection of weather stripping failure prevents costly water damage, noise, and corrosion.
- Address symptoms promptly: Visible cracks, leaks, wind noise, and odors are signs to act.
- Choose quality replacements: Use OE-grade or reputable aftermarket seals for best results.
- Maintain and protect: Clean and condition your seals to extend their life.
- Consult AutoPartEx: For parts, guides, and expert support, trust AutoPartEx to keep your vehicle sealed and secure.
For more on weatherproofing, see our Weatherproofing Your Vehicle for All Seasons guide or explore our full range of weather stripping solutions.