Toyota Front Glass Fitment
When it comes to Toyota front door glass, fitment is everything. A precise fit ensures not only the structural integrity and safety of your vehicle, but also optimal performance for weather sealing, window operation, and even fuel efficiency. Yet, even experienced technicians and DIYers can run into hidden pitfalls—like subtle model-year changes, VIN-specific variations, and aftermarket glass quirks—that turn a routine glass swap into a frustrating ordeal. This comprehensive guide delivers actionable insights, shop-tested solutions, and expert sourcing tips to ensure your next Toyota front glass replacement is done right the first time.
For a broader overview of Toyota door glass diagnostics, OEM fitment, and detailed replacement procedures, visit our Toyota Front Door Glass: OEM Fitment, Diagnostics & Replacement Guide.
Why Toyota Front Glass Fitment Is Mission-Critical
Front door glass is more than just a transparent barrier between you and the elements. In modern Toyotas, it’s a structural safety component, an integral part of the cabin’s NVH (noise, vibration, harshness) insulation, and a precise piece of the door’s mechanical puzzle. Improper fitment can lead to a host of issues:
- Water leaks and wind noise
- Compromised side-impact protection
- Malfunctioning window regulators or auto-up/down features
- Accelerated wear on weatherstripping and hardware
- Diminished resale value due to visible flaws or rattles
Fitment isn’t just about size—it’s about matching the exact contour, mounting points, and edge treatments specified by Toyota engineers. This is why both the National Highway Traffic Safety Administration (NHTSA) and SAE standards underscore the importance of using properly engineered replacement parts for safety and reliability 12.
The Hidden Problem: Toyota’s Model Complexity and Glass Variants
At first glance, sourcing Toyota front door glass seems straightforward—just match the model and year, right? In reality, Toyota’s global lineup and frequent running changes mean that dozens of distinct glass variants may exist for a single nameplate across just a few model years. Here’s where problems creep in:
- Mid-cycle refreshes: Subtle door or frame tweaks can alter glass dimensions or mounting hardware.
- Regional variations: US, Canadian, and international models may use different glass even within the same year.
- Feature-driven differences: Tint, acoustic lamination, rain sensors, and ADAS (advanced driver-assistance systems) integration all affect glass selection.
- VIN-specific requirements: Some Toyotas require glass matched to the car’s VIN for proper fit and function.
Aftermarket suppliers sometimes consolidate part numbers, which can introduce fitment errors if you’re not careful. Even reputable salvage yards can mislabel glass if they aren’t using VIN-based lookup tools.
Real-World Shop Stories: Common Fitment Errors
Professional glass shops and Toyota dealership service departments have seen it all. Here are some of the most frequent—and costly—Toyota front glass fitment mistakes:
- Using “universal” glass for a specific trim: A 2018 Toyota Camry LE and XSE may look identical, but the XSE’s acoustic laminated glass and rain sensor cutout require a unique part.
- Overlooking small changes in mounting hardware: A 2015 Corolla front door glass with a plastic mounting clip won’t fit a 2016 model that switched to a metal bracket.
- Assuming all tints are the same: Privacy glass and UV-blocking coatings can vary by trim and region, affecting both legality and comfort.
- Forgetting about ADAS calibration: On models with lane departure or blind spot detection, the wrong glass can interfere with sensor operation.
These errors lead to callbacks, warranty headaches, and in some cases, safety risks that could have been avoided with a more precise part lookup.
Technical Deep Dive: Toyota Front Door Glass Engineering
To understand why fitment is so exacting, it helps to look at how Toyota engineers their front door glass:
- Contour and Thickness: The curvature and thickness are matched to the door’s frame and regulator arms, ensuring smooth operation and proper sealing.
- Edge Treatments: Modern glass often features precision-ground or encapsulated edges for safety and to prevent rattles.
- Mounting Hardware: Glass is often pre-fitted with clips, brackets, or adhesive pads that must align with regulator mechanisms.
- Safety Standards: All glass must meet or exceed FMVSS (Federal Motor Vehicle Safety Standards) for impact and shatter resistance, as enforced by NHTSA 1.
- Acoustic and UV Properties: Higher trims may include laminated layers or special coatings for sound insulation and UV protection.
- Sensor Integration: Some glass features frits, antenna traces, or sensor mounts for rain/light/ADAS systems.
A mismatch in any of these areas can cause operational issues, leaks, or even regulatory compliance failures.
Diagnosing Toyota Front Glass Fitment Issues
Many fitment problems don’t become obvious until after installation—when the window won’t go up all the way, rattles in the track, or leaks at the top seal. Here’s a diagnostic checklist for identifying and verifying Toyota front door glass fitment:
Toyota Front Glass Fitment Diagnostic Checklist:
- Verify Part Number: Cross-check the glass part number with the vehicle’s VIN using Toyota’s EPC or a trusted lookup tool.
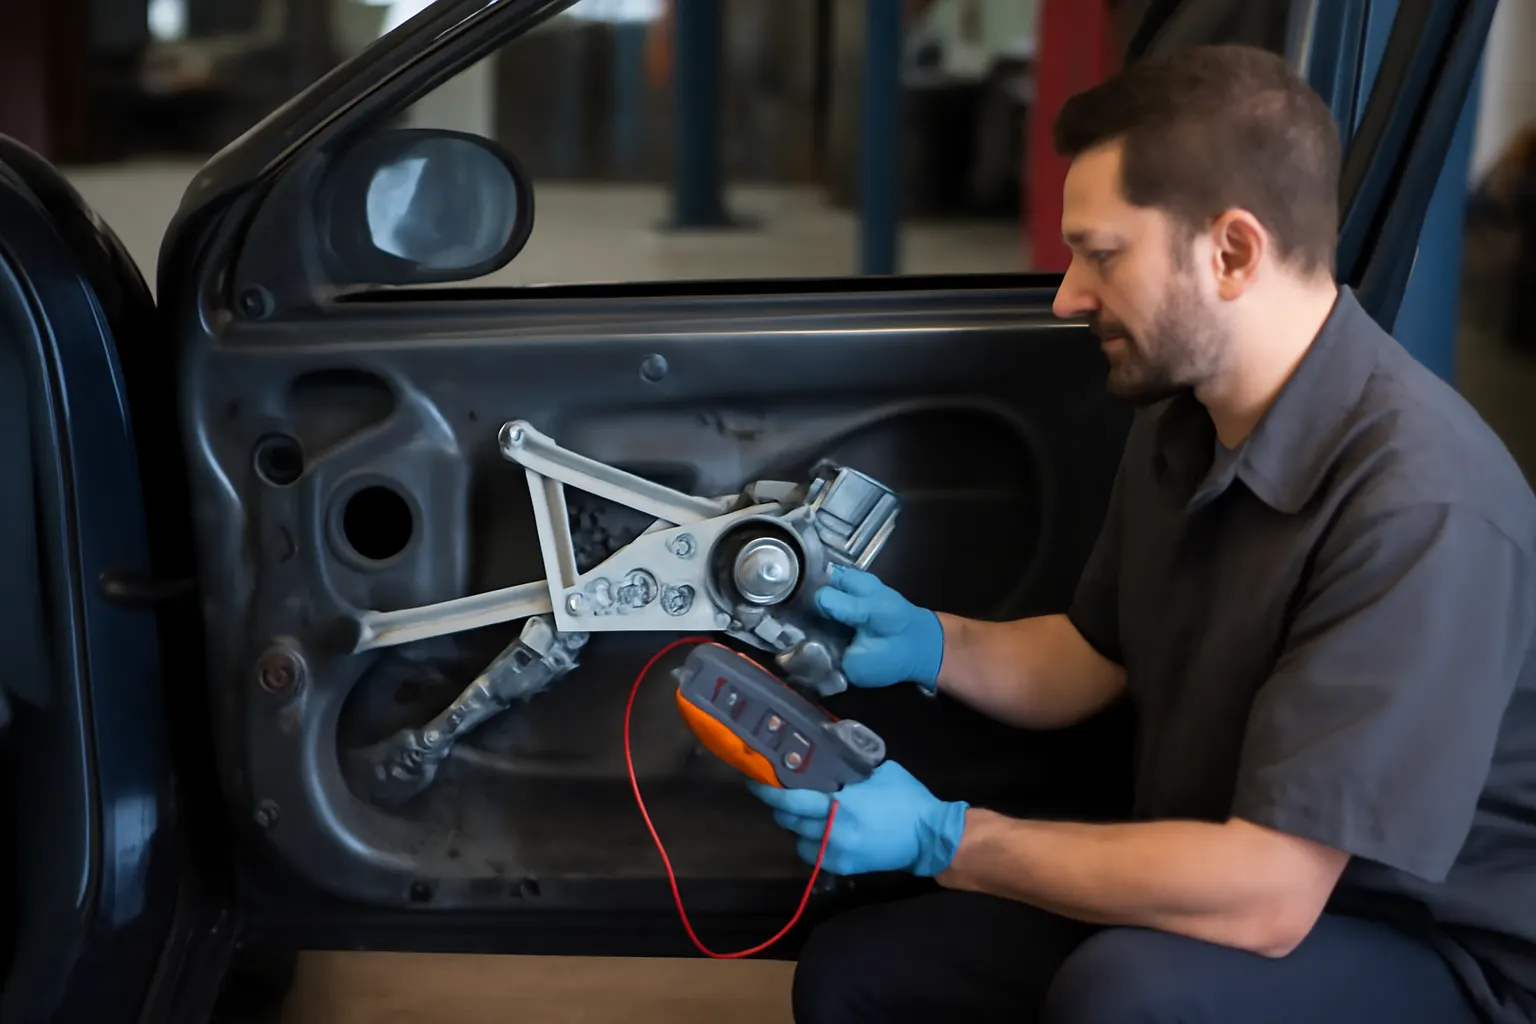
- Inspect Mounting Hardware: Confirm that clips, brackets, and adhesive pads match the vehicle’s regulator and door frame.
- Check Contour and Thickness: Lay new and old glass side by side to compare curvature and thickness.
- Test Fit Before Final Install: Place the glass into the door shell and operate the regulator through its full range before securing.
- Inspect for Sensor Mounts: Ensure any required sensor brackets or frit areas are present and properly aligned.
- Check Weatherstrip Contact: Confirm that the glass seats evenly against all weatherstripping with the door closed.
- Perform Leak and Noise Test: After installation, use a hose and stethoscope to check for water ingress and wind noise.
Following a systematic diagnostic process can catch subtle fitment errors before the vehicle leaves the shop.
Sourcing the Right Toyota Front Glass: OEM vs Aftermarket
When replacing Toyota front door glass, you’ll typically face three sourcing options:
- Genuine Toyota OEM Glass: Manufactured to Toyota’s exacting standards, complete with correct curvature, edge treatments, and hardware. This is the gold standard for guaranteed fitment and compliance.
- OE-Equivalent Aftermarket Glass: Produced by third-party suppliers to OEM specs, but sometimes with minor differences in tint, hardware, or coatings. Quality varies by brand.
- Used/Salvage Glass: Cost-effective, but carries risk of hidden damage, incorrect tint, or missing hardware. Always match by VIN and inspect thoroughly.
For a detailed comparison and sourcing tips, see our Oem Vs Aftermarket Toyota Glass guide.
VIN-Based Glass Selection: Avoiding Costly Mistakes
Toyota’s use of VIN-specific components means that even small differences—like a mid-year change in regulator design—can render a seemingly “correct” glass panel unusable. To avoid wasted time and money:
- Always use the full 17-digit VIN for part lookup.
- Avoid relying solely on visual matching or “universal” part numbers.
- For ADAS-equipped models, confirm sensor compatibility using the VIN.
- When in doubt, consult Toyota’s official electronic parts catalog (EPC) or a reputable supplier with VIN lookup capability.
For more on this process, see our Toyota Vin Glass Compatibility article.
Installation Best Practices for Toyota Front Door Glass
Even the right part can cause problems if installed incorrectly. Follow these professional best practices for a trouble-free install:
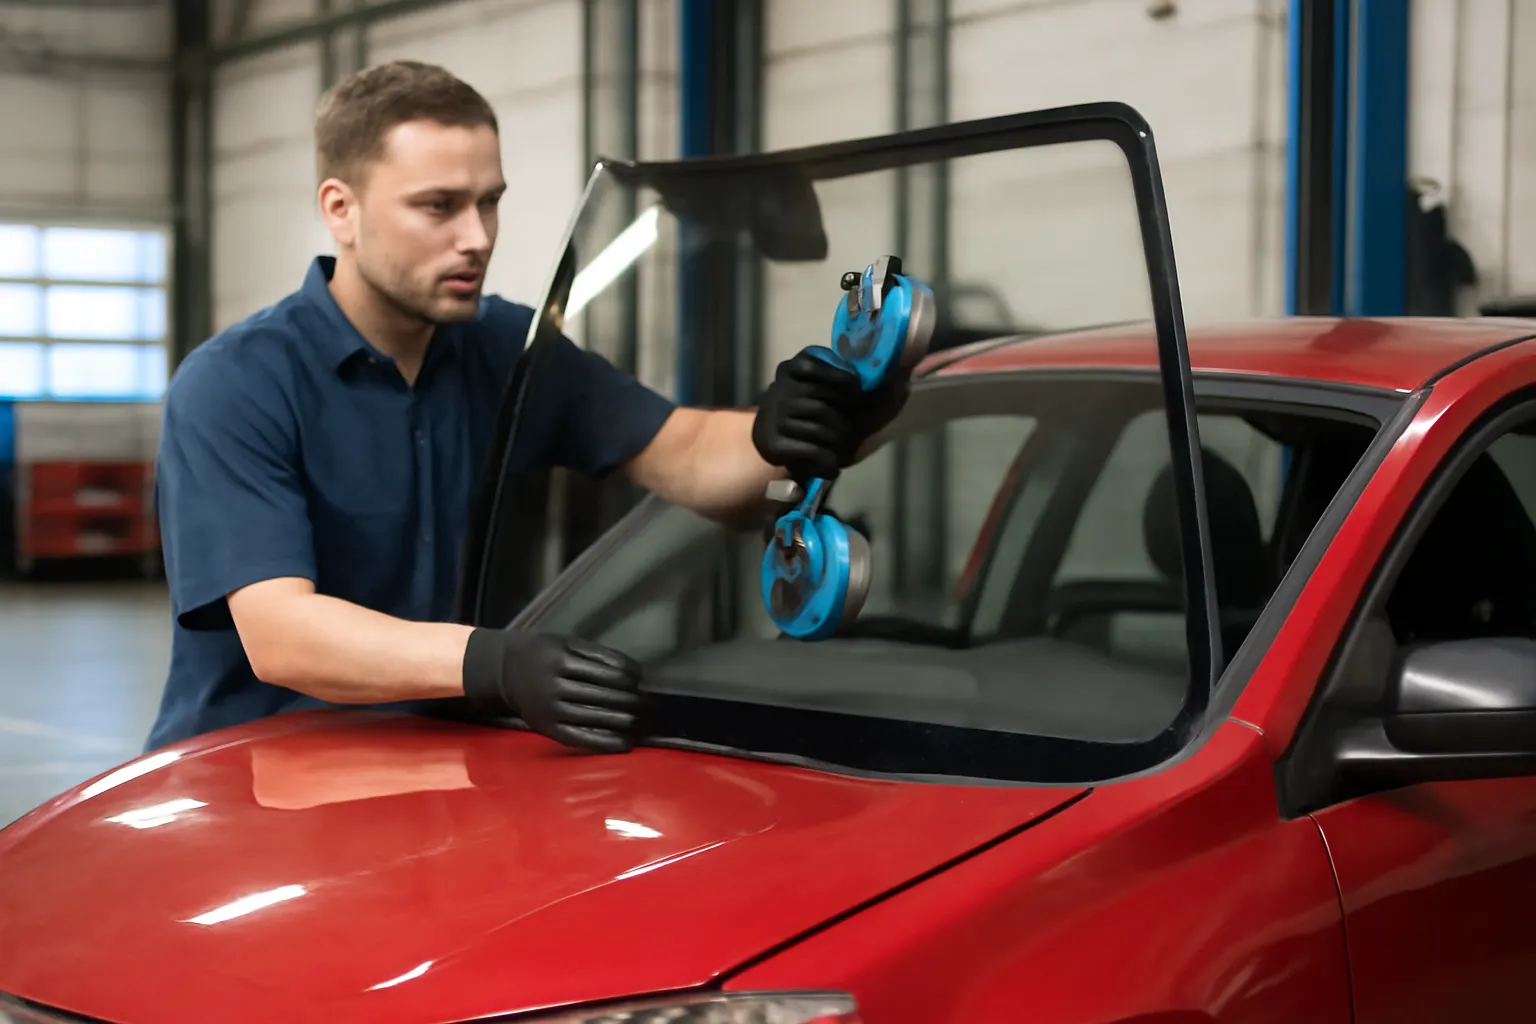
- Pre-Inspection: Remove the old glass and compare side-by-side with the new piece. Check for chips, cracks, or missing hardware.
- Cleanliness: Remove all debris, old adhesive, and glass fragments from the door shell and regulator tracks.
- Lubrication: Use a silicone-based spray to lubricate weatherstripping and regulator arms for smooth operation.
- Test Fit: Place the glass in the door and operate the window before final tightening.
- Secure Hardware: Torque all bolts and clips to Toyota specs. Avoid over-tightening, which can crack the glass.
- Final Check: Operate window through full up/down range, check for binding, rattles, and leaks.
For a step-by-step walkthrough, refer to our Toyota Door Glass Install Guide.
Advanced Considerations: ADAS, Acoustic, and Privacy Glass
Modern Toyotas often use front door glass with integrated technology features:
- ADAS Calibration: If the glass includes mounts or frits for cameras or sensors, replacing it may require recalibration of lane departure, blind spot, or rain/light sensors.
- Acoustic Laminated Glass: Found on higher trims for noise reduction. Always replace like-for-like to maintain NVH performance.
- Privacy and UV-Blocking Coatings: Non-matching tint can affect both comfort and compliance with local regulations.
When replacing these advanced glass types, always verify that the replacement matches all features of the original. Skipping this step can compromise both safety and comfort.
Preventing Future Fitment Issues: Maintenance and Inspection
Proper care and regular inspection can extend the life of your Toyota’s front door glass and prevent future fitment headaches:
- Inspect Weatherstripping: Check for cracks, tears, or hardening that can cause leaks or rattles.
- Monitor Regulator Operation: Slow or noisy window movement may indicate regulator or track wear.
- Clean Tracks and Seals: Use compressed air and a soft brush to remove debris that can scratch glass or impede movement.
- Address Chips Early: Small chips or cracks can grow and affect structural integrity—repair or replace as needed.
Routine maintenance helps ensure that new glass stays properly seated and that window operation remains smooth.
Sourcing Pitfalls: Aftermarket and Salvage Glass Warnings
While aftermarket and salvage glass can offer cost savings, they come with risks:
- Dimensional Variations: Some aftermarket glass may be a fraction too thick or thin, causing poor sealing or regulator stress.
- Incorrect Hardware: Salvage glass may be missing clips or brackets, or may have incompatible mounts.
- Unknown History: Used glass may have unseen stress cracks, delamination, or previous repairs that compromise safety.
- Warranty Issues: Non-OEM glass may void certain insurance or extended warranty claims.
Always inspect aftermarket and salvage glass thoroughly, and if possible, opt for parts with manufacturer certification or a fitment guarantee.
Shop-Proven Tips for Hassle-Free Toyota Front Glass Fitment
Drawing on decades of shop experience, here are some expert tips for smooth Toyota front glass replacement:
- Photograph the Original Setup: Before removing the old glass, take photos of mounting points, hardware, and regulator alignment for reference.
- Label Hardware: Use labeled bags or trays to keep track of screws, clips, and brackets during disassembly.
- Test All Functions: After installation, verify not just window movement but also door lock/unlock, mirror adjustment, and any sensor-based features.
- Document Part Numbers: Keep a record of the installed glass part number, supplier, and install date for future reference.
- Educate Customers: If you’re a shop, explain the importance of proper fitment and the risks of “universal” or mismatched glass to your clients.
These small steps can prevent callbacks, warranty claims, and customer dissatisfaction.
AutoPartEx: Your Partner for Precision Toyota Glass Fitment
At AutoPartEx, we know that the right part—and the right information—makes all the difference. Our curated catalog, VIN-based lookup tools, and technical resources take the guesswork out of Toyota front door glass replacement. Whether you’re a professional installer or a dedicated DIYer, our commitment to OEM fitment, safety, and quality ensures your Toyota stays as quiet, safe, and reliable as the day it left the factory.
For more expert resources and part selection guidance, explore our Toyota Front Door Glass: OEM Fitment, Diagnostics & Replacement Guide.
Conclusion: Fitment Is the Foundation of Safety and Satisfaction
Toyota front glass fitment isn’t just about aesthetics—it’s about maintaining the safety, comfort, and value of your vehicle. By understanding the complexities of Toyota’s model variations, using VIN-based part lookup, and following proven installation practices, you can avoid the most common pitfalls and ensure a perfect fit every time. Trust in quality parts, meticulous diagnostics, and expert guidance to keep your Toyota performing at its best.
References
- Vehicle Safety and Equipment – National Highway Traffic Safety Administration
- SAE Standards – SAE International
- Materials Technologies – United States Department of Energy