Restoring Classic Car Floor Pans: Tips and Pitfalls
Restoring the floor pans of a classic car is a foundational task—often the difference between a safe, structurally sound vintage vehicle and one destined for the scrapyard. Whether your pride and joy is a rare AMC coupe, an iconic Alfa Romeo, or a beloved family heirloom, floor pan integrity is non-negotiable for safety, longevity, and performance. This guide delivers expert advice for restoring floor pans in vintage vehicles, especially those with rare or discontinued models, arming you with practical tips and crucial warnings to help you avoid costly errors.
Early in any classic car restoration, it becomes clear that the floor pan is not just a sheet of metal. It’s the structural backbone tying the chassis, body, and drivetrain together. If you’re navigating the world of classic car restoration, start with our Floor Pan Replacement & Restoration: The Foundation of Vehicle Integrity overview for broader context, then read on for targeted strategies, technical insights, and expert checklists tailored to the unique challenges of classic floor pan work.
The Immediate Answer: What You Need to Know About Classic Floor Pan Restoration
Restoring floor pans in classic cars requires more than just patching holes or welding in new metal. The process involves careful assessment, sourcing the correct parts (often for rare or discontinued models), choosing the right materials and techniques, and ensuring compliance with modern safety standards. Missteps can compromise safety, reduce value, or lead to repeated repairs.
Key takeaways:
- Start with a thorough inspection, including hidden areas prone to rust.
- Source parts from reputable suppliers or consider fabricating panels for hard-to-find models.
- Use materials and methods that meet or exceed current safety and performance standards.
- Plan for additional tasks: sound deadening, structural reinforcement, and rust prevention.
Hidden Problems: Why Classic Floor Pan Restoration Is More Complicated Than It Looks
Many classic car owners underestimate the complexity of floor pan restoration. While surface rust or a visible hole might seem like the main issue, the real problems often lurk beneath:
- Hidden corrosion: Moisture trapped in seams, under insulation, or behind braces can cause extensive, unseen rust.
- Structural compromise: Rusted or poorly repaired floor pans can weaken the car’s entire unibody or frame structure.
- Parts availability: For rare or discontinued models, finding correct replacement pans or patch panels can be a major obstacle.
- Safety compliance: Restorations must meet standards for crashworthiness and occupant protection, especially if the car will be driven regularly.
Ignoring these challenges can lead to failed inspections, unsafe driving, or irreversible damage to valuable classics.
Expanding the Problem: Technical and Practical Challenges
Diagnostic Difficulties
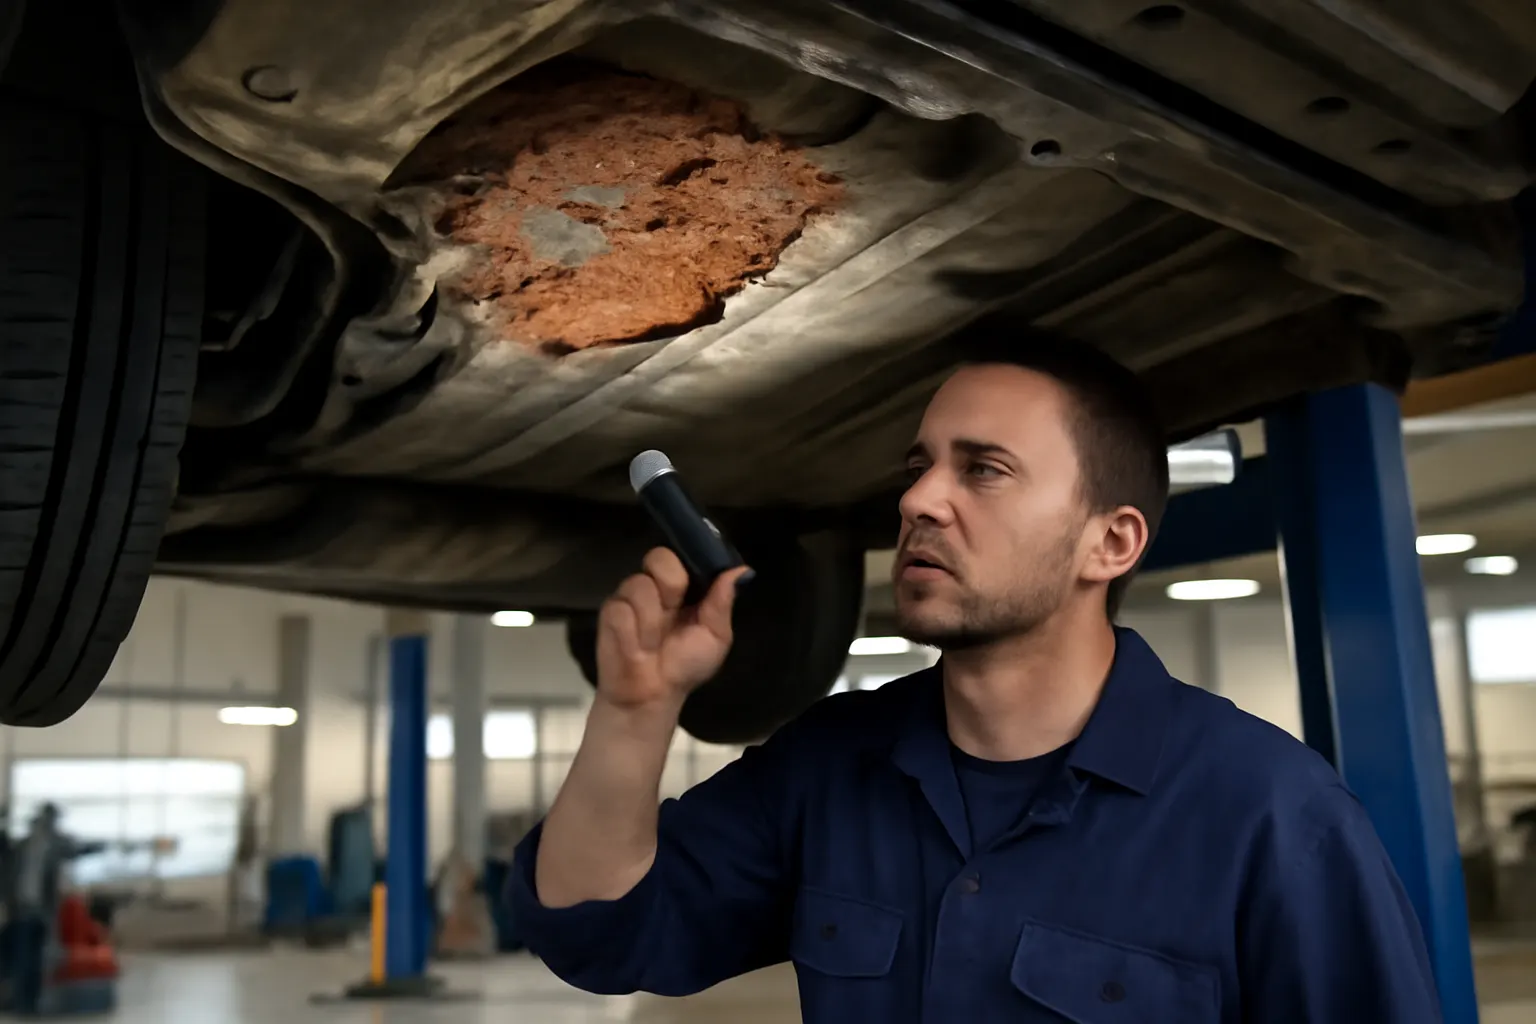
Floor pan damage isn’t always obvious. Undercoating, carpet, and sound insulation can hide rust, pinholes, or previous repairs. Inspecting from underneath with a flashlight and pick tool is essential, but so is removing interior components to check the full extent of damage.
Sourcing and Fitment Issues
Original-style floor pans may be unavailable for many classic and rare cars. Even when aftermarket or reproduction panels exist, fitment can vary significantly, requiring custom trimming or fabrication. For models like AMC, Alfa, or early Japanese imports, you may need to fabricate panels from sheet steel using templates.
Welding and Compatibility
Classic cars used a variety of steel alloys and thicknesses. Modern replacement panels must match or exceed the original gauge for safety. Welding in new pans requires skill to avoid warping or weakening the surrounding metal, and improper welds can fail under stress or in a collision.
Regulatory and Safety Concerns
Modern safety standards—such as those governed by the National Highway Traffic Safety Administration—expect structural repairs to restore original crashworthiness (see Vehicle Safety and Equipment). Poor repairs may also affect insurance coverage and resale value.
Step-By-Step: Diagnosing Floor Pan Condition in Classic Cars
A methodical approach is essential for uncovering the true extent of floor pan damage. Use this checklist to guide your evaluation:
Classic Car Floor Pan Diagnostic Checklist
-
Visual Inspection (Interior):
- Remove seats, carpet, and underlayment.
- Look for discoloration, bubbling paint, or previous patchwork.
- Probe suspicious areas with a screwdriver or pick.
-
Visual Inspection (Undercarriage):
- Raise the vehicle securely on jack stands.
- Inspect floor pan seams, braces, and drain holes.
- Check for rust, holes, or poorly executed repairs.
-
Sound Test:
- Tap the metal with a small hammer; listen for dull thuds indicating rust beneath the surface.
-
Moisture Check:
- Inspect for dampness or water stains, especially near pedal boxes, seat mounts, and door sills.
-
Structural Assessment:
- Look for sagging, distortion, or misaligned body panels.
- Inspect attachment points for seats and seatbelts—these must be solid.
-
Previous Repairs:
- Identify signs of old patch panels, excessive filler, or non-factory welds.
-
Measure Thickness:
- Use a micrometer or caliper to compare metal thickness with factory specs.
Sourcing Floor Pans for Rare and Discontinued Models
Finding the right floor pans is often the biggest challenge in classic car restoration, particularly for vehicles out of production for decades.
Strategies for Sourcing:
-
OEM and NOS Parts:
-
Aftermarket Panels:
- Many companies offer reproduction panels for popular classics, but quality and fitment vary.
- Always compare panel gauge, stamping accuracy, and mounting points.
-
Universal Patch Panels:
- For rare models, consider universal flat or contoured patch panels that can be trimmed to fit.
- Templates can be made from cardboard or sheet metal.
-
Custom Fabrication:
- Skilled metalworkers can fabricate panels to match original contours using bead rollers, brakes, and shrinker/stretchers.
-
Donor Cars:
- Salvaging panels from rust-free donor vehicles is sometimes possible, but be wary of hidden damage.
Fitment Checklist
- Confirm panel dimensions against the original.
- Check alignment of seat mounts, pedal boxes, and tunnel contours.
- Dry-fit all panels before welding or permanent installation.
Choosing Materials and Methods: Matching or Exceeding OEM Quality
Floor pans are typically made from stamped mild steel, ranging from 18- to 20-gauge thickness depending on the vehicle and era. For restoration, always use steel of equal or greater thickness to maintain structural integrity.
Welding Techniques
- Plug welding: Mimics factory spot welds, ideal for attaching to braces and seams.
- Seam welding: Used for joining large patches or when extra strength is needed.
- TIG or MIG welding: Both are suitable, but MIG is generally faster for floor pans.
- Lap vs. butt joints: Butt joints provide a flush finish but require precision; lap joints are easier but may trap moisture if not sealed.
Rust Prevention
After welding, treat all bare metal with epoxy primer or weld-through primer. Seam sealer should be applied to all joints. Consider additional rustproofing inside and under the car.
Expert Tips for Restoring Floor Pans in Rare Classics
Restoring the floor pans of rare or discontinued models requires creativity and attention to detail. Here are advanced strategies used by restoration professionals:
- Document original construction: Take photos and measurements before removing damaged panels.
- Preserve reference points: Mark seat and seatbelt mount locations; these are critical for safety.
- Reinforce critical areas: Use additional bracing if the original design was weak or if the car will see spirited driving.
- Integrate modern materials: Consider adding sound deadening, heat shields, or undercoating for comfort and durability.
- Replicate factory finishes: Use correct paint colors, undercoating textures, and seam treatments for authenticity.
Common Pitfalls and How to Avoid Them
Even experienced restorers can fall into traps that compromise the longevity or value of their classic car. Watch out for these recurring issues:
- Poor panel alignment: Leads to difficult reassembly and visible fitment issues.
- Inadequate weld penetration: Causes weak joints that may fail in an accident.
- Skipping rust treatment: Allows corrosion to return quickly, undoing your hard work.
- Incorrect metal thickness: Reduces structural integrity and may not meet safety standards.
- Neglecting seat and seatbelt mounts: These must be as strong as the original design.
Regulatory and Safety Considerations
While classic cars may be exempt from some modern regulations, any structural repair should aim to meet or exceed current safety expectations. The NHTSA provides guidelines for vehicle equipment and recalls (Vehicle Safety and Equipment, Vehicle, Car Seat, Tire, and Equipment Recalls)—review these when planning your restoration.
- Seatbelt and seat mounts: Repairs must restore factory strength and geometry.
- Crashworthiness: Floor pans play a role in energy absorption during collisions.
- Inspection: Some jurisdictions require structural repairs to be documented and inspected.
Enhancing Longevity: Maintenance After Restoration
Protect your investment by implementing a maintenance plan that prevents future rust and damage:
Post-Restoration Maintenance Checklist
- Inspect regularly: Check for new rust, especially after winter or wet weather.
- Keep drains clear: Ensure all floor pan drain holes are open and functional.
- Renew undercoating: Touch up any areas where undercoating is damaged.
- Monitor for leaks: Address door, window, or cowl leaks promptly to prevent water intrusion.
- Ventilate interior: Prevent trapped moisture by airing out the car after washing or driving in rain.
Integrating Modern Performance and Comfort
Restoring floor pans offers an opportunity to upgrade your classic car in subtle but meaningful ways:
- Sound deadening: Modern mats and sprays can dramatically reduce road noise.
- Heat insulation: Shield exhaust heat with reflective barriers or insulation.
- Weight savings: Advanced materials, as explored by the Department of Energy, can reduce weight without sacrificing strength—consult with experts before deviating from steel.
Choosing Between OEM and Aftermarket Floor Pans
When both OEM and aftermarket options are available, weigh your priorities:
- OEM pans: Offer original fit and finish but may be prohibitively expensive or unavailable.
- Aftermarket pans: More accessible and often more affordable, but require careful vetting for quality and fitment.
For a deeper dive, see our guide on Choosing Between OEM and Aftermarket Floor Pans.
Installation Guidance: Best Practices for a Lasting Repair
A successful floor pan restoration depends on both preparation and execution:
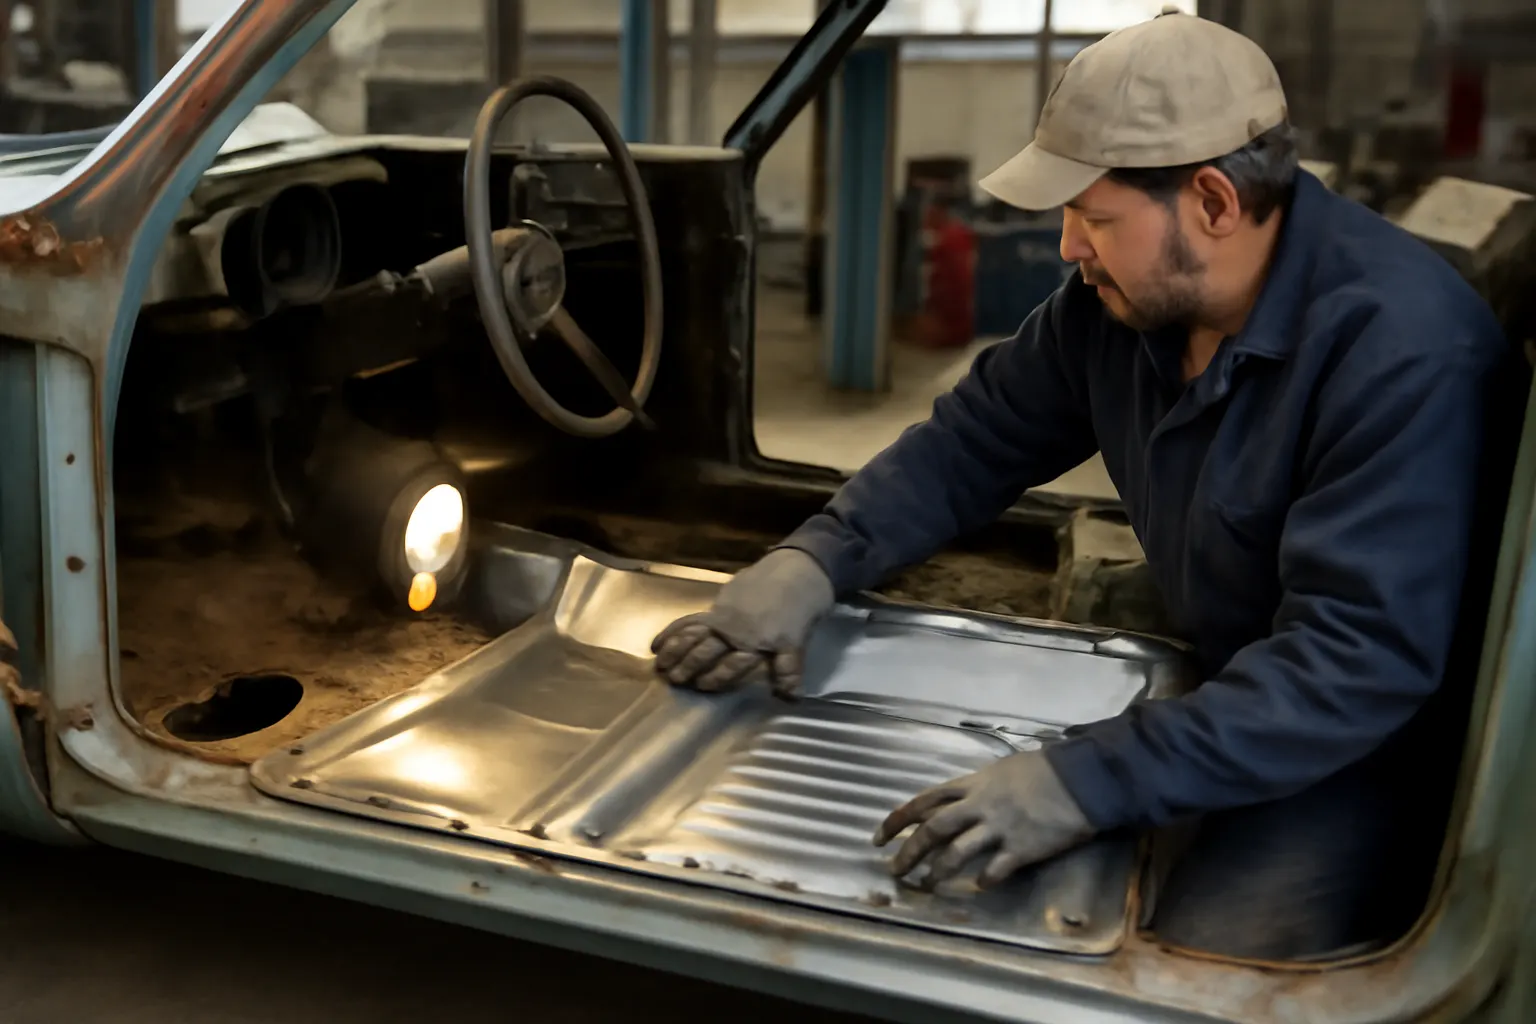
Key Installation Steps
- Prep the car: Remove all interior trim, wiring, and fuel lines near the work area.
- Cut carefully: Remove only the damaged metal; preserve as much of the original structure as possible.
- Fit panels: Trim and test-fit new panels multiple times.
- Clamp securely: Use clecos or panel clamps to hold panels in place during welding.
- Weld in stages: Avoid overheating and warping by alternating weld locations.
- Seal and protect: Apply seam sealer, primer, and undercoating as soon as welding is complete.
Diagnosing Floor Pan Issues Early: Warning Signs
Early detection of floor pan problems is critical for classic cars. Watch for:
- Soft, spongy spots underfoot
- Rust stains on carpet
- Water leaks after rain
- Unusual squeaks or flexing in the floor
- Visible holes or patches underneath
For more on early detection, see Top 5 Signs Your Floor Pan Needs Attention.
The AutoPartEx Advantage: Supporting Your Classic Restoration
At AutoPartEx, we understand the unique challenges of restoring classic and rare vehicles. Our technical team curates a selection of OEM, NOS, and high-quality aftermarket floor pans for a wide range of classic models. For hard-to-source panels, we offer guidance on fabrication and fitment, and our expert support is just a call or click away.
Explore our Floor Pan Replacement & Restoration: The Foundation of Vehicle Integrity page for product availability, technical guides, and more. Whether you’re working on an AMC, an Alfa, or any classic, AutoPartEx is your trusted partner in automotive restoration.