
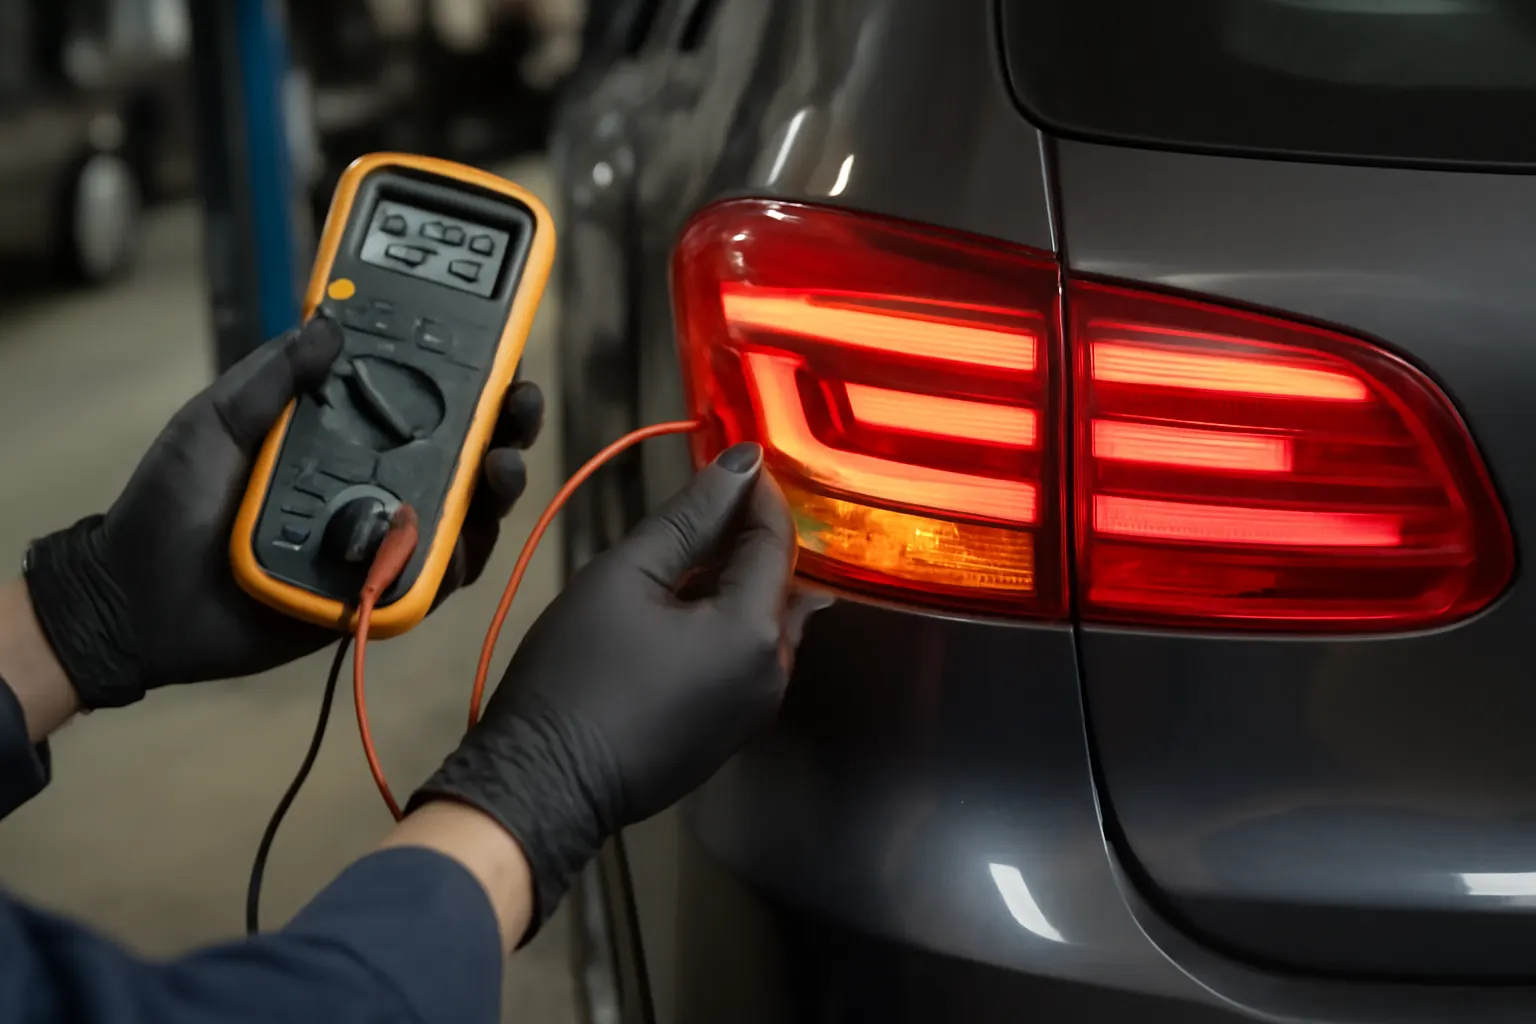
Common Electrical Issues with Rear Lighting Systems
Rear marker and side lights are critical safety features on every vehicle, ensuring visibility and compliance with federal and state regulations. When these lights malfunction, it can lead to safety hazards, traffic violations, and even vehicle recalls. This comprehensive guide will walk you through the most frequent electrical issues affecting rear lighting systems, practical troubleshooting steps, and expert recommendations for diagnosis, repair, and long-term reliability. For a broader overview of rear lighting and compliance, see our Rear Marker and Side Light Technical Guide: Safety, Compliance, and Precision Fitment.
Why Rear Lighting Electrical Issues Demand Immediate Attention
The rear marker and side lighting systems on your vehicle are not just for show—they are essential for alerting other drivers to your presence, especially in low-visibility conditions. Electrical issues in these systems can render your vehicle less visible at night or during inclement weather, dramatically increasing the risk of rear-end collisions. According to the National Highway Traffic Safety Administration (NHTSA), lighting defects are among the top reasons for vehicle recalls and safety citations, underscoring the need for prompt attention and reliable repairs 1.
Quick Reference: Common Symptoms of Rear Lighting Electrical Issues
- Rear marker or side lights not illuminating
- Flickering, dimming, or intermittent lighting
- Blown fuses or repeatedly tripped circuit breakers
- Dashboard warning indicators for lighting systems
- Burned or melted light sockets
The Hidden Problem: Electrical Complexity and Safety Risks
While a burned-out bulb is the simplest explanation, rear lighting failures often mask deeper electrical issues. Modern vehicles use increasingly complex wiring, connectors, and control modules to manage lighting functions. Corrosion, poor ground connections, wiring damage, and faulty switches can all disrupt proper operation. Even a minor issue can cascade into larger electrical faults or signal a systemic problem with your vehicle’s electrical architecture.
Typical Overlooked Faults
- Corroded or loose ground points
- Damaged wiring from abrasion or rodents
- Faulty or oxidized bulb sockets
- Water intrusion into connectors or housings
- Faulty lighting control modules (in newer vehicles)
How Rear Lighting Issues Escalate: From Annoyance to Liability
A malfunctioning rear marker or side light is more than a nuisance. Failure to address these electrical problems can lead to:
- Increased risk of accidents due to reduced vehicle visibility
- Potential fines or citations for non-compliance with lighting regulations
- Failed safety inspections (especially in states with strict annual checks)
- Vehicle recalls if systemic defects are identified by manufacturers or the NHTSA 2
Neglecting these issues can also have a ripple effect on other electrical systems, as shared grounds or circuits may be compromised.
Technical Overview: Anatomy of Rear Lighting Systems
To effectively diagnose and repair rear lighting electrical issues, it’s essential to understand the system’s main components:
Key Components
| Component | Function | Common Failure Points |
|---|---|---|
| Bulbs (Incandescent/LED) | Provide illumination | Burnout, filament break, LED failure |
| Sockets | Secure bulbs, provide power | Corrosion, melting, poor contact |
| Wiring Harness | Distributes power/ground to lights | Cuts, shorts, corrosion |
| Ground Points | Complete circuit to vehicle chassis | Rust, loose bolts, paint interference |
| Switches/Relays | Control lighting operation | Wear, internal arcing, contact failure |
| Lighting Control Module | Manages lighting logic (modern vehicles) | Software or hardware faults |
| Fuses/Circuit Breakers | Protect circuits from overload | Repeated blowing indicates deeper issue |
System Variations
Older vehicles rely on simple direct wiring, while modern models may utilize Body Control Modules (BCMs) or CAN bus networks to manage lighting. Diagnosis and repair strategies must be tailored accordingly.
Step-by-Step Diagnostic Approach
Electrical issues in rear marker and side lights require a systematic diagnostic process. Skipping steps can lead to misdiagnosis or unnecessary parts replacement.
Diagnostic Checklist
- Visual Inspection: Check for obvious damage, corrosion, or disconnected wires at the rear lighting assemblies.
- Bulb and Socket Test: Remove the bulb; inspect for blackened glass, broken filaments, or melted contacts. Test with a known-good bulb.
- Fuse Check: Locate and inspect relevant fuses. Replace blown fuses only after identifying the root cause.
- Ground Test: Use a multimeter to verify continuity between the socket ground and chassis.
- Voltage Test: With the lights activated, check for 12V at the socket using a multimeter.
- Wiring Harness Inspection: Look for pinched, cut, or abraded wires along the harness route.
- Module/Relay Assessment: For vehicles with BCMs or relays, scan for diagnostic trouble codes (DTCs) and test relay operation.
- Moisture Intrusion Check: Inspect for water or condensation inside lamp housings or connectors.
Pro Tip: Always consult your vehicle’s wiring diagram before probing with a multimeter to avoid accidental shorts.
Common Electrical Faults in Rear Marker and Side Lights
1. Burned-Out Bulbs and LED Failures
The most basic issue remains the most common: failed bulbs. Incandescent bulbs typically fail due to filament breakage, while LEDs can fail due to driver circuit faults or heat damage. Always verify bulb type and rating before replacement.
2. Corrosion in Sockets and Connectors
Moisture ingress is a major enemy of rear lighting. Corroded sockets or connectors can cause high resistance, intermittent operation, or total failure. Look for green or white powdery deposits, pitting, or discoloration.
3. Blown Fuses and Circuit Overloads
Repeatedly blown fuses indicate a short circuit or overloaded wiring. This can be due to chafed wires, incorrect bulb wattage, or water bridging contacts.
4. Poor Ground Connections
Ground faults are notorious for causing dim, flickering, or non-functional lights. Rust or paint at grounding points can insulate the connection. Always clean ground points to bare metal and secure tightly.
5. Damaged Wiring Harnesses
Physical damage from road debris, improper repairs, or rodent activity can lead to open circuits or shorts. Harnesses routed near moving suspension components or sharp body edges are particularly vulnerable.
6. Faulty Switches, Relays, and Control Modules
For vehicles with advanced lighting controls, a failed relay, switch, or BCM can prevent proper light operation. These may require scan tool diagnostics and, in some cases, module reprogramming.
Troubleshooting Strategies: Practical Guidance
When approaching a rear lighting fault, prioritize the most likely and accessible issues first. Use the following troubleshooting strategies for efficient diagnosis:
Systematic Troubleshooting Process
- Start Simple: Replace suspect bulbs with known-good units. If the issue persists, move to socket and wiring checks.
- Isolate the Circuit: If multiple lights on the same circuit fail, suspect a fuse, ground, or harness issue.
- Check for Pattern Failures: If both left and right marker lights are out, the fault is likely upstream (fuse, switch, or module).
- Use Diagnostic Tools: A basic multimeter is essential. For modern vehicles, a scan tool capable of reading BCM codes can save hours of guesswork.
- Document Findings: Record test results at each step to track progress and avoid redundant checks.
Preventive Maintenance for Rear Lighting Systems
Regular inspection and maintenance can prevent most electrical issues before they become a problem. Integrate these checks into your vehicle’s service schedule:
Rear Lighting Preventive Maintenance Checklist
- Inspect all rear marker and side lights monthly for proper operation.
- Clean lamp lenses and housings to prevent dirt and moisture buildup.
- Apply dielectric grease to bulb sockets and connectors during bulb replacement.
- Check and clean ground points annually, especially in rust-prone climates.
- Inspect wiring harnesses for signs of wear, damage, or rodent activity.
- Replace any corroded or damaged connectors immediately.
- After driving through deep water or heavy rain, inspect lamp housings for moisture.
Consistent preventive care extends the life of your lighting system and helps ensure ongoing compliance with safety regulations.
Sourcing Quality Replacement Parts
Not all bulbs, sockets, or wiring harnesses are created equal. Using subpar components can introduce new electrical issues or reduce system longevity.
How to Select Reliable Parts
- OEM vs. Aftermarket: OEM parts guarantee fitment and compliance, but reputable aftermarket brands can offer equal or better performance—especially for upgraded LED lighting.
- Check Compatibility: Always match bulb type, socket design, and wiring specifications to your vehicle’s make, model, and year.
- Quality Standards: Look for parts that meet or exceed SAE and NHTSA standards for automotive lighting 3.
- Supplier Reputation: Purchase from trusted automotive suppliers with clear return policies and product warranties.
For more on proper fitment and compliance, refer to the Rear Marker and Side Light Technical Guide: Safety, Compliance, and Precision Fitment.
Installation Best Practices
Correct installation is as critical as sourcing the right parts. Many electrical issues stem from improper installation or rushed repairs.
Installation Guidelines
- Disconnect the negative battery terminal before working on any electrical system.
- Avoid touching bulb glass with bare hands; oils can cause hot spots and premature failure.
- Ensure all connectors are fully seated and locked.
- Route wiring away from sharp edges, moving parts, and heat sources.
- Use dielectric grease on all connections to prevent moisture intrusion.
- Torque mounting hardware to manufacturer specifications to ensure proper grounding.
Following these practices reduces the risk of recurring faults and ensures long-term reliability.
Compliance and Safety Considerations
Rear marker and side lights are regulated by federal and state safety standards. Non-compliant lighting can result in failed inspections, fines, or safety-related recalls.
Key Compliance Points
- All rear marker and side lights must function as designed at all times.
- Replacement bulbs and assemblies must match OEM color and intensity specifications.
- Modifications (such as LED upgrades) must not exceed allowable brightness or color deviation.
- Any deviation from standard wiring or control modules can affect compliance and insurance coverage.
For more in-depth discussion on compliance, see The Impact of Lighting Compliance on Vehicle Safety.
When to Seek Professional Help
While many rear lighting electrical issues can be resolved with basic tools and patience, certain scenarios call for professional intervention:
Professional Diagnostic Triggers
- Persistent fuse blowing after bulb/socket replacement
- Evidence of water intrusion into wiring harnesses or control modules
- Multiple lighting functions failing simultaneously (e.g., brake, marker, and turn signals)
- DTCs indicating module or CAN bus faults
- Signs of previous improper wiring repairs or modifications
Professional technicians have access to advanced diagnostic equipment, wiring diagrams, and technical service bulletins that can expedite complex repairs.
Upgrading Rear Marker and Side Lights: Pros and Cons
Many vehicle owners consider upgrading to LED marker and side lights for improved longevity and visibility. However, these upgrades can introduce compatibility and electrical issues if not executed properly.
Upgrade Considerations
- CAN Bus Compatibility: Some vehicles require CAN bus-compatible LEDs or load resistors to prevent bulb-out warnings.
- Heat Management: High-output LEDs may generate more heat than standard housings can dissipate.
- Regulatory Compliance: Ensure upgraded lights meet SAE and DOT standards for color and brightness.
- Installation Complexity: Some upgrades require rewiring or module reprogramming.
For a detailed guide, see Upgrading to LED Marker and Side Lights: Pros and Cons.
AutoPartEx: Your Partner in Rear Lighting Reliability
AutoPartEx is committed to providing technical expertise, high-quality parts, and practical guidance for every stage of your rear lighting system’s lifecycle. From diagnosis and sourcing to installation and compliance, our resources are designed for both DIYers and professional technicians. Explore our extensive catalog of rear marker and side light components or consult our editorial team for personalized advice.
Conclusion: Take Action for Safer, More Reliable Rear Lighting
Electrical issues in rear marker and side lights are a leading cause of visibility-related accidents and vehicle recalls. By understanding the technical underpinnings, adopting a systematic diagnostic approach, and using quality replacement parts, you can ensure your vehicle remains safe, compliant, and reliable. Don’t let minor electrical faults escalate—inspect, diagnose, and repair rear lighting issues promptly, and rely on trusted resources like AutoPartEx for up-to-date information and support.
References
- Vehicle Safety and Equipment – National Highway Traffic Safety Administration
- Vehicle, Car Seat, Tire, and Equipment Recalls – National Highway Traffic Safety Administration
- SAE Standards – SAE International
