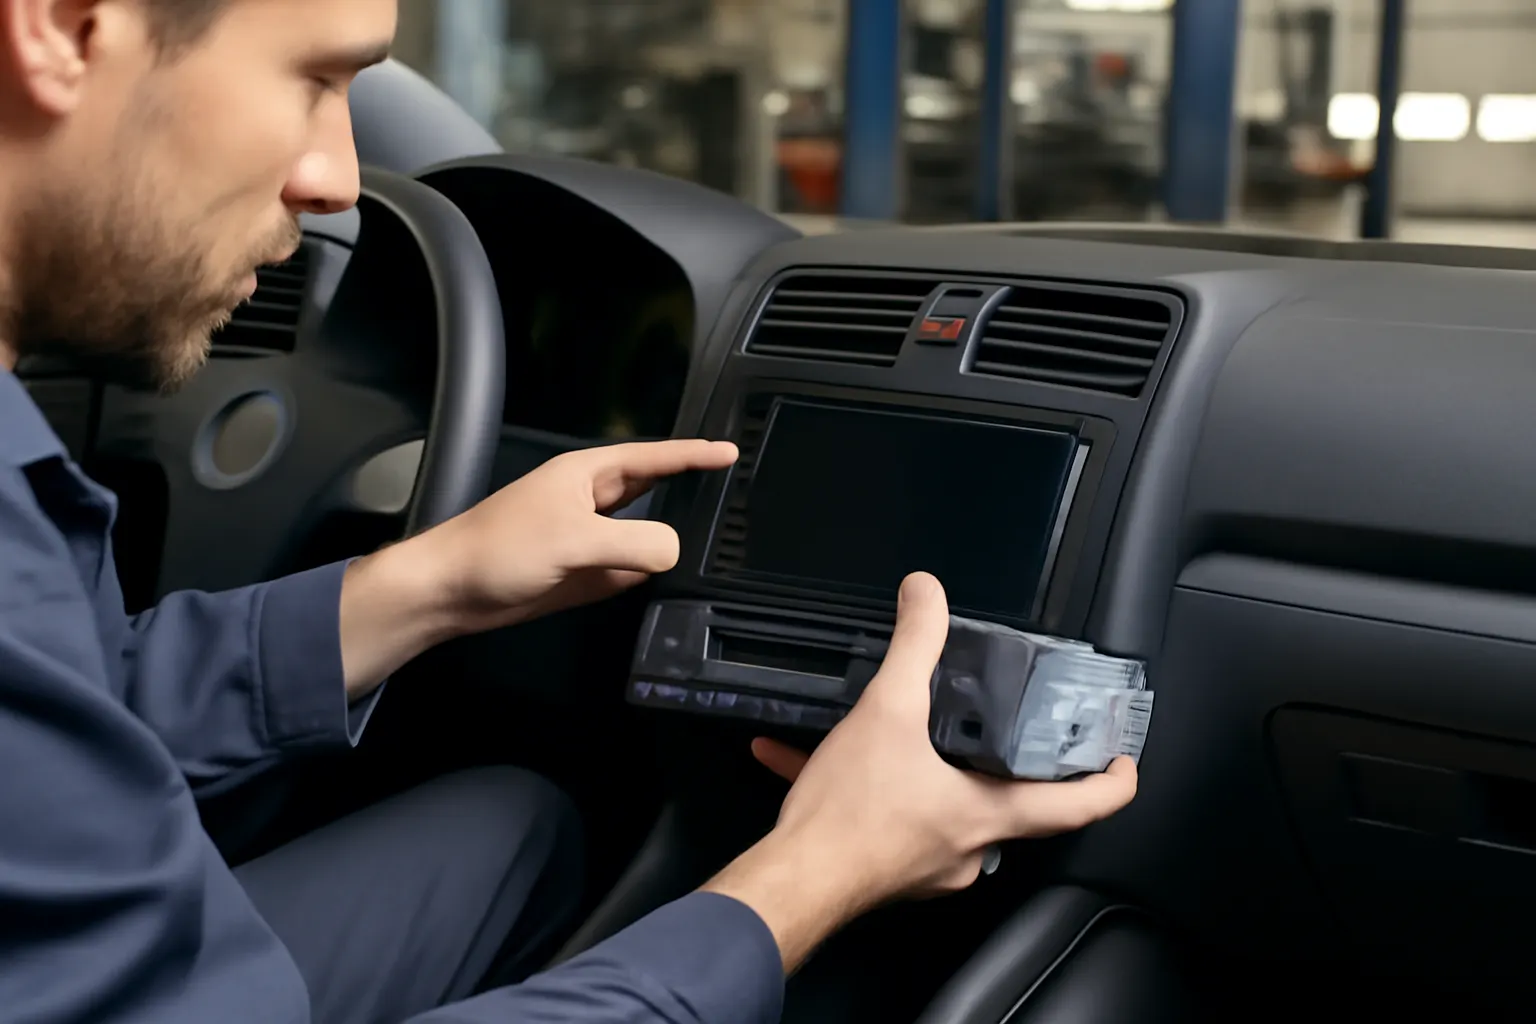
Diagnosing Audio System Failures: Common Causes and Fixes
Modern vehicles rely on sophisticated audio systems not just for entertainment, but also for navigation, communication, and integration with safety features. When your CD player or radio system fails, it can be more than an inconvenience—it can signal deeper electrical or component issues that may affect other vehicle functions. In this in-depth guide, we’ll walk you through the most frequent reasons for automotive audio malfunctions, how to accurately diagnose issues, and the best approaches for effective repairs or replacements.
If you’re looking for a broader overview of vehicle entertainment technology or want to compare replacement parts, start with our CD Player and Radio Systems: Technical Guide and Replacement Insights. This article focuses specifically on troubleshooting and resolving failures in audio systems, with practical checklists, technical explanations, and actionable tips for both DIYers and professional technicians.
Immediate Answer: The Most Common Causes of Audio System Failures
Audio system malfunctions in vehicles are typically caused by one or more of the following issues:
- Blown fuses or relays disrupting power to the head unit.
- Faulty wiring or poor ground connections leading to intermittent or total loss of audio.
- Defective head units resulting in no power, display failure, or erratic operation.
- Damaged or degraded speakers causing distortion or silence.
- Antenna problems affecting radio reception.
- Amplifier failures (in premium systems) leading to low volume or no sound.
- Software or firmware glitches in digital or infotainment systems.
Most problems are electrical in nature but can also be mechanical (e.g., stuck CD mechanisms) or digital (software corruption). Quick checks of fuses, visible wiring, and the head unit’s display can often reveal the root cause, but deeper diagnostics are sometimes necessary.
The Hidden Problem: Overlapping Symptoms and Misdiagnosis
While a silent or distorted audio system might seem straightforward to diagnose, many underlying issues can mimic each other. For example:
- A blown fuse may cause total system loss, but so can a failed head unit.
- Intermittent sound might be traced to a loose connector, a failing speaker, or even a faulty amplifier.
- No radio reception could be a broken antenna, a disconnected cable, or a malfunctioning tuner module.
Misdiagnosis often leads to unnecessary part replacements, wasted time, and frustration. Worse, unresolved electrical issues can point to broader problems in the vehicle’s wiring harness, which can impact other critical systems, including safety equipment as noted by the National Highway Traffic Safety Administration.
Digging Deeper: How Audio Systems Fail in Modern Vehicles
Understanding System Architecture
Today’s vehicle audio systems range from simple analog radios to complex infotainment suites with touchscreens, Bluetooth, navigation, and voice control. Key components include:
- Head Unit: The central receiver (radio/CD/DVD/media player).
- Amplifiers: Boost audio signals for higher volume and clarity.
- Speakers: Convert electrical signals to sound.
- Antenna: Receives radio broadcasts.
- Wiring Harness: Connects and powers all components.
- Control Modules: Manage digital signals and system integration.
Failures can occur in any of these areas, and the increasing use of digital signal processing (DSP) and multiplexed wiring means that a single fault can cascade across the system.
Common Points of Failure
-
Fuses and Power Supply:
- Fuses protect the system from overloads. A blown fuse points to a power surge or short circuit.
- Relays may fail, especially in older vehicles or those with aftermarket modifications.
-
Wiring and Connectors:
- Corrosion, vibration, or poor installation can break connections.
- Pinched or abraded wires behind dashboards are common in vehicles with previous repairs or upgrades.
-
Head Unit:
- Internal circuitry can fail due to age, moisture, or manufacturing defects.
- Mechanical failures in CD mechanisms (e.g., stuck or jammed discs).
-
Speakers:
- Paper cones degrade over time.
- Voice coils can burn out from amplifier faults or excessive volume.
-
Antenna and Tuner:
- Broken mast or disconnected cable.
- Integrated antennas in glass can be damaged during window replacements.
-
Amplifiers:
- Overheating or water intrusion causes internal damage.
- Signal line failures often result in “no sound” despite power to the head unit.
-
Software/Control Modules:
- Infotainment systems may freeze or reboot due to firmware bugs.
- CAN bus communication errors can disable audio output.
Systematic Diagnostic Approach
A structured diagnosis saves time and avoids unnecessary part swaps. Here’s a proven step-by-step process:
Step 1: Visual and Functional Inspection
- Check the display: Is the head unit powering on? Are there error messages?
- Test all inputs: Try CD, radio, USB, AUX, and Bluetooth if available.
- Inspect for physical damage: Check for cracked screens, stuck buttons, or jammed CD trays.
Step 2: Power and Fuse Verification
- Locate the audio system fuse(s): Refer to the owner’s manual or fuse box diagram.
- Test fuses with a multimeter: Don’t rely on visual inspection alone.
- Check for voltage at the head unit harness: With the ignition on, verify 12V supply.
Step 3: Wiring and Ground Checks
- Inspect harness connectors: Look for corrosion, bent pins, or loose plugs.
- Test continuity: Use a multimeter to check for open circuits.
- Verify ground: A poor ground can cause noise, distortion, or system resets.
Step 4: Speaker and Amplifier Testing
- Test speakers individually: Use a 1.5V battery “pop test” or a multimeter.
- Check amplifier power and signal: Ensure the amp receives both power and audio input.
Step 5: Antenna and Tuner Assessment
- Test AM/FM reception: Try scanning for stations.
- Inspect antenna cable: Look for breaks, corrosion, or poor connections.
Step 6: Software and Module Diagnosis
- Perform a system reset: Many modern units have a reset button or menu option.
- Check for firmware updates: Visit the manufacturer’s website or service portal.
- Scan for diagnostic codes: Use an OBD-II scanner for systems integrated with the vehicle network.
Checklist: Quick Audio System Diagnosis
Use this checklist to guide your troubleshooting process:
| Step | Action |
|---|---|
| 1. Head Unit Power | Does the display light up? Check for power and error codes. |
| 2. Fuse Inspection | Locate and test relevant fuses and relays. |
| 3. Harness/Connector Check | Inspect for corrosion, bent pins, or loose plugs. |
| 4. Speaker Test | Listen for distortion or silence; test with known-good speakers. |
| 5. Antenna Assessment | Physically inspect antenna and cable; test reception. |
| 6. Amplifier Verification | Confirm power, ground, and signal at amp (if equipped). |
| 7. Software/Module Reset | Perform a system reset or update firmware, if applicable. |
| 8. Scan for Codes | Use OBD-II or manufacturer tools for integrated systems. |
Common Problems by Symptom
No Power to Head Unit
- Likely Causes: Blown fuse, faulty ignition switch, broken power/ground wire, failed head unit.
- Diagnostic Tips: Check fuse first; verify voltage at harness; bench-test head unit if possible.
No Sound but Display Works
- Likely Causes: Faulty speakers, amplifier issues, disconnected wiring, muted output, software glitch.
- Diagnostic Tips: Test speakers and amplifier; check balance/fader settings; reset system.
Distorted or Intermittent Sound
- Likely Causes: Failing speakers, loose wiring, poor ground, bad amplifier, water intrusion.
- Diagnostic Tips: Inspect speaker cones; test continuity; examine for moisture or corrosion.
Poor or No Radio Reception
- Likely Causes: Broken antenna, damaged cable, failed tuner module, interference.
- Diagnostic Tips: Inspect antenna mast; test with external antenna; scan for stations in different locations.
CD Player Malfunctions
- Likely Causes: Jammed or dirty mechanism, scratched discs, failed laser, software error.
- Diagnostic Tips: Eject stuck discs; clean lens; try known-good CDs; reset system.
Deeper Technical Explanation: Why These Failures Happen
Electrical and Environmental Stresses
Automotive audio systems operate in a challenging environment. Constant vibration, temperature extremes, moisture, and voltage fluctuations all contribute to component wear and failure. Fuses are designed to protect against short circuits, but repeated power cycling, especially in systems with frequent accessory use, can stress relays and wiring.
Material Degradation
Speakers and harnesses often use materials selected for cost and manufacturability rather than longevity. Over time, speaker cones (especially paper or foam) degrade, and copper wires can corrode, especially in humid climates or after water leaks. The United States Department of Energy highlights the role of materials technology in vehicle performance and reliability, which directly impacts audio system durability.
Digital Complexity
Modern infotainment systems are essentially embedded computers. Software bugs, corrupted updates, or network communication failures (such as CAN bus errors) can disable audio output or cause erratic behavior. Unlike analog systems, these issues often require specialized diagnostic tools or manufacturer intervention.
Aftermarket Modifications
The rise of aftermarket audio components and integration kits introduces new failure points. Poorly installed head units, amplifiers, or adapters can cause electrical shorts, ground loops, or compatibility issues with OEM wiring. Always follow SAE Standards for automotive electrical work and use vehicle-specific harness adapters when upgrading.
Solution Path: Repair, Replacement, and Upgrade Options
Repair vs. Replace
- Repair: Suitable for minor issues like blown fuses, loose connectors, or simple mechanical faults (e.g., stuck CD tray).
- Replace: Necessary for failed head units, amplifiers, or extensively damaged wiring. Replacement is often more cost-effective than component-level repair, especially for integrated digital systems.
Sourcing the Right Parts
- OEM vs. Aftermarket: OEM parts ensure perfect fit and function but can be costly. Aftermarket options offer more features or better sound but may require additional adapters.
- Compatibility: Always check vehicle make, model, and year. Use vehicle-specific harnesses and mounting kits to avoid wiring problems or dashboard modifications.
For step-by-step replacement guidance, see our editorial How to Replace Your Vehicle's CD Player/Radio.
Professional Installation
- When to DIY: Simple repairs (fuse, speaker swap, antenna replacement) are within reach of experienced DIYers with basic tools.
- When to Call a Pro: Integrated infotainment systems, CAN bus diagnostics, or complex amplifier installations should be handled by trained technicians.
Preventive Maintenance
- Inspect connectors and grounds annually, especially after water leaks or dashboard work.
- Keep software/firmware up to date for digital systems.
- Avoid force-loading CDs or using scratched discs to prevent mechanical jams.
- Use dielectric grease on connectors in humid climates to prevent corrosion.
Advanced Diagnostic Techniques for Modern Vehicles
Using a Multimeter and Test Light
A digital multimeter is essential for checking voltage, continuity, and resistance in audio circuits. Key tests include:
- Voltage at Head Unit: Confirm 12V constant and switched power.
- Continuity in Speaker Wires: Identify breaks or shorts.
- Resistance in Speakers: Typical readings are 4–8 ohms.
A test light is useful for quick power checks at fuse boxes or connectors.
OBD-II and Manufacturer Diagnostic Tools
For vehicles with integrated infotainment, use an OBD-II scanner to check for audio-related fault codes. Manufacturer-specific scan tools can access deeper diagnostic menus, reset modules, or perform software updates.
Signal Tracing
For complex issues, signal tracers or oscilloscopes can verify audio signal presence at various points (head unit output, amplifier input, speaker terminals). This is particularly useful for diagnosing amplifier or DSP failures.
Avoiding Common Pitfalls in Audio System Diagnosis
- Assuming the Head Unit Is the Problem: Many issues stem from wiring, power supply, or speakers—not the head unit itself.
- Overlooking Ground Connections: Poor grounds are a leading cause of noise, distortion, and intermittent operation.
- Neglecting Software/Updates: Infotainment bugs are increasingly common; check for recalls or firmware fixes.
- Improper Aftermarket Integration: Incorrectly spliced wires or incompatible adapters can create new faults.
- Skipping the Basics: Always start with fuse and power checks before diving into complex diagnostics.
Buying Guidance: Choosing Quality Replacement Parts
What to Look For
- Vehicle Compatibility: Confirm fitment by year, make, and model.
- Reputable Brands: Choose parts from trusted manufacturers or certified remanufacturers.
- Warranty: Look for at least a 1-year warranty on head units and speakers.
- Feature Set: Consider Bluetooth, USB, and smartphone integration when upgrading.
Sourcing from AutoPartEx
At AutoPartEx, we stock a full range of OEM and high-quality aftermarket CD player and radio systems for every major vehicle platform. Our fitment guides and technical support ensure you get the right part the first time, with fast shipping and expert advice available.
Maintenance Tips to Prevent Future Audio Failures
- Regularly inspect and clean connectors, especially after wet weather or interior repairs.
- Test audio functions periodically—don’t wait for total failure to address weak or distorted channels.
- Update infotainment firmware when available to address bugs and improve compatibility.
- Avoid using non-recommended cleaning products on head units and screens.
- Keep speaker grilles and door panels free of debris to prevent physical damage to speakers.
When to Consider Upgrading Your Audio System
If repeated failures occur or if your system lacks modern features (Bluetooth, streaming, navigation), upgrading may be more cost-effective than repeated repairs. See our editorial on Integrating Aftermarket Radios with OEM Systems for guidance on maintaining factory controls while adding new capabilities.
For a historical perspective on in-car entertainment evolution, check out The Evolution of In-Car Entertainment: From Cassette to Streaming.
AutoPartEx: Your Partner in Audio System Diagnosis and Replacement
Diagnosing and fixing audio system failures requires a blend of systematic troubleshooting, technical knowledge, and access to quality replacement parts. AutoPartEx is committed to supporting drivers and technicians with expert guides, fitment-verified components, and responsive customer service. Whether you need a simple fuse or a complete infotainment module, our catalog and support resources are designed to make the process efficient and reliable.
For further assistance or to browse the latest parts and technical guides, visit our CD Player and Radio Systems section.