
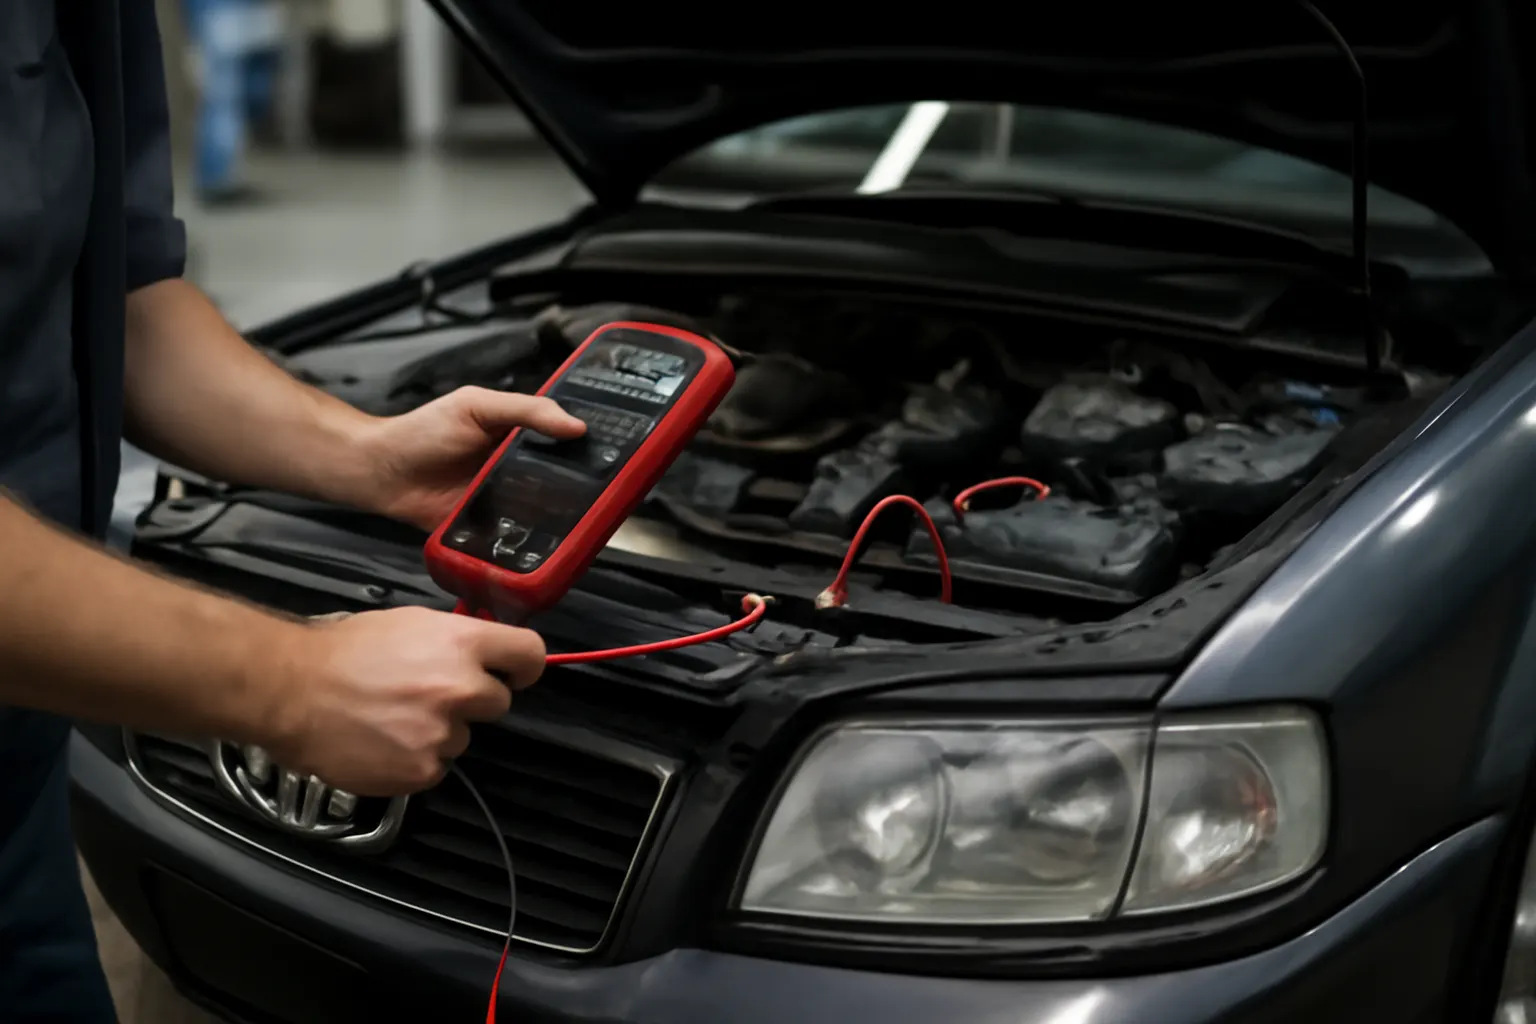
Troubleshooting Electrical Issues
Electrical issues are among the most common—and frustrating—problems encountered by Audi 90 Series owners. Whether your car refuses to start, dashboard lights flicker, or you’re experiencing intermittent failures in lighting, ignition, or accessories, electrical faults can disrupt your driving experience and even jeopardize vehicle safety. This comprehensive guide walks you through the process of identifying, diagnosing, and resolving the most prevalent electrical issues in the Audi 90, combining practical checklists, technical insights, and expert recommendations. For a broader look at model-specific parts and maintenance, see the Audi 90 Series Auto Parts & Model-Specific Maintenance Guide.
Immediate Answers: Common Audi 90 Electrical Problems and Quick Fixes
If your Audi 90 won’t start, headlights are dim, or electrical accessories are malfunctioning, the most likely culprits are battery issues, corroded grounds, blown fuses, or faulty relays. Here’s a quick triage checklist to get you started:
- Check the battery: Inspect for corrosion, low voltage, or loose terminals.
- Inspect fuses: Use the fuse box diagram to locate and visually check for blown fuses.
- Test relays: Swap with known good relays if possible.
- Examine grounding points: Look for rust or loose ground straps, especially near the battery and under the dash.
- Scan for codes: Use an OBD-I scanner (if your model year supports it) for stored fault codes.
These steps resolve a significant percentage of no-start or intermittent electrical complaints in the Audi 90. However, if problems persist, it’s essential to dig deeper—hidden issues may be lurking beneath the surface.
The Hidden Problem: Why Audi 90 Electrical Faults Are Often Overlooked
While the Audi 90 Series is renowned for its robust engineering, its electrical system design is typical of late 1980s and early 1990s German vehicles: complex, with multiple relays, aging wiring insulation, and unique grounding strategies. Many owners and even some technicians overlook:
- Deterioration of wiring insulation leading to intermittent shorts.
- Aging solder joints on printed circuit boards in the fuse/relay panel.
- Moisture ingress under the hood or in the cabin, causing hidden corrosion.
- Non-OEM replacement parts with subtle compatibility issues.
These factors can cause elusive, recurring faults that are easily mistaken for battery or alternator issues, leading to unnecessary parts replacement or incomplete repairs.
Expanding the Problem: Understanding Audi 90 Electrical Architecture
To effectively troubleshoot, it’s critical to understand how the Audi 90’s electrical system is organized:
- Main Power Distribution: The battery supplies power to the starter, alternator, and fuse/relay panel. Key grounds are located near the battery tray, on the engine block, and beneath the dashboard.
- Central Fuse/Relay Panel: Located under the driver’s side dash, this panel routes power to all vehicle systems, including ignition, lighting, HVAC, and accessories.
- Ignition Circuit: Includes the ignition switch, ignition coil, and associated relays. Faults here often cause no-start or stalling.
- Accessory Circuits: Windows, sunroof, central locking, and lighting each have dedicated fuses and relays.
- Diagnostic Connector: Early Audi 90s use OBD-I or proprietary connectors, typically under the hood or dash.
Understanding this layout is vital for methodical diagnosis and repair.
Step-by-Step Electrical Troubleshooting Checklist
Before replacing any parts, follow this systematic checklist to isolate the root cause of your Audi 90’s electrical issue:
1. Battery & Charging System
- Measure battery voltage (should be 12.4–12.7V engine off, 13.8–14.4V running).
- Check for corrosion or loose terminals.
- Test alternator output using a multimeter.
- Inspect battery ground strap for rust or looseness.
2. Fuses & Relays
- Use the fuse box diagram to identify relevant circuits.
- Remove and inspect all suspect fuses for breaks or discoloration.
- Test relays by swapping with identical known-good units.
- Listen for relay clicks during operation.
3. Grounds & Wiring
- Inspect main body and engine ground points for corrosion or broken wires.
- Check wiring harnesses for brittle insulation or melted sections.
- Gently wiggle connectors while observing for flickering or loss of function.
4. Switches & Connectors
- Test suspect switches (ignition, window, lights) for continuity.
- Clean and tighten connectors using contact cleaner.
- Inspect for green or white corrosion at plug terminals.
5. Load Testing
- With all accessories on, monitor voltage drop at battery and major ground points.
- Excessive drop (>0.3V) indicates resistance in wiring or grounds.
Document findings at each step. Most persistent electrical issues are traced to one of these areas.
Diagnosing Ignition System Faults
Ignition-related failures are a frequent source of no-start or stalling complaints in the Audi 90. The system includes:
- Ignition switch
- Ignition coil
- Distributor (if equipped)
- Ignition control module
- Associated relays and wiring
Common Symptoms
- Engine cranks but does not start
- Starter engages intermittently
- Sudden stalling while driving
- No spark at the plugs
Diagnostic Approach
- Check for spark: Remove a plug wire, use a spark tester while cranking.
- Test coil voltage: Should see battery voltage at coil primary with ignition on.
- Bypass ignition switch: Jumper ignition switch terminals to rule out switch failure.
- Check ignition control module: Use known-good module if available; modules often fail when hot.
Pro Tip
Always verify power and ground at each component before replacing. Many ignition “failures” are actually relay or grounding issues.
Troubleshooting Lighting and Accessory Circuits
The Audi 90’s lighting and accessory circuits are protected by dedicated fuses and relays. Common faults include:
- Flickering or dim headlights
- Inoperative tail or brake lights
- Power window or sunroof failure
- Blower motor not working
Diagnostic Steps
| Symptom | Likely Cause | Diagnostic Step |
|---|---|---|
| Dim headlights | Voltage drop, bad ground | Measure voltage at bulbs, inspect grounds |
| No brake lights | Blown fuse, bad switch | Check fuse, test brake switch |
| Window/sunroof dead | Faulty relay, broken wire | Swap relay, test continuity |
| Blower inoperative | Blower resistor, fuse, relay | Inspect resistor, test relay |
Note: Always check for moisture in connectors, especially in the doors and trunk, as this can corrode terminals and cause intermittent faults.
Relay Panel and Printed Circuit Board Issues
The Audi 90 uses a centralized relay and fuse panel with a printed circuit board (PCB) on the rear. Over time, the following faults may develop:
- Cracked solder joints causing intermittent or total loss of circuit function
- Burned relay sockets from high-resistance connections
- PCB corrosion due to moisture ingress
Repair Guidance
- Remove the relay panel for visual inspection of the PCB.
- Look for darkened, cracked, or lifted solder joints.
- Re-solder joints as needed using automotive-grade solder.
- Clean any corrosion with isopropyl alcohol and a soft brush.
Caution: Disconnect the battery before working on the relay panel to prevent shorts.
Addressing Grounding and Corrosion Issues
Ground faults are a notorious source of electrical gremlins in aging Audi 90s. Symptoms often include:
- Multiple unrelated electrical failures
- Flickering dash lights
- Unexplained warning lights
Ground Inspection Checklist
- Locate and clean the main body ground (typically near the battery tray).
- Inspect engine-to-chassis ground strap for corrosion or looseness.
- Check dashboard ground points (under driver’s side).
- Use a multimeter to check for continuity between ground points and battery negative.
Tip: Apply dielectric grease to cleaned ground points to prevent future corrosion.
Dealing with Moisture Intrusion and Hidden Corrosion
Water leaks, especially around windshield seals, sunroof drains, or trunk gaskets, can introduce moisture into wiring harnesses and connectors. This often leads to:
- Green or white corrosion on terminals
- Intermittent or total circuit failure
- Musty odors or visible dampness in carpets
Solutions
- Identify and repair leaks (reseal windshield, clear sunroof drains).
- Remove affected connectors, clean with electrical contact cleaner, and dry thoroughly.
- Replace irreparably corroded connectors or sections of harness.
Faulty Aftermarket Parts and Compatibility Issues
Non-OEM electrical components, such as switches, relays, or lighting modules, can introduce subtle compatibility problems:
- Incorrect pinouts causing non-operation
- Incompatible relay coil resistance affecting switching
- Poor-quality contacts leading to high resistance and heat
Best Practices
- When replacing electrical parts, use OEM or high-quality aftermarket components verified for your specific Audi 90 model year.
- Refer to the Oem Fitment Checklist before purchasing.
- Double-check part numbers and connector layouts.
The Role of Recalls and Technical Service Bulletins
Some electrical issues in the Audi 90 Series have been subject to recalls or technical service bulletins (TSBs), especially those involving safety-critical systems like lighting or ignition. Always check for open recalls:
- Visit the NHTSA Recalls Database and enter your VIN.
- Review any TSBs related to electrical systems, which may offer improved parts or updated repair procedures.
Addressing recall-related faults is essential for safety and compliance.
Sourcing the Right Replacement Parts
Reliable electrical repair depends on sourcing the correct, high-quality parts. Here’s how to ensure proper fitment and function:
- Use the Audi 90 Series Auto Parts & Model-Specific Maintenance Guide for part diagrams and verified fitment.
- Cross-reference OEM part numbers before ordering.
- Consult the Parts Buying Guide for tips on distinguishing genuine vs. counterfeit components.
- When possible, order from reputable suppliers specializing in European vehicles.
Preventive Maintenance Tips for Audi 90 Electrical Longevity
Routine preventive maintenance can greatly reduce the incidence of electrical faults:
- Inspect and clean battery terminals and grounds annually.
- Check for signs of moisture in the cabin and trunk after heavy rain.
- Replace aging relays and fuses proactively, especially if original.
- Periodically test alternator output and battery condition.
- Keep wiring harnesses secured and away from heat sources or moving parts.
Advanced Diagnostics: When to Seek Professional Help
Some electrical issues—especially those involving intermittent faults, CAN bus communication (if equipped), or complex accessory systems—require advanced diagnostics:
- Use an automotive oscilloscope to trace voltage and signal integrity.
- Perform voltage drop testing under load at multiple points.
- Consult factory wiring diagrams for circuit tracing.
- If you lack the tools or experience, seek a shop familiar with classic Audi electrical systems.
AutoPartEx: Your Partner in Audi 90 Electrical Solutions
At AutoPartEx, we understand the technical nuances and sourcing challenges unique to the Audi 90 Series. Our expert resources and curated parts catalog help you:
- Diagnose issues with in-depth guides and checklists
- Source verified-fitment electrical parts for every Audi 90 model year
- Avoid common pitfalls with technical support and fitment verification
Explore our Audi 90 Series Auto Parts & Model-Specific Maintenance Guide or consult our Audi 90 Maintenance Guide for comprehensive support on every aspect of your vehicle’s care.