
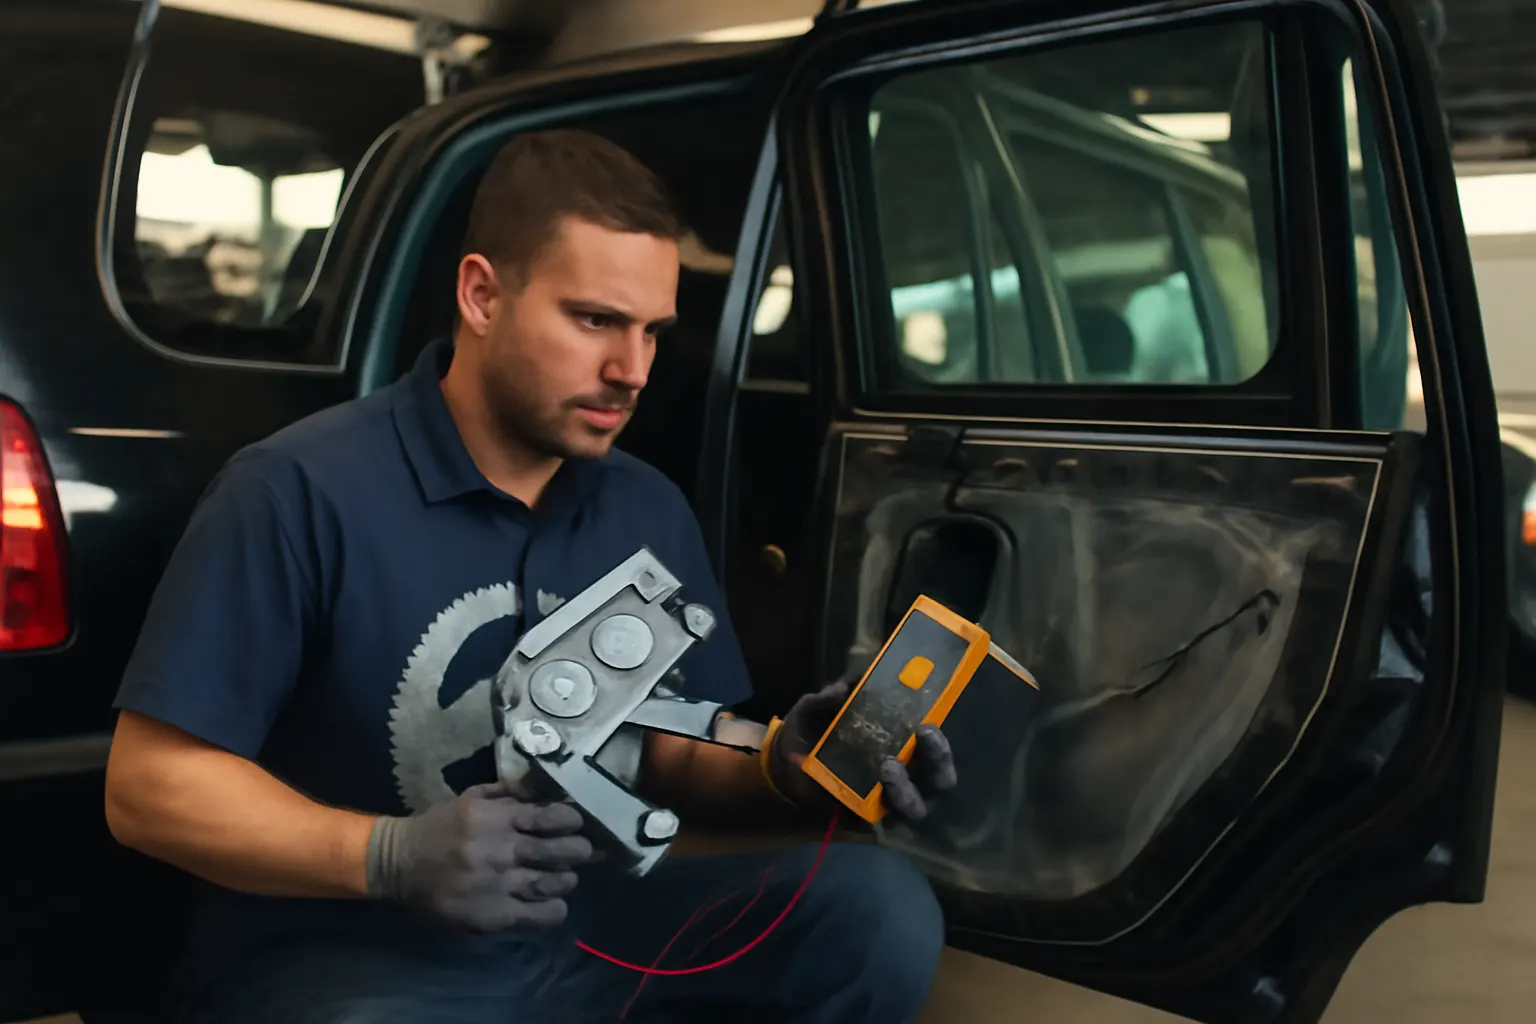
Toyota Regulator Failure Case Study
Toyota vehicles are renowned for their reliability, but even the most robust models are not immune to component failures. One area where this becomes evident is in the gate window regulator—a critical assembly that enables smooth and safe window operation. In this comprehensive case study, we dive into real-world service bay reports, analyze the underlying technical issues, and provide a detailed repair cost breakdown for Toyota gate window regulator failures. If you’re facing window operation problems, this field-verified guide will help you understand the root causes, make informed repair decisions, and avoid repeated failures. For a broader overview of Toyota regulator fitment, sourcing, and technical issues, visit our Toyota Gate Window Regulator: OEM Fitment, Technical Issues, and Expert Sourcing category page.
Immediate Answer: What Happens When a Toyota Gate Window Regulator Fails?
When a Toyota gate window regulator fails, the most common symptoms are a non-operational or stuck window, grinding or clicking noises during window movement, or a window that falls into the door and cannot be raised. In many cases, the window glass becomes misaligned or drops entirely, posing a safety risk and leaving the vehicle vulnerable to weather and theft. Service bay data reveals that such failures are primarily due to worn gears, snapped cables, or broken plastic components within the regulator assembly.
The immediate solution is to diagnose the regulator and replace the faulty assembly with an OEM or high-quality aftermarket unit. Timely action prevents further damage to the window, motor, and related door components.
The Hidden Problem: Why Do These Failures Occur Repeatedly?
While a single regulator failure might seem like bad luck, repeated issues point to deeper technical and systemic problems. Field reports indicate that certain Toyota models—especially those with high window usage or exposure to harsh environments—experience regulator failures at a higher-than-average rate. This is not always due to defective parts; often, it’s a combination of design limitations, material fatigue, and incorrect installation practices.
Technicians have noted that improper lubrication, use of low-grade replacement parts, or failure to address underlying window track issues can lead to recurring failures. Furthermore, regulator design changes in later Toyota models have introduced new materials and construction methods, which, although lighter and more efficient, sometimes sacrifice long-term durability if not matched with proper maintenance.
Digging Deeper: Technical Anatomy of the Toyota Gate Window Regulator
A window regulator is not a single part, but a compact assembly of gears, cables, pulleys, and mounting points that work in concert to raise and lower the window glass. Toyota regulators are engineered for lightweight efficiency, using advanced materials such as high-strength plastics and treated steel (see Materials Technologies). However, these same lightweight components are more susceptible to wear and fatigue over time, especially in regions where salt, moisture, or dust are prevalent.
Key technical failure points include:
- Cable Stretch or Breakage: Over time, the steel cable inside the regulator can fray or snap, especially if the window is frequently operated or if debris enters the mechanism.
- Gear Wear: The plastic or nylon gears that transfer motor force to the cable can strip or lose teeth, resulting in grinding noises and erratic window movement.
- Pulley Failure: Pulleys guide the cable smoothly; if a pulley cracks or seizes, the window may jam or move unevenly.
- Mounting Fatigue: Repeated stress on mounting points can cause the regulator to shift or detach, misaligning the window.
Understanding these common failure modes is crucial for both diagnosis and selecting the right replacement part.
Case Study 1: 2012 Toyota 4Runner Rear Gate Regulator
Symptoms: The rear gate window would not raise or lower, and the motor made a clicking sound with no glass movement.
Diagnosis: Technician removed the interior trim and found the regulator cable had snapped near the pulley. The cable was frayed, and small metal filings were present in the assembly, indicating long-term wear.
Root Cause: The vehicle operated in a coastal environment, leading to corrosion and accelerated cable fatigue.
Repair: Replaced the entire regulator assembly with a genuine Toyota OEM part. Lubricated the window tracks and inspected the motor (which was still functional).
Cost Analysis:
- OEM Regulator Assembly: $210
- Labor (1.2 hours): $180
- Total: $390
Takeaway: Environmental factors such as salt exposure can significantly reduce regulator lifespan. OEM parts provided the best fit and durability for this application.
Case Study 2: 2016 Toyota Tacoma Rear Window Regulator
Symptoms: Window intermittently jammed when raising; eventually, the glass became stuck halfway.
Diagnosis: Disassembly revealed a broken plastic gear inside the regulator. The gear teeth were worn and had sheared off in several places.
Root Cause: Heavy use of the rear window, combined with insufficient lubrication and possible misalignment of the window channel, led to excessive stress on the gear.
Repair: Replaced the regulator with a high-quality aftermarket part (due to immediate parts availability). Realigned the window channel and applied silicone lubricant.
Cost Analysis:
- Aftermarket Regulator Assembly: $120
- Labor (1 hour): $150
- Total: $270
Takeaway: Proper window channel alignment and periodic lubrication can extend regulator life, even when using aftermarket parts.
Case Study 3: 2018 Toyota Highlander Power Gate Regulator
Symptoms: Power gate window failed to operate; clicking and grinding noises heard from inside the tailgate.
Diagnosis: The regulator's main pulley had cracked, causing the cable to jump the track and bind. The window motor was also straining due to the jammed cable.
Root Cause: The failure was traced to a combination of a weak pulley material and debris ingress from a damaged weather seal.
Repair: Both the regulator and window motor were replaced with OEM components. The weather seal was also replaced to prevent recurrence.
Cost Analysis:
- OEM Regulator: $235
- OEM Motor: $140
- Weather Seal: $30
- Labor (1.5 hours): $225
- Total: $630
Takeaway: Addressing related components, such as weather seals, is essential to prevent repeat failures and additional costs.
How Regulator Failures Impact Safety and Vehicle Operation
A malfunctioning window regulator is more than a minor nuisance. According to the National Highway Traffic Safety Administration, inoperative windows can compromise occupant safety by:
- Hindering emergency egress in the event of an accident.
- Allowing unauthorized access if the window cannot be fully closed.
- Exposing the interior to weather, leading to electrical system damage and mold.
In addition, a jammed window can strain the window motor, increasing the risk of electrical shorts and further escalating repair costs. For fleet operators and high-mileage vehicle owners, repeated regulator issues can create both safety and operational headaches.
Diagnosing a Failing Toyota Gate Window Regulator: A Step-by-Step Checklist
Accurate diagnosis is key to efficient repairs and cost control. Use the following checklist to identify regulator issues before committing to replacement:
Toyota Gate Window Regulator Diagnostic Checklist
-
Operate the Window Switch
- Listen for unusual noises (grinding, clicking, or silence).
- Note if the window moves smoothly, hesitates, or is stuck.
-
Inspect Window Alignment
- Look for glass misalignment or sagging in the door frame.
- Gently attempt to move the glass by hand (with the switch off).
-
Remove Door/Gate Trim Panel
- Carefully detach interior trim to access the regulator.
- Inspect for broken cables, loose mounting bolts, or damaged gears.
-
Test the Window Motor
- With the regulator disconnected, activate the switch and check for motor operation.
- If the motor spins freely, the fault is likely in the regulator.
-
Check for Debris or Corrosion
- Look for signs of rust, metal filings, or foreign objects inside the assembly.
-
Evaluate Related Components
- Inspect window tracks, weather seals, and electrical connectors.
-
Document Findings
- Take photos or notes for future reference, especially if warranty or insurance claims are involved.
For a more detailed diagnostic process, see our Toyota Gate Window Regulator Diagnosis editorial guide.
Repair Cost Analysis: OEM vs. Aftermarket Regulator Replacement
One of the most common questions from Toyota owners is whether to invest in an OEM regulator or opt for an aftermarket alternative. Field data and service bay reports reveal the following:
- OEM Regulators: Offer precise fitment, consistent performance, and typically come with a manufacturer-backed warranty. They are engineered to Toyota’s original specifications and often use higher-grade materials.
- Aftermarket Regulators: Range from economy to premium options. While some high-quality aftermarket units match OEM performance, others may use lower-grade materials or lack exact fitment, leading to increased installation time or premature failure.
Cost Comparison Table (Typical for 2010–2020 Toyota SUVs/Pickups):
| Regulator Type | Parts Cost | Labor Cost | Total Installed Cost | Expected Lifespan |
|---|---|---|---|---|
| OEM | $200–$250 | $150–$220 | $350–$470 | 5–8 years |
| Aftermarket | $90–$180 | $150–$220 | $240–$400 | 2–6 years |
For a deep dive into the pros and cons of each option, read our Toyota Window Regulator Oem Vs Aftermarket comparison.
Installation Best Practices: Avoiding Recurring Failures
A significant percentage of recurring regulator failures can be traced back to improper installation or skipped steps during repair. Follow these best practices to maximize regulator lifespan and avoid costly rework:
- Always Clean and Lubricate Tracks: Old grease, dirt, or debris in the window channel adds resistance and stress to the regulator.
- Replace Related Hardware: Worn or missing mounting bolts, clips, or seals can cause misalignment and premature wear.
- Align the Window Precisely: After installing the new regulator, cycle the window several times to ensure smooth movement and correct seating.
- Use the Correct Torque Specs: Over-tightening or under-tightening bolts can damage regulator mounting points or cause vibration.
- Test Functionality Before Reassembly: Operate the window fully before reinstalling trim panels to catch any issues early.
For a step-by-step installation walkthrough, see our Toyota Regulator Installation Best Practices guide.
Preventive Maintenance: Extending the Life of Your Toyota Gate Window Regulator
While window regulators are considered “wear” items, routine maintenance can dramatically extend their service life and prevent sudden failures:
- Lubricate Window Tracks Annually: Use a silicone-based lubricant to reduce friction and protect against moisture.
- Inspect Weather Seals and Drain Holes: Cracked seals or clogged drains allow water and debris to enter the door, accelerating corrosion.
- Minimize Forceful Window Operation: Avoid holding the switch after the window reaches its stop, as this strains the motor and gears.
- Address Early Warning Signs: If you notice slow movement or unusual noises, inspect the regulator before a complete failure occurs.
Advanced Technical Insights: Materials, Engineering, and Standards
Toyota’s approach to window regulator engineering has evolved in response to industry trends toward lighter vehicles and improved fuel efficiency (DOE Fuel Efficiency). This has led to the adoption of composite materials and thinner gauge metals, which reduce weight but may require more careful maintenance.
Regulators are also subject to stringent safety and durability standards, including those outlined by SAE International (SAE Standards). These standards cover everything from corrosion resistance to operational cycles and impact safety. However, aftermarket parts may or may not meet the same rigorous testing, making part selection critical for long-term reliability.
Common Pitfalls: What Service Bays and DIYers Get Wrong
Despite the availability of quality parts and clear technical documentation, certain mistakes continue to appear in service bay reports:
- Reusing Old Hardware: Old bolts, clips, or seals can compromise the new regulator’s performance.
- Skipping Window Channel Adjustment: Misaligned channels are a leading cause of premature regulator wear.
- Neglecting Electrical Diagnostics: Sometimes, the issue is a weak switch or corroded connector, not the regulator itself.
- Improper Lubricant Use: Petroleum-based greases can degrade plastic gears or attract dirt; always use manufacturer-recommended lubricants.
Technicians and DIYers alike should follow a disciplined approach and consult model-specific repair guides for best results.
Sourcing the Right Regulator: Buying Guidance for Toyota Owners
Choosing the right replacement regulator requires more than just matching part numbers. Consider the following factors:
- Model and Year Fitment: Toyota regulators can vary significantly between models and even trim levels. Always verify compatibility with your VIN.
- Material Quality: Opt for regulators with reinforced cables, precision-molded gears, and corrosion-resistant finishes.
- Supplier Reputation: Purchase from reputable suppliers who stand behind their products with clear warranties and technical support.
- OEM vs. Aftermarket Decision: Balance cost, availability, and long-term reliability when making your choice.
For curated regulator options and sourcing expertise, explore the Toyota Gate Window Regulator: OEM Fitment, Technical Issues, and Expert Sourcing page.
AutoPartEx Advantage: Your Partner in Toyota Regulator Success
At AutoPartEx, we leverage real-world field data, manufacturer guidance, and technical standards to deliver the most accurate and actionable Toyota window regulator content on the web. Our editorial team partners with certified technicians and parts suppliers to ensure you receive up-to-date diagnostics, sourcing, and installation guidance. Whether you’re a fleet manager, independent shop, or DIY enthusiast, our resources empower you to get the job done right the first time.
For more expert insights, visit our Toyota Gate Window Regulator: OEM Fitment, Technical Issues, and Expert Sourcing category hub.
Expert Action: Next Steps for Toyota Owners and Technicians
If you suspect your Toyota’s gate window regulator is failing:
- Use the diagnostic checklist above to confirm the issue.
- Compare OEM and aftermarket replacement options, factoring in cost, fitment, and warranty.
- Follow best practices for installation and maintenance to maximize the life of your new regulator.
- Document repairs and monitor for early warning signs to avoid future failures.
For model-specific support, installation guides, or sourcing recommendations, turn to AutoPartEx as your go-to technical resource.