
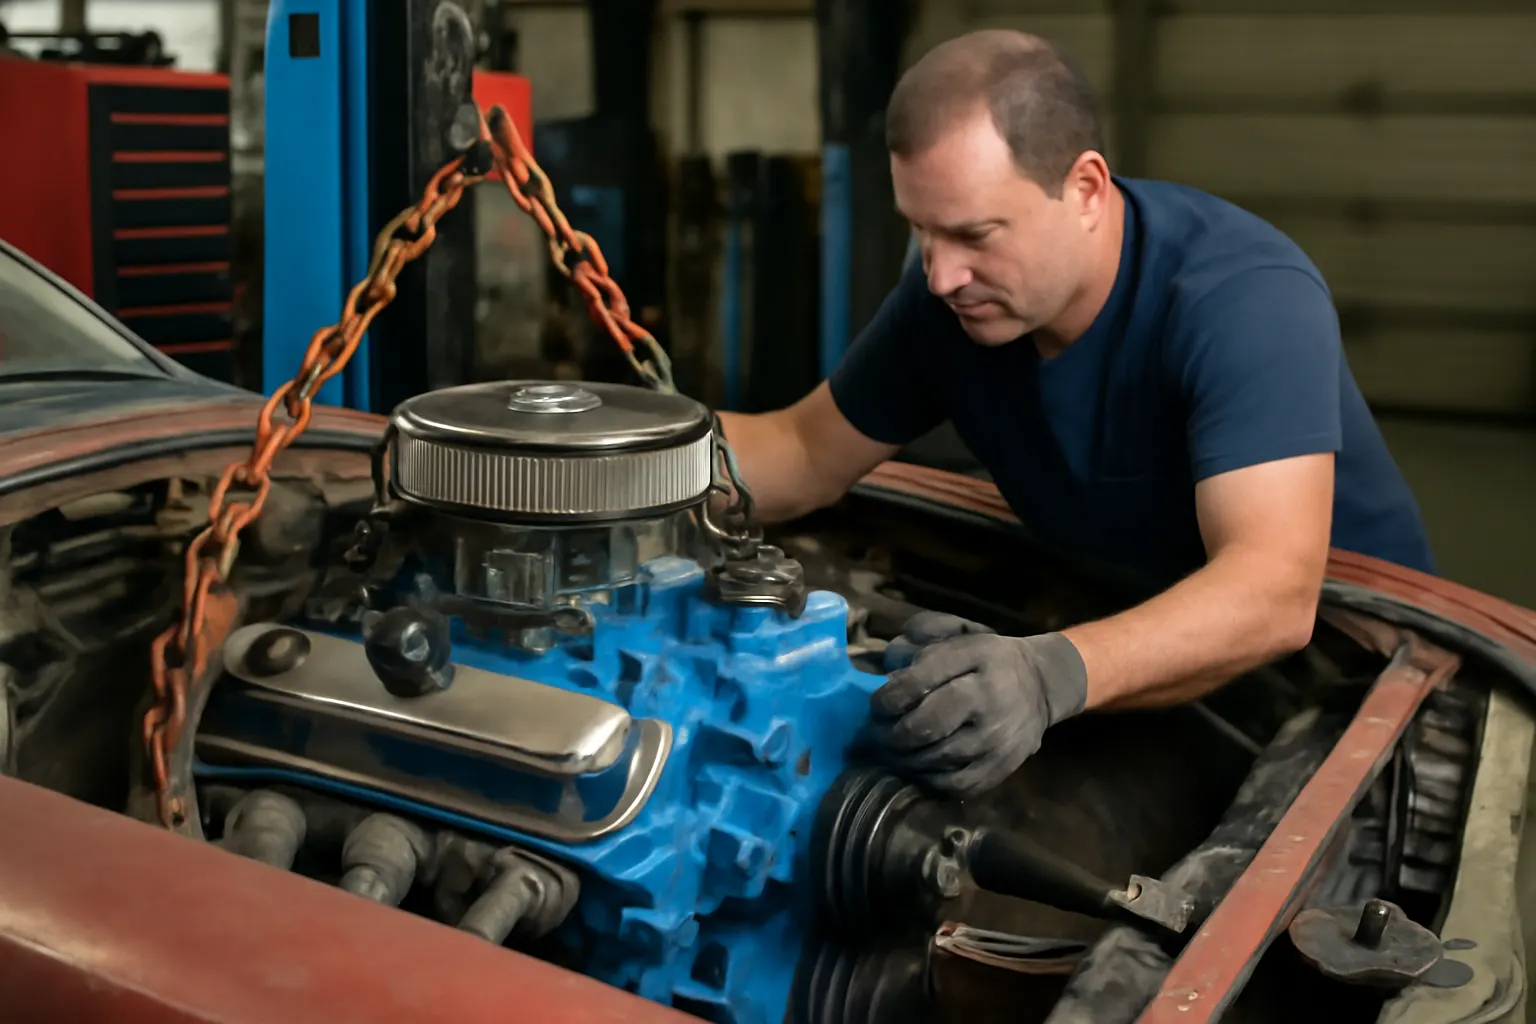
Amc American Engine Swap Tips
Swapping an engine into a classic AMC American can unlock new levels of performance, reliability, and enjoyment—if you know how to navigate the platform’s unique challenges. The AMC American’s compact unibody construction, distinct engine bay geometry, and era-specific drivetrain design require careful planning for a successful engine swap. This comprehensive guide delivers actionable tips for choosing compatible engines, adapting mounts, modifying cooling systems, and ensuring safe, roadworthy results.
For a deeper dive into authentic AMC American parts, maintenance, and restoration, visit our AMC American Parts & Maintenance Guide.
Quick-Start: AMC American Engine Swap Essentials
What you need to know immediately: Engine swaps in AMC Americans are possible with careful attention to engine bay dimensions, mount location, transmission compatibility, and cooling upgrades. The most straightforward swaps involve AMC’s own inline-sixes and V8s, but with the right parts and modifications, small-block V8s from other manufacturers can also fit. Key success factors include:
- Matching engine mount locations (AMC used several patterns over the years)
- Ensuring transmission bellhousing compatibility
- Upgrading the cooling system (radiator, fan, shroud)
- Verifying driveshaft length and yoke fit
- Addressing fuel delivery and exhaust routing
Before buying parts or pulling your old engine, reference the AMC American Parts & Maintenance Guide for platform-specific details.
The Hidden Complexity of AMC Engine Swaps
At first glance, the AMC American’s simple, boxy engine bay looks like it could fit almost any powerplant. However, hidden beneath the surface are several factors that can complicate swaps:
- AMC used multiple engine mount patterns and crossmember designs across model years.
- The unibody structure limits space for headers, transmission upgrades, and modern accessories.
- Cooling and electrical systems are often undersized for higher-output engines.
- Transmission tunnels are narrow, challenging modern automatic or overdrive swaps.
- Factory fuel lines and return systems may not support EFI conversions.
These challenges mean that even “bolt-in” swaps often require fabrication, careful parts selection, and a strong understanding of AMC’s engineering quirks.
Understanding AMC American Platform Differences
The AMC American (produced from 1958–1969) saw three generations and several major engineering changes. Identifying your vehicle’s generation is crucial:
- First Generation (1958–1960): Narrow engine bay, designed for flathead and OHV inline-sixes. Engine swaps are most challenging here.
- Second Generation (1961–1963): Slightly wider bay, improved front suspension, more room for inline-sixes and limited V8 options.
- Third Generation (1964–1969): The most swap-friendly, factory-offered with AMC’s 232 and 199 inline-sixes and, in some cases, the 290/343 V8s.
Tip: Always verify your model year and engine bay measurements before ordering swap components.
Engine Mount Locations and Crossmember Adaptation
Engine mounting is a primary concern in AMC American swaps. AMC used several different engine mount patterns:
- Inline-Six Mounts: Earlier models used a “side saddle” mount, while later years standardized on block-side bosses.
- V8 Mounts: AMC V8s (290, 304, 343, 360, 390, 401) share a similar pattern but may require different brackets and isolators.
Adapting mounts checklist:
- Inspect your crossmember for existing mount locations.
- Measure frame width and compare to donor engine mount spread.
- Source or fabricate adapter plates if using a non-AMC engine.
- Use high-quality polyurethane or OEM-style rubber isolators for vibration control.
Pro Tip: Aftermarket companies offer weld-in and bolt-on mount kits for popular swaps. Always test-fit before final assembly.
Transmission Compatibility and Tunnel Clearance
The AMC American was designed for compact manual and automatic transmissions. Swapping in modern or higher-output powerplants often requires transmission upgrades, which introduces further fitment issues:
- Bellhousing: AMC sixes and V8s use different bolt patterns; ensure your transmission matches the new engine.
- Transmission Tunnel: The tunnel is narrow, especially in early models. Overdrive automatics (like the 700R4 or AOD) may require tunnel modification.
- Driveshaft: Driveshaft length and yoke size must be matched to the new transmission output.
Transmission swap tips:
- Mock up the engine and transmission together before final installation.
- Consider compact overdrive units for highway drivability.
- Reinforce tunnel sheet metal if cutting or welding is required.
Cooling System Upgrades for Modern Powerplants
The AMC American’s stock radiator and fan were designed for modest-output engines. Higher horsepower and modern engines generate more heat, demanding cooling upgrades:
- Radiator: Upgrade to an aluminum multi-core radiator sized for the new engine’s output.
- Fan: Use a high-flow electric fan with a shroud for consistent cooling at idle and low speeds.
- Hoses and Thermostat: Replace all hoses and consider a high-flow thermostat.
- Overflow and Recovery: Add a coolant overflow tank if not already equipped.
Cooling system checklist:
- Verify radiator inlet/outlet locations match engine.
- Use a fan controller or relay for electric fans.
- Check hood clearance for taller radiators or fans.
- Pressure-test the system before first startup.
Fuel System and Delivery Adaptations
Classic AMC Americans used low-pressure mechanical fuel pumps and small-diameter lines. Swapping to a modern engine—especially with EFI—requires upgrades:
- Fuel Pump: Install an electric in-tank or in-line pump rated for EFI pressure (40–60 psi).
- Lines: Upgrade to 3/8” or larger fuel supply and return lines for high-performance engines.
- Regulator: Use a quality fuel pressure regulator.
- Tank: Consider a baffled or aftermarket tank to prevent fuel starvation during hard acceleration.
Pro Tip: Route fuel lines away from exhaust heat sources and use modern materials for safety and reliability.
Exhaust Routing and Header Fitment
Fitting headers or custom exhaust manifolds in the AMC American’s tight engine bay can be a challenge:
- Manifold vs. Header: Shorty headers often fit better than long-tube designs.
- Steering Clearance: Watch for interference with the steering column and box.
- Collector Location: Plan for collector and O2 sensor placement if using EFI.
Exhaust fitment tips:
- Test-fit all exhaust components before final assembly.
- Use high-temperature wrap or shielding near sensitive components.
- Custom fabrication may be required for optimal flow and clearance.
Electrical System Upgrades and Integration
AMC Americans from the factory used basic wiring and low-output alternators. Swapping to engines with electronic ignition, EFI, or modern accessories requires:
- Alternator: Upgrade to a high-output alternator (at least 80–100 amps).
- Wiring Harness: Use a modern, labeled harness for safety and serviceability.
- Battery: Consider relocating the battery for weight balance and engine bay space.
- Grounding: Add multiple engine and chassis grounds for reliable electronics.
Pro Tip: Label every wire and use quality connectors to prevent future troubleshooting headaches.
Diagnostic and Pre-Swap Inspection Checklist
Before removing your original engine or buying swap parts, perform a thorough inspection:
- Engine Bay Measurements: Width, length, and height clearances.
- Crossmember and Mounts: Condition and location of existing mounts.
- Firewall and Tunnel: Check for rust, damage, or previous modifications.
- Cooling System: Evaluate radiator, hoses, and fan clearance.
- Fuel System: Inspect lines, tank, and pump for rust or contamination.
- Electrical System: Assess wiring condition and alternator output.
- Brakes and Suspension: Upgrades may be required for added power; see our Amc American Suspension Upgrades guide.
Document all findings and take photos for reference during reassembly.
Sourcing AMC-Compatible Engines and Parts
Finding the right engine and supporting parts is half the battle. Here’s how to streamline sourcing:
- AMC Engines: Look for 232/258 inline-sixes, or 290/304/343/360 V8s from other AMC models (Javelin, Rebel, Hornet, etc.).
- Donor Vehicles: AMC Eagles, Jeep CJs, and Wagoneers often share compatible engines and transmissions.
- Aftermarket Support: Several vendors offer swap kits, mounts, radiators, and transmission adapters specifically for AMC platforms.
- Quality Control: Always verify casting numbers, block condition, and compatibility before purchase.
For trim, brake, and accessory parts, see our Amc American Trim Sourcing and Amc American Brake Overhaul resources.
Materials and Structural Considerations
The AMC American’s unibody construction was innovative for its time, but it can limit swap options:
- Weight: Heavier engines may overstress factory suspension and subframe rails.
- Materials: Reinforce engine crossmember and suspension pick-up points if adding significant horsepower.
- Mounting Points: Avoid welding directly to thin unibody sheet metal; use existing reinforced areas or add subframe connectors.
According to the U.S. Department of Energy’s Materials Technologies research, using lightweight, high-strength materials for mounts and supports can improve safety and performance without adding excessive weight.
Safety, Compliance, and Testing
Safety is paramount. After any engine swap, thoroughly test and inspect your work:
- Brakes: Upgrade to larger discs or dual-circuit master cylinders if power increases significantly.
- Steering: Verify steering geometry and clearance with new engine and exhaust.
- Drivetrain: Inspect u-joints, driveshaft balance, and rear axle condition.
- Cooling and Fuel Systems: Pressure-test for leaks and monitor temperatures during break-in.
- Legal Compliance: Ensure all safety equipment (lights, horn, wipers) is operational. See NHTSA’s Vehicle Safety and Equipment for inspection guidelines.
Final Assembly, Testing, and Tuning
With all systems upgraded and installed, follow this step-by-step process:
- Mock-Up: Assemble engine, transmission, and mounts in the bay. Check fitment, clearance, and alignment.
- Plumbing: Install cooling and fuel systems with new hoses, clamps, and filters.
- Wiring: Connect electrical harness, grounds, and battery. Test all circuits before first fire-up.
- Fluids: Fill with fresh oil, coolant, transmission, and brake fluid.
- Initial Start: Prime oil system, check for leaks, and start engine. Monitor gauges and listen for abnormal noises.
- Road Test: Begin with short, low-speed runs. Gradually increase load and monitor all systems.
- Final Tuning: Adjust timing, fuel delivery, and idle. Retorque fasteners after break-in.
Expert Recommendations and AutoPartEx Support
Swapping an engine in an AMC American is a rewarding project that blends classic style with modern performance. However, success depends on research, patience, and attention to detail. Always:
- Consult the AMC American Parts & Maintenance Guide for platform-specific data.
- Use quality, tested components—not just the cheapest option.
- Keep safety and reliability at the forefront of every modification.
- Document your process for future reference and troubleshooting.
AutoPartEx is committed to supporting AMC enthusiasts with accurate technical resources, vetted parts recommendations, and community-driven advice. Whether you’re chasing period-correct power or modern reliability, our editorial team and parts database can help you build the AMC American of your dreams.