Advertisement
Troubleshooting Power vs. Manual Seat Track Issues
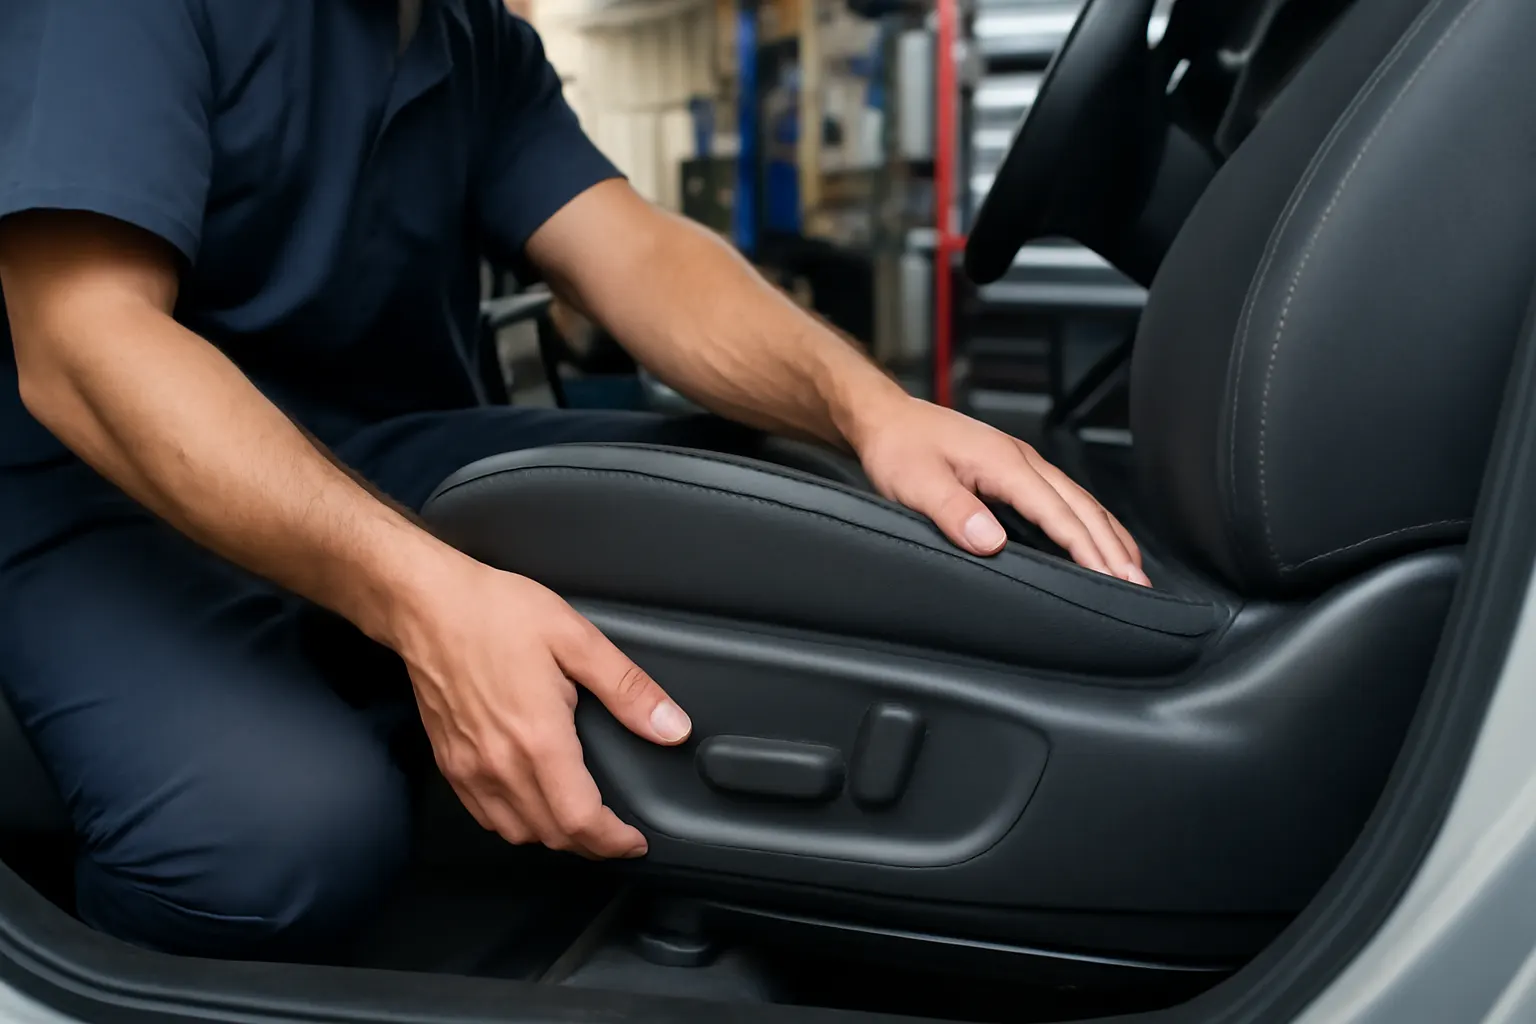
Front seat track issues can compromise both comfort and safety in your vehicle, but the approach to diagnosing and repairing these problems differs significantly between power and manual seat tracks. This guide provides a comprehensive, practical overview for drivers, DIYers, and technicians looking to quickly identify, troubleshoot, and resolve front seat track concerns—whether your vehicle uses a manual lever system or an advanced power seat assembly. For those seeking direct-fit front seat track solutions, explore our Front Seat Track Replacement & Repair Parts | AutoPartEx category to ensure proper fitment and safety compliance.
Immediate Answer: Spotting the Difference in Seat Track Issues
The first step in effective troubleshooting is recognizing whether your vehicle uses a power or manual front seat track, as the failure modes, diagnostic steps, and repair procedures are distinct:
- Manual seat tracks most often suffer from mechanical binding, broken levers, or worn detents.
- Power seat tracks are prone to electrical faults, motor failures, sensor errors, and mechanical misalignments within the powered mechanism.
Quickly distinguishing between these systems allows you to zero in on the likely cause and avoid wasted time or unnecessary part replacements.
The Hidden Problem: Overlapping Symptoms, Different Roots
On the surface, both power and manual seat track failures may present similar symptoms—such as the seat refusing to move, moving unevenly, or making abnormal noises. However, the underlying causes and safety implications can be quite different:
- Manual track issues often stem from corrosion, debris, or physical damage.
- Power track issues can be rooted in blown fuses, faulty wiring, failed motors, or malfunctioning control modules.
Misdiagnosing one for the other can result in ineffective repairs or even introduce new safety risks, especially if a power seat’s electrical system is inadvertently damaged during a repair attempt.
Expanding the Problem: Safety, Comfort, and Compliance Risks
A malfunctioning front seat track is far more than an inconvenience—it’s a direct safety concern. The National Highway Traffic Safety Administration (NHTSA) classifies seat tracks as critical safety equipment because they secure the occupant’s position relative to airbags and seat belts during a collision NHTSA Equipment. Failing to address a faulty seat track can lead to:
- Reduced crash protection: Incorrect seat positioning affects airbag deployment and belt geometry.
- Unexpected seat movement: A loose or broken track can result in the seat shifting during driving or impact.
- Inspection failure: Vehicles may not pass safety inspections or could be subject to recalls if seat track issues are widespread NHTSA Recalls.
For power seats, additional risks include electrical shorts or fire hazards if the wiring is compromised. For manual seats, a jammed or rusted mechanism can prevent safe egress in an emergency.
Understanding Seat Track Construction: Manual vs. Power
Before diving into diagnostics, it’s essential to understand the technical differences between manual and power seat tracks:
Manual Seat Tracks
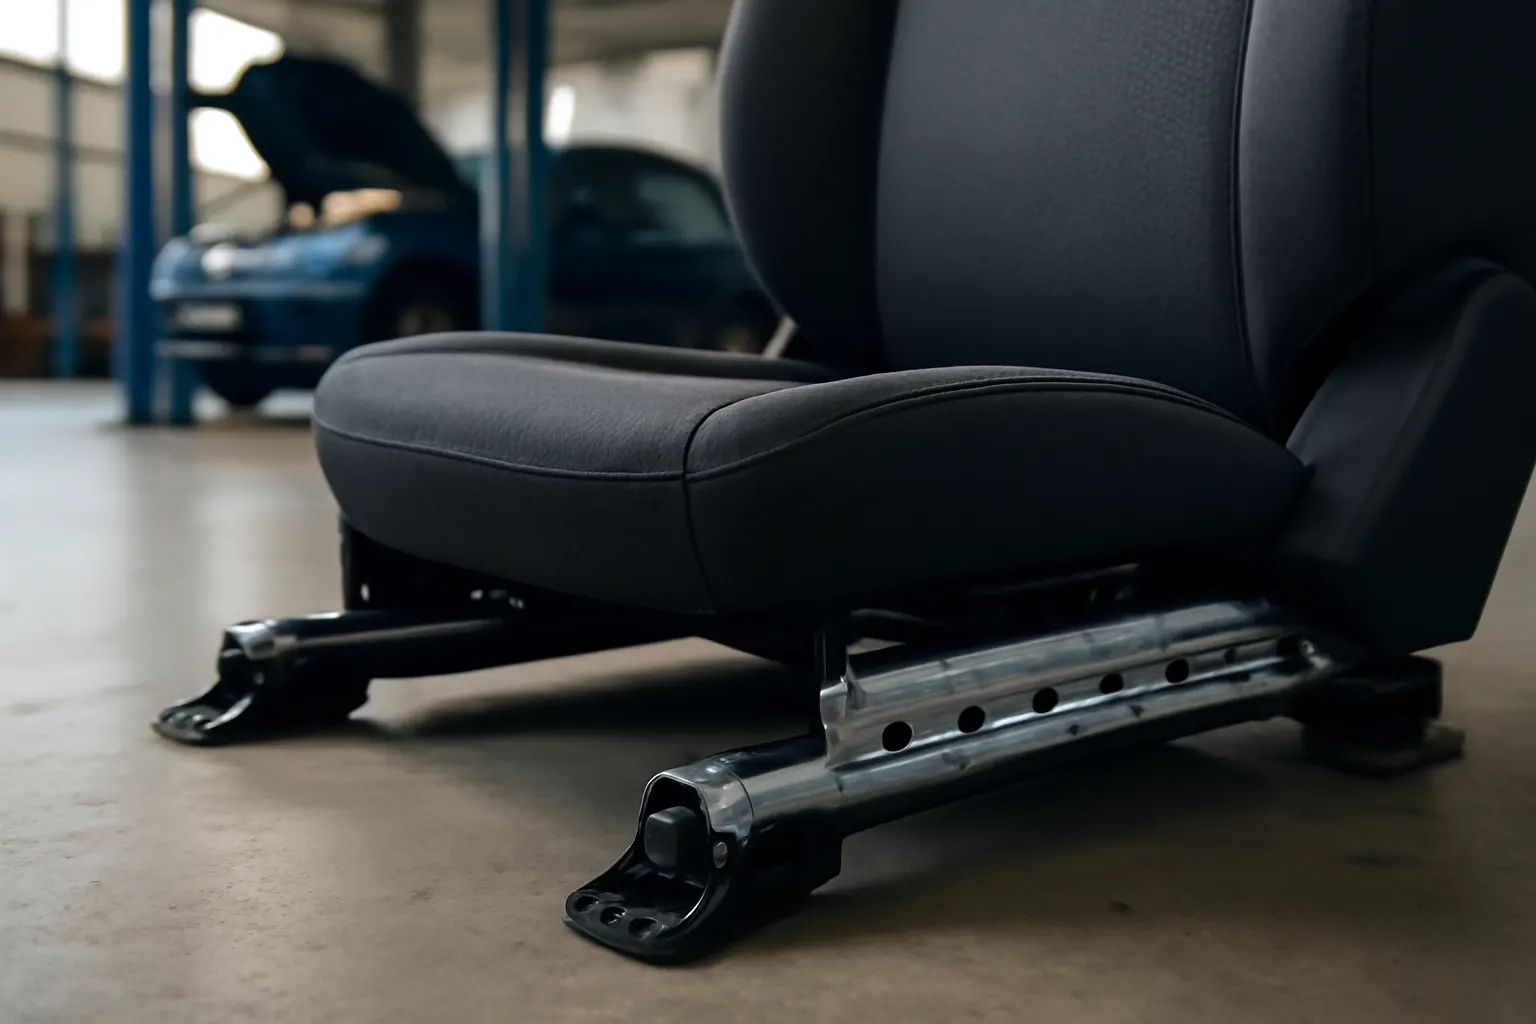
- Structure: Typically a pair of steel rails bolted to the floor, with a spring-loaded locking lever and a toothed detent bar.
- Movement: Seat slides forward/backward when the lever is pulled, disengaging the lock.
- Common Issues: Wear on locking teeth, bent rails, seized mechanisms due to rust or debris.
Power Seat Tracks
- Structure: Similar base rails, but movement is actuated by one or more electric motors, often with integrated sensors and control modules.
- Movement: Switches or buttons send signals to control modules, activating motors for fore-aft, height, tilt, or recline adjustments.
- Common Issues: Motor burnout, failed switches, wiring faults, sensor misalignment, gear/joint wear.
Understanding these distinctions is critical for proper troubleshooting and selecting the correct seat adjustment and hardware replacement parts.
Diagnostic Approach: Manual Seat Track Issues
Diagnosing manual seat track problems relies on tactile and visual inspection:
Common Symptoms
- Seat won’t slide or is stuck in position
- Grinding, popping, or scraping noises during movement
- Seat does not lock securely, or rocks back and forth
Manual Seat Track Diagnostic Checklist
- Inspect the lever: Check for broken, bent, or loose levers.
- Visualize the rails: Look for foreign objects, rust, or physical damage in the rails.
- Test movement: With the lever pulled, attempt to slide the seat; note resistance or binding spots.
- Check locking mechanism: Ensure the detent bar fully engages and locks the seat in each position.
- Examine mounting bolts: Confirm bolts are tight and not stripped or missing.
Advertisement
If binding or locking issues persist, the problem is typically mechanical, not electrical.
Diagnostic Approach: Power Seat Track Issues
Power seat tracks introduce electrical complexity, requiring a systematic approach:
Common Symptoms
- Seat doesn’t move when switch is activated
- Moves in some directions but not others
- Moves slowly or intermittently
- Clicking, buzzing, or no sound from the motor
- Seat memory functions not working
Power Seat Track Diagnostic Checklist
- Test all seat functions: Determine which directions or adjustments are affected.
- Listen for motor activity: Silence may indicate power loss; clicking could mean jammed gears or a weak motor.
- Check fuses: Locate and inspect the seat adjustment fuse in the vehicle’s fuse box.
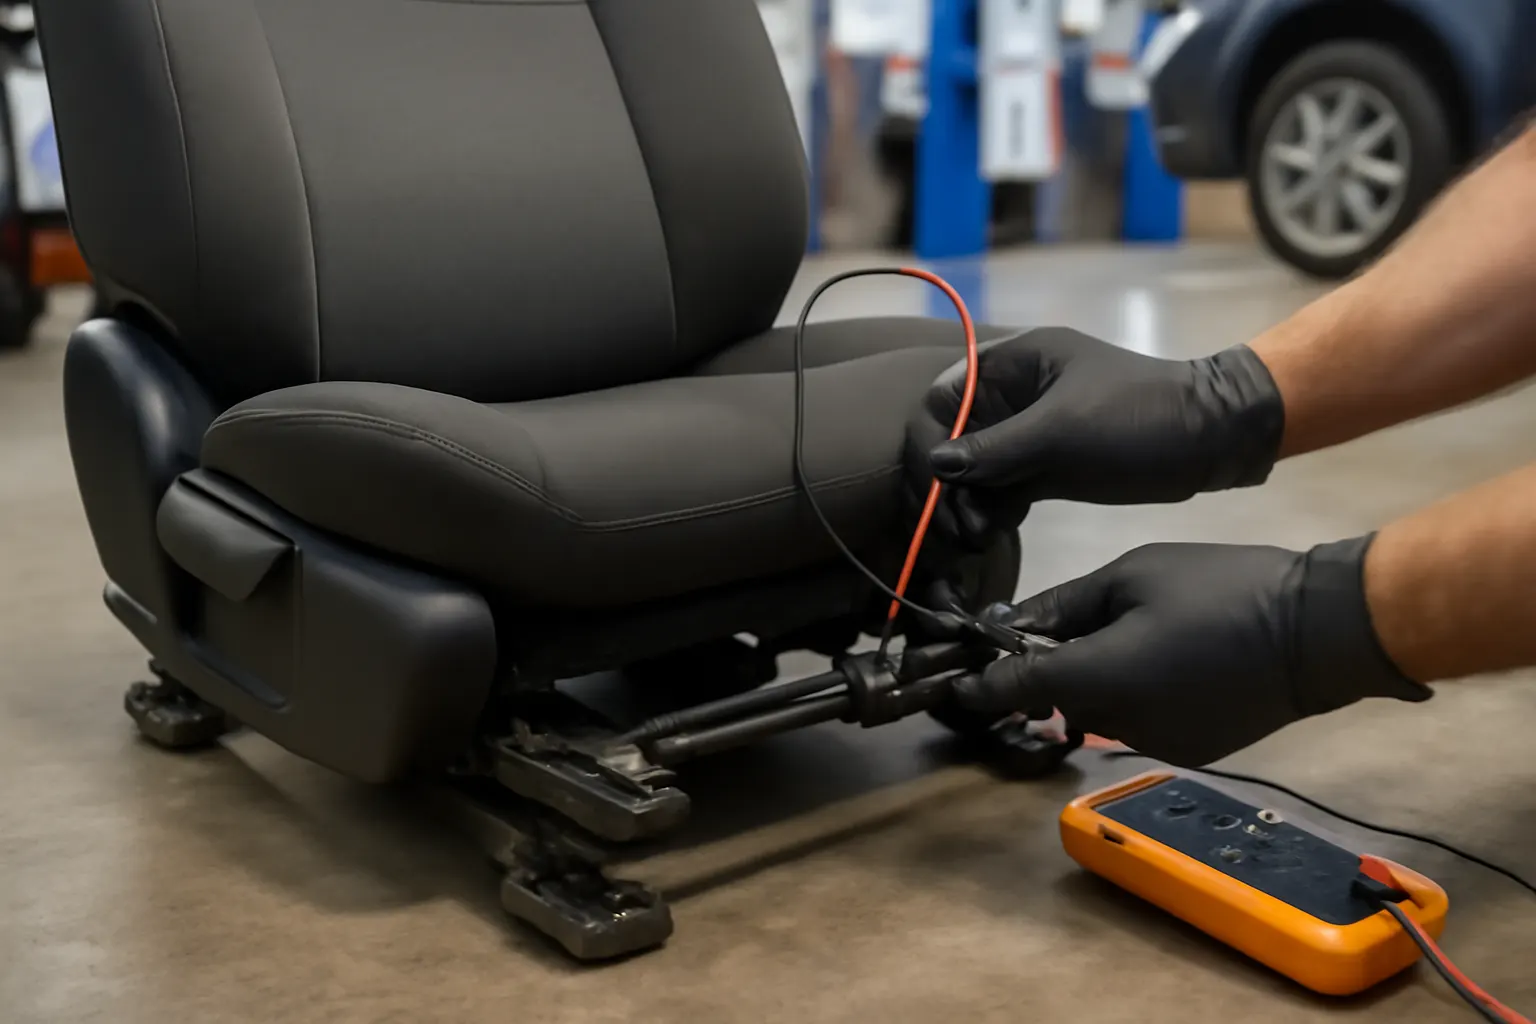
- Inspect wiring/connectors: Look for loose, corroded, or damaged wires under the seat.
- Test switches: Swap with a known good switch if possible.
- Scan for error codes: Many modern vehicles store seat module faults in the onboard computer.
- Check for obstructions: Ensure nothing is physically blocking seat travel.
- Test motor voltage: With a multimeter, confirm power is reaching the seat motor.
Document each step to avoid overlooking intermittent faults or cascading issues.
Common Root Causes and Their Solutions
Manual Seat Track Failures
- Rust or debris: Clean and lubricate rails; remove foreign objects.
- Bent rails: Replace damaged track components.
- Broken locking mechanisms: Replace levers, springs, or detent bars as needed.
- Loose mounting bolts: Tighten or replace as appropriate.
Power Seat Track Failures
- Blown fuse: Replace and retest; investigate for underlying shorts if it blows again.
- Faulty switch: Replace the seat adjustment switch.
- Motor failure: Replace the motor or entire seat track assembly if integrated.
- Wiring/connector issues: Repair or replace damaged wires; ensure secure connections.
- Obstructed mechanism: Remove seat and clear obstructions; inspect for physical damage.
- Control module fault: Reprogram or replace as per manufacturer diagnostics.
For both systems, always verify repair effectiveness before reassembly.
When to Replace vs. Repair: Key Considerations
Determining whether to repair or replace a seat track depends on several factors:
- Extent of damage: Bent or heavily rusted rails, or integrated power/motor failures, usually require replacement.
- Component availability: Some manual track parts can be serviced individually; power tracks often require assembly replacement.
- Safety compliance: Repairs must restore full locking and adjustment function to meet NHTSA safety standards NHTSA Equipment.
- Time and cost: Evaluate whether labor and parts costs exceed the price of a new or remanufactured seat track.
For a step-by-step walkthrough, see our guide on How to Diagnose and Replace a Front Seat Track.
Installation Guidance: Best Practices for Seat Track Replacement
Proper installation is critical for seat track safety and performance:
- Disconnect battery: Always disconnect the negative terminal to prevent airbag or electrical hazards, especially with power seats.
- Remove seat carefully: Unbolt the seat from the floor; for power seats, disconnect all wiring harnesses.
- Transfer hardware: Move seat belt anchors, sensors, and trim to the new track as needed.
- Align new track: Ensure the new track sits flush and bolts align with factory mounting points.
- Torque bolts to spec: Use manufacturer torque specs to avoid stripping or loosening.
- Reconnect wiring: For power seats, double-check all connectors and test function before final bolting.
- Test thoroughly: Cycle all seat adjustments and verify proper locking before reinstalling trim and covers.
Refer to manufacturer service manuals or SAE Standards for model-specific procedures.
Maintenance Tips: Preventing Future Seat Track Problems
Routine maintenance can extend seat track life and prevent costly repairs:
- Keep rails clean: Vacuum debris and wipe down rails during interior cleaning.
- Lubricate moving parts: Use a dry silicone spray or manufacturer-recommended lubricant annually.
- Avoid overloading: Do not store heavy objects under the seat that could jam mechanisms.
- Inspect regularly: Check for loose bolts, abnormal movement, or sounds during seat adjustment.
- Address electrical issues promptly: For power seats, fix flickering switches or slow movement before motors burn out.
Advertisement
Preventive care is especially important in regions with high humidity or road salt exposure, which accelerate corrosion.
Fitment and Sourcing: Choosing the Right Replacement Parts
Selecting the correct seat track is essential for safety, comfort, and compliance:
- Match by VIN or OEM part number: Always confirm compatibility with your vehicle’s year, make, and model.
- OEM vs. aftermarket: OEM tracks guarantee original fit and function; quality aftermarket options may offer cost savings or improved materials. For a comparison, see Choosing the Right Seat Track: OEM vs. Aftermarket.
- Material quality: Look for corrosion-resistant coatings and reinforced joints, especially for power seat mechanisms. The U.S. Department of Energy highlights advances in lightweight, high-strength materials that improve both safety and performance DOE Materials Technologies.
- Verify included hardware: Some tracks come with new bolts, levers, or motors; others require reusing existing hardware.
- Check for recalls: Before purchasing, verify that the part is not subject to manufacturer recalls NHTSA Recalls.
AutoPartEx offers a wide selection of direct-fit Front Seat Track Replacement & Repair Parts to meet or exceed safety standards.
Advanced Troubleshooting: Power Seat Module and Sensor Issues
Modern power seats may include advanced features such as memory presets, occupant detection, and integrated seatbelt sensors. Diagnosing faults in these systems requires additional steps:
- Scan for DTCs: Use an OBD-II scanner capable of accessing body control modules.
- Check seat memory module: Verify that memory functions activate and store positions correctly.
- Inspect position sensors: Faulty sensors can cause erratic seat movement or disable adjustment.
- Test CAN bus communication: For seats integrated with vehicle networks, ensure proper data flow.
If advanced features fail after a seat track replacement, double-check all wiring connections and perform a module reset according to manufacturer instructions.
Safety and Regulatory Considerations
Seat track repairs and replacements must comply with federal safety regulations to ensure proper occupant protection:
- NHTSA standards: Seat tracks must lock securely and withstand crash forces as specified by federal regulations NHTSA Equipment.
- Inspection requirements: Many states require functional seat adjustment and secure mounting for vehicle inspection.
- Recall compliance: Always check for active recalls on seat tracks or related hardware.
Using substandard or incorrect parts can result in inspection failure or, worse, occupant injury in a collision.
Troubleshooting Checklist: Manual vs. Power Seat Track
| Issue Symptom | Manual Track Likely Cause | Power Track Likely Cause | Diagnostic Test |
|---|---|---|---|
| Seat won’t move | Jammed rail, broken lever | Dead motor, blown fuse | Lever test, power test |
| Moves unevenly | Bent rail, debris in track | Motor/gear failure, sensor fault | Visual, listen for motor, scan DTC |
| No locking | Worn detent, loose bolts | Module failure, wiring issue | Lock test, wiring check |
| No sound on adjust | N/A | No power, switch failure | Fuse, switch, voltage test |
| Clicking noise | Spring/lever issue | Gear jam, weak motor | Inspect, listen, remove seat |
| Rocks on mount | Loose bolts, broken bracket | Loose bolts, broken bracket | Bolt torque check |
Use this checklist as a reference when diagnosing front seat track complaints.
AutoPartEx Positioning: Your Partner in Safe, Reliable Seat Track Solutions
At AutoPartEx, we understand that front seat track integrity is a cornerstone of vehicle safety and comfort. Our curated inventory of Front Seat Track Replacement & Repair Parts and seat adjustment and hardware is sourced from trusted OEM and aftermarket suppliers, rigorously vetted for compliance with federal safety standards. Our technical resources and guides, such as Why Front Seat Track Integrity Matters for Safety, empower you to make informed decisions—whether you’re a DIYer or a professional installer.
When it’s time to restore your seat’s function and safety, trust AutoPartEx for expert guidance, precision-fit parts, and industry-leading support.
Taking Expert Action: Steps for Safe, Effective Seat Track Repair
- Identify your seat track type (manual or power) and gather relevant information (VIN, part number).
- Perform a thorough diagnostic using the appropriate checklist above.
- Source high-quality replacement parts from a reputable supplier, ensuring compliance with safety standards.
- Follow manufacturer procedures for removal, installation, and torque specifications.
- Test all seat functions and verify secure locking and adjustment before returning the vehicle to service.
- Document the repair for future reference and regulatory compliance.
By following these steps, you’ll ensure that your front seat track repair restores both safety and comfort for years to come.
References
Advertisement