Advertisement
Top 5 Signs Your Seat Switch Needs Replacement
Power seat functionality is a hallmark of modern automotive comfort and safety. When your seat switch starts to fail, the impact is immediate: you may lose the ability to adjust your seat for optimal visibility, comfort, and protection. Recognizing the early warning signs of a failing seat switch is essential for every driver and technician. In this comprehensive guide, we break down the top five symptoms indicating your seat switch needs replacement, explain the underlying technical causes, and provide actionable solutions to restore both comfort and safety. If you’re seeking in-depth information about OEM power seat controls, troubleshooting, and replacements, visit our Seat Switch – OEM Power Seat Controls, Replacements & Diagnostics category page for more resources and vehicle-specific solutions.
Immediate Answer: The Five Key Warning Signs
A failing seat switch doesn’t just inconvenience your daily drive—it can compromise safety, especially in critical situations where rapid seat adjustment is necessary. The five most common signs that your seat switch requires replacement are:
- Unresponsive Seat Adjustment – The seat doesn’t move or only moves in certain directions.
- Intermittent Operation – The seat sometimes works, but the function is unreliable.
- Unusual Noises During Adjustment – Clicking, grinding, or buzzing sounds when using the seat controls.
- Erratic or Stuck Movements – The seat jumps, moves on its own, or gets stuck mid-adjustment.
- Electrical Issues or Blown Fuses – Seat adjustment triggers fuse failures or causes other electrical anomalies.
Each of these symptoms can point to a failing seat switch, but they may also indicate deeper electrical or mechanical issues. Prompt replacement and thorough diagnostics are crucial for restoring full seat functionality and ensuring vehicle safety.
The Hidden Problem: Overlooked Safety and Comfort Risks
Many drivers and even some technicians underestimate the importance of a fully functioning seat switch. Beyond comfort, seat positioning is a critical safety feature. If a seat cannot be adjusted for proper pedal reach, airbag alignment, or mirror visibility, the driver’s control over the vehicle is compromised. According to the National Highway Traffic Safety Administration (NHTSA), seat adjustment equipment forms an integral part of vehicle safety systems, and malfunctions can increase accident risk, especially in emergency maneuvers or collisions.
A failing seat switch can also mask more complex electrical issues within the vehicle’s interior systems. Ignoring early warning signs may lead to cascading failures, including damage to motors, wiring harnesses, or even the vehicle’s primary fuse box. These risks highlight the need for timely diagnosis and replacement, not just for comfort but for overall safety compliance.
Expanding the Problem: Why Seat Switch Failures Are More Than a Nuisance
Safety Implications
A seat switch malfunction may seem like a minor inconvenience, but it can have major consequences. Proper seat positioning aligns the driver with safety restraints and airbag deployment zones. If the seat cannot move, shorter or taller drivers may be forced to drive in awkward, unsafe positions. This misalignment can reduce the effectiveness of seatbelts and airbags, increasing the risk of injury during a collision.
Diagnostic Challenges
Seat switch failures can be deceptively complex. Symptoms like intermittent operation or erratic movement may be caused by worn switch contacts, corroded electrical connectors, or even underlying issues with the seat motor or control module. Modern vehicles often integrate seat controls with memory modules, heating elements, and occupancy sensors, complicating diagnostics and repair.
Potential for Systemic Electrical Damage
Repeated attempts to operate a malfunctioning seat switch can draw excessive current, leading to blown fuses or even damage to the vehicle’s electrical system. In some cases, a failing switch can short-circuit, affecting related systems such as interior lighting, infotainment, or airbag controls. The NHTSA has documented manufacturer recalls related to power seat switch failures, underscoring their impact on vehicle safety and reliability.
In-Depth: Technical Causes of Seat Switch Failure
Understanding the technical root causes behind these five warning signs can help you diagnose and solve seat switch issues more effectively.
1. Worn or Broken Switch Contacts
Over time, the internal contacts within a seat switch can wear out due to repeated use. This wear leads to poor electrical conductivity, resulting in unresponsive or intermittent seat movement.
2. Corroded Electrical Connectors
Moisture intrusion—often from spilled drinks, wet clothing, or condensation—can cause corrosion at the switch’s electrical connectors. This corrosion increases resistance, causing the switch to fail intermittently or completely.
3. Faulty Internal Switch Mechanisms
Plastic levers and actuators inside the switch body can break or deform, especially in high-mileage vehicles or those exposed to temperature extremes. This damage can cause stuck or erratic seat movements.
Advertisement
4. Short Circuits and Overloads
A seat switch under excessive load or with damaged wiring can develop short circuits. This not only blows fuses but can also produce heat, risking further damage to adjacent wiring and components.
5. Integration with Advanced Systems
Many modern vehicles integrate seat switches with memory, lumbar, and heating/cooling controls. Failure in the switch can cause malfunctions in these related systems, complicating troubleshooting and increasing repair costs.
Diagnostic Checklist: Is Your Seat Switch the Culprit?
Before replacing your seat switch, perform a systematic diagnostic process to confirm the root cause. Use this checklist to guide your inspection:
| Step | Action | Result |
|---|---|---|
| 1 | Test all seat movements (forward, backward, up, down, recline, tilt). | Note any non-responsive or erratic functions. |
| 2 | Listen for unusual noises during operation. | Clicking or buzzing may indicate internal switch or motor issues. |
| 3 | Check for blown seat adjustment fuses. | Frequent fuse failures suggest electrical shorts or overloads. |
| 4 | Inspect the seat switch for physical damage or stickiness. | Cracked, loose, or sticky switches often indicate mechanical failure. |
| 5 | Examine wiring and connectors under the seat. | Look for corrosion, loose connections, or damaged wires. |
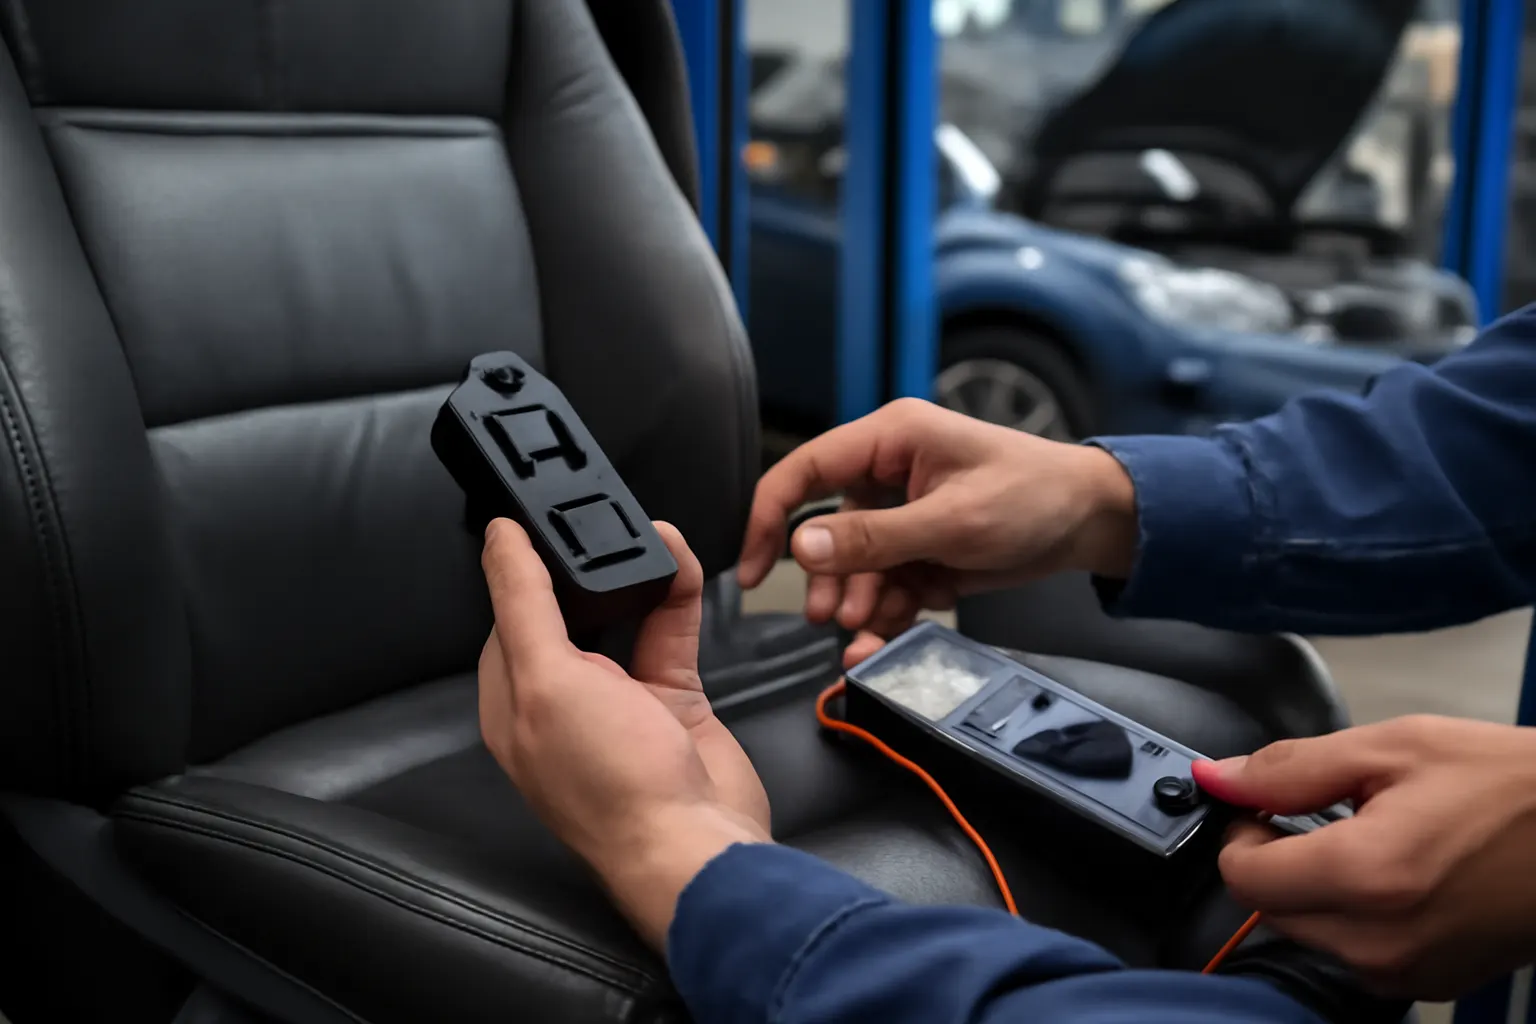
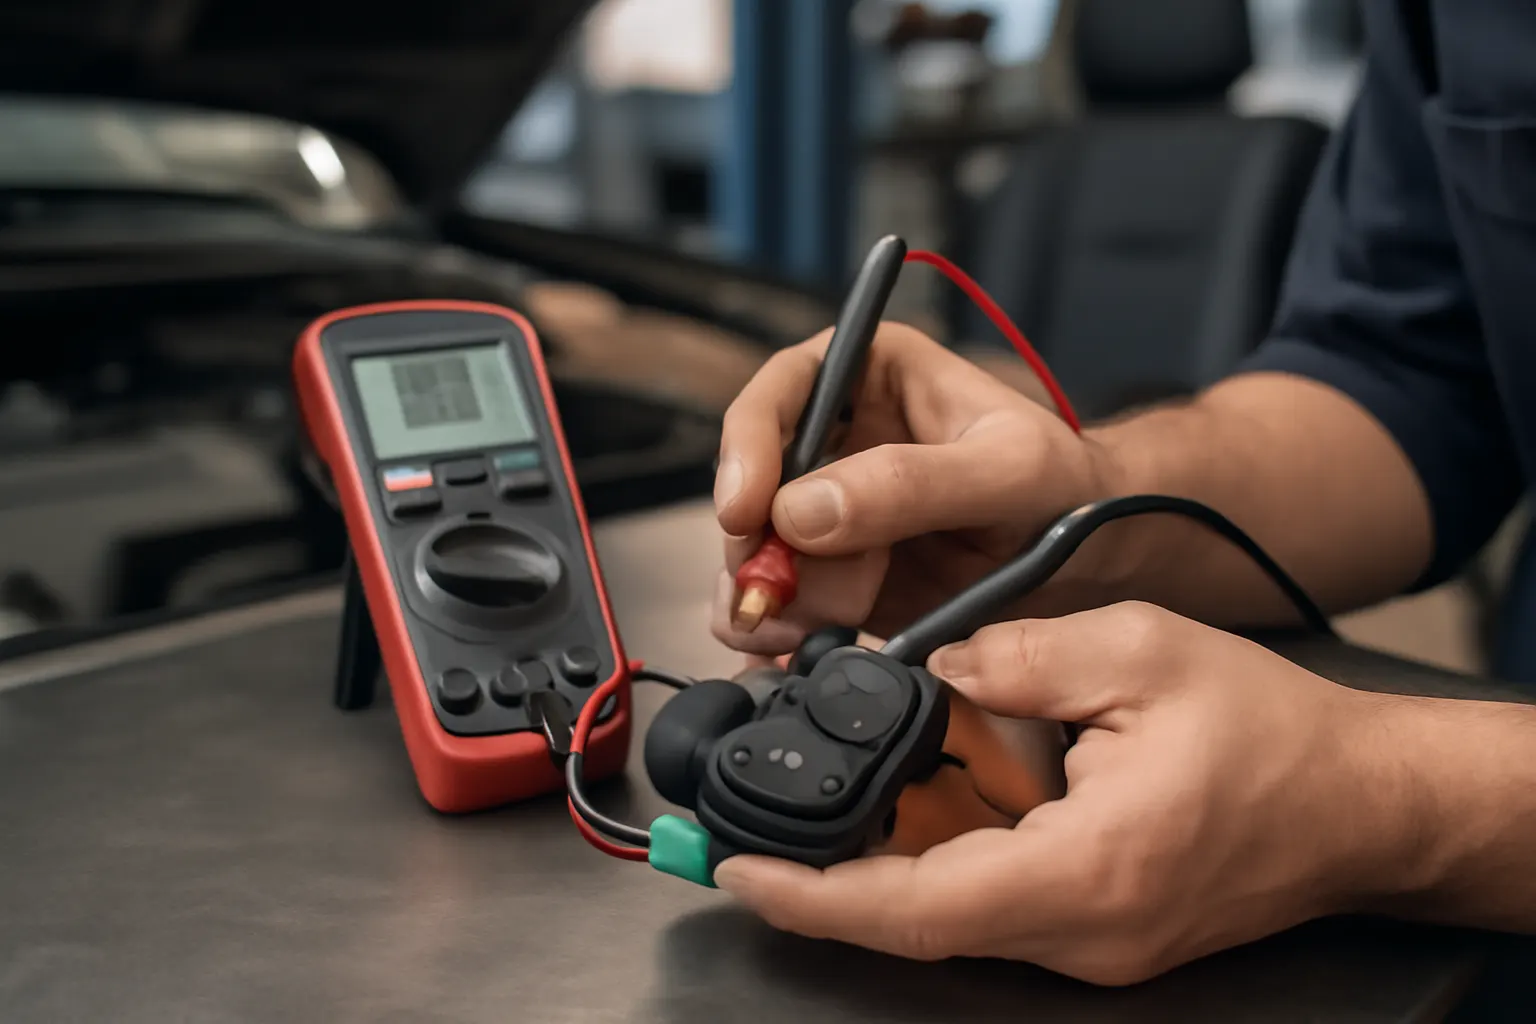
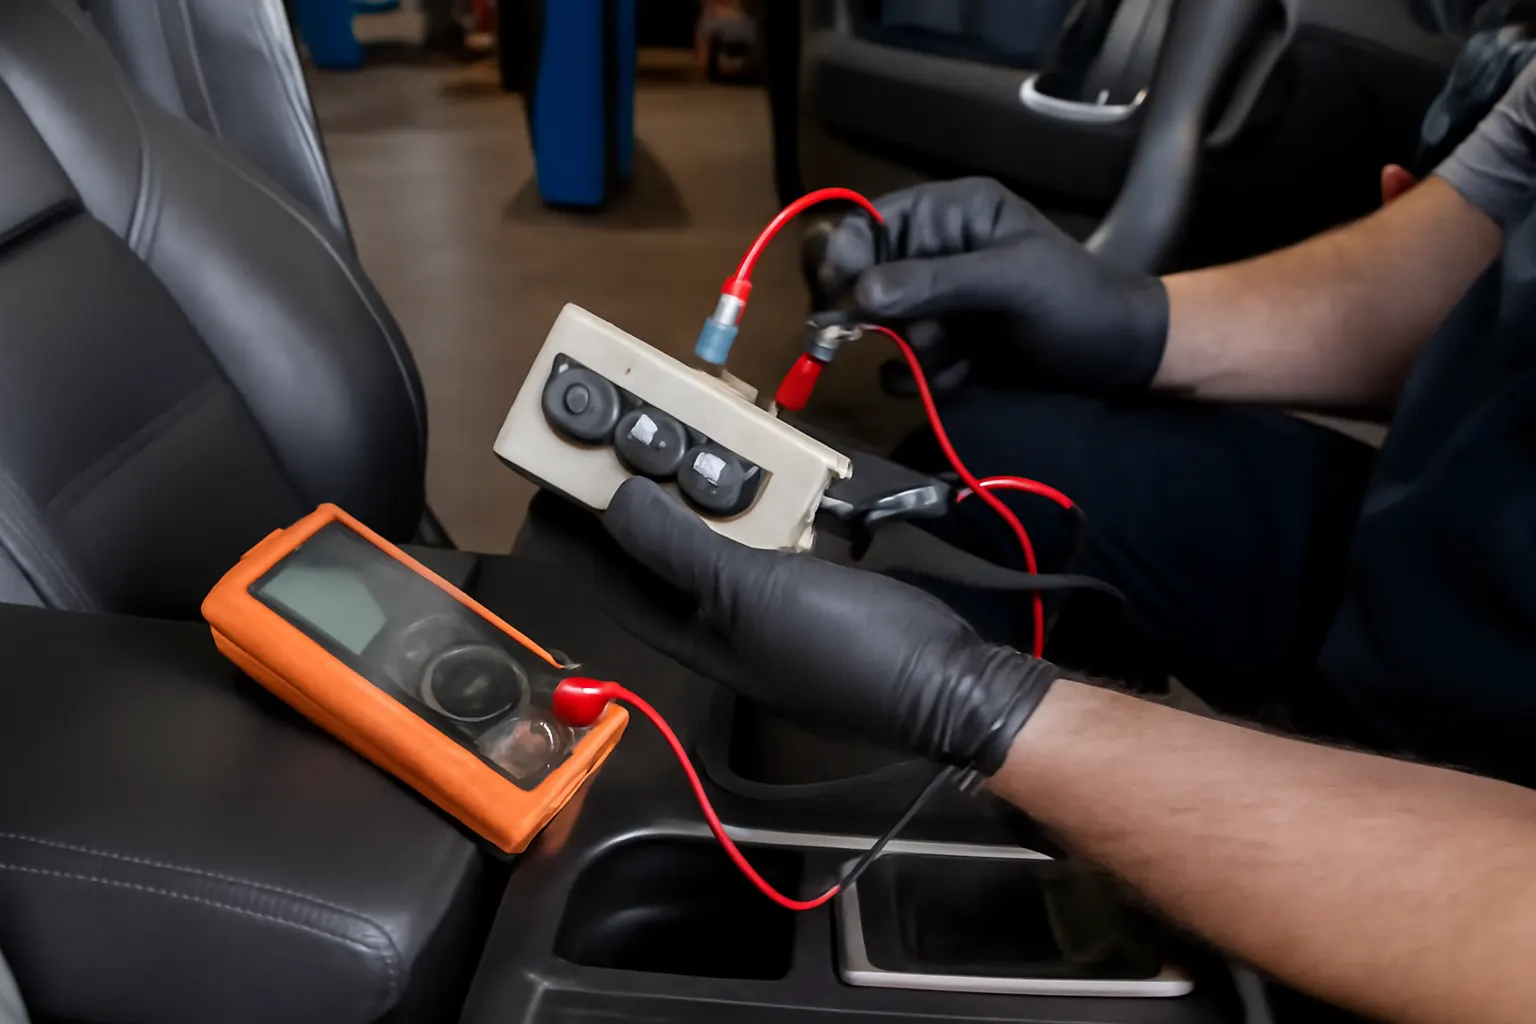
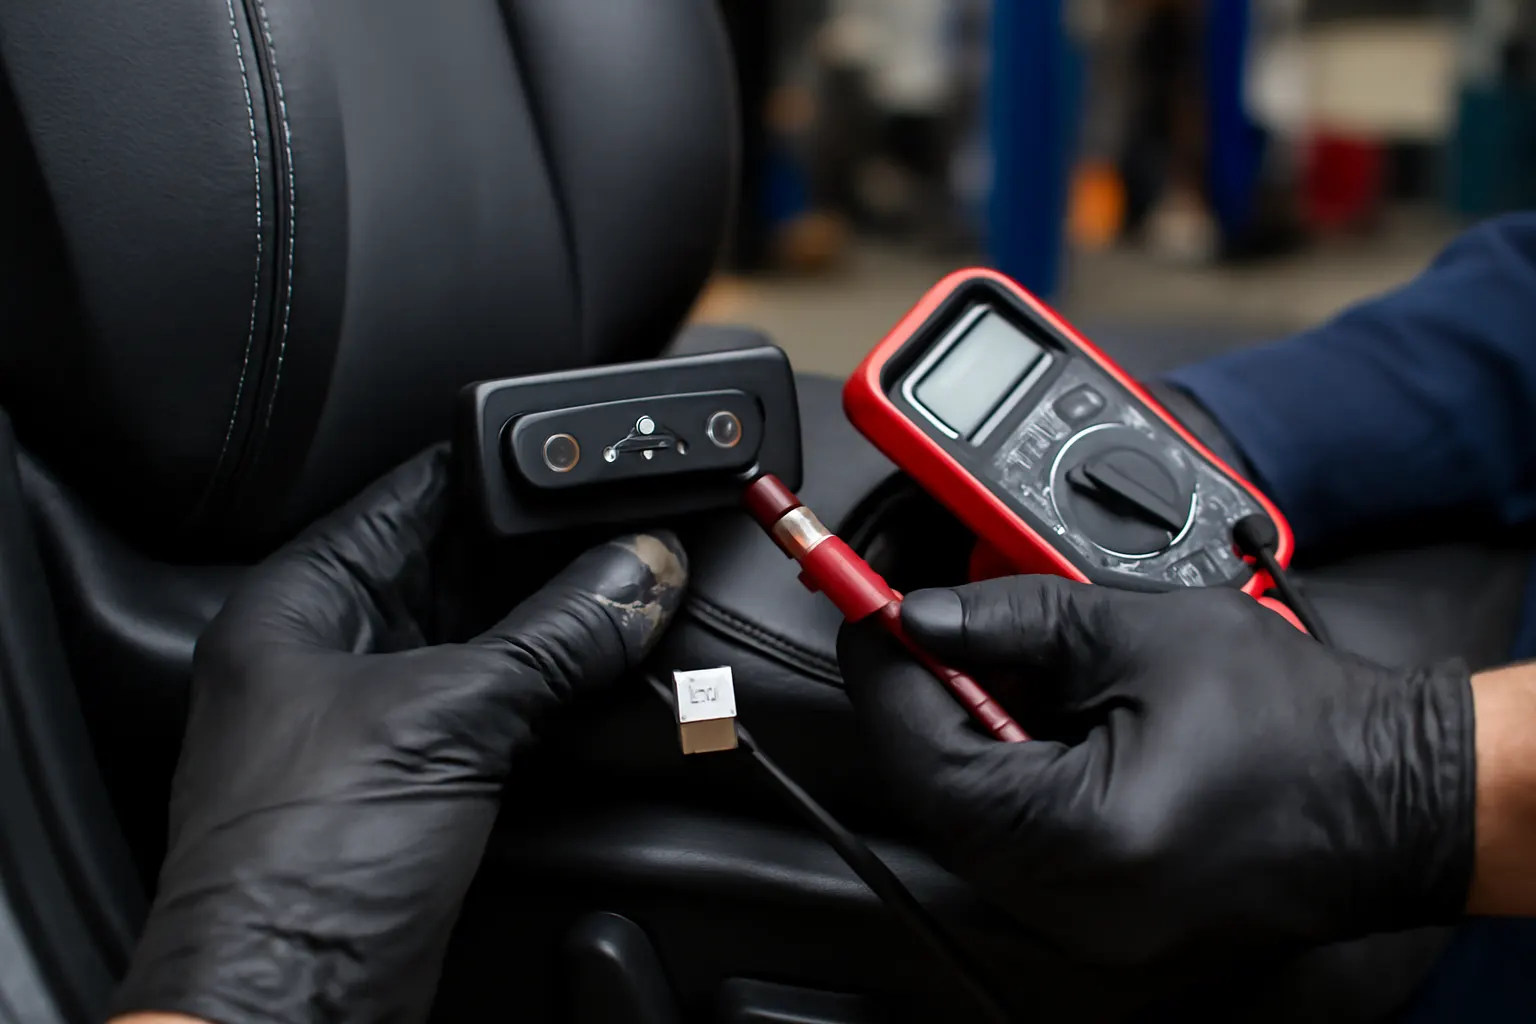
| 6 | Test power at the switch using a multimeter. | Lack of voltage or erratic readings point to switch or wiring problems. |
| 7 | Scan for diagnostic trouble codes (DTCs) if equipped. | Some vehicles log seat control errors in the body control module. |
If the switch fails any of these tests, replacement is likely necessary. For more on step-by-step troubleshooting, see our How to Diagnose Power Seat Issues guide.
Sign 1: Unresponsive Seat Adjustment
The most obvious sign of a failing seat switch is total or partial unresponsiveness. If pressing the seat adjustment buttons produces no movement, or only certain directions function, the switch contacts may be worn or broken.
Typical Causes
- Worn internal contacts from repeated use.
- Broken plastic actuators inside the switch.
- Disconnected or corroded wiring.
What to Check
- Does the seat move in any direction at all?
- Are all adjustment functions (height, tilt, lumbar, recline) affected or just one?
- Is there any resistance or clicking when pressing the switch?
If only one axis works, the failure is likely within the switch. If all functions are dead, check for fuse or power supply issues as well.
Sign 2: Intermittent Operation
A seat switch that works sporadically is a classic sign of internal wear or electrical issues. This can be especially frustrating, as the seat may work perfectly for days and then fail without warning.
Typical Causes
- Corroded or loose electrical connectors.
- Partial internal contact failure.
- Moisture intrusion causing variable resistance.
What to Check
- Does the issue occur after moisture exposure or temperature changes?
- Does wiggling the switch or wiring restore function temporarily?
- Are there any visible signs of corrosion on the switch or connectors?
Intermittent operation often precedes total failure, so prompt replacement is recommended.
Sign 3: Unusual Noises During Adjustment
Clicking, buzzing, or grinding sounds when operating the seat controls can indicate internal mechanical or electrical problems. While some noise is normal from seat motors, new or louder sounds from the switch area are not.
Typical Causes
- Broken or misaligned switch components.
- Arcing or sparking within the switch contacts.
- Motor strain due to intermittent electrical supply.
What to Check
- Is the noise coming from the switch or deeper in the seat track?
- Does the noise occur with every movement or only certain directions?
- Are there any visible sparks or burning smells?
Persistent unusual noises warrant immediate inspection to prevent further electrical damage.
Sign 4: Erratic or Stuck Movements
A seat that jumps, moves on its own, or gets stuck mid-adjustment can point to a failing seat switch, sometimes in conjunction with a failing seat motor or control module.
Typical Causes
- Switch contacts sticking in the “on” position.
- Broken internal springs or actuators.
- Electrical shorts causing unintended seat movement.
What to Check
- Does the seat stop moving when you release the switch?
- Does the seat move without any input?
- Is the seat stuck in an unsafe or uncomfortable position?
Erratic movement can be dangerous, especially if the seat shifts while driving. Immediate diagnosis and replacement are critical.
Sign 5: Electrical Issues or Blown Fuses
If seat adjustment consistently blows fuses or causes other electrical issues (such as dimming lights or malfunctioning interior electronics), the switch or its wiring may be shorting out.
Advertisement
Typical Causes
- Internal switch short circuits.
- Damaged wiring harnesses.
- Excessive current draw from worn contacts.
What to Check
- Are there other electrical symptoms besides seat adjustment failure?
- Does replacing the fuse restore function, or does it blow again immediately?
- Is there any evidence of melted wires or burnt plastic near the seat switch?
Electrical issues related to seat switches should be addressed promptly to avoid broader system failures.
Solution Path: How to Replace a Failing Seat Switch
Once you’ve confirmed the seat switch as the culprit, replacement is the most reliable solution. Here’s how to approach the process:
1. Identify the Correct Replacement Part
Check your vehicle’s make, model, and year to source the correct OEM or high-quality aftermarket seat switch. Consult your owner’s manual or visit our Seat Switch – OEM Power Seat Controls, Replacements & Diagnostics page for direct-fit options.
2. Gather Tools and Supplies
Basic tools required may include:
- Trim removal tools
- Screwdrivers (Phillips and flathead)
- Multimeter (for diagnostics)
- Electrical contact cleaner
- Replacement seat switch
- Safety gloves
For a detailed tools list and step-by-step process, see our Replacing Your Vehicle’s Seat Switch: Tools & Tips guide.
3. Disconnect the Battery
Always disconnect the negative battery terminal before working on electrical components to prevent accidental short circuits or airbag deployment.
4. Remove the Seat Switch Panel
Most seat switches are integrated into the seat’s side panel. Use trim tools to gently pry off the panel, exposing the switch and wiring harness.
5. Disconnect and Inspect Wiring
Carefully unplug the seat switch from the wiring harness. Inspect connectors for corrosion or damage. Clean with electrical contact cleaner if necessary.
6. Install the New Switch
Plug in the new switch, secure it to the panel, and reattach the panel to the seat. Ensure all clips and screws are properly fastened.
7. Test All Functions
Reconnect the battery and test all seat adjustment functions before finalizing installation. Confirm that all movement axes and memory settings (if equipped) work as intended.
Advertisement
Preventive Maintenance: Extending Seat Switch Life
While seat switches are designed for years of service, preventive care can extend their lifespan and reduce the risk of future failures.
Tips for Longevity
- Keep the area clean: Regularly vacuum around the seat controls to prevent debris from entering the switch.
- Avoid moisture exposure: Clean up spills immediately and avoid using wet cleaning products near the switch.
- Operate gently: Avoid excessive force when using seat adjustment buttons.
- Periodic inspection: Check for signs of wear or corrosion during routine maintenance.
When to Replace Proactively
If your vehicle is high-mileage or you notice minor symptoms (occasional sticking, slight delays), consider replacing the seat switch before a complete failure occurs. This proactive approach can prevent loss of seat function at inconvenient times.
Choosing the Right Seat Switch: OEM vs. Aftermarket
Selecting the right replacement seat switch is crucial for fitment, reliability, and integration with advanced seat features.
OEM (Original Equipment Manufacturer)
- Pros: Guaranteed fit, full compatibility with memory and heating systems, meets manufacturer standards.
- Cons: Higher cost, sometimes limited availability.
Aftermarket
- Pros: Lower cost, broader availability, some offer enhanced durability.
- Cons: Variable quality, may lack support for advanced features.
For a detailed comparison and buying advice, see our OEM vs. Aftermarket Seat Switches: Which is Best? editorial.
When to Seek Professional Help
While many seat switch replacements are DIY-friendly, certain scenarios call for expert intervention:
- Seat switches integrated with advanced memory, heating, or airbag systems.
- Visible damage to wiring harnesses or seat motors.
- Persistent electrical faults after switch replacement.
Professional technicians have access to advanced diagnostic tools and OEM wiring diagrams, ensuring a safe and reliable repair.
AutoPartEx: Your Partner for Seat Switch Solutions
At AutoPartEx, we specialize in providing OEM and high-quality aftermarket seat switches for a wide range of vehicles. Our technical resources, fitment guides, and in-depth troubleshooting articles empower both DIYers and professional technicians to diagnose and resolve seat switch issues with confidence.
Explore our Seat Switch – OEM Power Seat Controls, Replacements & Diagnostics section for direct-fit parts, compatibility charts, and expert support. For complex electrical repairs, our curated selection of electrical connectors ensures you have everything needed for a safe and lasting installation.
Key Takeaways and Next Steps
- A failing seat switch is both a comfort and safety issue—don’t ignore the warning signs.
- Use a systematic diagnostic checklist to confirm the root cause before replacing parts.
- Choose the correct replacement switch for your vehicle’s make, model, and feature set.
- Follow best practices for installation and preventive maintenance.
- For advanced or persistent issues, consult a qualified automotive technician.
Prompt seat switch replacement restores not only comfort but also critical safety functionality. Don’t let a small component compromise your driving experience or vehicle compliance.
References
Advertisement