Advertisement
Modern vehicles rely heavily on powered seat adjustments for driver and passenger comfort, safety, and accessibility. But when the seat switch fails, it can leave you stuck in an uncomfortable—or even unsafe—driving position. So, what actually causes seat switch failures, and how can you prevent them? This article delivers immediate, actionable answers, then dives deeper into the root causes, diagnostic strategies, and expert prevention techniques. For those seeking a comprehensive resource on seat switches, our Seat Switch Replacement & Diagnostics | OEM Seat Switches – AutoPartEx category page offers detailed parts guidance and fitment support.
The Quick Answer: Top Culprits Behind Seat Switch Failures
Seat switch failures most often stem from a combination of electrical wear, moisture intrusion, physical damage, and wiring faults. The primary causes include:
- Internal switch contact wear or corrosion
- Moisture or liquid spills seeping into the switch assembly
- Broken or fatigued wiring and connectors under the seat
- Physical abuse (forceful operation, impact, or debris)
- Faulty seat motors or actuators, sometimes misdiagnosed as switch failure
Regular inspection and prompt cleaning can prevent many of these issues, but recognizing the subtle warning signs is essential for early intervention. Failure to address these problems not only impairs comfort but can also compromise vehicle safety by preventing proper seat positioning.
The Hidden Problem: Why Seat Switch Failures Are Often Overlooked
While many drivers notice if their seat won’t move, the underlying issues leading to switch failure are frequently missed until the switch is completely inoperative. Modern seat switches are integrated into complex electronic systems, often sharing circuits and wiring with other interior electronics. This complexity can mask early warning signs or lead to misdiagnosis—sometimes resulting in unnecessary seat switch replacements when the root cause lies elsewhere, such as in the power seat motor or vehicle wiring harness.
What’s more, seat switch failures can have safety implications. According to the National Highway Traffic Safety Administration (NHTSA), malfunctioning seat controls may prevent occupants from achieving a safe driving posture, impacting airbag effectiveness and crash safety outcomes [1]. For these reasons, understanding the full spectrum of causes and how to identify them is critical for both DIYers and professional technicians.
Understanding the Seat Switch: Anatomy and Function
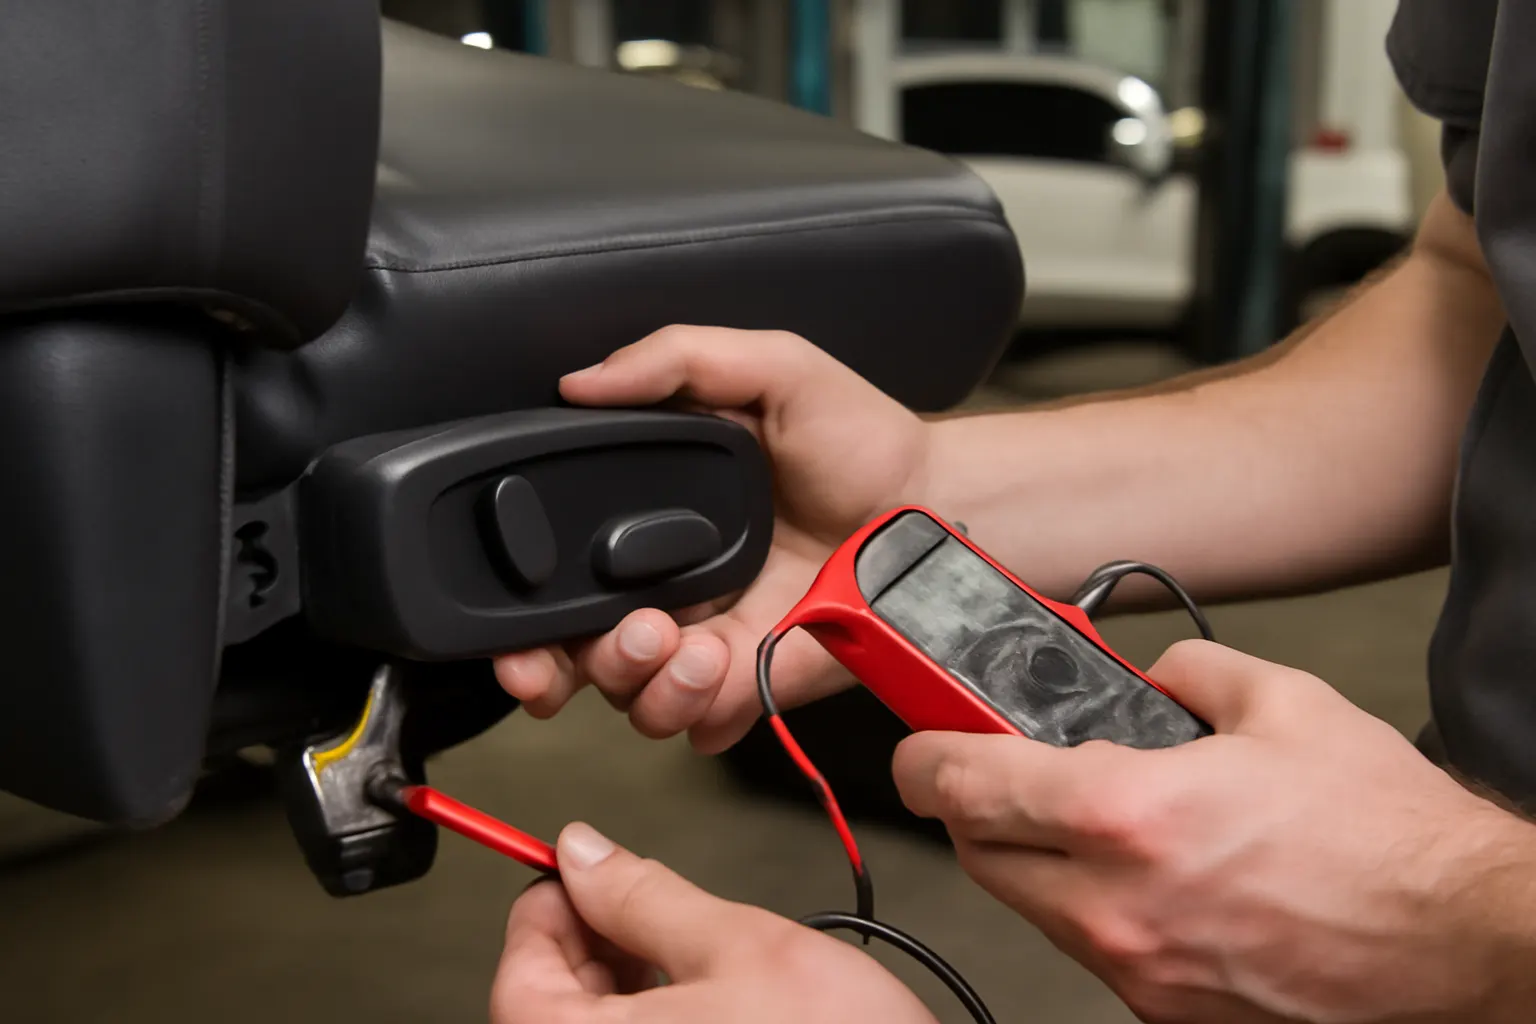
To diagnose and prevent seat switch failures, it’s important to understand how these components work. A typical automotive seat switch is a multi-position, spring-loaded electronic switch designed to control one or more electric motors (for fore-aft, up-down, recline, or lumbar adjustments). Most switches are mounted on the seat base or side bolster for easy access.
Key Components:
- Switch Housing: Encases the electrical contacts and mechanical actuators.
- Internal Contacts: Conduct electricity when actuated, sending signals to seat motors.
- Wiring Harness: Connects the switch to the vehicle’s power and control circuits.
- Connectors: Allow for modular replacement and secure, corrosion-resistant connections.
Modern seat switches may also include microcontrollers or integrated circuits for memory seat functions, adding further complexity and additional failure points.
Most Common Causes of Seat Switch Failure
Let’s break down the most frequent causes, their symptoms, and why each is a problem:
1. Internal Contact Wear or Corrosion
Repeated use causes the internal metal contacts to wear, pit, or corrode—especially in humid or coastal environments. Over time, this leads to intermittent operation or complete failure. Contact corrosion is often accelerated by:
- Poor sealing of the switch housing
- Exposure to condensation or spilled beverages
- Lack of periodic cleaning
2. Moisture and Liquid Intrusion
Spills from coffee, soda, or water bottles are a leading cause of seat switch failure. Liquids seep into the switch, causing short circuits, corrosion, or sticky residue that impedes mechanical movement. Even small amounts of moisture can cause big problems if left unaddressed.
3. Wiring and Connector Fatigue
The wiring harness under the seat is subject to constant flexing as the seat moves and as occupants enter and exit the vehicle. Over time, wires can break internally, or connectors can loosen, leading to intermittent faults or total power loss to the switch.
Advertisement
4. Physical Damage and Debris
Forceful operation, accidental kicks, or dropping heavy objects onto the seat switch can crack the housing, misalign internal components, or jam the actuators. Debris such as coins, dirt, or food can also lodge inside the switch, causing it to stick or fail.
5. Faulty Seat Motors or Relays
Sometimes, a seat switch is blamed for failures that actually originate in the seat motor, relay, or power supply. Diagnosing the true source is essential to avoid unnecessary parts replacement.
Diagnosing Seat Switch Problems: A Step-by-Step Checklist
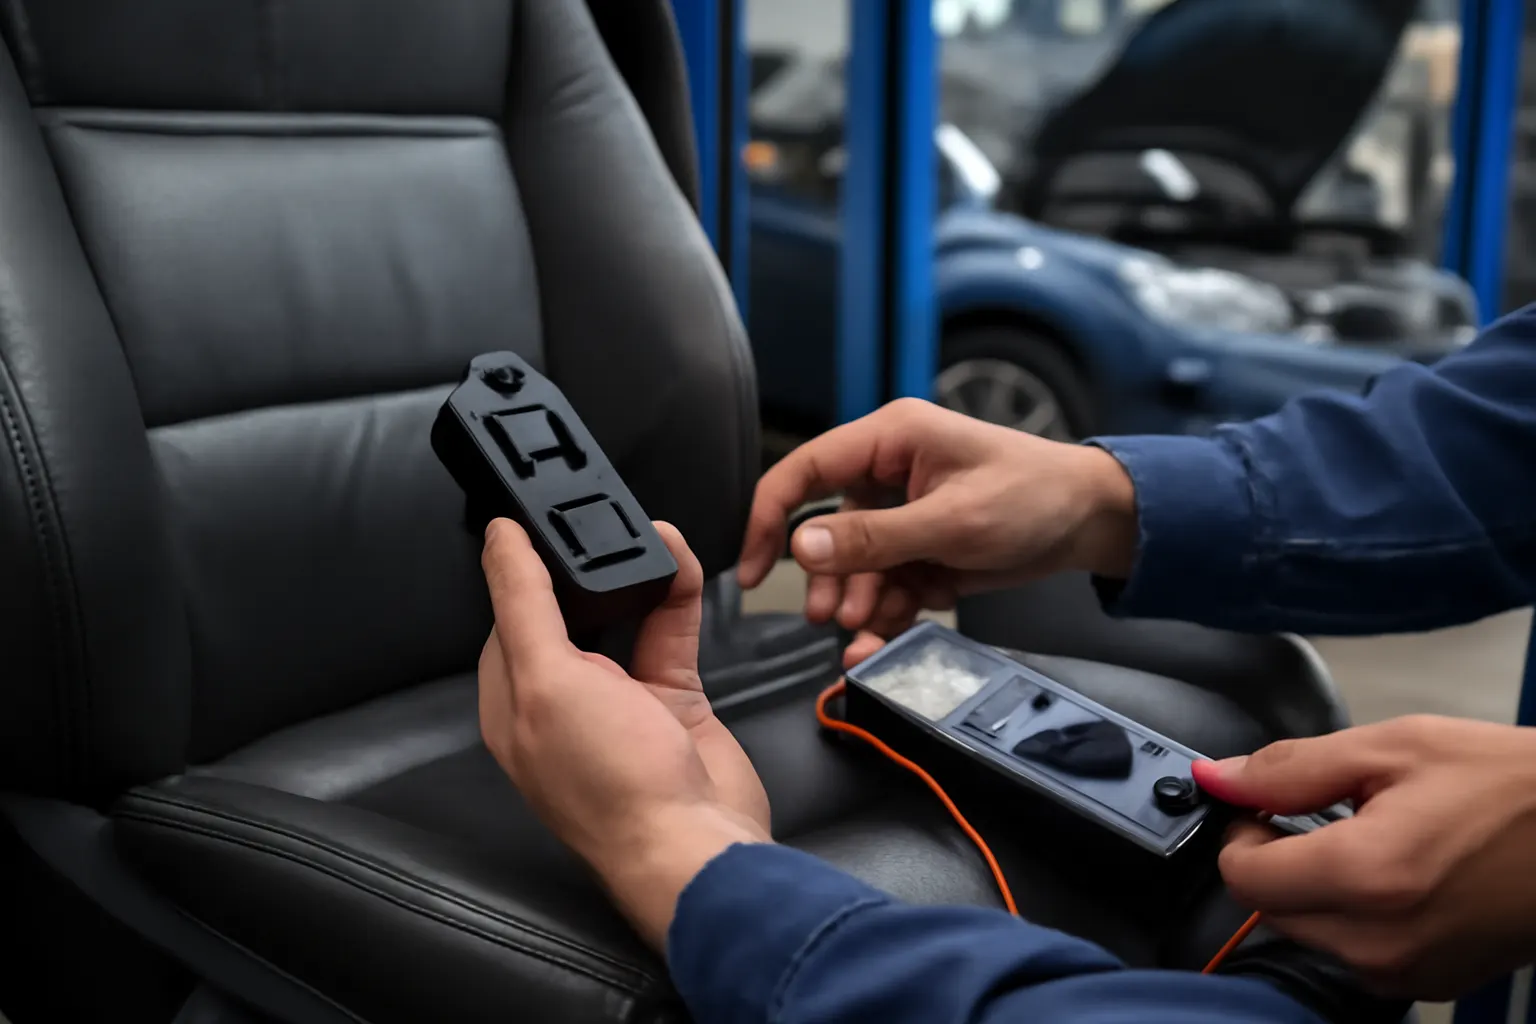
Before replacing a seat switch, it’s crucial to perform a systematic diagnosis. Use this proven checklist to isolate the root cause:
Seat Switch Diagnostic Checklist
-
Visual Inspection
- Check for visible signs of damage, cracking, or corrosion on the switch housing.
- Look for evidence of liquid spills or moisture.
- Inspect the wiring harness and connectors for fraying, discoloration, or loose pins.
-
Functional Test
- Attempt to operate all seat adjustment directions. Note which functions fail or are intermittent.
- Listen for motor noise when the switch is actuated. If the motor runs but the seat doesn’t move, the issue may be mechanical.
-
Circuit Test
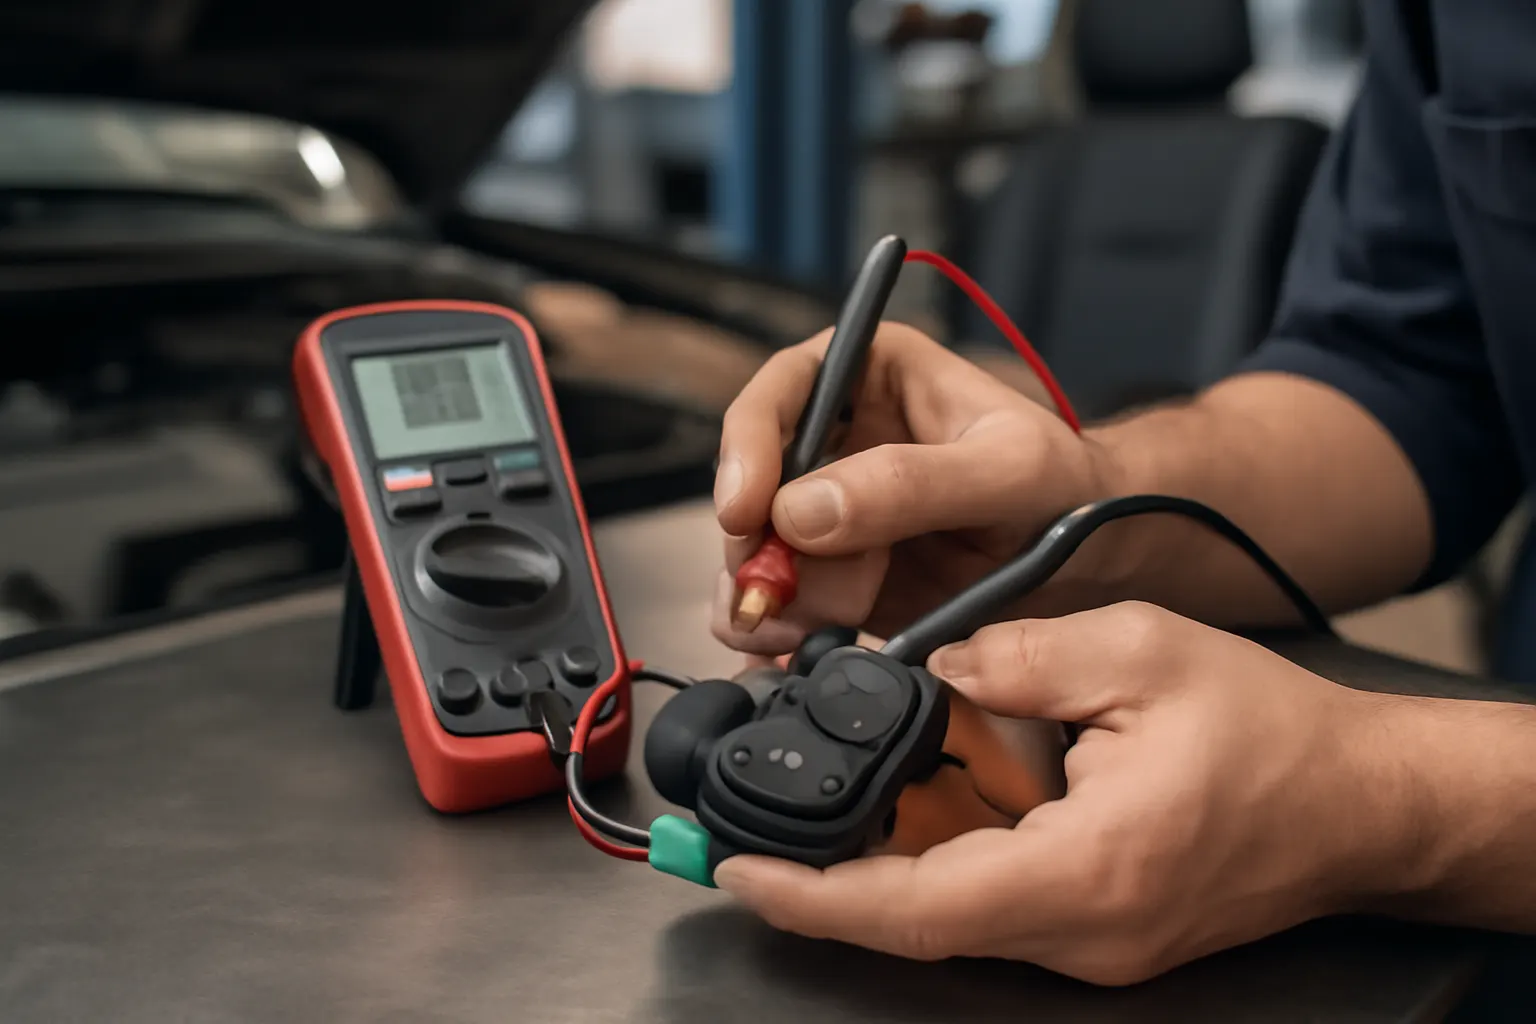
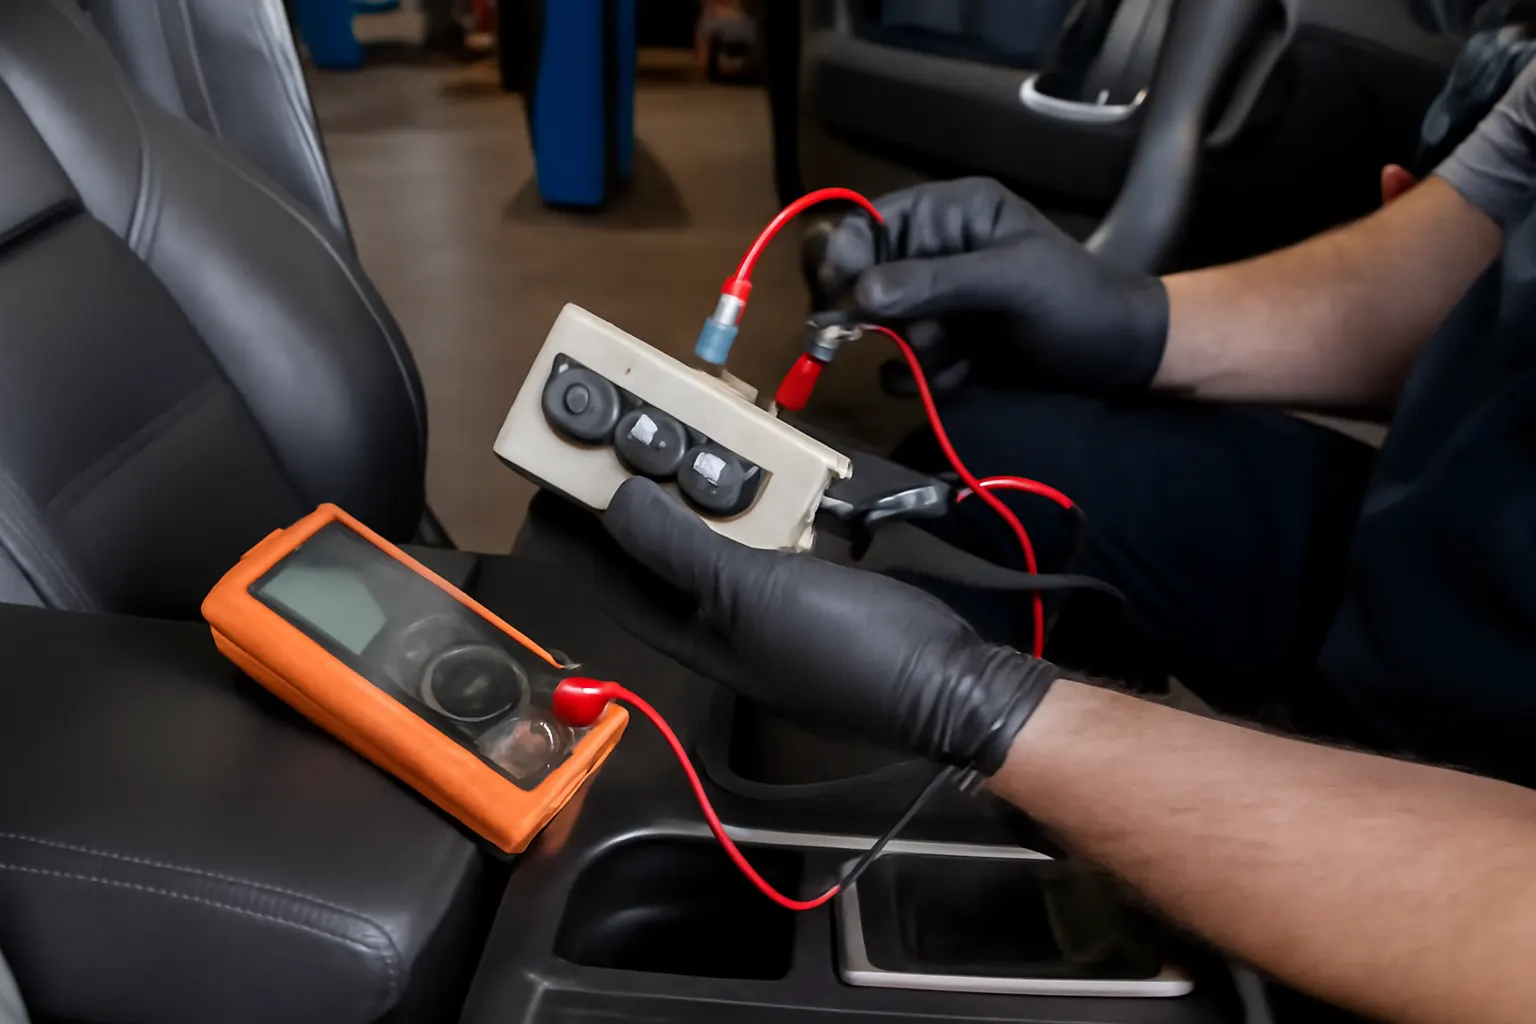
- Use a multimeter to check for power at the switch input and output terminals.
- Test continuity through the switch when actuated.
- Check for blown fuses or tripped circuit breakers in the seat power circuit.
-
Connector and Harness Check
- Disconnect and inspect the main switch connector for corrosion or bent pins.
- Wiggle the wiring harness gently while operating the switch to detect intermittent faults.
-
Downstream Component Test
- If power and ground are present at the switch, but the seat does not move, test the power seat motor and associated relays.
-
Scan Tool Diagnostics (if equipped)
- Use a scan tool to check for diagnostic trouble codes (DTCs) related to seat control modules or CAN network faults.
Pro Tip: For a more detailed walk-through, see our guide on How to Diagnose Power Seat Issues.
Electrical and Material Science: Why Switches Wear Out
Seat switches are subject to unique stresses compared to other interior electronics. Understanding the material science behind their failure modes can help you anticipate and prevent problems:
- Electrical Arcing: Each time a switch is actuated, a small electrical arc forms at the contact point. Over thousands of cycles, this arc erodes the contact surface, especially if the switch is used while under load (e.g., moving the seat while someone is sitting in it).
- Vibration and Fatigue: The seat switch is mounted in an environment subject to constant vibration, temperature swings, and mechanical shock. Solder joints and plastic components can fatigue and crack over time.
- Corrosion: According to the U.S. Department of Energy, the use of lightweight alloys and conductive materials in automotive interiors can improve efficiency, but some materials are more susceptible to corrosion in the presence of moisture and road salts [3].
Environmental and Usage Factors Affecting Longevity
Not all seat switches fail at the same rate. Environmental and usage patterns play a major role:
- Climate: Vehicles in humid, wet, or coastal regions are more prone to moisture-related failures.
- Vehicle Usage: Fleet vehicles, taxis, ride-shares, and vehicles with multiple drivers see more frequent seat adjustments, accelerating wear.
- Interior Care: Regular cleaning and prompt spill cleanup extend switch life. Neglected interiors are a breeding ground for switch problems.
Preventive Maintenance: How to Extend Seat Switch Life
A little preventive care goes a long way in preventing seat switch failures. Here’s how to maximize the lifespan of your seat controls:
Preventive Maintenance Tips
- Clean Regularly: Use a soft brush or compressed air to remove dust and debris around the switch. Avoid harsh cleaners that can damage plastics or seep into the housing.
- Protect from Moisture: Immediately wipe up any spills near the seat base. Consider using seat covers with side flaps to shield switches from liquid intrusion.
- Inspect Wiring: Periodically check under the seat for pinched, frayed, or exposed wires—especially after moving the seat to its extremes.
- Gentle Operation: Avoid slamming, jamming, or forcefully operating the switch. Teach all drivers and passengers to handle seat controls with care.
- Professional Inspection: During routine service, ask your technician to check seat switch function and wiring integrity.
Advertisement
When to Replace vs. Repair: Making the Right Call
Not every seat switch malfunction requires a full replacement. In some cases, cleaning or repairing the connectors is sufficient. Consider the following:
- Replace the switch if: There is visible physical damage, internal corrosion, or repeated intermittent failure after cleaning.
- Repair the harness or connectors if: The switch works when wiggling the wires, or if only certain positions fail.
- Address the seat motor or module if: The switch tests good electrically, but the seat does not respond.
For a complete breakdown of the replacement process, including required tools and best practices, see our editorial guide: Replacing a Seat Switch: Tools & Techniques.
Sourcing OEM and Aftermarket Seat Switches
When replacement is necessary, sourcing the correct part is critical for reliable operation and safety compliance. Here’s what to look for:
- OEM Fitment: Original Equipment Manufacturer (OEM) switches ensure compatibility with your vehicle’s wiring, connectors, and mounting points.
- Aftermarket Options: Quality aftermarket switches can offer savings, but always verify fitment by vehicle make, model, and trim.
- Certifications: Look for parts that meet or exceed SAE and NHTSA safety standards. Inferior switches may fail prematurely or compromise airbag/seat safety systems [1][5].
- Supplier Reputation: Purchase from reputable automotive parts suppliers like AutoPartEx to ensure quality and support.
For a curated selection of OEM and premium aftermarket seat switches, visit our Seat Switch Replacement & Diagnostics | OEM Seat Switches – AutoPartEx category page.
The Impact of Seat Switch Failure on Safety and Comfort
Beyond inconvenience, a malfunctioning seat switch can have real-world safety implications:
- Driver Positioning: Inability to adjust the seat can prevent the driver from reaching pedals, steering wheel, or seeing properly—raising accident risk.
- Airbag and Restraint Function: Many modern vehicles rely on seat position sensors to optimize airbag deployment. A stuck or misadjusted seat may compromise these systems [1].
- Passenger Accessibility: For vehicles used by multiple drivers or those with mobility challenges, seat adjustment is a critical accessibility feature.
Advertisement
Promptly addressing seat switch problems is not just about comfort—it’s a vital aspect of vehicle safety.
Advanced Troubleshooting: When the Problem Isn’t the Switch
Some seat adjustment issues masquerade as switch failures but originate elsewhere. Advanced troubleshooting may involve:
- Module Communication Errors: Modern vehicles use networked modules (CAN bus) to control seat functions. Software bugs or communication faults can disable seat switches—even if the switch itself is fine.
- Blown Fuses or Relays: Power supply interruptions often present as dead seat switches.
- Seat Motor Failure: If only one axis fails (e.g., seat moves forward/back but not up/down), the issue may be a failed power seat motor or jammed mechanism.
- Interior Electronics Interactions: Shared circuits with other interior features (mirrors, windows, memory seats) can lead to cascading faults. See our guide on Interior Electronics: Troubleshooting Tips for more.
If in doubt, a professional diagnostic scan can pinpoint the fault and save unnecessary parts replacement.
The Role of Standards and Regulations
Seat switch design and replacement are governed by rigorous safety and engineering standards. The National Highway Traffic Safety Administration (NHTSA) mandates that seat adjustment controls must be operable and safe under all normal conditions [1]. SAE International provides detailed engineering standards for switch durability, materials, and electrical performance [5]. Always ensure replacement parts comply with these standards to maintain safety and avoid liability.
AutoPartEx: Your Partner in Reliable Seat Switch Solutions
At AutoPartEx, we understand that seat switch failures can be disruptive and frustrating. Our commitment is to provide only high-quality, vehicle-specific seat switches and related components, backed by expert support and fitment guidance. Whether you’re a DIY enthusiast or a professional technician, our Seat Switch Replacement & Diagnostics | OEM Seat Switches – AutoPartEx category page offers everything you need—from diagnostics to installation instructions and sourcing the right part the first time.
Take Action: Don’t Ignore Early Warning Signs
If you notice slow, intermittent, or unresponsive seat adjustment, don’t wait for a complete failure. Early intervention can prevent further damage, maintain safety, and save on repair costs.
- Start with a visual and functional inspection.
- Use our diagnostic checklist to isolate the fault.
- Source quality replacement parts from trusted suppliers.
- Consult professional technicians or AutoPartEx support for complex issues.
By staying proactive, you ensure comfort, safety, and reliability for every drive.
References
Advertisement