Advertisement
Interior electronics are the nerve center of modern vehicles, controlling everything from seat adjustments to infotainment systems. When seat switches, power seat motors, or other cabin controls fail, quick and accurate troubleshooting is essential for safety, comfort, and functionality. This guide delivers immediate, actionable advice for diagnosing and repairing common issues with seat controls and other interior electronic components. Whether you’re a DIY enthusiast or a professional technician, you’ll find proven troubleshooting methods, practical checklists, and expert insights to keep your vehicle’s interior electronics operating reliably.
For more in-depth solutions and OEM seat switch replacements, visit our Seat Switch Replacement & Diagnostics | OEM Seat Switches – AutoPartEx category page.
Why Interior Electronics Matter
The surge in automotive interior electronics has transformed driver comfort, accessibility, and safety. Power seat switches, lumbar support controls, and memory modules are now standard in most vehicles. These systems are not just about luxury—they’re integral to vehicle safety and ergonomics. Malfunctioning seat switches can prevent proper seat positioning, which is critical in the event of a collision, directly impacting the effectiveness of airbags and seat belts (see NHTSA Vehicle Safety and Equipment).
Beyond seat controls, interior electronics include window switches, HVAC panels, light dimmers, and infotainment interfaces. Each plays a role in the overall driving experience and, when faulty, can lead to inconvenience or even hazardous situations. Understanding how to swiftly identify and address issues with these components is essential for maintaining a vehicle’s safety and value.
Hidden Problems: The Complexity of Modern Interior Electronics
While interior electronics are designed for reliability, their integration with vehicle networks (like CAN bus systems) and reliance on sensitive sensors introduces hidden vulnerabilities. Problems are rarely isolated. A failed seat switch might indicate a broader wiring or module issue. Intermittent failures—such as seats moving only in one direction or memory settings not saving—often stem from underlying electrical faults, corrosion, or software glitches.
Owners and technicians frequently overlook the impact of environmental factors: moisture ingress, spilled drinks, or even static electricity can compromise switch contacts and connectors. Additionally, aftermarket modifications (like seat covers or add-on electronics) can interfere with OEM wiring and result in elusive, recurring faults.
Expanding the Problem: Diagnosing Electrical Faults Is Not Always Straightforward
Diagnosing interior electronic issues requires more than just replacing parts. Many seat switch and control failures are symptomatic, not root causes. For example, a seat that won’t move might have a defective switch, a failed power seat motor, or a blown fuse. Sometimes, the actual fault lies deeper in the wiring harness, a corroded ground, or a body control module (BCM) malfunction.
This complexity is compounded by:
- Multiplexed wiring systems, where multiple signals share a single wire.
- Integrated circuits within switches that can fail silently.
- Safety interlocks (e.g., seat position sensors) that disable functions if out of calibration or damaged.
- Manufacturer-specific diagnostic procedures, requiring specialized tools or software.
Failing to address the root cause can result in repeat failures and unnecessary part replacements—wasting time and money.
Step-By-Step Solution Path: Interior Electronics Troubleshooting
1. Initial Symptom Assessment
Begin with a clear description of the issue. Does the seat fail to move entirely, or only in certain directions? Are other functions (like lumbar or memory) affected? Do related systems—such as window switches or dome lights—also exhibit problems? Document all symptoms, as this can reveal patterns pointing to shared wiring or control modules.
Checklist: Symptom Assessment
- Note which seat movements/functions are inoperative.
- Check if other interior switches (windows, mirrors) are affected.
- Observe if issues are intermittent or consistent.
- Listen for relay clicks or motor noises when activating the switch.
- Record any dashboard warning lights or error messages.
2. Visual and Physical Inspection
Before reaching for diagnostic tools, perform a thorough visual inspection:
Advertisement
- Examine the switch for physical damage, stickiness, or signs of liquid intrusion.
- Check seat wiring harnesses for pinched, frayed, or disconnected wires—especially under the seat, where movement can cause wear.
- Inspect connectors for corrosion or loose pins.
- Confirm that aftermarket accessories haven’t disturbed factory wiring.
A careful inspection can uncover obvious issues—saving time and avoiding unnecessary diagnostics.
3. Electrical Testing: Fuses, Power, and Grounds
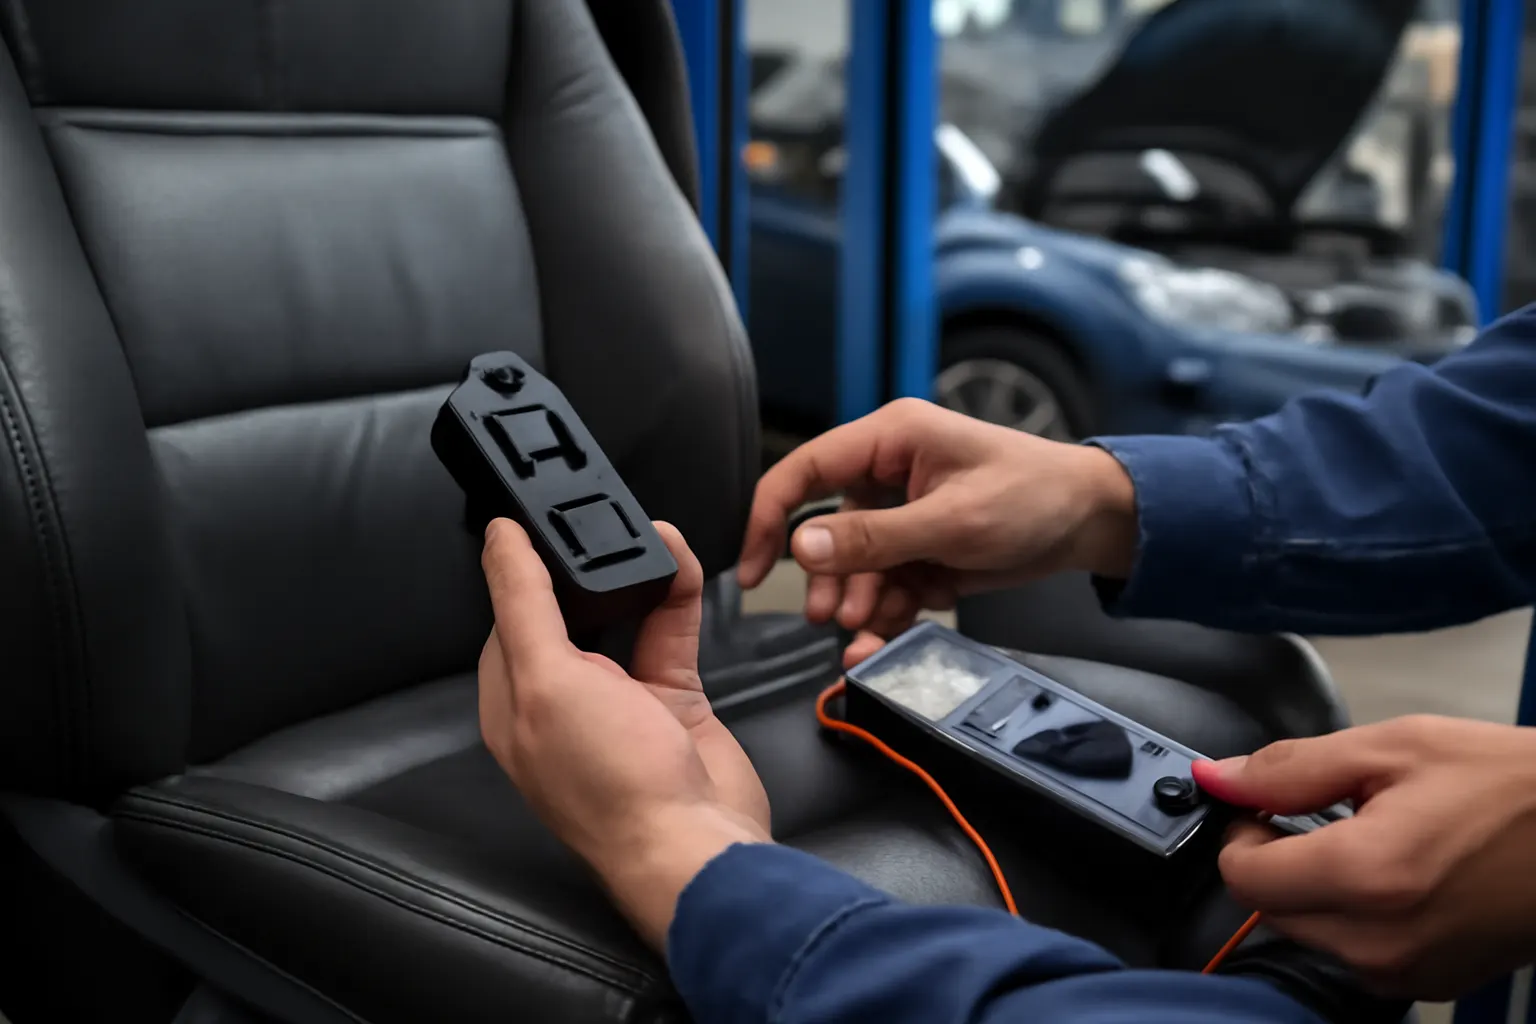
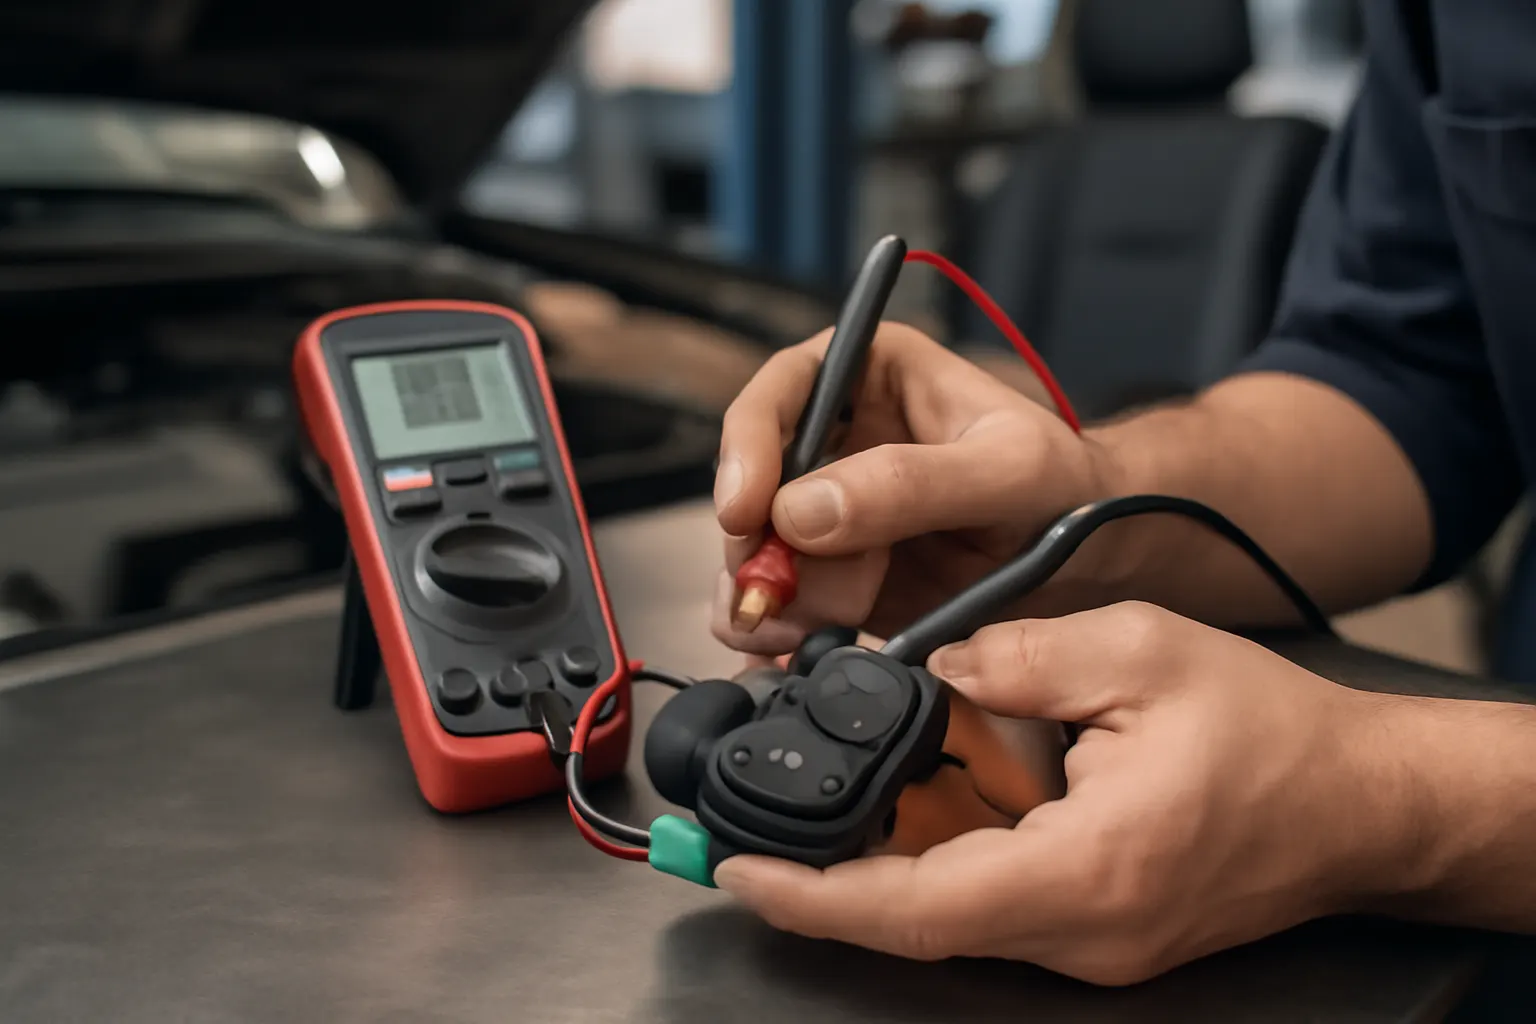
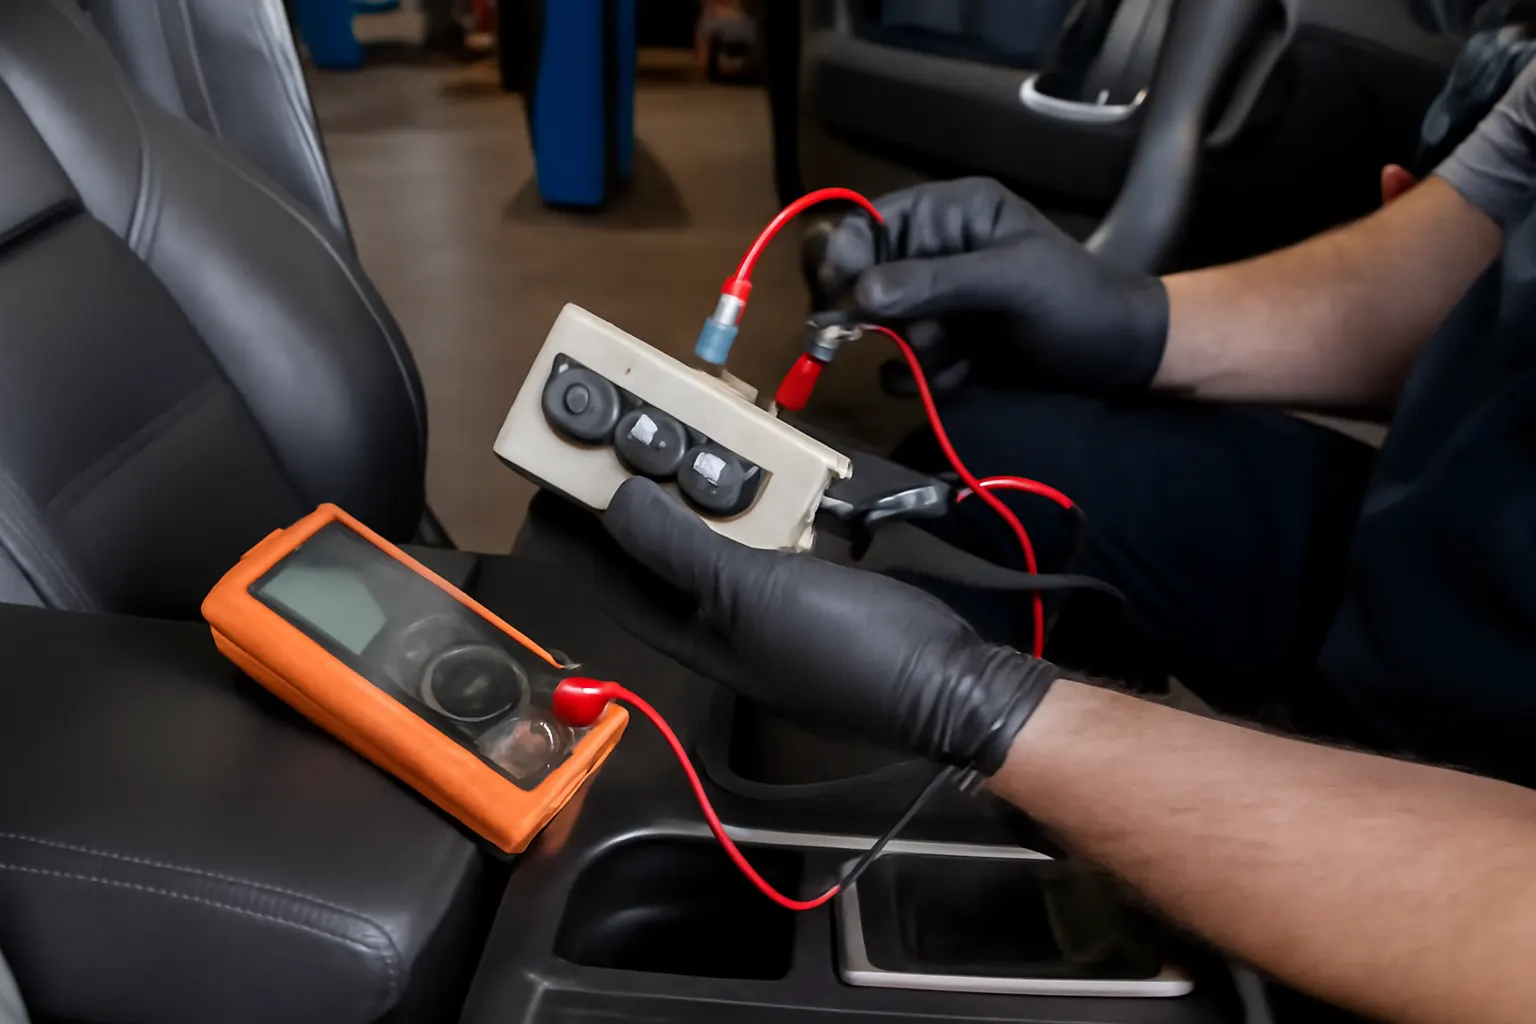
Most seat and interior electronics draw power from dedicated fuses and rely on solid ground points. Use a digital multimeter to:
- Test the relevant fuses for continuity. Replace any blown fuses, but if they blow again, investigate for short circuits.
- Check for battery voltage at the switch connector with the ignition on.
- Confirm that ground connections are clean, tight, and free of corrosion.
If power or ground is missing, trace the circuit back through the wiring diagram to locate the fault.
4. Switch and Motor Testing
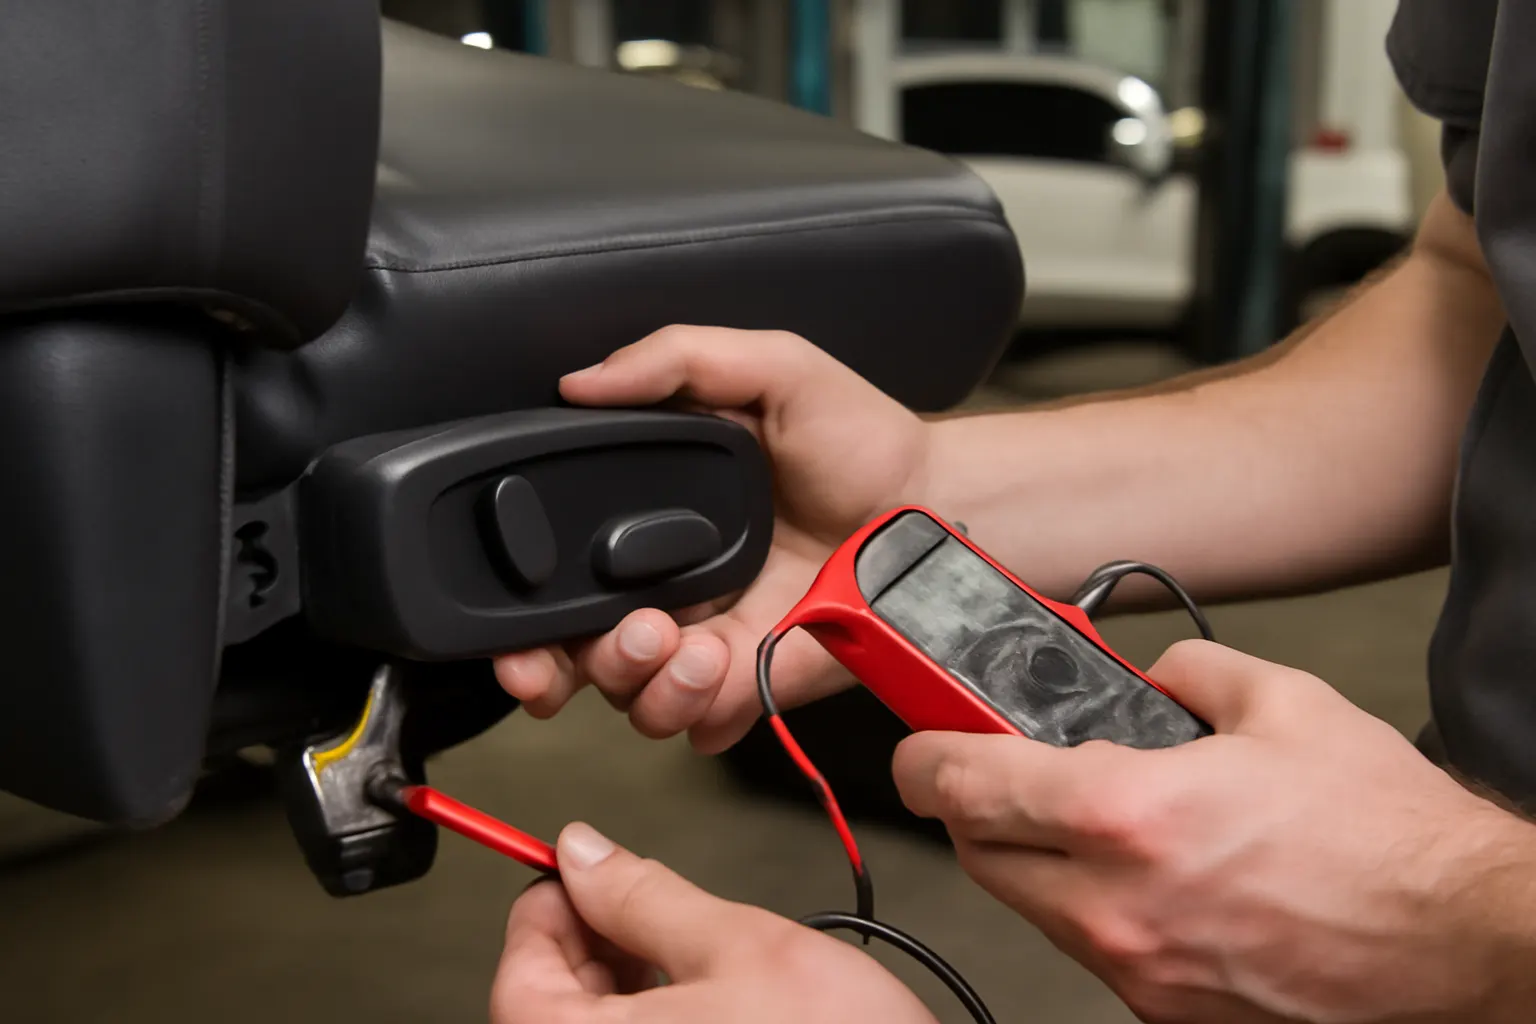
If power and ground are present, test the switch operation:
- With the switch disconnected, use an ohmmeter to verify continuity between switch terminals as you operate it.
- If equipped, scan for diagnostic trouble codes (DTCs) using an OBD-II scanner capable of accessing body systems.
- For power seat motors, apply direct battery voltage to the motor terminals (using fused jumper wires) to confirm operation. If the motor runs, the switch or wiring is likely at fault; if not, the motor itself may need replacement.
For more specific guidance, see our How to Diagnose Power Seat Issues guide.
5. Module and Network Diagnostics
Many late-model vehicles use body control modules (BCMs) to manage interior electronics. Faulty modules or network communication errors can disable switches and seat motors:
- Use a scan tool to check for BCM-related DTCs.
- Verify that all CAN bus connections are secure and undamaged.
- If module replacement is required, ensure correct programming and initialization per manufacturer instructions.
Common Failure Points in Interior Electronics
A. Seat Switches
Seat switches endure constant use and are exposed to dirt, moisture, and mechanical wear. Common failure modes include:
- Worn contacts causing intermittent operation.
- Broken or sticky buttons.
- Internal spring or actuator failure.
- Liquid damage from spills.
For more on why seat switches fail, see What Causes Seat Switch Failures?.
B. Power Seat Motors
Motors can seize due to lack of lubrication, debris, or internal short circuits. Symptoms include grinding noises, sluggish movement, or complete inoperability. For replacement options, browse our power seat motor category.
C. Wiring and Connectors
Under-seat wiring is susceptible to damage from seat movement, improper routing, or corrosion. Connectors may loosen over time, especially if seats are frequently adjusted or removed.
D. Control Modules
BCMs and related modules can fail due to software glitches, water ingress, or voltage spikes. Module failures may affect multiple interior systems simultaneously.
Tools and Equipment for Interior Electronics Diagnosis
A successful troubleshooting process requires the right tools:
- Digital Multimeter: For voltage, continuity, and resistance checks.
- OBD-II Scanner (with body system access): For reading DTCs and module data.
- Wiring Diagrams: Essential for tracing circuits and understanding connector pinouts.
- Plastic Trim Removal Tools: Prevents damage when accessing switches or panels.
- Fused Jumper Wires: Allows safe testing of motors and circuits.
- Contact Cleaner: For cleaning corroded terminals and switch contacts.
- Insulation Piercing Probe: For non-destructive wire testing.
Professional-grade tools can speed diagnosis and reduce the risk of accidental damage to sensitive electronics.
Preventive Maintenance for Interior Electronics
Prevention is often easier than repair. Regular maintenance can extend the life of seat switches, motors, and other interior components:
Advertisement
- Keep Switches Clean: Wipe down switches regularly; avoid allowing liquids or sticky substances to contact them.
- Inspect Wiring Routinely: Especially after moving seats or installing accessories. Secure loose wires and connectors.
- Address Moisture Immediately: Dry any spills quickly and inspect for corrosion if liquids reach switches or connectors.
- Lubricate Moving Parts: Use manufacturer-approved lubricants on seat tracks and motors to prevent binding.
- Check for Recalls: Some seat switches and modules are subject to manufacturer recalls. Check your vehicle’s VIN at the NHTSA Recalls page.
Selecting the Right Replacement Parts
When replacement is necessary, always use quality OEM or equivalent components. Inferior aftermarket switches or motors may not meet durability or safety standards, and can introduce new faults. Always verify:
- Compatibility with your vehicle’s make, model, and year.
- Connector pinouts and mounting arrangements.
- Any required module programming or calibration steps.
For trusted, OEM-grade replacements, explore our Seat Switch Replacement & Diagnostics | OEM Seat Switches – AutoPartEx catalog.
Installation Tips: Ensuring a Reliable Repair
Installing interior electronics requires attention to detail:
- Disconnect the Battery: Prevents accidental airbag deployment or module damage.
- Handle Connectors Carefully: Do not force or bend pins; inspect for damage before reassembly.
- Route Wires Properly: Avoid sharp bends, pinch points, and moving parts.
- Test Before Reassembly: Verify all functions before reinstalling trim panels.
- Follow Torque Specs: Over-tightening switch or module fasteners can cause cracks or misalignment.
For a detailed, step-by-step guide, see our editorial on Replacing a Seat Switch: Tools & Techniques.
Troubleshooting Checklist: Interior Electronics
Use this checklist to streamline your diagnostic process:
| Step | Task | Complete |
|---|---|---|
| 1 | Document all symptoms and affected functions | [ ] |
| 2 | Perform visual inspection of switches and wiring | [ ] |
| 3 | Test all relevant fuses for continuity | [ ] |
| 4 | Verify power and ground at switch connector | [ ] |
| 5 | Test switch function with multimeter | [ ] |
| 6 | Test motor with direct battery voltage | [ ] |
| 7 | Scan for diagnostic trouble codes (DTCs) | [ ] |
| 8 | Inspect for BCM or network faults | [ ] |
| 9 | Check for manufacturer recalls | [ ] |
| 10 | Replace faulty components with quality parts | [ ] |
| 11 | Test all functions before final reassembly | [ ] |
Advanced Diagnostics: When to Seek Professional Help
Some interior electronics issues require advanced diagnostic equipment or manufacturer-specific knowledge. Seek professional assistance if:
- Diagnostic trouble codes persist after repairs.
- Multiple unrelated systems are affected (e.g., seats, windows, and door locks).
- Wiring harness damage is extensive or involves airbag circuits.
- Module programming or software updates are required.
Certified automotive technicians have access to factory service information, scan tools, and programming equipment to resolve complex electronic issues.
The Role of Standards and Safety in Interior Electronics
Automotive interior electronics must comply with rigorous safety and performance standards. Organizations like SAE International and the National Highway Traffic Safety Administration (NHTSA) establish guidelines for switch durability, electrical integrity, and crashworthiness (SAE Standards, NHTSA Equipment).
Using substandard parts or improper installation can compromise occupant safety. Always adhere to manufacturer specifications and industry best practices.
Interior Electronics and Vehicle Value
Functional interior electronics are increasingly important for vehicle resale value. Buyers expect seat controls, infotainment, and climate systems to operate flawlessly. Unrepaired faults can significantly reduce trade-in or private sale values.
Regular maintenance, prompt repairs, and documentation of all work performed help preserve your vehicle’s value and reliability.
AutoPartEx: Your Trusted Source for Interior Electronic Solutions
At AutoPartEx, we understand the challenges of diagnosing and repairing modern interior electronics. Our comprehensive selection of OEM and high-quality aftermarket seat switches, motors, and related components ensures you get the right fit and performance every time.
Our technical guides, like this one, are designed to empower both technicians and DIYers with practical, step-by-step solutions. Explore our Seat Switch Replacement & Diagnostics | OEM Seat Switches – AutoPartEx section for parts, tools, and more expert advice. For related troubleshooting, see What Causes Seat Switch Failures?.
Conclusion: Stay Ahead of Interior Electronic Issues
Interior electronics are the backbone of modern automotive comfort and safety. By following systematic troubleshooting procedures, performing regular maintenance, and choosing quality replacement parts, you can ensure reliable operation and preserve your vehicle’s value. When challenges arise, trust AutoPartEx for the parts, expertise, and support you need to get the job done right.
References
Advertisement