Advertisement
Advanced Driver-Assistance Systems (ADAS) are revolutionizing vehicle safety, but their accuracy depends on something deceptively simple: the precise alignment of the windshield frame. If you’ve ever replaced a windshield, repaired frame rust, or restored a classic, you may not realize that even millimeter-level shifts in the windshield frame can directly affect ADAS camera and sensor calibration. In modern vehicles, the windshield frame is more than a structural backbone—it’s a reference point for the vehicle’s electronic “eyes.” This article explores the critical relationship between windshield frame integrity and ADAS calibration, offering practical guidance for technicians, restorers, and safety-minded drivers. For a foundational overview of the windshield frame’s role in safety and structure, see our Windshield Frame: Structural Backbone for Safety, Sealing, and Visibility guide.
Why Windshield Frame Alignment Matters for ADAS
ADAS features—such as lane-keeping assist, automatic emergency braking, adaptive cruise control, and traffic sign recognition—rely on cameras and sensors typically mounted to or near the windshield. These systems use the windshield frame as a fixed geometric reference. Any deviation in the frame’s position or angle can cause misalignment, leading to incorrect readings, false alarms, or even system failure.
For example, a forward-facing camera offset by just a few degrees may misinterpret lane markings or obstacles, compromising safety. The National Highway Traffic Safety Administration (NHTSA) emphasizes that proper equipment installation is fundamental to vehicle safety and function, especially as electronics and sensors become more integrated with structural components [^1].
The Hidden Problem: Subtle Frame Issues, Major Consequences
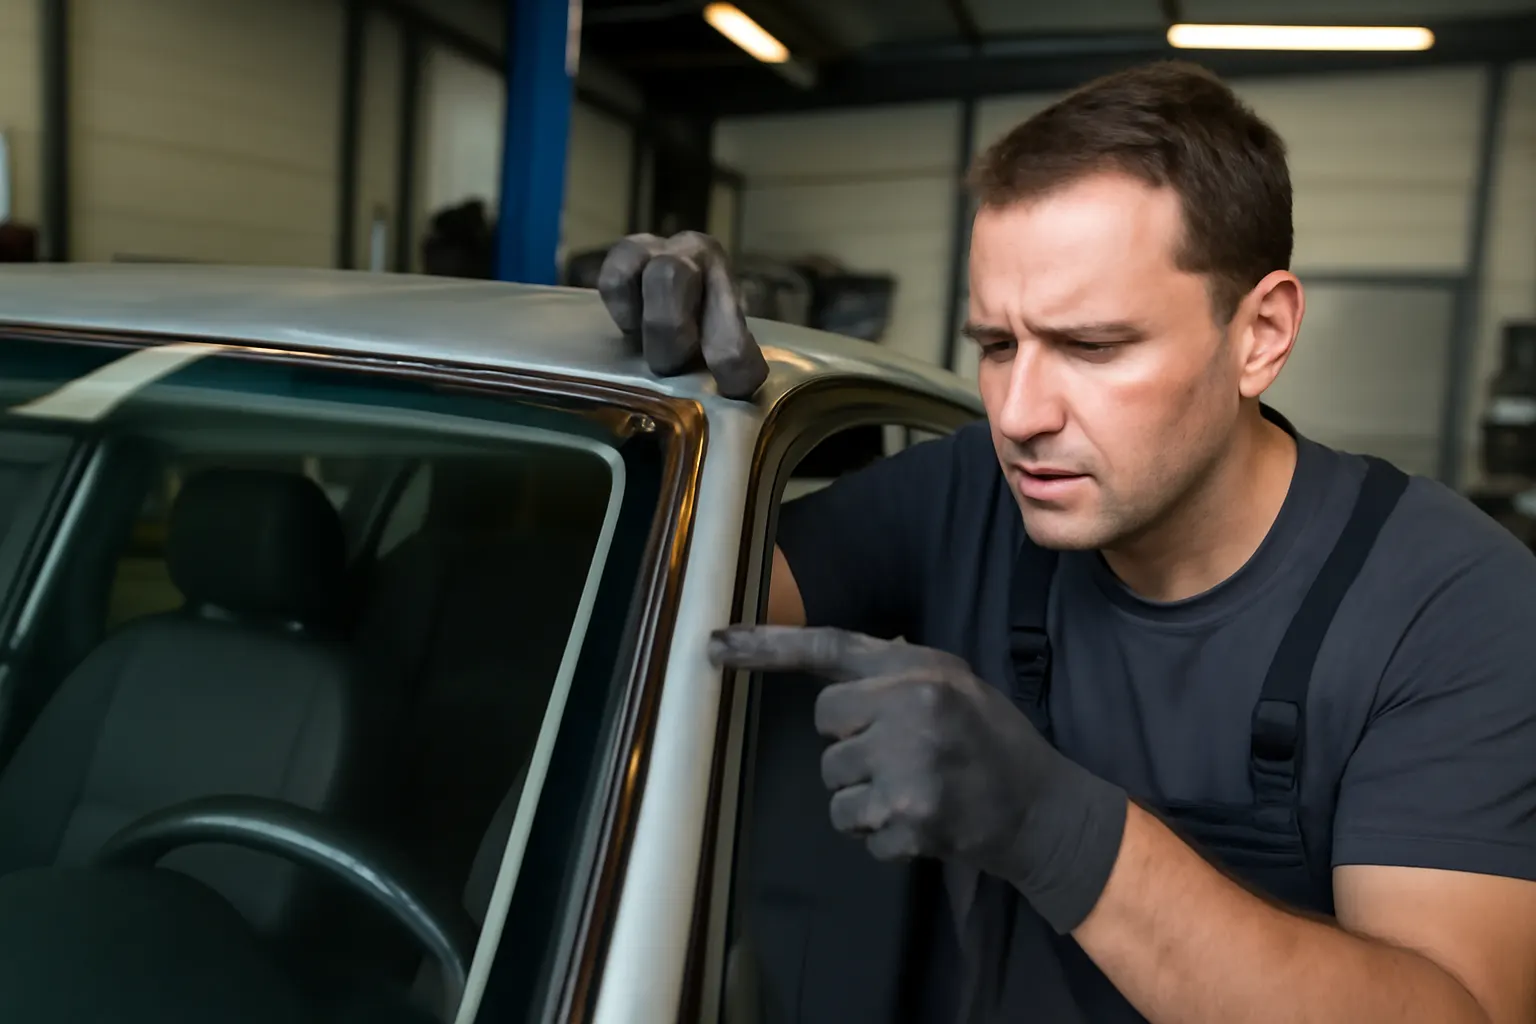
While ADAS technology is designed to increase safety, its precision makes it vulnerable to even minor windshield frame imperfections. Many drivers and even some technicians overlook how a seemingly minor windshield frame misalignment—caused by collision repair, rust, or improper glass installation—can dramatically affect ADAS sensor calibration.
Consider this: After a windshield replacement, a camera may be visually centered but actually off by a few millimeters due to an uneven frame. The ADAS system, relying on factory geometry, will interpret the world through a skewed lens. This can lead to:
- Lane departure warnings that trigger at the wrong time
- Incorrect distance estimation for adaptive cruise control
- Faulty automatic emergency braking activation
- Failure to recognize traffic signs or pedestrians
These failures are not just inconvenient—they undermine the very safety features drivers depend on. Recalls related to ADAS miscalibration are growing, with manufacturers and regulatory agencies stressing the importance of correct installation and calibration procedures [^2].
Windshield Frames: The Technical Backbone of ADAS Alignment
The windshield frame’s role in ADAS calibration is rooted in its function as a rigid, fixed datum point. Unlike trim or body panels, the frame is engineered to maintain precise geometry relative to the vehicle’s chassis. ADAS cameras and sensors are often mounted directly to the windshield, which in turn is bonded to the frame using high-strength adhesives.
Key technical considerations include:
- Reference Geometry: The frame’s angle, height, and lateral position establish the “zero point” for sensor orientation.
- Structural Integrity: Flexing or twisting of the frame—even if imperceptible—can alter camera aim and sensor range.
- Mounting Surfaces: ADAS sensors require flat, stable mounting surfaces. Rust, previous repairs, or aftermarket modifications can introduce unevenness.
SAE standards and OEM repair manuals specify strict tolerances for windshield and frame installation to ensure ADAS reliability [^5]. Even small deviations can require recalibration or, in severe cases, frame repair or replacement.
What Can Go Wrong? Common Scenarios Affecting ADAS Calibration
Understanding the situations that compromise ADAS calibration is essential for anyone working on modern vehicles. Here are some typical scenarios:
Advertisement
1. Windshield Replacement
Modern windshields often include camera brackets or sensor housings. During replacement:
- If the new glass is not seated precisely in the frame, camera angles will shift.
- Adhesive cure times must be respected to prevent post-installation movement.
- Aftermarket glass or frame repairs may not match OEM dimensions.
2. Collision Repair
Even minor front-end impacts can distort the windshield frame:
- Frame pulls or welds may leave the opening slightly out of square.
- Sensor mounts may be shifted or damaged.
- Paint or filler buildup can create uneven mounting surfaces.
3. Rust Repair
Corrosion in the windshield frame, common in older or classic vehicles, can lead to:
- Loss of structural rigidity, allowing frame flexing.
- Uneven surfaces after rust removal and patching.
- Difficulty in achieving a flush, stable glass fit.
For more on addressing rust, see our How to Inspect and Repair Windshield Frame Rust guide.
4. Incomplete or Improper Calibration
Some shops may skip or shortcut ADAS calibration after glass or frame work:
- “Static” calibration (in-shop) may not match real-world conditions if the frame is off.
- “Dynamic” calibration (test drive) can mask minor misalignments until a critical moment.
- Skipping calibration altogether leaves the system unreliable.
The ADAS Calibration Process: Step-by-Step
A successful ADAS calibration starts with a properly aligned windshield frame. Here’s a breakdown of the process:
1. Pre-Calibration Inspection
- Visual Check: Inspect the frame for rust, cracks, welds, or previous repairs.
- Dimensional Measurement: Use OEM specifications to check frame squareness and opening size.
- Surface Cleanliness: Ensure all mounting points are free of debris and adhesive residue.
2. Windshield Installation
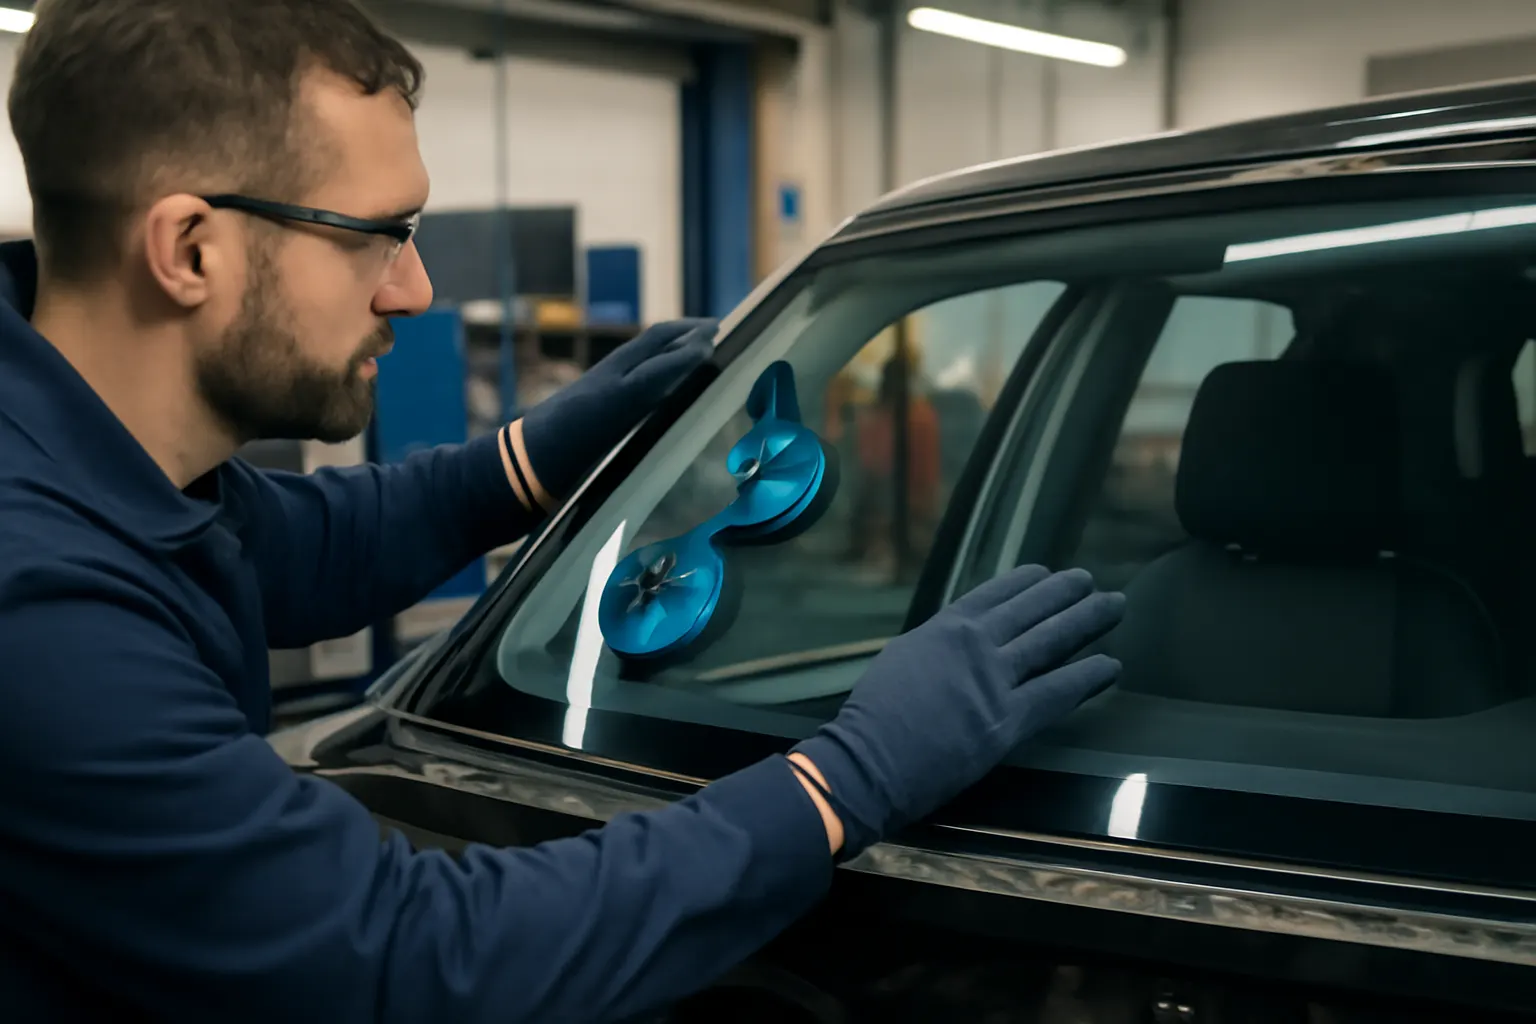
- Dry Fit: Test-fit the glass to check for gaps or unevenness.
- Adhesive Application: Use OEM-approved adhesives and follow cure times.
- Seating: Apply even pressure to seat the glass flush with the frame.
For more on ensuring a secure seal, see Windshield Replacement: Ensuring a Leak-Free Seal.
3. Sensor and Camera Mounting
- Bracket Alignment: Check that camera and sensor brackets are perfectly aligned with factory reference marks.
- Torque Specs: Tighten all fasteners to OEM specifications.
- Connector Integrity: Inspect wiring and connectors for damage.
4. Electronic Calibration
- OEM Scan Tool Connection: Use manufacturer-specific software to initiate calibration.
- Target Placement: Position calibration targets at specified distances and angles.
- Verification: Test system operation—lane detection, sign recognition, etc.—and check for diagnostic trouble codes (DTCs).
Checklist: Diagnosing Windshield Frame Issues Before ADAS Calibration
Before proceeding with ADAS calibration, use this checklist to catch frame issues that could cause downstream problems:
| Step | Inspection Point | Action if Issue Found |
|---|---|---|
| 1 | Visual frame inspection | Repair rust, cracks, or welds |
| 2 | Measure frame opening vs. OEM specs | Correct misalignment before proceeding |
| 3 | Check for previous repairs or filler | Sand smooth, verify structure |
| 4 | Inspect mounting surfaces for flatness | Level and clean as needed |
| 5 | Dry-fit windshield and check for gaps | Adjust frame or glass as needed |
| 6 | Verify bracket alignment with reference marks | Realign or replace brackets |
| 7 | Confirm adhesive cure before calibration | Wait full cure time |
| 8 | Scan for DTCs after install | Address codes before calibration |
Diagnostic Strategies: When ADAS Calibration Fails
Even with careful installation, calibration may fail. Here’s how to diagnose the root cause:
1. Review Calibration Data
- Many OEM scan tools provide detailed feedback on sensor aim and alignment.
- Compare actual vs. target angles and positions.
2. Physical Re-Inspection
- Double-check frame squareness and glass seating.
- Look for subtle signs of frame flex or deformation, especially near mounting points.
3. Environmental Factors
- Ensure the vehicle is on a level surface during calibration.
- Check for excessive heat or cold affecting adhesive or sensor performance.
Advertisement
4. OEM Service Information
- Consult technical service bulletins (TSBs) for model-specific issues.
- Verify that all software updates and calibration procedures are current.
Sourcing and Selecting Quality Windshield Frame Parts
The foundation of accurate ADAS calibration is a high-quality, OEM-spec windshield frame. Here’s what to look for when sourcing replacement or repair parts:
- OEM vs. Aftermarket: OEM frames are engineered to factory tolerances, while aftermarket parts may vary in fit and finish.
- Material Quality: High-strength steel or aluminum frames maintain rigidity and resist flexing.
- Corrosion Resistance: Look for frames with factory-applied coatings or galvanization.
- Compatibility: Ensure the frame matches the exact year, make, and model—including sensor bracket locations.
When restoring classics, consider the unique challenges of matching original frame geometry for ADAS retrofits. For more information, see Classic Car Restoration: Saving the Original Windshield Frame.
Maintenance Tips: Preserving Windshield Frame Integrity
Preventive maintenance of the windshield frame not only extends its life but also ensures ongoing ADAS reliability:
- Regular Inspection: Check for rust, chips, or cracks at least twice a year.
- Prompt Rust Treatment: Address surface rust early to prevent structural compromise.
- Seal Integrity: Ensure windshield seals are intact to prevent water intrusion and corrosion.
- Avoid Aftermarket Modifications: Drilling or altering the frame for accessories can weaken mounting points.
If you notice water leaks, wind noise, or visible rust, address these issues before they threaten the accuracy of ADAS systems.
The Importance of Professional Installation and Calibration
DIY windshield or frame work may save money upfront but risks long-term ADAS issues. Professional shops:
- Use specialized tools for frame measurement and alignment.
- Have access to OEM calibration equipment and software.
- Follow documented procedures for both glass installation and electronic calibration.
Always ask for documentation of calibration results and keep them with your vehicle records—this can be vital for warranty and resale value.
The Future: Evolving Standards and Materials
As ADAS technology evolves, so do the standards and materials used in windshield frames:
- Lightweight Alloys and Composites: Newer vehicles may use aluminum or composite frames for weight savings, requiring different repair and calibration techniques 1.
- Integrated Sensor Housings: Some frames are now designed with molded-in sensor mounts for even tighter tolerances.
- Standardization: SAE and other organizations are continually updating standards for ADAS calibration and structural repair 2.
Staying current with these trends is essential for technicians and restorers working on late-model vehicles.
How AutoPartEx Supports Your Windshield Frame and ADAS Needs
AutoPartEx is committed to providing the most up-to-date technical guidance, quality parts, and diagnostic resources for windshield frame and ADAS service. Whether you’re sourcing a replacement frame, looking for OEM calibration specs, or tackling a classic restoration, our platform connects you with:
- Verified OEM and high-quality aftermarket parts
- Step-by-step repair and calibration guides
- Diagnostic tools and checklists designed for modern ADAS-equipped vehicles
- Access to a community of technical experts and restoration professionals
Explore our Windshield Frame: Structural Backbone for Safety, Sealing, and Visibility category for more resources, or browse manufacturer-specific parts like Acura for compatibility and fitment guidance.
Key Takeaways: Ensuring Safety Through Precision
- The windshield frame is a critical reference point for ADAS calibration—millimeter-level accuracy is essential.
- Frame misalignment can cause ADAS malfunctions, undermining safety features.
- Proper inspection, installation, and electronic calibration are non-negotiable steps after any frame or glass work.
- Sourcing quality parts and following OEM procedures ensure reliability and compliance with safety standards.
- Professional tools and expertise are increasingly necessary as ADAS and windshield frame technologies evolve.
By respecting the technical relationship between the windshield frame and ADAS, you safeguard not only your vehicle’s advanced features but also the lives of everyone on the road.
References
- Vehicle Safety and Equipment – National Highway Traffic Safety Administration
- Vehicle, Car Seat, Tire, and Equipment Recalls – National Highway Traffic Safety Administration
- Materials Technologies – United States Department of Energy
- Fuel Efficiency – United States Department of Energy
- SAE Standards – SAE International
Footnotes
Advertisement