Advertisement
Classic Car Windshield Frame Restoration Tips
Restoring the windshield frame on a classic car is a pivotal step in safeguarding structural integrity, occupant safety, and the vehicle's vintage appeal. Whether you're tackling mild surface rust or extensive corrosion, this guide delivers expert-level tips and actionable steps for restoring corroded or damaged windshield frames in vintage vehicles. Classic car enthusiasts and restoration professionals alike can benefit from this comprehensive approach—ensuring your project meets modern safety standards and preserves authenticity. For a broader overview of windshield frame structure and safety, visit our Windshield Frame: Structure, Safety & Replacement | AutoPartEx category.
Why Windshield Frame Restoration Is Critical
The windshield frame is more than a decorative border—it's a structural element that reinforces the body shell, supports the windshield, and plays a direct role in passenger safety. In classic cars, this component is often overlooked in favor of more visible restoration tasks, but neglecting it can lead to serious safety and drivability issues. The National Highway Traffic Safety Administration (NHTSA) identifies windshield and frame integrity as essential to occupant protection, especially in rollover scenarios and frontal impacts [^1]. A compromised frame can lead to improper windshield seating, leaks, wind noise, and, critically, a weakened safety cage.
The Hidden Problem: Corrosion and Structural Fatigue
Classic vehicles, especially those manufactured before the widespread use of galvanized steel and advanced coatings, are highly susceptible to rust and corrosion. Over decades, exposure to moisture, road debris, and temperature fluctuations can cause the windshield frame to deteriorate from the inside out. This decay is often hidden behind trim, weatherstripping, or layers of paint, making it a silent threat to both restoration quality and roadworthiness.
Even minor frame corrosion can escalate, undermining the windshield’s adhesive bond and compromising the car’s ability to withstand impacts. In severe cases, corrosion can extend to adjacent body panels, firewall, and A-pillars, multiplying repair complexity and cost. This is why a thorough inspection and restoration of the windshield frame is non-negotiable in any classic car project.
Understanding Windshield Frame Construction in Classics
Windshield frames in classic cars are typically constructed from stamped steel or, less commonly, aluminum. These materials were chosen for their strength, formability, and ability to integrate with the body shell. However, the steel alloys used in many vintage vehicles lack the corrosion resistance of modern counterparts. According to the U.S. Department of Energy, advances in materials technology have led to lighter, stronger, and more corrosion-resistant vehicle structures today, but classic cars remain vulnerable without these improvements [^2].
The frame forms a rigid perimeter, often spot-welded or bolted to the cowl and roof structure. It may feature integrated rain gutters, mounting tabs for trim, and channels for weatherstripping. Understanding these construction details is vital for accurate restoration and safe reassembly.
Signs Your Classic Car’s Windshield Frame Needs Restoration
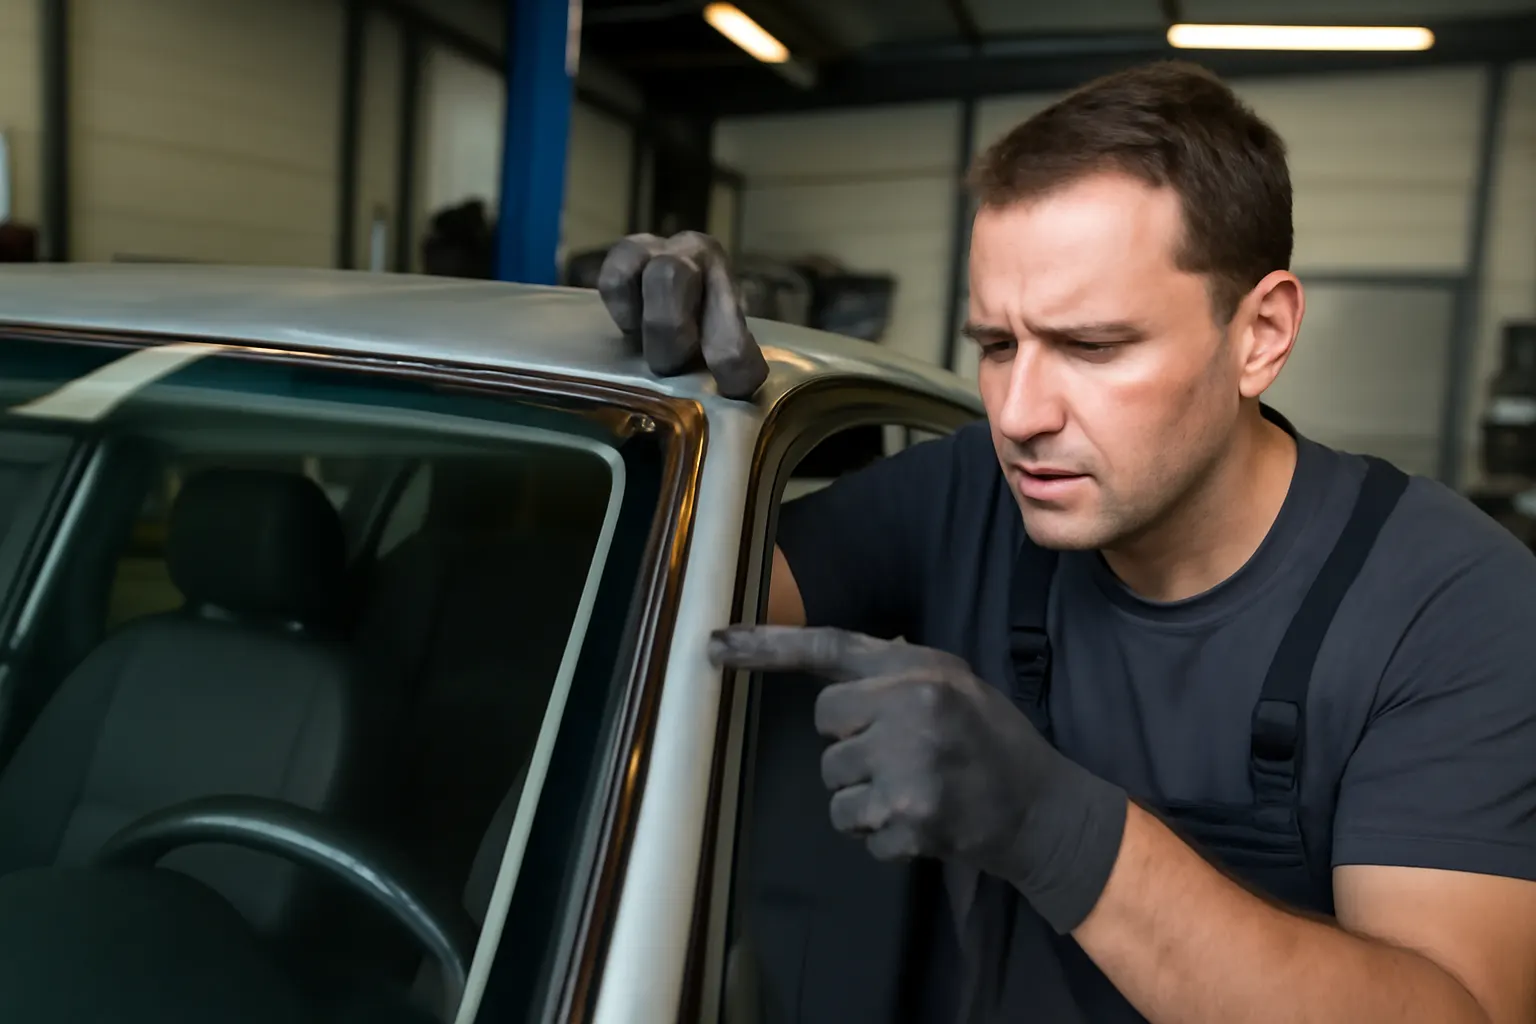
Before diving into restoration, it's crucial to diagnose frame condition accurately. Here are the most common indicators of windshield frame deterioration in classic cars:
- Visible Rust or Bubbling Paint: Rust streaks, paint bubbles, or discoloration along the windshield perimeter often signal underlying corrosion.
- Water Leaks or Damp Carpets: Persistent leaks after rain or washing can indicate compromised frame or seal integrity.
- Loose or Misaligned Windshield Trim: Trim that won’t seat properly may be a sign the frame has warped, rusted, or lost its mounting points.
- Cracked or Delaminating Windshield: Stress from a weakened frame can cause the windshield glass to crack or delaminate at the edges.
- Unusual Wind Noise: Air leaks around the windshield area can result from frame distortion or corrosion gaps.
- Soft or Flaking Metal: Pressing lightly on suspect areas may reveal soft spots or flakes—evidence of advanced rust.
If any of these symptoms are present, a detailed inspection is warranted before proceeding with restoration.
Diagnostic Checklist: Assessing Windshield Frame Condition
A methodical inspection ensures you identify every area of concern before restoration begins. Use this checklist to guide your assessment:
Windshield Frame Diagnostic Checklist
Advertisement
| Step | Action | Tools Needed |
|---|---|---|
| Remove Trim & Weatherstripping | Carefully detach all trim and rubber seals around the frame | Trim tools, pliers |
| Visual Inspection | Look for rust, pitting, cracks, or holes | Flashlight, mirror |
| Tap Test | Gently tap suspect areas to detect thin or weak spots | Small hammer, pick |
| Probe for Weak Metal | Press with a screwdriver to check for soft/flexible metal | Screwdriver |
| Inspect Seams & Welds | Examine joints for separation or rust bleeding | Inspection mirror |
| Check Windshield Fit | Note any gaps, uneven seating, or pressure points | Feeler gauge |
| Water Test | Spray area and check for leaks inside the cabin | Garden hose |
Document all findings with photos and notes. This will help you plan the restoration and communicate with suppliers or restoration shops if needed.
Preparing for Restoration: Safety, Tools, and Workspace
Before any metalwork begins, set up a safe, well-ventilated workspace. Restoration often involves grinding, welding, and handling chemicals such as rust converters and primers. Personal protective equipment (PPE) is essential—use gloves, safety glasses, a dust mask or respirator, and ear protection.
Essential Tools and Materials:
- Angle grinder with wire wheel and cutoff discs
- Spot weld cutter or drill
- MIG or TIG welder (for steel/aluminum repairs)
- Body hammers, dollies, and metal forming tools
- Rust converter and metal prep chemicals
- Automotive primers and seam sealers
- Sheet metal patches (OEM or custom-fabricated)
- Clamps and welding magnets
Organize all components removed during disassembly in labeled containers to ensure correct reinstallation.
Step-By-Step: Removing the Windshield and Frame Trim
Safe removal of the windshield and trim is crucial to avoid damaging glass or rare trim pieces. For most classic cars:
- Remove Wipers and Cowl Panel: Detach windshield wipers and the cowl vent panel if present.
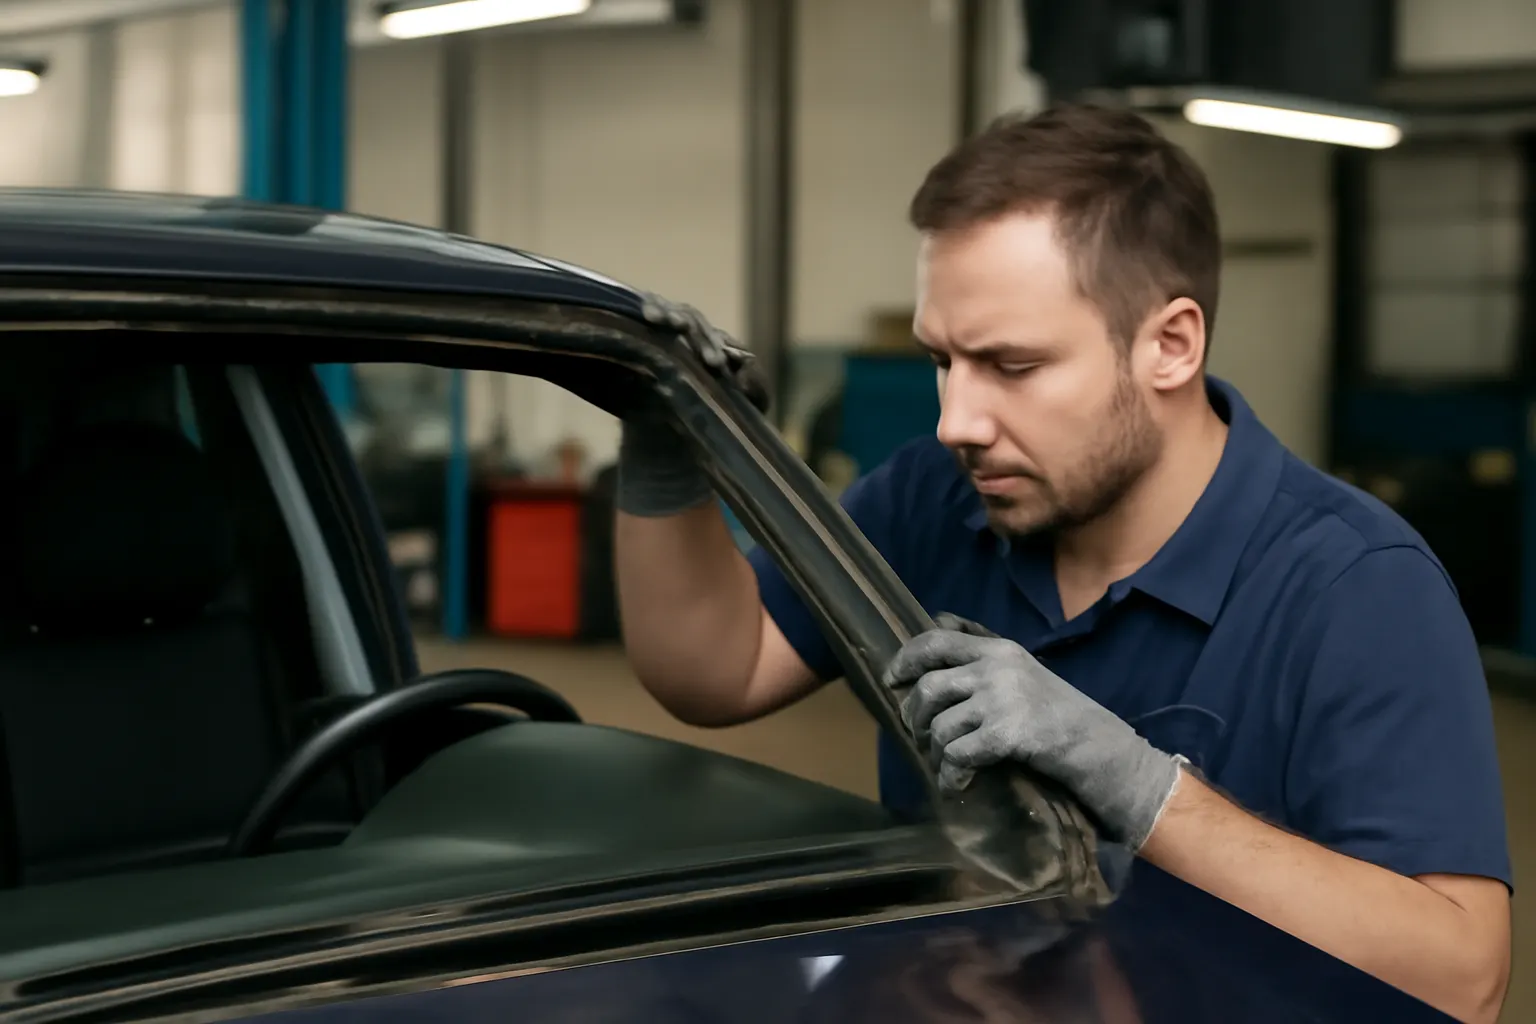
- Extract Trim: Use specialized trim removal tools to gently pry off stainless or aluminum trim. Avoid bending or creasing these pieces, as replacements are often hard to find.
- Cut Weatherstripping: If the windshield is set in a rubber gasket, carefully cut the gasket with a utility knife.
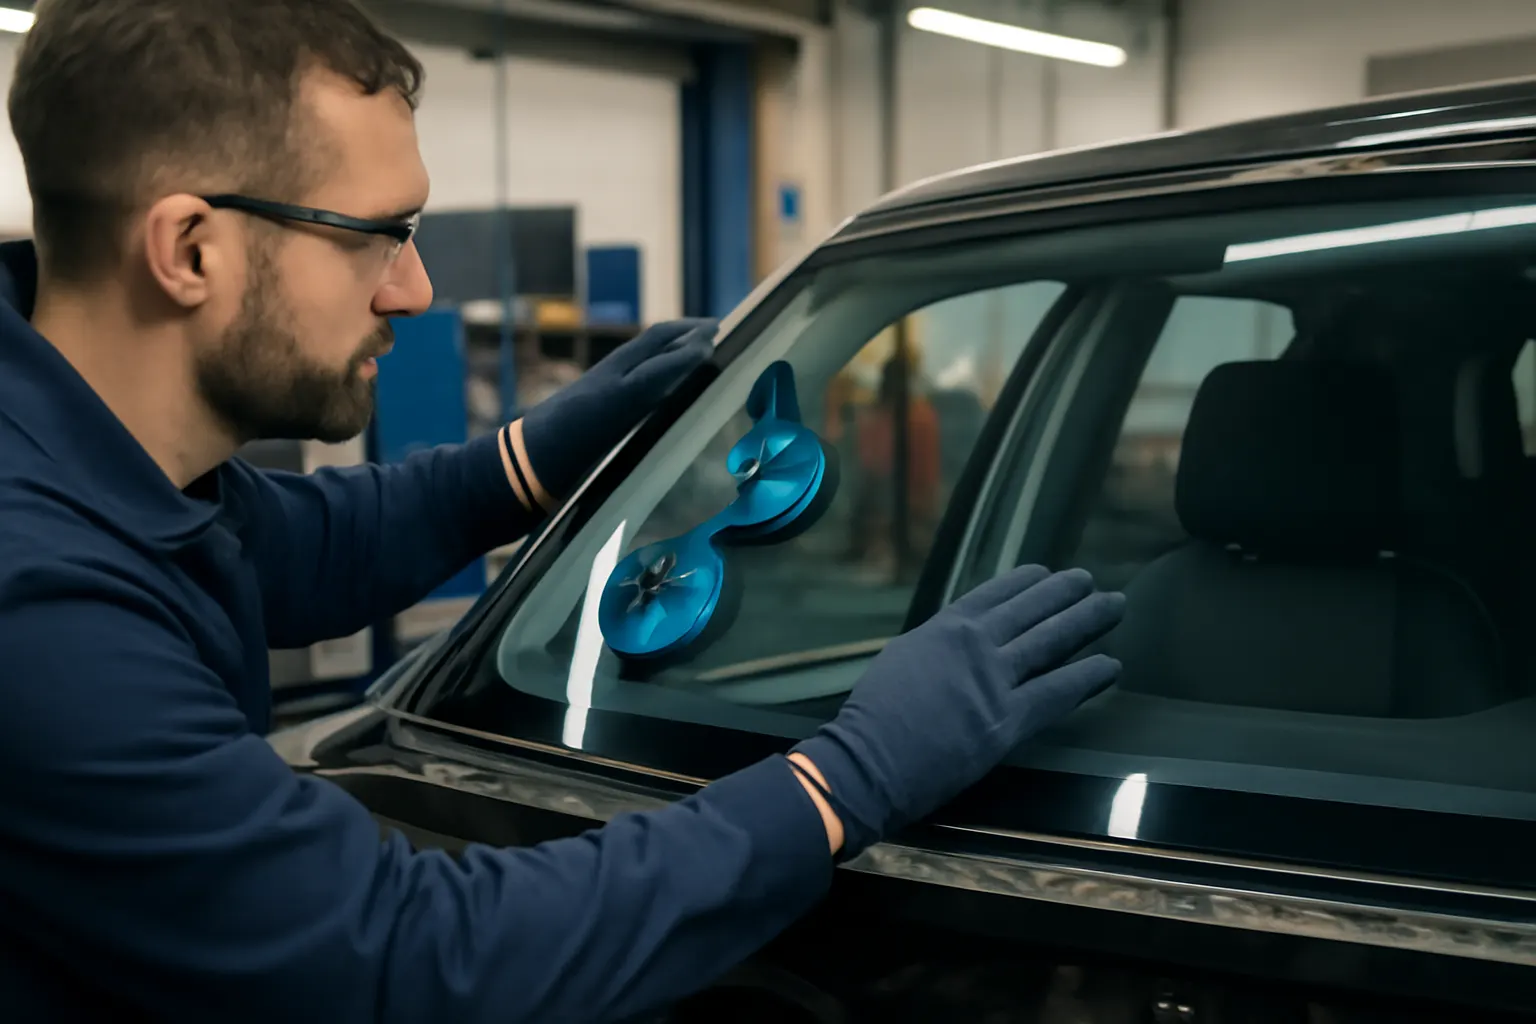
- Release Windshield: For urethane-bonded glass, use a cold knife or wire tool to separate the adhesive bead. Have an assistant support the glass as you work.
- Lift Out Glass: Remove the windshield and set it aside in a safe location.
Take extra care with rare or expensive glass; consider professional assistance if you’re unsure.
Addressing Corrosion: Cleaning, Cutting, and Treating Metal
With the frame exposed, assess the full extent of corrosion. Surface rust can often be removed with a wire wheel or sandblasting, but advanced rust may require cutting out and replacing sections of metal.
Surface Rust Removal:
- Use a wire wheel, sandpaper, or chemical rust remover to clean affected areas.
- Apply a rust converter to neutralize remaining oxidation.
- Finish with a metal prep solution to promote primer adhesion.
Advanced Rust Repair:
- Mark and cut out all compromised metal, extending slightly into solid material to ensure a sound repair.
- Fabricate or source patch panels to match the original contours and mounting points.
- Weld patches in place using appropriate techniques for the base metal (MIG for steel, TIG for aluminum).
- Grind welds flush, test fit trim and weatherstripping, and check for proper alignment.
Never attempt to repair heavily rusted frames with filler alone—structural integrity is paramount for safety.
Welding and Fabrication: Best Practices for Structural Integrity
Quality welding is vital for restoring strength to the windshield frame. Follow these guidelines:
- Fitment: Ensure patch panels are precisely shaped and test fit before welding.
- Welding Technique: Use plug welds to replicate original spot welds where possible. For butt joints, maintain tight seams and avoid excessive heat that can warp thin metal.
- Corrosion Protection: After welding, clean all welds and apply weld-through primer to prevent future rust.
- Seam Sealing: Use automotive seam sealer on all joints, especially around the windshield channel, to block moisture intrusion.
If you lack welding experience, consult a professional restoration shop—poor welds can compromise safety and vehicle value.
Priming, Painting, and Corrosion Prevention
After metalwork is complete, thorough priming and painting are essential. Use automotive-grade epoxy primer on all bare metal, followed by a high-build primer to smooth imperfections. Pay special attention to the windshield channel, as this area is prone to water accumulation.
Advertisement
- Epoxy Primer: Provides superior adhesion and corrosion resistance.
- Seam Sealer: Apply to all seams and welds, smoothing with a brush or gloved finger.
- Topcoat: Use the correct color and finish to match the vehicle’s original appearance.
- Wax or Undercoating: For hidden areas, consider a cavity wax or undercoating for added protection.
Let all coatings cure fully before reinstallation of glass and trim.
Sourcing Replacement Windshield Frames and Patch Panels
Finding correct replacement parts for classic cars can be challenging. Your options include:
- OEM and NOS (New Old Stock): Original manufacturer frames or panels, often available through specialty suppliers or collector networks.
- Aftermarket Reproductions: Many popular classics have reproduction frames or patch panels available.
- Custom Fabrication: For rare models, panels may need to be hand-fabricated by a skilled metalworker.
When sourcing parts, verify compatibility with your make, model, and year. Reference factory diagrams or restoration guides to ensure proper fitment. For more information on body panel replacement, see our Body Panel Replacement Essentials.
Windshield Reinstallation: Ensuring Proper Fit and Seal
Proper windshield installation is essential for safety and weatherproofing. Follow these steps:
- Test Fit: Dry-fit the windshield and trim to ensure all repairs align correctly.
- Clean Surfaces: Remove dust, oils, and debris from the frame and glass.
- Install Weatherstripping: Use new rubber gaskets or urethane adhesive, as appropriate for the vehicle.
- Set Windshield: Carefully place the glass, centering it in the frame. Apply even pressure to seat it fully.
- Install Trim: Refit all trim pieces, ensuring they clip or bolt securely.
- Leak Test: After installation, perform a water test to check for leaks.
Modern adhesives offer superior strength compared to vintage sealants—consider upgrading if originality is not your primary concern.
Maintaining Your Restored Windshield Frame
Ongoing maintenance is key to preserving your hard work. Regularly inspect the frame for signs of rust, leaks, or trim loosening. Keep drain holes clear and avoid parking under trees or in damp environments for extended periods. Wax or treat the frame periodically with corrosion inhibitors, especially if the vehicle is driven in wet conditions.
Maintenance Tips:
- Inspect for chips or scratches in paint and touch up promptly.
- Clean weatherstripping and apply silicone conditioner.
- Check windshield fit and trim alignment annually.
For a deeper look at long-term care and rust prevention, read our Windshield Frame Inspection & Rust Repair.
Meeting Modern Safety Standards in Classic Restorations
Classic car restoration isn’t just about aesthetics—it’s about bringing vintage vehicles up to a level of safety that meets or exceeds original standards. The NHTSA emphasizes the importance of structural repairs in maintaining occupant protection 1. Using modern materials and adhesives, where appropriate, can enhance safety without compromising authenticity.
When restoring a windshield frame:
-
Ensure all repairs match or exceed factory strength.
-
Use high-quality materials and coatings for long-term durability.
-
Verify that the windshield is properly bonded and installed.
If unsure about any aspect of the restoration, consult with a certified restoration specialist or reference How Windshield Frames Affect Vehicle Safety.
Avoiding Common Pitfalls in Classic Windshield Frame Restoration
Restoration projects often encounter challenges that can derail progress or compromise results. Common mistakes include:
- Underestimating Rust Damage: Hidden corrosion can extend further than visible areas. Always cut back to solid metal.
- Improper Welding: Inadequate welds can cause frame distortion or future failure.
- Incorrect Sealant Use: Using the wrong type or amount of sealant can lead to leaks or poor adhesion.
- Neglecting Drainage: Blocked drain holes can cause water to pool and restart the corrosion cycle.
Meticulous inspection, preparation, and attention to detail are your best defenses against these pitfalls.
The AutoPartEx Advantage: Expertise and Quality Parts
At AutoPartEx, we understand that classic car restoration is both a passion and a technical challenge. Our resources are designed to guide you through every step of the process, from diagnosis to sourcing OEM-quality parts. Browse our Windshield Frame: Structure, Safety & Replacement | AutoPartEx page for detailed product listings, technical guides, and expert support.
Our commitment to technical accuracy, safety, and authenticity ensures that your restoration meets the highest standards. Whether you're a DIY enthusiast or a professional restorer, AutoPartEx is your trusted partner for classic windshield frame restoration.
References
- Vehicle Safety and Equipment – National Highway Traffic Safety Administration
- Materials Technologies – United States Department of Energy
- Vehicle, Car Seat, Tire, and Equipment Recalls – National Highway Traffic Safety Administration
Footnotes
Advertisement