Advertisement
Structural Repair: Frame and Glass Integration
When it comes to modern vehicle safety and performance, the integration of the windshield frame and glass is not just cosmetic—it's vital. Whether you're a collision repair professional, a DIY enthusiast, or a vehicle owner facing repair decisions, understanding the intersection of structural frame repairs and windshield glass installation is crucial for ensuring both safety and longevity. This guide delivers actionable insights, professional tips, and a step-by-step approach to achieving seamless frame and glass integration.
If you're seeking foundational knowledge on windshield frames, start with our Windshield Frame: Structure, Safety, and Replacement Guide, which covers the basics of frame construction and its role in vehicle safety.
The Immediate Answer: Why Frame and Glass Integration Matters
The seamless integration of the windshield frame and glass is essential for:
- Vehicle Structural Integrity: The windshield and its surrounding frame collectively contribute to up to 30% of a vehicle's structural rigidity, especially during rollover accidents.
- Occupant Safety: Proper installation ensures airbags deploy correctly and the windshield remains in place during collisions.
- Weatherproofing and Noise Reduction: A tight seal prevents leaks and wind noise.
- ADAS Functionality: Advanced driver-assistance systems (ADAS) often rely on sensors and cameras mounted to the windshield, demanding precise fitment.
In short, successful structural repair and glass installation are inseparable. Overlooking the nuances of this partnership can lead to costly rework, compromised safety, and even regulatory compliance issues.
The Hidden Problem: Overlooked Details in Structural Repairs
Many repair shops and DIYers focus on either the frame or the glass, not realizing that the two must function as a unit. Common pitfalls include:
- Frame Distortion: Even minor frame bends or corrosion can prevent proper glass seating.
- Improper Surface Preparation: Residual adhesives, rust, or contaminants can compromise bonding.
- Mismatched Materials: Using incompatible primers, adhesives, or replacement parts can cause premature failure.
- Neglecting ADAS Calibration: Failure to recalibrate sensors after installation can render safety systems ineffective.
These oversights can result in water leaks, wind noise, glass stress fractures, or catastrophic detachment during an accident. Vehicle safety standards by the National Highway Traffic Safety Administration (NHTSA) emphasize the importance of correct equipment and repair methods for occupant protection [^1].
Expanding the Problem: The Technical Complexity of Modern Windshield Systems
Evolving Materials and Construction
Modern vehicles use a blend of high-strength steel, aluminum, and advanced composites in their windshield frames. This evolution, driven by the need for lighter and stronger vehicles, introduces new repair challenges:
- Material Compatibility: Structural adhesives and replacement glass must match OEM specifications for strength and flexibility.
- Corrosion Sensitivity: Aluminum and mixed-metal frames are prone to galvanic corrosion if improperly repaired.
- Precision Tolerances: Even a millimeter of misalignment can affect both the fit and function of the windshield and its associated systems.
The United States Department of Energy highlights the critical role of materials technologies in vehicle body structure and performance [^2].
Integrated Safety and Technology Systems
Windshield glass is no longer just a barrier; it's a platform for sensors, cameras, and heads-up displays. ADAS features such as lane-keeping, automatic emergency braking, and adaptive cruise control require precise glass alignment and clarity. Any deviation in the frame or glass can throw these systems out of calibration.
How to Diagnose Frame and Glass Integration Issues
Proper diagnosis is the foundation of any successful repair. Here’s how professionals approach the process:
Advertisement
Visual Inspection Checklist
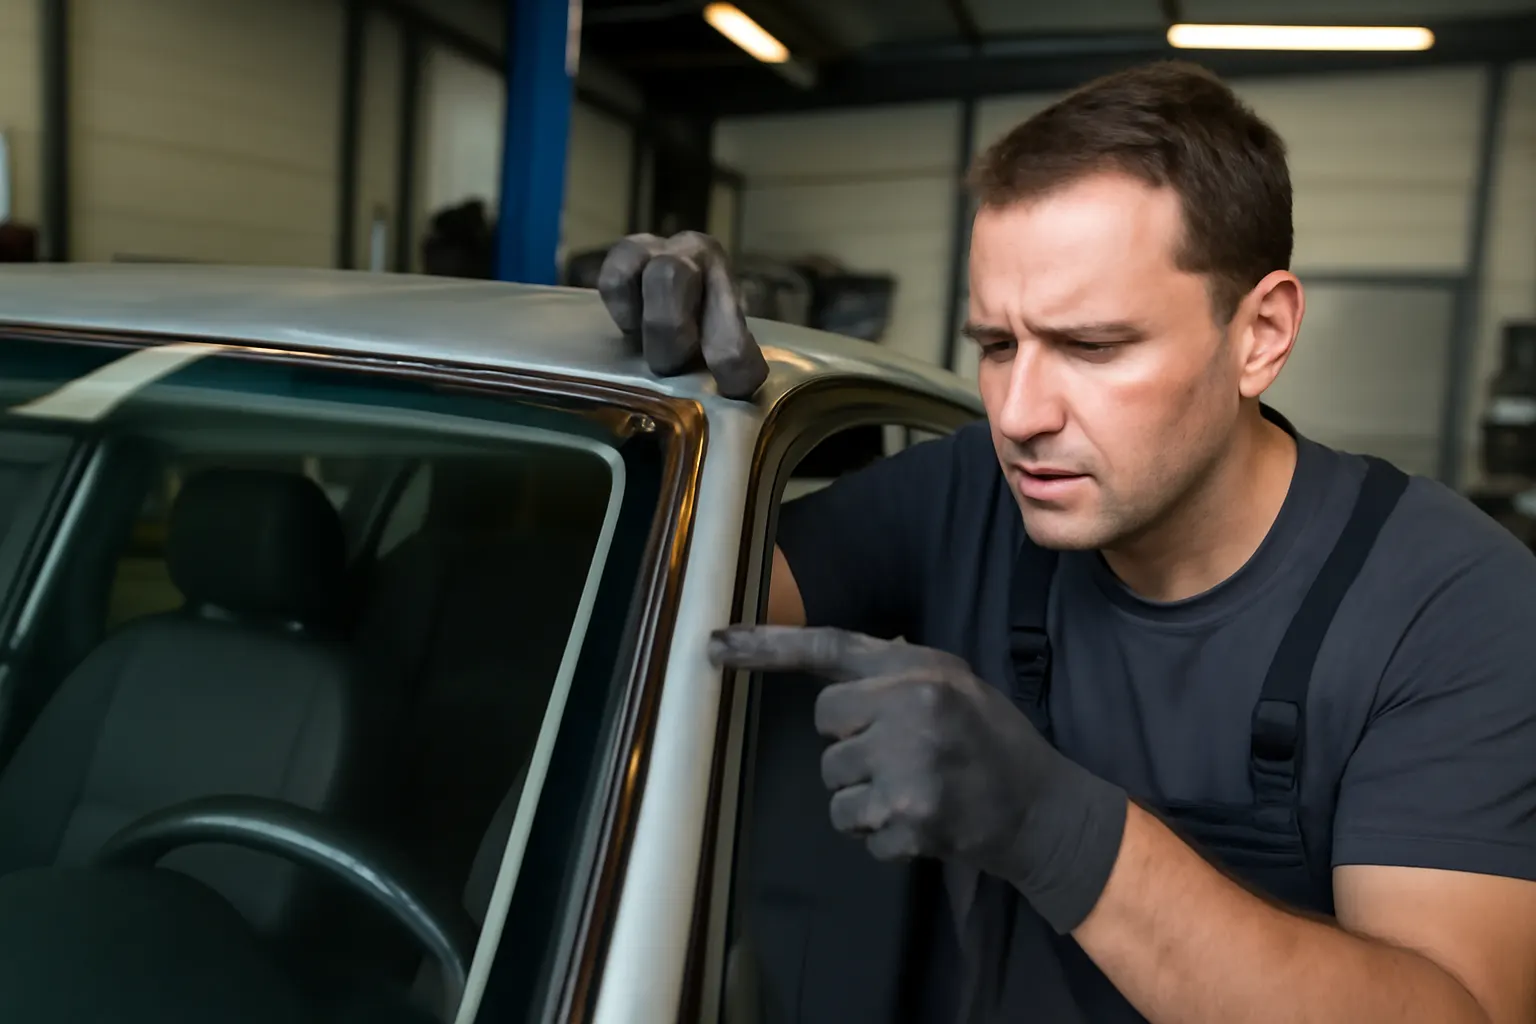
- Check for Frame Distortion: Use a tram gauge or laser measurement system to verify frame squareness.
- Look for Corrosion: Examine pinch welds, corners, and seams for rust or bubbling paint.
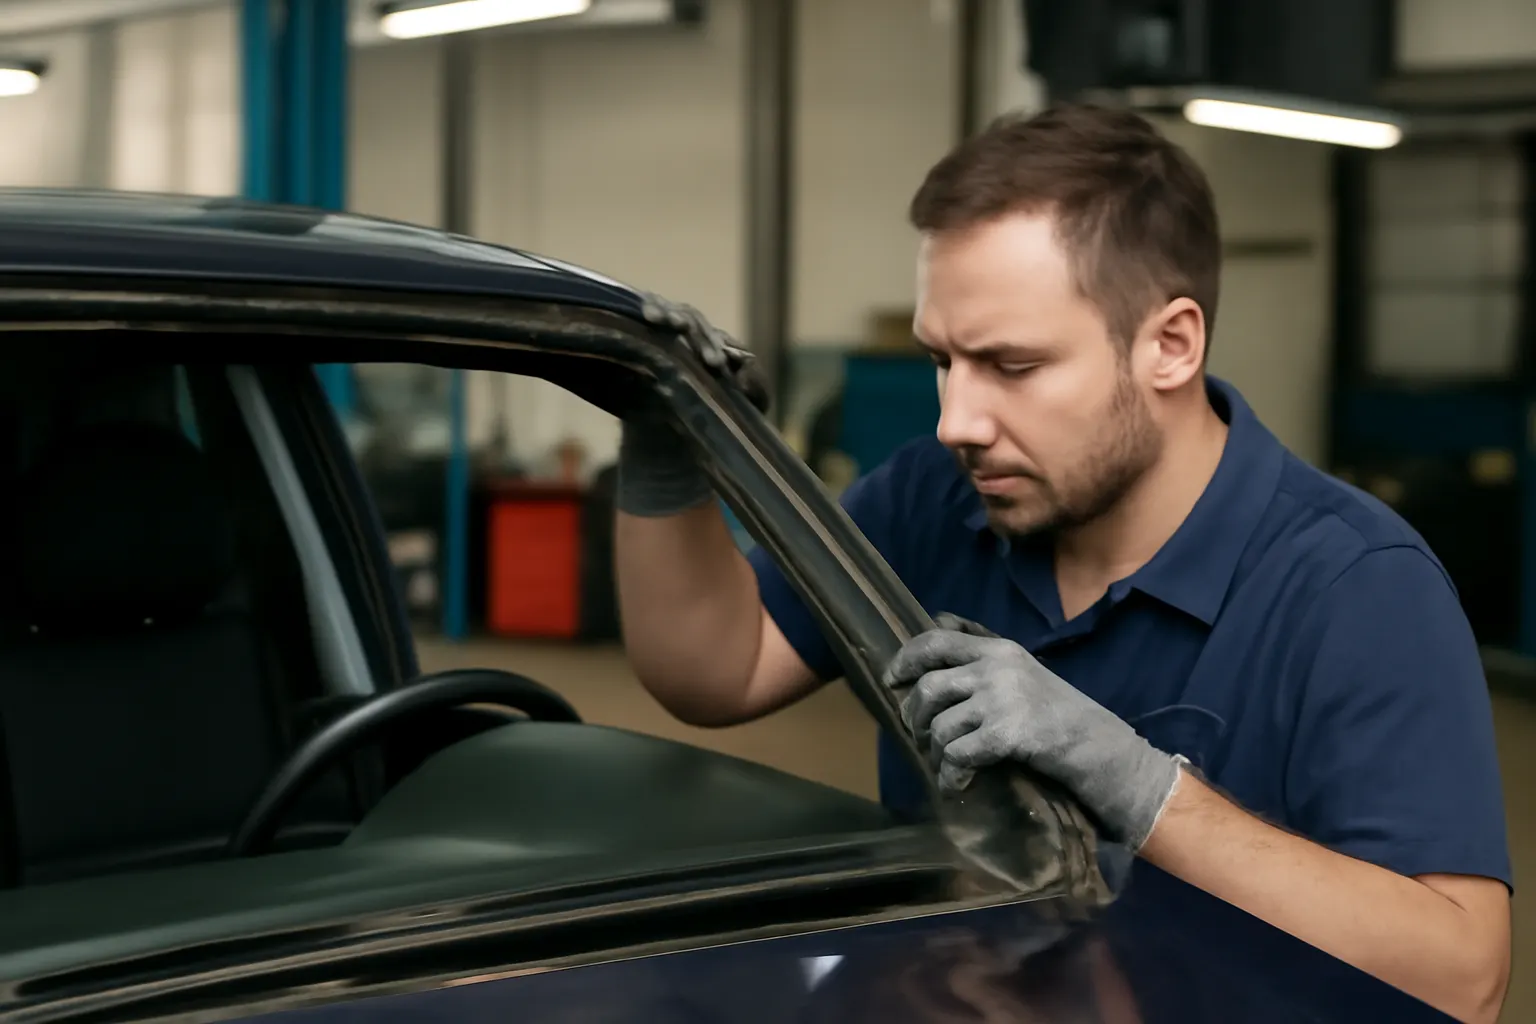
- Assess Glass Fitment: Check for uneven gaps, stress points, or evidence of previous improper installation.
- Inspect for Residual Adhesive: Old urethane or primer left on the frame can affect new glass bonding.
Functional Tests
- Water Leak Test: Simulate rain with a hose to check for leaks around the glass perimeter.
- Wind Noise Test: Road test at highway speeds to identify whistling or vibration near the windshield.
- ADAS Pre-Check: Use diagnostic tools to scan for sensor misalignments or error codes before and after removal.
Materials and Tools: What You Need for Professional-Grade Repairs
Achieving OEM-quality results requires the right materials and tools. Here’s a comprehensive list:
| Item | Purpose |
|---|---|
| Urethane Adhesive (OEM Spec) | Bonds glass to frame |
| Primer/Activator | Prepares surfaces for adhesive |
| Glass Removal Tools | Safely cuts through old urethane |
| Pinch Weld Repair Kit | Restores corroded or damaged frame sections |
| Anti-Corrosion Coating | Protects repaired areas from future rust |
| Laser/Tram Gauge | Measures frame alignment |
| ADAS Calibration Tools | Recalibrates sensors after installation |
| Personal Protective Equipment | Safety during cutting, grinding, and bonding |
Refer to the Windshield Glass Selection & Fitment Guide for detailed information on choosing the correct glass and adhesives for your vehicle.
Step-by-Step: Structural Repair and Glass Installation Integration
1. Preparation and Safety
- Disconnect the Battery: Prevent accidental airbag deployment or electrical shorts.
- Protect Interior and Exterior: Use covers to shield the dashboard and paint from debris.
2. Frame Assessment and Repair
- Measure Frame Geometry: Confirm no distortion using professional measurement tools.
- Remove Corrosion: Grind away rust and treat with anti-corrosion primer.
- Repair or Replace: Weld, fill, or replace damaged frame sections as needed.
3. Surface Preparation
- Clean Thoroughly: Remove all old adhesive, dirt, and rust.
- Prime Pinch Weld: Apply the correct primer for your adhesive system.
4. Glass Selection and Test Fit
- Dry Fit Glass: Ensure it seats evenly and all mounting points align.
- Verify ADAS Mounts: Ensure brackets and support areas are intact.
5. Adhesive Application and Installation
- Apply Urethane: Use a V-notch applicator for even bead application.
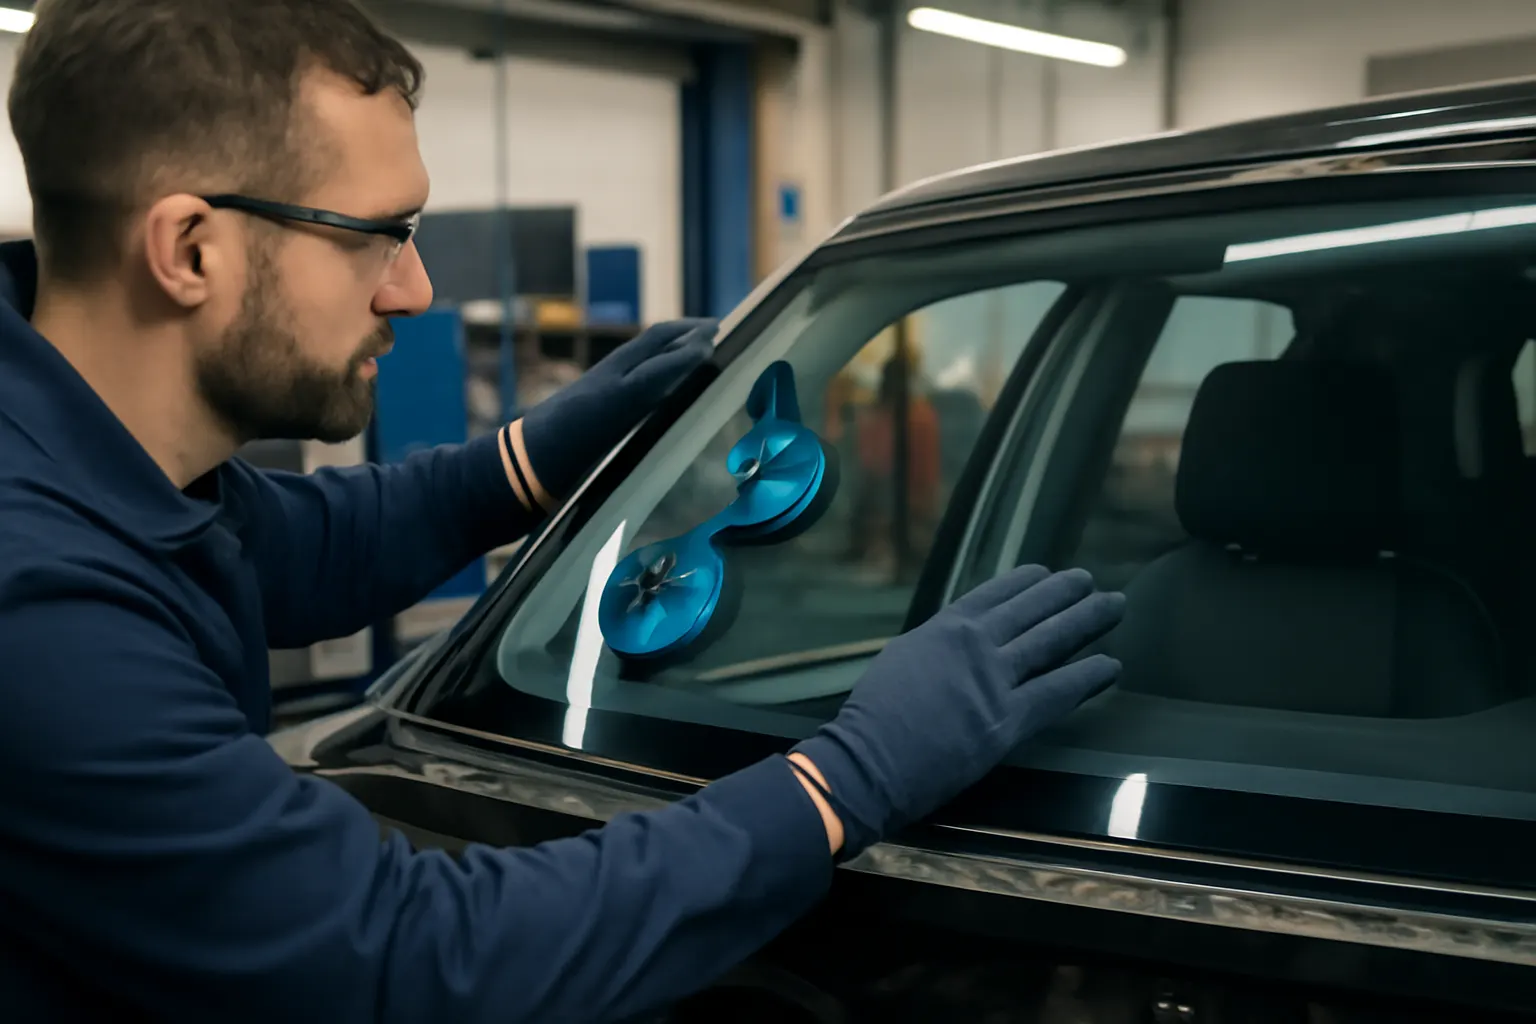
- Seat the Glass: Place the windshield using suction cups and align precisely.
- Cure Time: Respect OEM-specified cure times for safety.
6. ADAS and Final Checks
- Recalibrate Sensors: Use manufacturer-approved tools.
- Test for Leaks and Noise: Repeat water and road tests.
- Inspect Bond: Check for visible gaps or bubbles in the adhesive.
The Role of Corrosion Prevention in Long-Term Integration
Corrosion is one of the most insidious threats to frame and glass integration. Even a small amount of rust can undermine adhesive bonding and lead to leaks or frame weakening. To prevent this:
- Use Proper Primers: Only apply primers compatible with both frame material and urethane adhesive.
- Apply Anti-Corrosion Coatings: Especially important in climates with heavy road salt or humidity.
- Inspect Regularly: After installation, check for paint chips or scratches that could expose bare metal.
For further reading, see our Corrosion Prevention for Windshield Frames guide.
Advanced Topics: ADAS Sensor Recalibration and System Integration
ADAS (Advanced Driver-Assistance Systems) have transformed windshield glass from a passive safety element to an active technology platform. After any structural repair or glass replacement:
- Mandatory ADAS Recalibration: Failure to recalibrate can disable lane-keeping, automatic braking, or collision warning systems.
- Sensor Alignment: Even a slight frame misalignment can cause sensors to misread road conditions.
- OEM Procedures: Always follow manufacturer-specific calibration and scanning routines.
Shops and technicians must invest in calibration tools and stay updated on the latest standards, as outlined by SAE International.
Advertisement
Common Mistakes and How to Avoid Them
1. Skipping Frame Alignment
Never assume the frame is straight if the old glass fits. Always measure.
2. Using Generic Adhesives
Aftermarket or generic adhesives might not meet OEM specs for strength and flexibility. Only use approved products.
3. Ignoring Cure Times
Rushing the process can result in weak bonds. Always observe recommended cure times before driving or exposing the vehicle to stress.
4. Neglecting System Resets
Many vehicles require electronic resets or sensor recalibration after glass installation. Skipping this step can compromise safety.
Sourcing the Right Parts and Materials
Finding the correct windshield frame and glass components is critical:
- OEM vs. Aftermarket: OEM parts ensure perfect fit and material compatibility, especially for newer vehicles with ADAS. Quality aftermarket parts can be suitable for older models or non-critical applications.
- Supplier Reputation: Use trusted suppliers with a track record of quality and regulatory compliance.
- Certification: Look for parts that meet NHTSA and SAE standards.
Browse our windshield glass category for a curated selection of quality replacement glass and adhesives.
Maintenance After Structural and Glass Repairs
Proper maintenance extends the life of your repair:
- Regular Inspections: Check for new rust, adhesive separation, or leaks every six months.
- Prompt Touch-Ups: Address chips or scratches in the paint around the frame immediately.
- Gentle Cleaning: Use non-abrasive cleaners to protect the adhesive bead and glass edges.
- Monitor ADAS Performance: Be alert to warning lights or unusual sensor behavior.
Diagnostic Checklist: Ensuring Seamless Frame and Glass Integration
Before declaring your repair complete, run through this checklist:
- Frame Alignment Verified: No distortion, measured within OEM tolerances.
- Pinch Weld Condition: No rust, damage, or residual adhesive.
- Adhesive Application: Even, bubble-free bead with correct primer.
- Glass Fitment: Even gaps, no stress points, and correct seating.
- Water and Wind Test: No leaks or wind noise at highway speeds.
- ADAS Calibration: All sensors pass diagnostic scans and function correctly.
- Corrosion Protection: All repaired areas primed and coated.
- Documentation: Record all procedures and parts used for future reference.
When to Replace vs. Repair: Decision-Making Guidelines
Not every frame or glass issue can be repaired. Consider replacement if:
- Severe Frame Corrosion: Structural integrity is compromised.
- Irreparable Distortion: Frame cannot be realigned to OEM specs.
- Multiple Previous Repairs: Layered repairs weaken the pinch weld.
- Glass with Embedded Technology Damage: Heads-up displays or embedded sensors cannot be transferred.
For more guidance on identifying replacement needs, review our Signs Your Windshield Frame Needs Replacement article.
Regulatory and Standards Considerations
Compliance with safety regulations is non-negotiable:
- NHTSA Equipment Standards: Ensure all parts and procedures meet federal safety requirements 1.
- SAE Testing Protocols: Adhere to industry standards for material selection and repair methods 2.
- Recall Awareness: Check for manufacturer recalls related to windshield frames, adhesives, or glass 3.
Consult the Vehicle Safety and Equipment resource for up-to-date standards and recall information.
AutoPartEx: Your Partner in Structural and Glass Repairs
At AutoPartEx, we combine deep technical expertise with a curated selection of OEM and high-quality aftermarket windshield frame and glass components. Our commitment to safety, fitment accuracy, and industry best practices ensures you have the knowledge and products to complete every repair to the highest standard.
Whether you're sourcing parts, seeking professional advice, or building your technical skills, our editorial team and product catalog are here to support your success. Explore our Windshield Frame: Structure, Safety, and Replacement Guide for more insights, or contact our technical support team for personalized guidance.
References
- Vehicle Safety and Equipment – National Highway Traffic Safety Administration
- Materials Technologies – United States Department of Energy
- SAE Standards – SAE International
- Vehicle, Car Seat, Tire, and Equipment Recalls – National Highway Traffic Safety Administration
Footnotes
Advertisement