Advertisement
How to Prevent Wiring Harness Failures
Vehicle wiring harness failures are a leading cause of electrical problems, breakdowns, and even safety recalls. Preventing these failures is critical to keeping your car reliable and safe on the road. The most effective way to protect your harness is by proactively shielding it from moisture, abrasion, and rodent damage using proven inspection, installation, and maintenance techniques. In this detailed guide, the AutoPartEx Technical Editorial Team breaks down actionable steps, common pitfalls, and advanced solutions to extend the life of your wiring harness—helping you avoid costly repairs and downtime.
If you want to dive deeper into the critical role of wiring harnesses in your vehicle, check out our Wiring Harness (Body): The Backbone of Vehicle Electrical Systems page for foundational knowledge.
Why Wiring Harness Protection Matters: Immediate Answers
Your vehicle’s body wiring harness is the central nervous system of its electrical architecture, connecting everything from headlights to safety sensors. A compromised harness can result in:
- Intermittent or total loss of power to critical systems (lights, ignition, fuel pump)
- Malfunctioning safety equipment (airbags, ABS, traction control)
- Costly diagnostic time and repairs
- Increased risk of electrical fires or shorts
Most harness failures are preventable. The top threats—moisture ingress, abrasion, and rodent attacks—can be mitigated with the right materials, installation practices, and ongoing inspection. Preventing harness failures isn’t just about reliability; it’s about safety and compliance with manufacturer and NHTSA equipment standards.
The Hidden Problem: Why Failures Happen Even in Modern Vehicles
Despite advancements in materials and manufacturing, wiring harnesses remain vulnerable due to:
- Environmental exposure: Road salt, water, and humidity penetrate underbody and engine-bay harnesses.
- Mechanical wear: Constant vibration, movement, and contact with rough surfaces abrade insulation.
- Rodent activity: Animals chew on harnesses, attracted by soy-based insulation or shelter in engine bays.
- Improper installation or repair: Poor routing, missing grommets, or unshielded splices create weak points.
Many failures go unnoticed until they trigger a diagnostic code, intermittent electrical issue, or system shutdown. Worse, improper short-term fixes can introduce new vulnerabilities, leading to recurring failures.
Technical Deep Dive: Anatomy of a Wiring Harness and Its Weak Points
A typical body wiring harness consists of:
- Conductors: Usually copper, chosen for conductivity and flexibility.
- Insulation: PVC, cross-linked polyethylene (XLPE), or other polymers for electrical isolation and protection.
- Sheathing/Tape: Braided or woven sleeves, split loom, or adhesive tapes for abrasion resistance.
- Connectors and Terminals: Engineered for secure electrical contact and environmental sealing.
Failure Points:
- Junctions and connectors: Prone to moisture ingress if seals degrade.
- Bends and flex points: Subject to repeated movement and insulation fatigue.
- Unprotected runs: Exposed to debris, rocks, and sharp edges.
- Splices and repairs: Often less robust than original factory construction.
Understanding these weak points is crucial for effective prevention.
Moisture Ingress: The Silent Killer of Harnesses
Moisture is a leading cause of harness corrosion and short circuits. It enters through:
- Damaged insulation or nicks in the wire
- Poorly sealed connectors or missing grommets
- Cracked or degraded sheathing
Consequences:
- Corroded conductors increase resistance, causing voltage drop and heat buildup.
- Short circuits may blow fuses or damage sensitive modules.
- Persistent moisture can lead to green/white corrosion or blackened insulation—requiring harness replacement.
Prevention Checklist:
- Inspect for cracked, split, or weathered insulation.
- Ensure all connectors use intact seals and boots.
- Use dielectric grease on exposed terminals and connectors.
- Reroute harnesses away from water entry points (windshield cowl, firewall penetrations).
Abrasion and Mechanical Wear: The Slow Grind
Harnesses routed near moving parts or sharp surfaces are at high risk for abrasion. Common causes include:
Advertisement
- Engine movement flexing the harness against brackets or the firewall
- Suspension travel pinching underbody runs
- Chafing against unfinished metal or plastic edges
Symptoms and Risks:
- Exposed copper or frayed insulation
- Intermittent faults from wires shorting to ground or each other
- Complete circuit failure if a wire breaks
Prevention Checklist:
- Use abrasion-resistant loom (split or braided) over exposed runs.
- Secure harnesses with insulated clamps, away from moving or vibrating components.
- Add edge guards or grommets where harnesses pass through metal panels.
- Routinely inspect for harness movement or sagging.
Rodent Damage: An Increasing Threat
Rodents are a surprisingly common source of harness failure, especially in vehicles stored outdoors or in rural areas. Key factors:
- Some manufacturers use soy-based or biodegradable wire insulation, which rodents find appealing.
- Engine bays offer warmth and protection, attracting nesting animals.
Signs of Rodent Activity:
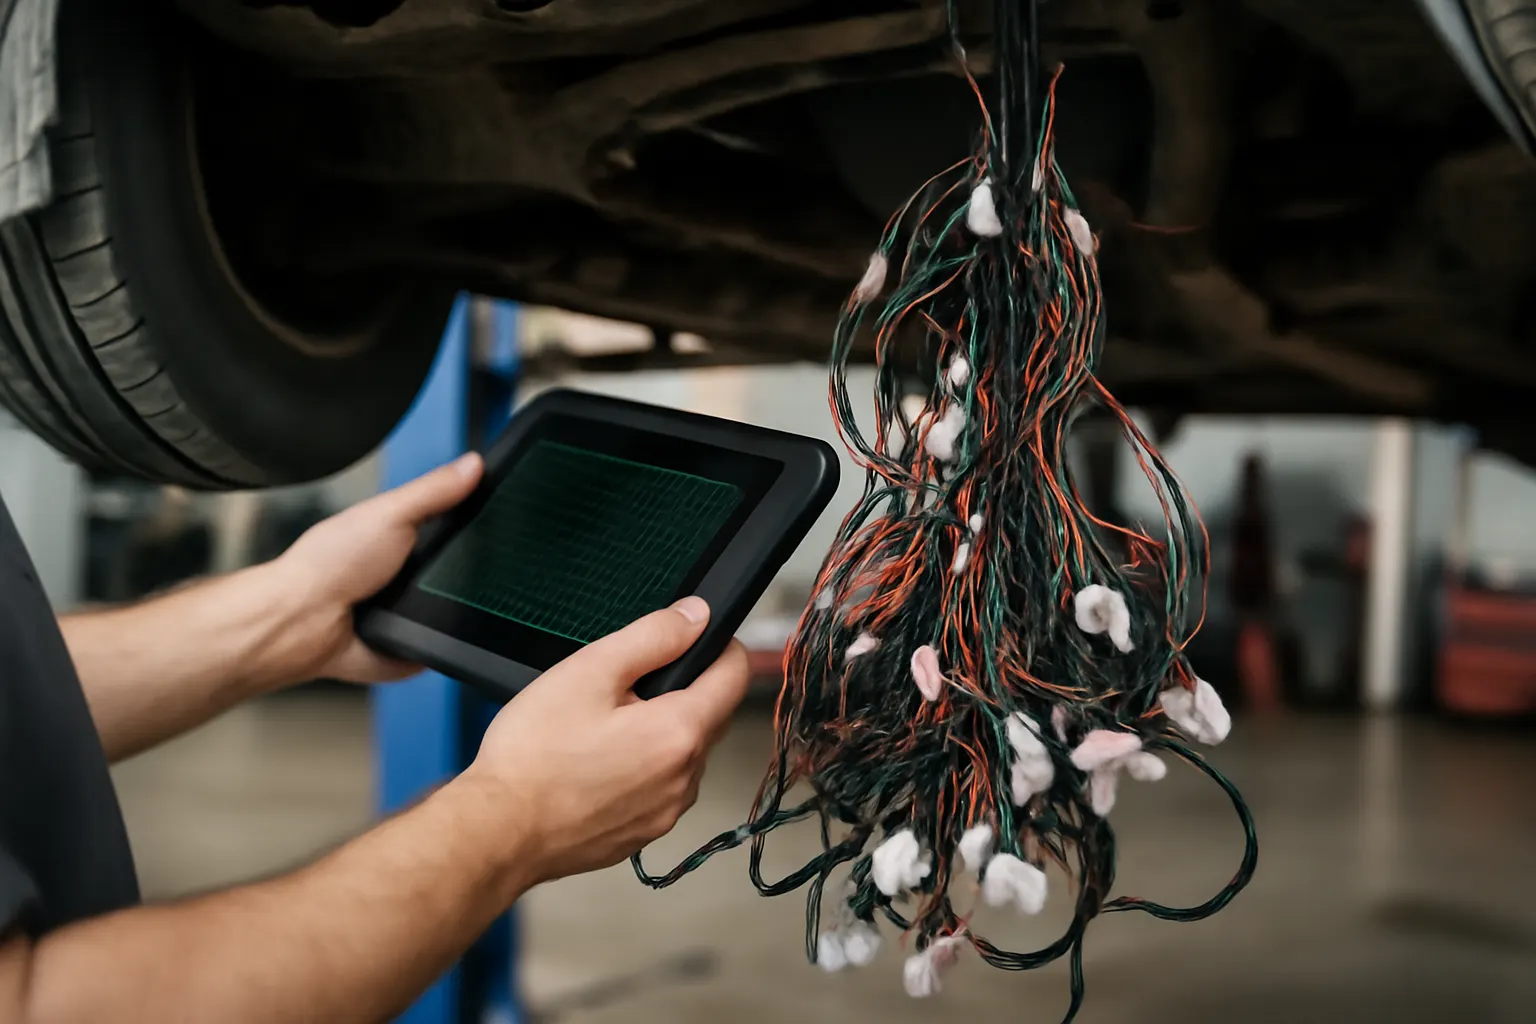
- Chewed or gnawed insulation, sometimes with visible tooth marks
- Nests or droppings in the engine compartment
- Sudden, unexplained electrical failures after periods of non-use
Prevention Strategies:
- Regularly inspect under the hood and along harness runs, especially if the vehicle is parked for long periods.
- Use rodent deterrent tapes or sprays (capsaicin-based).
- Avoid leaving food or trash in or near the vehicle.
- Consider under-hood lighting or ultrasonic deterrent devices for high-risk storage.
Diagnostic Approach: Catching Problems Early
Early detection is key to preventing catastrophic harness failures. Implement a regular inspection routine:
Visual Inspection Checklist
- Harness Routing: Look for pinched, sagging, or misrouted sections.
- Insulation Condition: Check for cracks, discoloration, or exposed wire.
- Connector Seals: Inspect for missing boots, torn gaskets, or corrosion.
- Abrasion Points: Examine harnesses near engine mounts, brackets, and pass-throughs.
- Rodent Damage: Search for chew marks, nests, or debris.
Electrical Testing
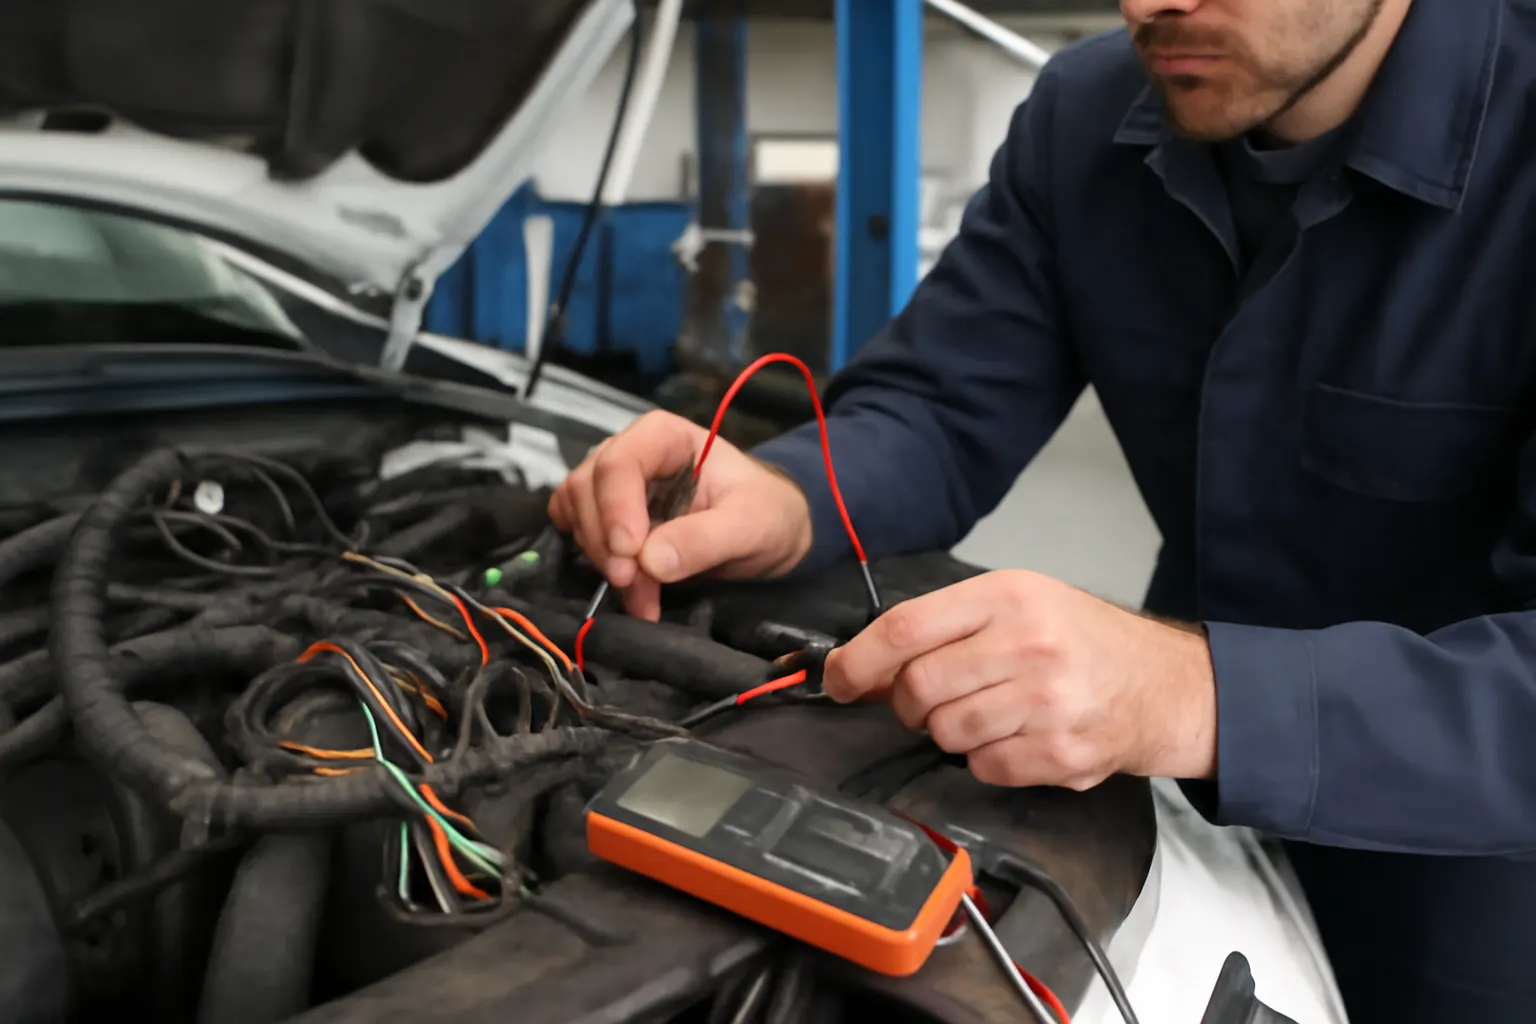
- Use a multimeter to check for continuity and resistance in suspect circuits.
- Wiggle-test harnesses while monitoring for intermittent faults.
- Scan for trouble codes using a diagnostic tool—many modern vehicles will log open/short circuit events.
Document findings and address issues immediately to prevent escalation.
Installation Best Practices: Building in Durability
Proper installation is the foundation of harness longevity. Whether you’re replacing a section or installing a new harness, follow these guidelines:
Routing and Securing
- Mimic OEM routing as closely as possible—manufacturers design harness paths to minimize risk.
- Use insulated P-clamps, zip ties, or harness clips to prevent movement.
- Avoid tight bends or kinks; maintain gentle radii, especially at connectors.
Shielding and Protection
- Install abrasion-resistant loom or conduit over exposed runs.
- Add extra protection (split loom, tape) in high-heat or high-vibration areas.
- Use grommets and edge guards at all panel pass-throughs.
Connector Care
- Always use new seals and boots on connectors.
- Apply dielectric grease to prevent corrosion.
- Double-check connector engagement and locking tabs.
Choosing the Right Materials: Modern Advances
Harness protection starts with smart material selection. According to the U.S. Department of Energy’s Materials Technologies, modern harnesses use advanced polymers and coatings to resist heat, abrasion, and chemicals.
Material Options
- XLPE and Tefzel Insulation: Superior resistance to heat and abrasion compared to standard PVC.
- Braided Sleeving: Provides flexible, high-strength abrasion protection.
- Heat-Shrink Tubing: Seals splices and connectors against moisture.
- OEM-Grade Connectors: Designed to meet SAE standards for durability and environmental sealing.
When replacing or repairing, choose materials that meet or exceed the original harness specifications. Cheap or generic wire and connectors often lack critical protections.
Common Pitfalls: What Not to Do
Avoid these frequent mistakes that can compromise harness integrity:
Advertisement
- Electrical Tape Alone: Tape degrades quickly under heat and moisture. Always use proper loom or tubing.
- Unsupported Splices: Soldered or crimped joints must be mechanically supported and sealed with heat-shrink.
- Over-Tightening Zip Ties: Can cut into insulation, creating future failure points.
- Ignoring OEM Routing: Improperly routed harnesses are more likely to chafe, sag, or get pinched.
If you’re considering aftermarket harnesses, review our guide on OEM vs. Aftermarket Wiring Harnesses: What You Need to Know for fitment and quality tips.
Maintenance: Keeping Your Harness Healthy
Routine maintenance extends harness life and can prevent sudden failures. Integrate these steps into your regular vehicle care:
Harness Maintenance Checklist
| Task | Frequency | Details |
|---|---|---|
| Visual inspection | Every oil change | Check for damage, sagging, rodent activity |
| Clean connectors | Annually | Use contact cleaner and dielectric grease |
| Secure loose runs | As needed | Re-fasten or add new clips/loom |
| Check grommets & seals | Annually | Replace missing/damaged seals immediately |
| Scan for codes | Quarterly | Use OBD-II scanner for hidden electrical issues |
Professional Repair vs. DIY: When to Call an Expert
Some harness issues can be addressed by experienced DIYers, but others require professional attention:
- DIY-Appropriate: Replacing loom, installing grommets, cleaning connectors, minor rerouting.
- Professional Required: Major harness replacement, deep-dash or underbody repairs, airbag/safety system circuits, or when multiple circuits are affected.
Modern vehicles integrate wiring harnesses with sensitive electronics and safety systems. Incorrect repairs can trigger warning lights, disable safety features, or even void insurance. If in doubt, consult a qualified technician.
Harness Upgrades and Modernization
If your vehicle is older or has recurring harness issues, consider an upgrade:
- Modern materials: Replace sections with high-temp, abrasion-resistant wiring and loom.
- Improved routing: Reroute away from historic problem areas.
- Sealed connectors: Upgrade to weatherproof connectors where possible.
- Aftermarket harnesses: For performance or restoration projects, high-quality aftermarket harnesses can improve reliability and simplify installation.
For guidance on upgrading, see our resource on Upgrading Your Vehicle's Electrical System.
Fitment and Sourcing: Getting the Right Harness
Fitment is critical—using the wrong harness or connectors can introduce new problems:
- VIN/Model-Specific: Match harnesses to your vehicle’s year, make, model, and engine.
- OEM vs. Aftermarket: OEM harnesses guarantee fit and compatibility, while reputable aftermarket options can offer upgrades.
- Connector Types: Double-check pin counts, locking mechanisms, and seal types.
- Supplier Reputation: Source from trusted suppliers or dealers—beware of counterfeit or substandard parts.
AutoPartEx provides fitment-verified harnesses and components, along with technical support to help you select the right part for your application.
AutoPartEx Positioning: Your Expert Partner in Harness Longevity
At AutoPartEx, we understand that your vehicle’s wiring harness is more than just wires—it’s the backbone of every electrical system. Our curated selection of harnesses, connectors, looms, and installation tools meets or exceeds OEM and SAE standards, ensuring long-term durability and safety.
Whether you’re maintaining a daily driver, restoring a classic, or upgrading a modern vehicle, our technical team is here to guide you through diagnosis, selection, and installation. Explore our Wiring Harness (Body): The Backbone of Vehicle Electrical Systems resource for more insights, or reach out for expert advice.
Final Expert Action: Take Control of Your Harness Health
Don’t wait for a harness failure to leave you stranded or compromise your vehicle’s safety. Start with a thorough inspection today, using the checklists above. Address any issues—no matter how small—before they escalate. If you discover damage or suspect a hidden problem, consult AutoPartEx or your trusted technician for a professional assessment.
Remember, a proactive approach to harness protection not only saves money and time but also ensures your vehicle remains safe, efficient, and ready for the road ahead.
References
Advertisement