Advertisement
5 Signs Your Body Harness Needs Attention
Your vehicle’s wiring harness is the nervous system of its electrical architecture, silently powering everything from headlights and safety sensors to power windows and infotainment. When the body harness begins to fail, the symptoms are often subtle at first—but left unchecked, they can escalate into major electrical faults, safety risks, and expensive repairs. This article delivers the five most crucial warning signs that your body harness needs inspection or replacement, with practical diagnostic advice and actionable solutions for drivers, DIYers, and technicians.
For those seeking OEM fitment, diagnostics, and a complete understanding of wiring harness solutions, see our Wiring Harness (Body): Complete Fitment, Diagnostics & OEM Solutions page.
Immediate Answer: The 5 Key Warning Signs
If you spot any of these five symptoms, your vehicle’s body wiring harness may need immediate attention:
- Intermittent Electrical Failures: Flickering lights, malfunctioning windows, or erratic dashboard indicators.
- Blown Fuses or Relays: Fuses that repeatedly blow without obvious cause, or relays that click erratically.
- Unusual Odors or Smoke: Burning smells or visible smoke near wiring paths, especially after using electrical features.
- Physical Damage or Corrosion: Exposed wires, melted insulation, or signs of corrosion at connectors and grounds.
- Diagnostic Trouble Codes (DTCs): Persistent or recurring electrical system codes, especially with no clear component failure.
Each of these symptoms points to potential harness degradation, hidden shorts, or poor connections. Ignoring them can compromise vehicle safety, reliability, and even fuel efficiency.
Hidden Problem: Why Wiring Harness Issues Often Go Unnoticed
Despite their critical role, body harness problems are one of the most frequently overlooked automotive issues. Modern harnesses are engineered for durability, but exposure to moisture, vibration, heat, and even minor collisions can accelerate wear. Because harnesses are routed behind trim panels and under carpets, early warning signs are often masked or mistaken for unrelated component failures.
Many drivers and even some technicians focus on replacing failed modules or bulbs, missing the harness as the root cause. According to NHTSA equipment safety data, undiagnosed wiring faults are a recurring factor in electrical recalls and equipment malfunctions.
Expanding the Problem: The Technical Reality of Harness Degradation
Automotive body harnesses are constructed from bundles of copper or aluminum wires, insulated and routed to connect every electrical device in the vehicle’s body shell. Over time, the following stressors take their toll:
- Thermal Cycling: Heat from engines and climate control can cause insulation to harden, crack, or melt.
- Vibration: Constant movement leads to wire fatigue, especially at bends and mounting points.
- Moisture Intrusion: Water leaks or condensation corrode conductors and terminals, increasing resistance.
- Chemical Exposure: Road salts, oils, and cleaners degrade insulation and connectors.
- Mechanical Damage: Pinched wires from improper repairs, aftermarket installations, or even rodents can cause shorts or opens.
Modern harnesses use lightweight materials and compact connectors to improve fuel efficiency and packaging (DOE Materials Technologies), but these advances can also make them more sensitive to environmental factors. As electronics proliferate, a single harness fault can cascade across multiple systems—making accurate diagnostics more critical than ever.
Symptom 1: Intermittent Electrical Failures
The most common—and most frustrating—sign of harness trouble is intermittent failure of electrical components. Examples include:
- Headlights or taillights that flicker or dim while driving
- Power windows or door locks that work sporadically
- Dash backlighting or warning chimes that cut in and out
- HVAC fans that change speed unexpectedly
These issues often point to high-resistance connections, partial opens, or short circuits within the body harness. The problem may only occur when the vehicle is in motion, during rain, or after a temperature swing, making it difficult to replicate at the shop.
Advertisement
Expert Tip: When chasing intermittent faults, gently flex harness sections near affected components while monitoring operation. If symptoms change, suspect internal wire breakage or poor connector fitment.
Symptom 2: Blown Fuses or Relays
Fuses are designed to protect wiring and components from overcurrent, but repeated fuse failures—especially after replacing bulbs, switches, or modules—often signal a deeper wiring issue. Typical scenarios include:
- Dome or courtesy light fuses blowing after a door is opened
- Power window or seat relays clicking rapidly or failing to engage
- Multiple fuse failures coinciding with wet weather or after a minor collision
These patterns suggest short circuits, pinched wires, or water intrusion in the harness. Replacing fuses without investigating the harness can lead to further damage, as the underlying cause remains unresolved.
Checklist: Fuse and Relay Diagnostic Steps
- Identify which circuit(s) are repeatedly blowing fuses.
- Inspect the harness routing for recent repairs, modifications, or accident damage.
- Check connectors for corrosion, moisture, or bent pins.
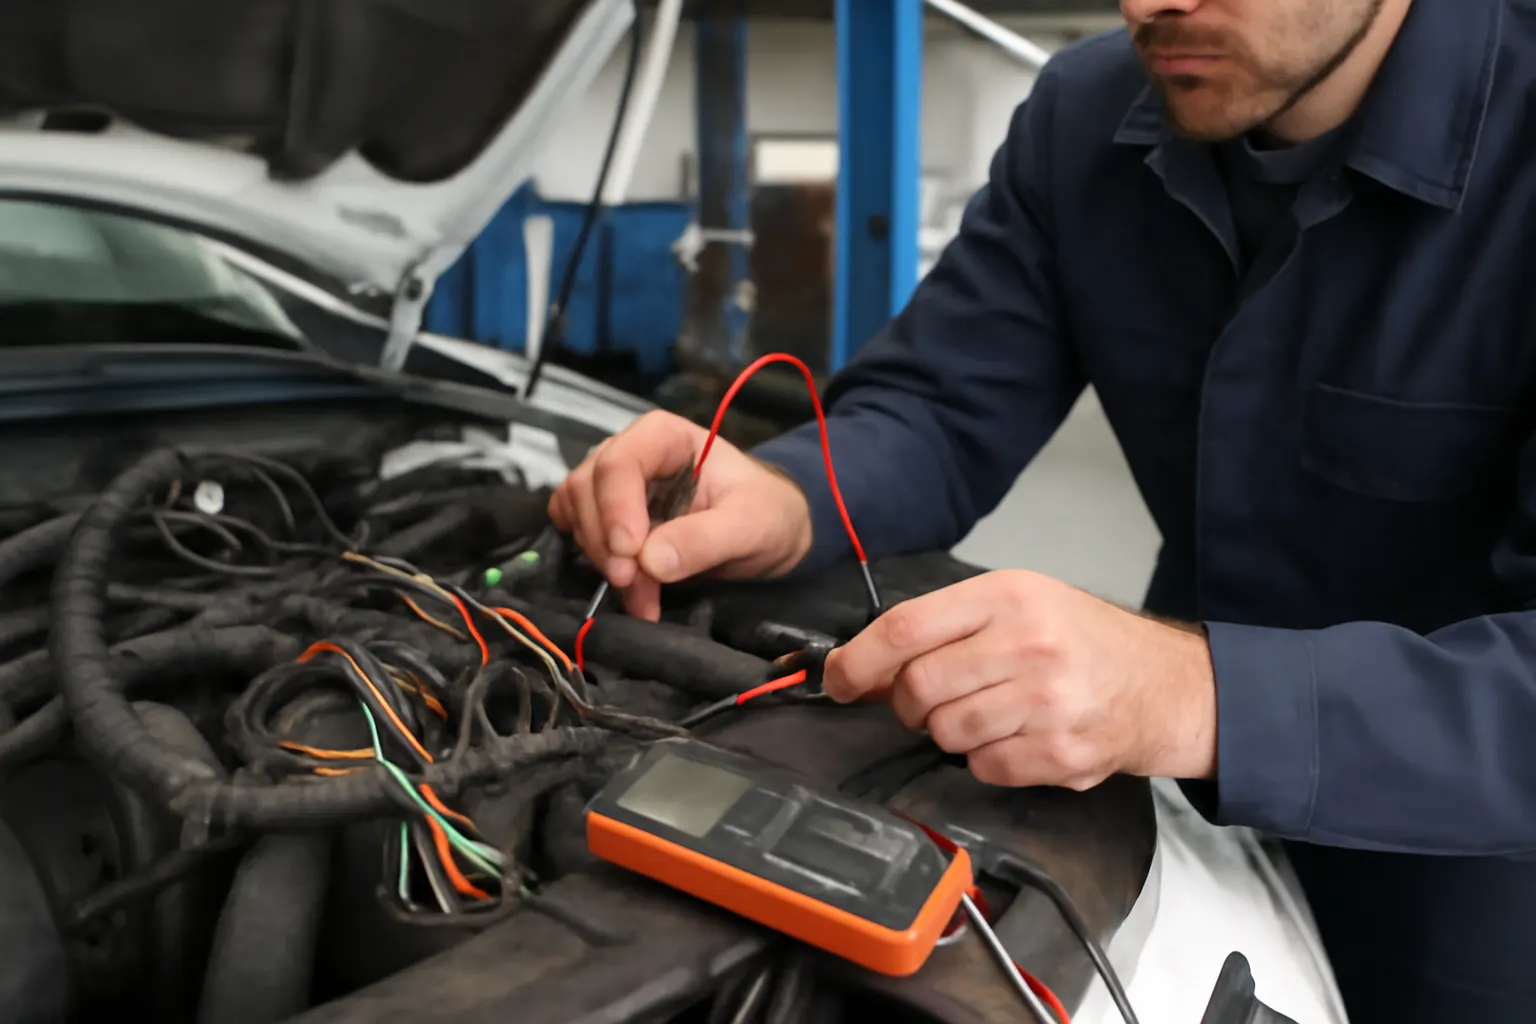
- Use a multimeter to check for continuity and shorts to ground along the affected circuit.
Symptom 3: Unusual Odors or Smoke
Burning smells or visible smoke from under the dash, carpets, or trim panels are urgent warnings of harness failure. These symptoms often arise when:
- An overloaded circuit overheats insulation, producing a sharp, acrid odor.
- A short circuit melts wire bundles, resulting in visible smoke.
- Poor ground connections heat up, causing plastic connectors to deform.
Immediate action is required, as continued operation can cause a fire or irreversible damage to the vehicle’s electrical system. If you notice burning smells, disconnect the battery and inspect the harness before restarting the vehicle.
Symptom 4: Physical Damage or Corrosion
Physical inspection remains one of the most effective diagnostic tools. Signs to watch for include:
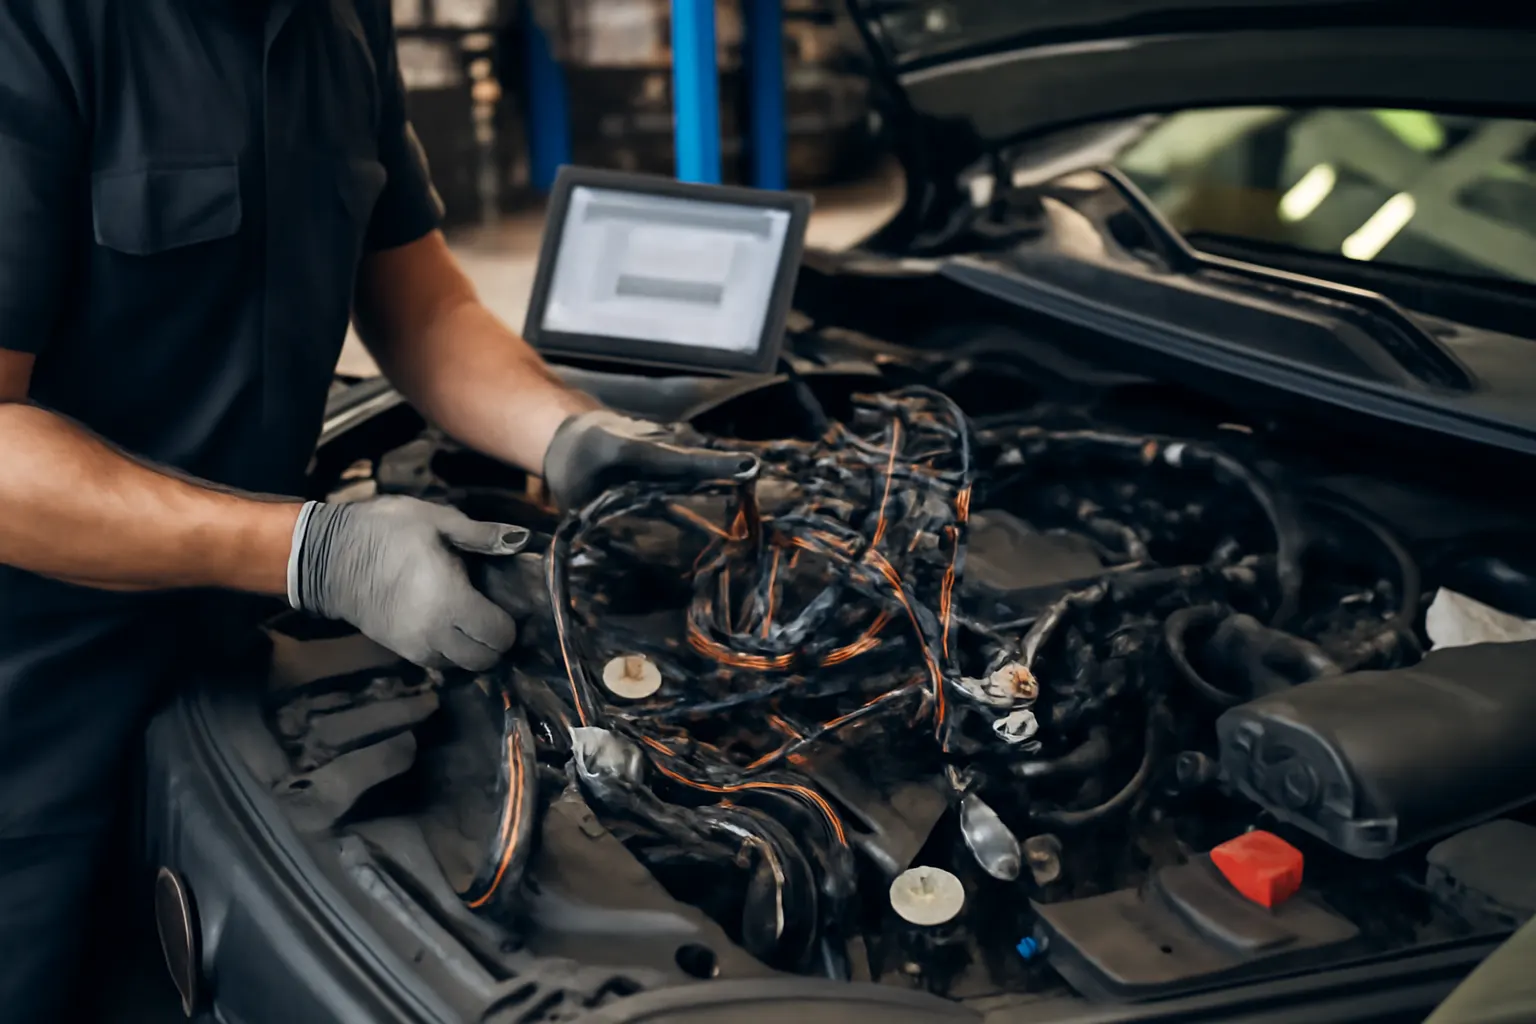
- Exposed or frayed wires, especially near door jambs, trunk lids, or seat bases
- Melted or brittle insulation, often the result of overheating or chemical exposure
- Green or white powdery deposits on terminals, indicating corrosion
- Broken or loose connector housings, particularly after body repairs or aftermarket installations
Corrosion and mechanical damage increase resistance and can trigger cascading failures throughout the vehicle. Modern harnesses use lightweight materials for efficiency (DOE Materials Technologies), but these can be more vulnerable to wear and environmental attack.
Symptom 5: Diagnostic Trouble Codes (DTCs)
Persistent or recurring DTCs—especially those related to body control modules, lighting, door functions, or safety systems—may point to underlying harness faults. Common codes include:
- U-codes (network communication errors)
- B-codes (body system faults)
- C-codes (chassis system faults)
If module replacement or sensor swaps fail to resolve these codes, the harness should be tested for continuity, resistance, and shorts. Diagnostic flowcharts in OEM service manuals often include harness pinout and voltage drop checks for this reason.
How Harness Issues Impact Vehicle Safety and Performance
Ignoring body harness faults can have far-reaching consequences:
- Safety Risks: Malfunctioning airbags, lighting, and warning systems compromise vehicle safety and regulatory compliance (NHTSA Equipment).
- Reliability: Intermittent faults lead to unpredictable behavior and costly repeat repairs.
- Fuel Efficiency: High-resistance wiring or poor grounds can increase electrical load, affecting alternator output and, indirectly, fuel economy (DOE Fuel Efficiency).
- Resale Value: Documented electrical problems can significantly reduce a vehicle’s resale appeal.
Modern vehicles integrate body harnesses with advanced driver assistance, infotainment, and comfort features, raising the stakes for timely diagnosis and repair.
Diagnostic Checklist: Inspecting Your Body Harness
Use this step-by-step checklist to systematically assess your vehicle’s body harness:
Advertisement
| Step | Action | What to Look For |
|---|---|---|
| 1 | Review Symptoms | Note all intermittent or persistent electrical issues. |
| 2 | Check Fuses/Relays | Inspect for repeated failures, discoloration, or heat damage. |
| 3 | Visual Inspection | Remove trim panels, carpets, or covers. Look for physical damage, frayed wires, or corrosion. |
| 4 | Flex Test | Gently move harness sections while observing symptom changes. |
| 5 | Moisture Check | Inspect for water intrusion at connectors, especially after rain or washing. |
| 6 | Connector Inspection | Unplug and inspect terminals for corrosion, bent pins, or loose fit. |
| 7 | Continuity Testing | Use a multimeter to check for open/short circuits along affected wires. |
| 8 | Voltage Drop Testing | Measure voltage drop across suspect circuits under load. |
| 9 | OEM Wiring Diagrams | Reference diagrams to trace affected circuits and connector locations. |
| 10 | Professional Scan Tool | Read and clear DTCs; monitor live data for intermittent drops or spikes. |
Repair or Replace? Making the Right Call
Once a harness fault is confirmed, decide whether to repair or replace:
- Repair: Suitable for isolated damage (e.g., single broken wire, minor corrosion). Use proper gauge wire, OEM-style terminals, and heat-shrink tubing. Avoid twisting and taping wires, which can fail under vibration or moisture.
- Replace: Best for extensive damage, multiple faults, or harnesses affected by fire, flood, or rodent attack. OEM replacement harnesses ensure correct fitment and reliability.
For a full walkthrough, see our Wiring Harness Replacement Guide.
Sourcing the Right Harness: Fitment and Material Considerations
Harnesses are engineered to fit specific models, trims, and option packages. When sourcing a replacement:
- Match OEM part numbers and verify connector types.
- Ensure compatibility with body control modules and CAN bus architecture.
- Consider upgraded materials (e.g., tinned copper, high-temp insulation) for improved durability and resistance to corrosion.
- Lightweight harnesses can contribute to improved fuel efficiency (Harness Materials and Fuel Efficiency).
Aftermarket harnesses should meet or exceed SAE standards for automotive wiring.
Installation Best Practices
Whether repairing or replacing, follow these best practices:
- Disconnect the battery before working on any harness.
- Route wires along original paths, securing with new clips or ties.
- Avoid sharp bends, pinch points, or proximity to heat sources.
- Use dielectric grease on connectors to prevent corrosion.
- Verify all functions before reassembling trim panels.
Improper installation can lead to repeat failures, safety risks, and even void insurance coverage in the event of a fire.
Preventive Maintenance: Extending Harness Life
Proactive maintenance can dramatically extend the service life of your body harness:
- Inspect visible harness sections annually, especially after winter or off-road use.
- Address water leaks, clogged sunroof drains, or failed door seals promptly.
- Avoid overloading circuits with aftermarket accessories.
- Use OEM-quality connectors and terminals for any repairs.
- If you notice rodent activity, use approved deterrents and check harnesses for gnaw marks.
Routine checks can prevent minor wear from escalating into major faults.
When to Seek Professional Help
While many harness issues can be diagnosed at home, certain situations require specialist attention:
- Persistent DTCs affecting multiple systems
- Evidence of widespread corrosion or fire damage
- Complex module communication faults (e.g., CAN bus errors)
- Hybrid or EV high-voltage harness concerns
Professional shops have access to factory wiring diagrams, advanced diagnostic tools, and OEM replacement harnesses, ensuring reliable long-term repairs.
AutoPartEx: Your Partner in Body Harness Solutions
AutoPartEx specializes in OEM and high-performance wiring harness solutions, supporting drivers, DIYers, and professional technicians with fitment guides, technical support, and premium replacement parts. Our curated Wiring Harness (Body): Complete Fitment, Diagnostics & OEM Solutions page provides model-specific advice, while our OEM Fitment Strategies for Wiring Harnesses editorial explains how to achieve flawless integration with modern vehicle electronics.
Whether you’re troubleshooting a single circuit or planning a full harness replacement, AutoPartEx delivers the expertise, parts, and support you need to restore your vehicle’s electrical reliability.
Conclusion: Don’t Ignore the Warning Signs
The body harness is vital to your vehicle’s safety, comfort, and performance. By understanding the five key warning signs and acting quickly, you can avoid costly repairs, electrical failures, and safety risks. Use the checklists and best practices above to inspect, diagnose, and repair your harness—and trust AutoPartEx for the parts and guidance you need.
References
Advertisement