Advertisement
Case Study: Solving Hidden Harness Failures in the Field
Electrical gremlins are the bane of modern automotive diagnostics, with intermittent wiring harness failures ranking among the most elusive and frustrating problems for technicians and vehicle owners alike. In this in-depth case study, we follow the real-world process of diagnosing, pinpointing, and resolving a hidden body harness failure in a late-model passenger vehicle. You’ll learn proven field strategies, advanced diagnostic techniques, and how to avoid common pitfalls when dealing with wiring harnesses—ensuring safer, more reliable repairs. For a broader look at harness technology and sourcing, see our Wiring Harness (Body): OEM-Grade Body Harness Solutions & Diagnostics category page.
Immediate Answer: Tracking Down Intermittent Harness Failures
When a vehicle exhibits sporadic electrical issues—such as flickering lights, intermittent power window faults, or random warning lights—the root cause often lies within the body wiring harness. These harnesses, which run throughout the vehicle's body structure, can develop hidden faults due to vibration, moisture ingress, abrasion, or even manufacturing variances. The most effective approach is a systematic diagnostic process: confirm the symptom, isolate the affected circuit, visually inspect for damage, and perform targeted electrical testing. Only by combining these steps can a technician efficiently locate and resolve elusive harness problems.
The Hidden Problem: Why Intermittent Harness Failures Are So Challenging
At first glance, a flickering dome light or a malfunctioning door lock might seem like a simple switch or fuse issue. However, intermittent failures often hide deeper within the wiring infrastructure. Unlike hard faults (such as a completely severed wire), intermittent faults can appear and disappear with vehicle movement, temperature changes, or even humidity shifts. This unpredictability frustrates both owners and technicians, often resulting in multiple unsuccessful repair attempts and unnecessary part replacements.
The complexity is compounded by the vastness of modern body harnesses, which can contain hundreds of wires and dozens of connectors routed through tight, inaccessible spaces. Even small insulation breaches or loose terminals can cause momentary opens or shorts, leading to inconsistent symptoms that resist traditional diagnostics.
Case Introduction: The 2019 Midsize Sedan with a Phantom Power Window Fault
The subject of our case study is a 2019 midsize sedan that arrived at a service facility with a customer complaint: “The driver’s power window sometimes won’t operate, especially after rain or when driving on rough roads.” No other electrical issues were reported. The vehicle had no stored diagnostic trouble codes (DTCs) related to the window circuit, and the problem could not be immediately duplicated in the shop.
This is a textbook example of a hidden harness fault—intermittent, weather- and vibration-dependent, and isolated to a single body function. The following sections break down the diagnostic and repair journey, highlighting best practices and lessons learned for field technicians.
Step 1: Symptom Confirmation and Context Gathering
The first step in any successful electrical diagnosis is to confirm the symptom and gather as much context as possible:
- Interview the Customer: Clarify when the issue occurs (e.g., after rain, when driving, at specific temperatures).
- Duplicate the Fault: Attempt to recreate the problem under controlled conditions—operate the window during a water spray, gently flex the door, or shake the harness.
- Check for Pattern Failures: Research technical service bulletins (TSBs) and recall information for similar issues on this model. Many intermittent harness failures are pattern failures, sometimes covered under manufacturer campaigns.
In this case, the technician noted that the window only failed after the car had been driven in the rain or through car washes, and gentle movement of the door occasionally triggered the fault.
Step 2: Visual Inspection—The Technician’s First Line of Defense
With the symptom confirmed, a thorough visual inspection is next. The technician focused on the following:
- Door-to-Body Harness ("A-pillar boot"): This flexible rubber conduit is a prime failure point due to repeated flexing as the door opens and closes.
- Connector Pins: Look for corrosion, bent terminals, or signs of water ingress.
- Harness Routing: Inspect for pinch points, abrasion against metal, or evidence of rodent damage.
Advertisement
Upon removing the A-pillar boot, the technician discovered minor greenish corrosion on two connector pins and slight discoloration of the wire insulation—a telltale sign of moisture intrusion.
Step 3: Electrical Testing—Pinpointing the Fault
Visual clues are valuable, but intermittent faults require electrical confirmation. The technician performed:
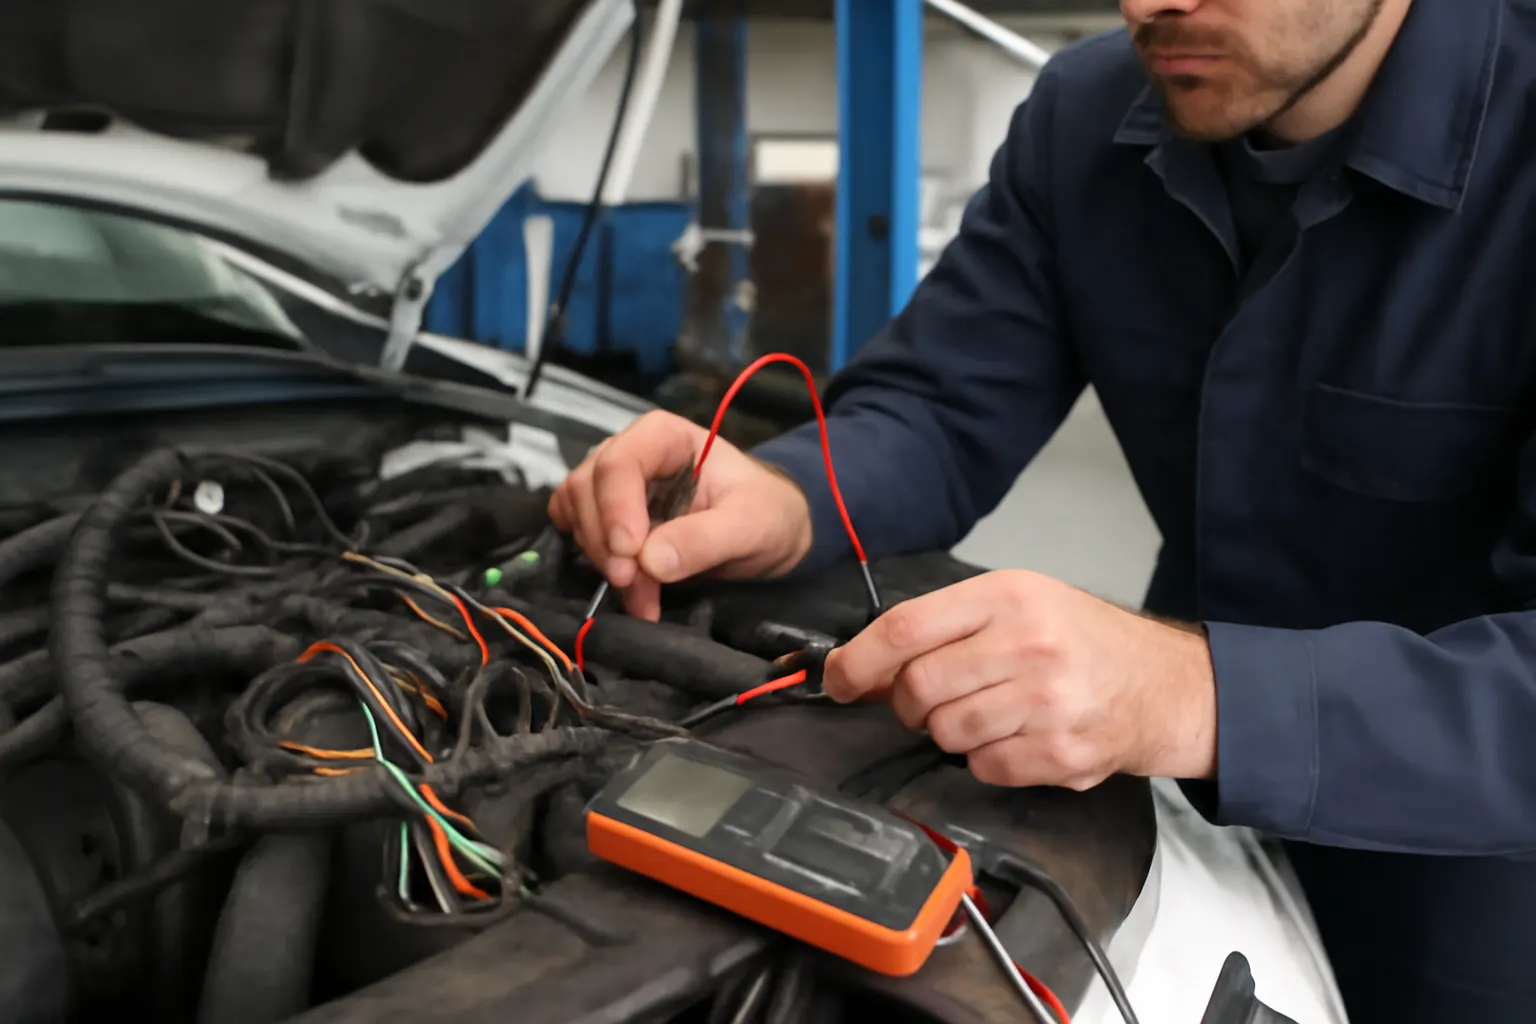
- Continuity Testing: Using a multimeter, they checked continuity from the master window switch to the window motor, wiggling the harness to attempt to induce the fault.
- Voltage Drop Testing: With the circuit energized, measuring voltage drop across suspected points can reveal high-resistance connections invisible to static ohmmeter tests.
- Load Testing: Applying a test load (such as a headlamp bulb) to the circuit can expose weak connections that might pass low-current tests but fail under real-world loads.
During these tests, the technician observed intermittent open-circuit readings when flexing the harness near the corroded connector—confirming the harness as the root cause.
Step 4: Root Cause Analysis—Why Did the Harness Fail?
Understanding why the failure occurred is crucial to prevent recurrence. In this case, the technician identified:
- Moisture Intrusion: The rubber boot had developed micro-tears, allowing water to wick into the connector.
- Corrosion: Over time, moisture led to corrosion of the terminal pins, increasing resistance and intermittently breaking the circuit.
- Vibration: Road vibration and door movement exacerbated the issue, causing the connection to open and close unpredictably.
These factors are common in harness failures, especially in vehicles exposed to harsh climates or with aging weather seals.
Step 5: The Repair—OEM-Grade Techniques for Lasting Results
With the fault confirmed, the technician proceeded with an industry-standard repair:
- Connector Replacement: The affected connector was replaced with an OEM-grade part, ensuring proper fit and terminal tension.
- Wire Repair: Corroded wire ends were trimmed back to clean copper, and new terminals were crimped and soldered per SAE standards.
- Sealing: The connector was filled with dielectric grease and new weather seals were installed to prevent future moisture intrusion.
- Harness Re-routing: The harness was repositioned to minimize flexing and abrasion, using additional loom and clips as needed.
The repair restored full functionality to the power window and prevented future recurrence of the issue.
Diagnostic Checklist: Intermittent Body Harness Faults
A systematic approach is essential for efficiently tracking down hidden harness failures. Use this checklist for each suspect circuit:
1. Symptom Confirmation
- Interview the customer for detailed context
- Attempt to duplicate the fault under various conditions
- Research TSBs and recalls for pattern failures
2. Visual Inspection
- Inspect harness boots and conduits for tears or dry rot
- Check connectors for corrosion, bent pins, or water ingress
- Look for abrasion, pinching, or rodent damage along harness routes
3. Electrical Testing
- Perform continuity tests while flexing the harness
- Conduct voltage drop tests across suspect connections
- Apply a load to the circuit to reveal weak points
4. Root Cause Analysis
- Identify sources of moisture, vibration, or heat
- Assess for design flaws or repeated stress points
5. Repair and Prevention
- Replace connectors and terminals with OEM-grade parts
- Seal all connections with dielectric grease and proper boots
- Reroute or reinforce harnesses as needed
The Broader Context: Harness Materials, Durability, and Vehicle Safety
Modern body harnesses are engineered from advanced materials to maximize durability, minimize weight, and ensure safety. According to the United States Department of Energy’s Materials Technologies program, OEMs continually innovate with copper alloys, high-performance polymers, and improved sealing technologies to combat corrosion, abrasion, and electrical losses. However, even the best materials are vulnerable to environmental exposure, mechanical stress, and improper installation.
The National Highway Traffic Safety Administration (NHTSA) emphasizes that electrical system failures—especially in body harnesses—are a leading cause of vehicle recalls and safety campaigns. Persistent harness issues can lead to critical malfunctions, including airbag system failures, lighting outages, and power accessory loss, all of which compromise vehicle safety and compliance.
Advanced Diagnostic Tools and Techniques
While basic hand tools remain essential, advanced diagnostics increasingly play a role in harness troubleshooting:
Advertisement
- Oscilloscopes: Allow real-time monitoring of voltage fluctuations, revealing intermittent opens or shorts invisible to DMMs.
- Thermal Imaging Cameras: Detect heat generated by high-resistance connections, pinpointing failing terminals under load.
- CAN Bus Analyzers: Modern vehicles use multiplexed data lines within body harnesses; bus analyzers can detect erratic communication caused by wiring faults.
- OEM Scan Tools: Provide access to live data, actuator tests, and circuit-specific diagnostics that generic scan tools may not offer.
Technicians equipped with these tools can dramatically reduce diagnostic time and avoid unnecessary harness replacements.
Preventing Future Failures: Installation and Maintenance Best Practices
Proper installation and maintenance are paramount for body harness longevity:
- Harness Routing: Always route harnesses away from sharp edges, moving parts, and heat sources. Use OEM clips and grommets.
- Connector Care: Keep connectors clean, dry, and properly sealed. Use dielectric grease where appropriate.
- Weatherproofing: Regularly inspect door boots, grommets, and seals—replace at the first sign of wear.
- Load Management: Avoid overloading circuits with aftermarket accessories; always use properly rated relays and fuses.
Following these best practices not only prevents future failures but also preserves vehicle safety and reliability.
Sourcing Quality Parts: The Value of OEM-Grade Harnesses
When replacement is necessary, insist on OEM-grade harnesses and connectors. Inferior aftermarket components may lack proper terminal tension, corrosion resistance, or fitment precision—leading to premature failures. At AutoPartEx, we source only harnesses and electrical components that meet or exceed original equipment specifications, ensuring compatibility and long-term reliability. For more information on selecting and servicing connectors, visit our Electrical Connectors: Selection and Service Tips.
Related Technologies: Why Modern Vehicles Rely on Advanced Harness Designs
Today’s vehicles demand more from body harnesses than ever before. With the proliferation of safety systems, infotainment, and driver-assist features, harness complexity and performance requirements have soared. Advanced harness designs utilize multiplexing, shielded wiring, and integrated diagnostics to support these functions while minimizing weight—a key factor in improving overall fuel efficiency.
To understand how these innovations shape automotive wiring, see our editorial on Why Modern Vehicles Rely on Advanced Harness Designs.
When to Replace vs. Repair: Decision Criteria
Not all harness faults require full replacement. Consider these factors:
- Extent of Damage: Localized corrosion or pinched wires can often be repaired with splicing and new connectors. Widespread damage, rodent infestation, or multiple broken conductors may necessitate full harness replacement.
- Accessibility: Some harness sections (such as those embedded in headliners or dashboards) may be impractical to repair in situ.
- Safety Systems: Circuits related to airbags, ABS, or other critical systems should be repaired only with OEM parts and following manufacturer protocols.
When in doubt, consult OEM service information and use only approved materials and techniques.
Technician Training and Standards
The complexity of modern wiring harnesses demands ongoing technician training. Familiarity with SAE standards for wiring, connector repair, and electrical testing is essential for safe, effective repairs. Many failures result from improper crimping, soldering, or sealing during previous repairs. Regular training ensures technicians stay current with evolving vehicle technologies and diagnostic techniques.
AutoPartEx: Your Partner in Harness Diagnostics and Solutions
At AutoPartEx, we understand that hidden harness failures are among the most challenging problems in automotive service. Our curated selection of Wiring Harness (Body): OEM-Grade Body Harness Solutions & Diagnostics parts, technical guides, and expert support empower technicians and DIYers to tackle even the most elusive electrical faults. Whether you need step-by-step diagnostics, OEM-grade replacement harnesses, or advice on complex repairs, AutoPartEx is your trusted partner.
For a comprehensive diagnostic workflow, see our Wiring Harness Diagnosis: Step-by-Step Inspection resource.
Conclusion: Lessons Learned and Best Practices
This case study demonstrates that intermittent body harness failures can be efficiently diagnosed and repaired using a systematic approach. Key takeaways include:
- Always begin with symptom confirmation and context gathering.
- Prioritize visual inspection of high-stress and moisture-prone areas.
- Use targeted electrical testing, including voltage drop and load tests, to confirm faults.
- Repair with OEM-grade connectors and materials, following industry standards.
- Prevent future failures by maintaining seals, routing harnesses properly, and avoiding overloading circuits.
By applying these best practices—and leveraging the right tools and resources—technicians can resolve even the most stubborn harness issues, ensuring vehicle safety and customer satisfaction.
References
Advertisement