Advertisement
Wiring harness failures are among the most frustrating and costly electrical problems facing today’s vehicles. Whether you’re dealing with flickering lights, intermittent starting, or mysterious warning lights, a compromised wiring harness can lead to a cascade of issues. In this comprehensive guide, we’ll break down the top causes of wiring harness failure, how to identify them, and the best solutions to prevent expensive repairs and unexpected downtime. For those seeking reliable replacement parts or technical diagnostics, our Wiring Harness (Misc): Technical Diagnostics & Replacement Parts category is your essential resource.
The Immediate Answer: Why Wiring Harnesses Fail
Wiring harnesses fail due to a combination of physical, environmental, and electrical stressors. Common causes include abrasion, corrosion, poor connector engagement, rodent damage, manufacturing defects, and improper installation. The consequences range from minor electrical glitches to complete system shutdowns, engine no-starts, and even safety hazards due to short circuits or fire risk.
Understanding these failure points is the first step to preventing costly breakdowns and ensuring your vehicle’s electrical system operates safely and reliably.
The Hidden Problem: Complexity and Modern Vehicle Demands
While the visible symptoms of harness failure—like malfunctioning accessories or engine misfires—are easy to spot, the underlying reasons are often much more complex. Modern vehicles rely on increasingly sophisticated wiring harnesses to connect dozens of sensors, actuators, modules, and safety systems. The sheer density of wiring, combined with space constraints and harsh underhood environments, means that even a minor fault can have far-reaching consequences.
What’s more, as automakers push for lighter, more fuel-efficient vehicles, the materials and routing of harnesses are constantly evolving. This innovation can sometimes lead to new failure modes, especially if design or material quality is compromised. According to the National Highway Traffic Safety Administration (NHTSA), electrical system failures—including wiring harness issues—are a leading cause of vehicle recalls and safety investigations.
Deeper Technical Explanation: Anatomy of a Wiring Harness Failure
To truly understand why wiring harnesses fail, you need to consider the physical, chemical, and electrical stresses they face:
Physical Stresses
- Abrasion and Vibration: Harnesses routed near moving parts or sharp edges can experience insulation wear, exposing conductors and leading to shorts.
- Pinching and Crushing: Poor installation or aftermarket modifications can compress harnesses, breaking wires or damaging insulation.
- Connector Fatigue: Repeated plug/unplug cycles or loose connectors can cause intermittent connections or arcing.
Environmental Stresses
- Corrosion: Moisture ingress, especially in connectors or splices, can corrode terminals and wires, increasing resistance and causing open circuits.
- Temperature Extremes: Underhood harnesses endure rapid temperature cycling, which can embrittle insulation and accelerate material degradation.
- Rodent Damage: Mice and other pests are notorious for chewing through harness insulation, causing unpredictable shorts and opens.
Electrical Stresses
- Overcurrent and Short Circuits: Faulty components or modifications can overload circuits, overheating wires and melting insulation.
- Voltage Spikes: Alternator or battery issues can send voltage surges through the system, damaging sensitive wires and connectors.
Manufacturing and Design Issues
- Material Quality: Inferior insulation or conductor materials, often used to cut costs, degrade faster and are less resistant to environmental attack.
- Routing Errors: Poorly planned harness routing can expose wires to unnecessary stress or interference.
- Insufficient Protection: Lack of adequate sheathing, grommets, or clips leaves harnesses vulnerable to damage.
Top 7 Real-World Causes of Wiring Harness Failure
Let’s break down the most common and impactful causes, with practical examples and diagnostic tips:
1. Abrasion from Contact Points
Wires rubbing against sharp metal edges, brackets, or moving components can quickly wear through insulation. Look for harnesses routed near engine mounts, suspension pivots, or firewall pass-throughs.
Diagnostic Tip: Inspect harnesses in high-vibration zones for exposed conductors or “shiny” spots on insulation. Use a mirror and flashlight for hard-to-see areas.
2. Corrosion at Connectors and Splices
Moisture, road salt, and condensation are enemies of clean electrical contacts. Corroded terminals increase resistance, cause intermittent faults, and can eventually sever the circuit.
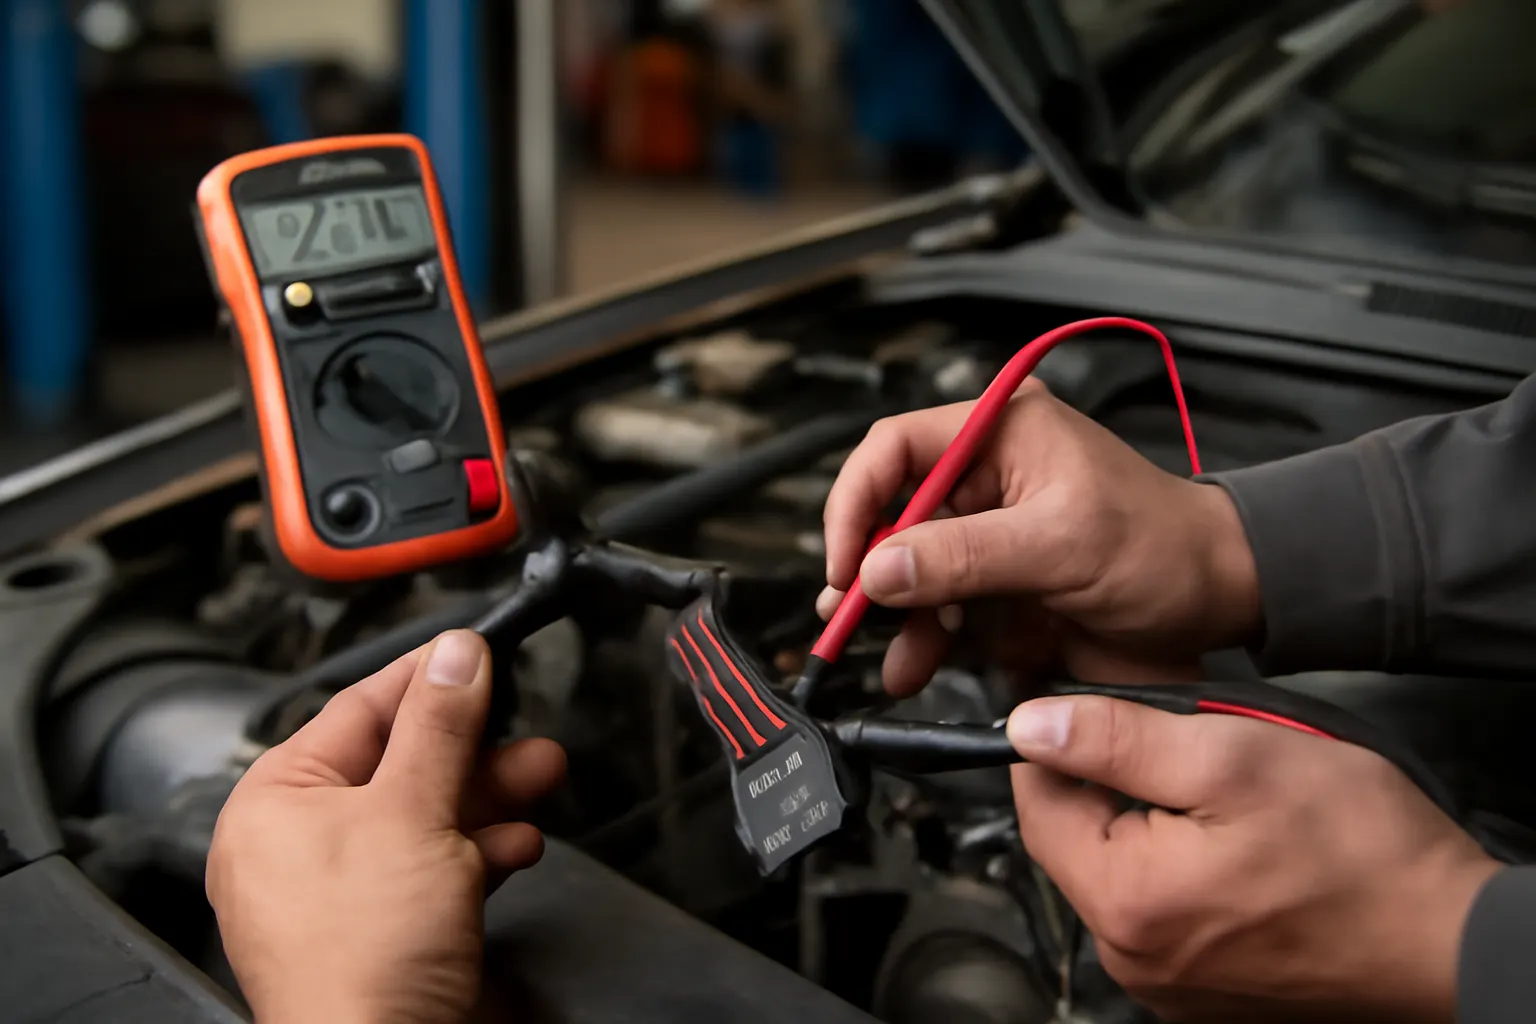
Diagnostic Tip: Check connectors for green/white corrosion, discolored pins, or evidence of water ingress. Use a multimeter to check for voltage drops across suspect connections.
3. Poor Installation or Aftermarket Modifications
DIY repairs, stereo installs, or alarm system additions often introduce poorly crimped splices, unprotected wires, or overloaded circuits.
Advertisement
Diagnostic Tip: Trace aftermarket wiring for loose, untaped splices, or wires that don’t match OEM colors. Look for signs of melted insulation or electrical tape that’s unraveling.
4. Rodent and Pest Damage
Rodents are attracted to certain harness insulation materials and can chew through wires, causing unpredictable electrical issues.
Diagnostic Tip: Look for chewed insulation, droppings, or nesting material near harnesses, especially in vehicles stored outdoors or unused for long periods.
5. Connector Failures
Loose, bent, or corroded connector pins can cause intermittent signals, especially in critical sensors or control modules.
Diagnostic Tip: Wiggle-test connectors with the system powered and watch for symptom changes. Use dielectric grease on reassembly to prevent further corrosion.
6. Overcurrent/Short Circuits
Wiring not rated for the current load, or wires pinched to ground, can melt insulation, blow fuses, or even start fires.
Diagnostic Tip: Inspect blown fuses and trace circuits for melted insulation or burn marks. Use a clamp meter to check for unexpected current draw.
7. Material Degradation and Age
Even the best harnesses degrade over time, especially in harsh climates. UV exposure, heat cycling, and chemical exposure all take their toll.
Diagnostic Tip: Look for brittle, cracked insulation or wires that break when flexed. Replace aging harnesses proactively in high-heat or high-vibration environments.
Early Warning Signs: How to Spot Harness Problems Before Failure
Catching wiring harness issues early can prevent extensive repairs and collateral damage. Watch for these warning signs:
- Intermittent warning lights or error codes
- Electrical accessories (windows, locks, lights) behaving unpredictably
- Unexplained battery drain
- Burning smell or visible smoke under the dash or hood
- Fuses that repeatedly blow without obvious cause
- Engine stalling or no-start conditions
If you notice any of the above, a detailed inspection of the harness and connectors should be your next step. For a structured approach, see our Complete Wiring Harness Troubleshooting Guide.
Diagnostic Checklist: Pinpointing Wiring Harness Issues
Use this step-by-step checklist to methodically diagnose harness problems:
- Visual Inspection
- Check for damaged insulation, exposed wires, or harnesses out of their clips.
- Inspect connectors for corrosion, bent pins, or loose engagement.
- Look for signs of rodent activity or water ingress.
- Wiggle and Tap Test
- With the system powered, gently move suspect harnesses or connectors and observe for symptom changes.
- Continuity Testing
- Use a multimeter to check for open circuits between connectors and control modules.
- Verify ground connections are intact and have low resistance.
- Voltage Drop Testing
- Measure voltage at both ends of a circuit under load to identify high-resistance faults.
- Load Testing
- Substitute known-good loads (bulbs, resistors) to confirm circuit integrity.
- Consult Service Information
- Reference wiring diagrams and technical service bulletins for known issues or recall information.
A systematic approach minimizes guesswork and helps avoid unnecessary parts replacement.
Solutions: Repair, Replacement, and Prevention
Once a harness fault is identified, you have several options depending on the severity and location of the damage:
Minor Repairs
- Splice and Seal: For isolated wire breaks or corrosion, cut out the damaged section, strip back to clean copper, and use high-quality solder or crimp splices. Always seal with heat-shrink tubing or self-fusing tape.
- Connector Service: Clean corroded pins with contact cleaner and a brush; replace terminals if damaged.
Harness Replacement
- Partial Harness Replacement: Many OEMs offer sub-harnesses for common failure points (e.g., tailgate, door, or engine harnesses).
- Complete Harness Replacement: For extensive damage, such as rodent infestation or fire, replacing the entire harness is often more cost-effective and reliable.
For guidance on selecting the right harness for your application, see Choosing the Right Replacement Wiring Harness for Your Vehicle.
Prevention Strategies
- Secure Routing: Use OEM clips, grommets, and sheathing to prevent abrasion and movement.
- Moisture Protection: Apply dielectric grease to connectors and use waterproof splices in exposed areas.
- Rodent Deterrents: Use rodent-repellent tape or sprays in vulnerable locations.
- Regular Inspection: Add harness checks to your maintenance routine, especially after any major service or modification.
Materials Matter: How Harness Composition Affects Longevity
The materials used in wiring harnesses play a critical role in their resistance to failure. According to the U.S. Department of Energy’s Materials Technologies research, advances in insulation polymers, conductor alloys, and connector coatings have improved resistance to heat, corrosion, and vibration.
Advertisement
However, cost-cutting or counterfeit parts can introduce substandard materials that degrade rapidly, especially in high-temperature or chemical-exposed environments. Always source harnesses and connectors from reputable suppliers and insist on OEM or certified aftermarket quality.
The Role of Harness Design and Routing
Proper harness routing is vital for longevity and reliability. Poorly routed harnesses are more likely to suffer from abrasion, pinch points, and thermal stress. OEM harnesses are engineered with precise routing paths, protection, and strain relief. Deviating from these paths—such as during aftermarket audio or lighting installations—can unintentionally introduce failure risks.
When installing a new harness or making repairs:
- Follow manufacturer routing diagrams.
- Avoid tight bends, sharp edges, or high-heat zones.
- Use additional sleeving or conduit in exposed areas.
Harness design also affects electromagnetic interference (EMI) resistance. Twisted-pair and shielded wires are often used for sensitive sensor circuits—ensure replacements match these specifications to avoid diagnostic headaches.
The Impact of Modern Vehicle Technology
Modern vehicles feature dozens of microprocessors, sensors, and actuators, all interconnected by complex harnesses. Features like advanced driver-assistance systems (ADAS), start-stop technology, and hybrid/electric drivetrains place enormous demands on harness reliability.
As complexity increases, so does the need for robust materials, precise assembly, and thorough diagnostic procedures. Even a single compromised wire can cascade into multiple system faults, making accurate diagnosis and quality repairs more critical than ever.
The National Highway Traffic Safety Administration emphasizes the importance of electrical system integrity for both safety and regulatory compliance. Many high-profile recalls have been traced to harness failures, underscoring the importance of proper design, manufacturing, and maintenance.
Buying Guidance: Selecting Quality Replacement Harnesses
When sourcing a replacement harness, consider these factors:
- OEM vs. Aftermarket: OEM harnesses guarantee fit and material quality but can be expensive. Quality aftermarket harnesses, especially those meeting SAE Standards, offer a cost-effective alternative.
- Application-Specific Fit: Ensure the harness matches your vehicle’s year, make, model, and trim. Even minor changes between model years can affect connector type and pinout.
- Material and Construction: Look for harnesses with high-temperature insulation, robust sheathing, and corrosion-resistant terminals.
- Supplier Reputation: Choose suppliers with a track record of quality and technical support. Avoid “universal” harnesses unless designed for your specific application.
- Documentation: Good harnesses come with clear wiring diagrams, installation instructions, and labeling.
Advertisement
For a curated selection, browse our related wiring harnesses to ensure compatibility and reliability.
Installation and Maintenance: Best Practices for Longevity
Proper installation and regular maintenance are the keys to maximizing the lifespan of your wiring harness:
Installation Tips
- Handle with Care: Avoid stretching, twisting, or kinking the harness during installation.
- Secure All Clips and Grommets: Prevents movement and abrasion.
- Verify Connector Engagement: Listen for a click or lock; gently tug to confirm security.
- Test Before Final Assembly: Power up circuits and check for correct operation before reinstalling panels or covers.
Maintenance Routine
- Inspect Annually: Especially in high-mileage, off-road, or fleet vehicles.
- Clean Connectors: Use contact cleaner and apply dielectric grease.
- Monitor for Recalls: Check NHTSA recalls for known harness issues on your vehicle.
- Address Issues Promptly: Don’t ignore early warning signs—small faults can escalate rapidly.
The AutoPartEx Advantage: Your Partner in Diagnostics and Replacement
At AutoPartEx, we understand that wiring harness issues can derail even the most meticulously maintained vehicles. Our technical resources, curated parts catalog, and expert support team are dedicated to helping you diagnose, source, and install the right harness for your needs.
Whether you’re a DIY enthusiast, fleet manager, or professional technician, our Wiring Harness (Misc): Technical Diagnostics & Replacement Parts page connects you with authoritative troubleshooting guides, high-quality harnesses, and real-world solutions.
Looking for more in-depth analysis of intermittent harness problems? See our editorial: Electrical Gremlins: Decoding Intermittent Harness Problems.
Expert Action: Don’t Wait for a Failure—Act Now
Wiring harness failures are preventable with proactive inspection, timely repair, and quality parts. If your vehicle is showing early signs of electrical trouble, don’t wait for a breakdown. Use the diagnostic checklist above, consult service information, and source your replacement harness from trusted suppliers.
Need help selecting the right harness or diagnosing a tough electrical fault? Contact AutoPartEx for expert advice, or browse our Wiring Harness (Misc): Technical Diagnostics & Replacement Parts for solutions tailored to your vehicle.
References
Advertisement