
Advertisement
Electrical Gremlins: Decoding Intermittent Harness Problems
Intermittent electrical problems—often called “electrical gremlins”—are among the most frustrating challenges for vehicle owners, technicians, and DIYers alike. These elusive faults can cause random warning lights, flickering displays, stalling, or non-functional accessories, only to disappear before you can track them down. The root cause is frequently traced back to wiring harness issues, making precise diagnostics and targeted repairs essential. In this comprehensive guide, you’ll learn how to systematically isolate and resolve intermittent harness problems using proven industry techniques, practical checklists, and expert recommendations.
If you’re seeking a holistic overview or need replacement parts, our Wiring Harness (Misc): Technical Diagnostics & Replacement Parts section provides a curated resource for both diagnosis and acquisition.
The Immediate Answer: How to Approach Intermittent Harness Faults
When faced with sporadic electrical faults, the fastest way to narrow down the source is to focus on the vehicle’s wiring harness. Harnesses serve as the central nervous system for your car’s electrical and electronic components. Intermittent faults typically stem from:
- Loose or corroded connectors
- Damaged insulation or pinched wires
- Poorly executed repairs or modifications
- Moisture ingress or environmental degradation
Immediate action: Always begin with a visual inspection and gentle harness manipulation while monitoring the affected circuits. Use a scan tool to check for stored diagnostic trouble codes (DTCs), even if the fault isn’t currently present. This forms the foundation for more advanced troubleshooting.
The Hidden Problem: Why Intermittent Harness Faults Are So Difficult
Intermittent wiring harness issues are notoriously deceptive. Unlike hard faults (which are always present and easier to trace), intermittent problems only appear under specific circumstances—such as vibration, temperature changes, or humidity. These “ghost” faults might only reveal themselves for seconds, making them hard to replicate during routine diagnostics.
The hidden risk: Ignoring or failing to resolve intermittent harness issues can result in safety hazards, sudden vehicle shutdowns, or even electrical fires. According to the National Highway Traffic Safety Administration, wiring and electrical equipment faults are a leading cause of vehicle recalls and safety notices.
Harness Faults: The Deeper Technical Explanation
Wiring harnesses are complex assemblies of wires, terminals, connectors, and protective sheathing designed to transmit power and signals throughout the vehicle. Modern vehicles can contain over 40 pounds of wiring, routed through high-vibration, high-temperature, and moisture-prone environments.
Common technical failure modes include:
- Fretting corrosion: Micro-movement at connectors causes oxidation and intermittent contact.
- Thermal cycling: Expansion and contraction from temperature swings can loosen terminals.
- High-resistance joints: Aging or poorly crimped connections increase resistance, causing voltage drops and sporadic failures.
- Pinched or chafed wires: Routing near sharp edges or moving parts can breach insulation, leading to shorts or open circuits.
These issues may not trigger faults until specific conditions are met, such as engine heat, road vibration, or heavy accessory use.
Step-by-Step Solution Path: Diagnosing Intermittent Harness Problems
Successfully resolving intermittent harness problems requires a methodical, multi-stage approach:
1. Interview and Symptom Documentation
- Interview the vehicle owner/operator: Capture a detailed history of the fault, including when and how it occurs (e.g., after rain, during acceleration, only when turning).
- Document symptoms and fault codes: Use a scan tool to record all DTCs, noting which modules are affected.
2. Visual and Physical Inspection
- Inspect the harness and connectors: Look for corrosion, discoloration, melted insulation, or exposed wires.
- Manipulate harnesses: Gently wiggle harnesses and connectors while observing for symptom changes or code reappearance.
Advertisement
3. Pinpoint Testing
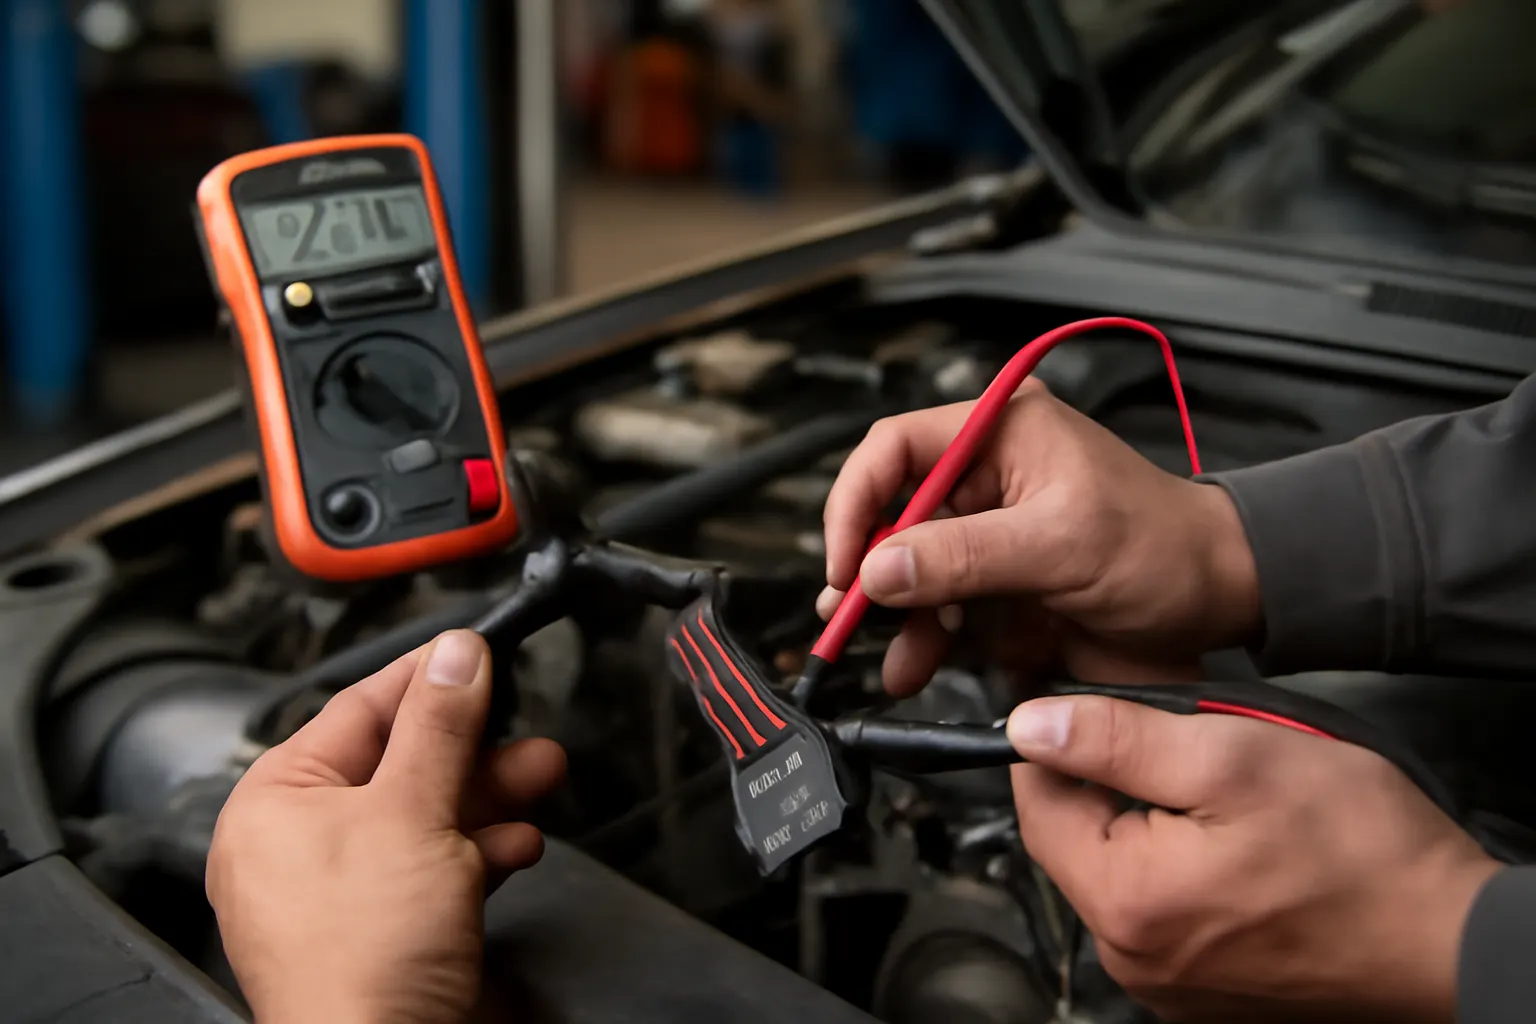
- Backprobe suspect connectors: Use a multimeter to measure voltage drops and continuity while flexing the harness.
- Perform voltage drop tests: Focus on ground circuits and power feeds, as high resistance is a common intermittent culprit.
- Check for moisture: Open connectors and look for signs of water, corrosion, or greenish deposits.
4. Advanced Diagnostic Tools
- Oscilloscope analysis: Use a lab scope to monitor signal integrity and spot momentary dropouts invisible to a multimeter.
- Thermal imaging: Identify hot spots indicating high-resistance connections.
- Wiggle testing with scan tool monitoring: Combine physical manipulation with live data monitoring to catch fleeting faults.
Essential Diagnostic Checklist for Intermittent Harness Issues
Use this checklist to ensure a thorough and systematic diagnostic process:
| Step | Action | Notes |
|---|---|---|
| 1 | Gather owner/operator complaint and symptom history | Note conditions that trigger the fault |
| 2 | Scan for DTCs in all modules | Save freeze-frame data |
| 3 | Perform visual inspection of harness and connectors | Focus on high-heat and high-vibration areas |
| 4 | Manipulate harnesses and connectors while observing symptoms | Look for changes in operation or code setting |
| 5 | Backprobe and voltage drop test suspect circuits | Test grounds, power, and signal wires |
| 6 | Inspect for moisture or corrosion in connectors | Use dielectric grease during reassembly |
| 7 | Use advanced tools (oscilloscope, thermal camera) as needed | For elusive or complex faults |
| 8 | Repair or replace damaged sections with OEM-quality parts | Avoid “quick fixes” like twisting wires together |
| 9 | Verify repair by recreating original fault conditions | Road test, heat soak, or vibrate as needed |
| 10 | Document repair and educate the owner/operator | Prevent future issues with maintenance tips |
Common Causes of Intermittent Harness Faults
Understanding the root causes helps prevent future issues and informs repair strategies:
Environmental Exposure
Harnesses routed through the engine bay or underbody are exposed to water, salt, and extreme temperatures. Over time, this degrades insulation and corrodes terminals, leading to unreliable connections.
Vibration and Mechanical Stress
Constant engine vibration, road shocks, and movement of attached components can cause wires to fatigue, fray, or break internally. Harnesses near hinges, moving seats, or steering columns are particularly at risk.
Poor Repairs and Aftermarket Modifications
Non-factory splices, “tap in” connections, or poorly insulated repairs introduce weak points. Aftermarket accessories that draw excessive current or alter harness routing can accelerate failures.
Manufacturing Defects
Even factory harnesses can suffer from poor crimping, incorrect wire routing, or substandard materials, leading to recalls and technical service bulletins. Regularly check the NHTSA recalls database for your vehicle model.
The Role of Materials and Design in Harness Reliability
Harness reliability is directly influenced by the quality of materials and adherence to engineering standards. The United States Department of Energy highlights how advanced polymers, improved insulation, and lightweight alloys enhance durability, reduce weight, and improve fuel efficiency.
Key material considerations:
- Insulation: Modern cross-linked polyethylene (XLPE) and other advanced insulators resist heat, abrasion, and chemicals better than older PVC types.
- Connector design: Weather-sealed and gold-plated terminals resist corrosion and maintain conductivity.
- Routing and support: Proper harness routing with adequate strain relief and secure mounting minimizes movement and chafing.
Practical Techniques for Isolating Intermittent Harness Faults
Experienced technicians rely on several hands-on techniques:
Harness Wiggle Testing
With the vehicle powered and circuits active, gently flex and move harness sections while monitoring the suspect system. A momentary change—such as a flickering light or code reset—pinpoints the problem area.
Split-Point Isolation
Disconnect the harness at intermediate connectors to isolate the fault to a specific section. This is especially useful in complex systems (e.g., CAN bus networks) where a single wire can affect multiple modules.
Advertisement
Heat and Moisture Simulation
Use a heat gun or spray bottle (for non-live circuits) to replicate environmental conditions. Many intermittent faults only appear with temperature changes or after exposure to moisture.
Circuit Load Testing
Apply a known load to suspect circuits. Weak connections may pass a continuity test but fail under real-world current draw.
Repairing and Replacing Harnesses: Best Practices
When a fault is found, proper repair is critical to long-term reliability and safety.
OEM vs. Aftermarket Harnesses
Whenever possible, use OEM or related wiring harnesses that meet or exceed original specifications. Aftermarket harnesses should be sourced from reputable suppliers and conform to industry standards (SAE Standards).
Splicing and Connector Repairs
- Use high-quality, insulated butt connectors or solder-and-seal splices.
- Avoid “twist and tape” repairs, which are prone to failure.
- Always use heat-shrink tubing and, where appropriate, dielectric grease to prevent moisture ingress.
Full Harness Replacement
For extensive damage, replacing the entire harness is often safer and more reliable than piecemeal repairs. Reference vehicle-specific guides, such as our Complete Wiring Harness Troubleshooting Guide, for step-by-step instructions.
Preventive Maintenance and Long-Term Solutions
Proactive measures can dramatically reduce the risk of recurring harness issues:
- Regular inspections: Include harness checks during routine maintenance, especially after off-road use or exposure to harsh conditions.
- Seal and protect: Use protective loom, conduit, and corrosion inhibitors on exposed sections.
- Avoid overloading circuits: Never exceed the rated current for any harness section.
- Promptly address warning signs: Flickering lights, erratic gauges, or random module resets should never be ignored.
Harness Diagnostics and Modern Vehicle Electronics
As vehicles become more reliant on complex electronics—such as advanced driver assistance systems (ADAS), infotainment, and electrified drivetrains—the impact of harness faults grows exponentially. A single intermittent wire can disable multiple systems, trigger limp mode, or compromise safety features.
Advanced diagnostic tools now include:
- CAN bus analyzers: For communication faults between modules.
- Automated test equipment (ATE): Used by OEMs and advanced shops to test entire harness assemblies for continuity and insulation resistance.
Sourcing Quality Replacement Harnesses
Choosing the right replacement harness is critical for both reliability and regulatory compliance. Harnesses must:
- Match the original part in length, connector type, and wire gauge.
- Comply with industry safety and testing standards.
- Use materials rated for the vehicle’s operating environment.
Refer to our Choosing the Right Replacement Wiring Harness for Your Vehicle guide for detailed fitment and compatibility advice.
Why AutoPartEx Is Your Partner in Harness Diagnostics and Replacement
At AutoPartEx, we combine technical expertise, curated parts selection, and up-to-date diagnostic resources to help you conquer even the most challenging intermittent electrical faults. Our Wiring Harness (Misc): Technical Diagnostics & Replacement Parts category connects you to OEM-quality harnesses, connectors, and specialized diagnostic tools.
Our editorial team distills the latest standards, manufacturer bulletins, and field-proven techniques into actionable guides—empowering technicians, DIYers, and fleet managers alike. Whether you’re tracking down a stubborn ghost fault or planning a complete harness replacement, AutoPartEx is your trusted partner for accuracy, safety, and long-term reliability.
Expert Action: Next Steps for Diagnosing and Resolving Harness Gremlins
- Start with a thorough interview and visual inspection.
- Use a systematic checklist to guide your diagnostics.
- Employ advanced tools (oscilloscope, thermal imaging) for elusive faults.
- Repair using OEM-quality materials and proven techniques.
- Consult AutoPartEx resources for replacement parts and step-by-step guides.
- Document your repair and educate others to prevent recurrence.
For a more in-depth look at failure modes and solutions, see Why Do Wiring Harnesses Fail? Top Causes and Solutions.
References
Advertisement


