Advertisement
The strut assembly—integral to the knee assembly (strut assy)—is the backbone of your vehicle’s suspension, directly impacting safety, handling, ride comfort, and tire wear. Knowing precisely when to replace your strut assembly isn’t just about mileage; it’s about recognizing the warning signs and understanding the risks of delayed action. This comprehensive AutoPartEx guide delivers immediate, practical answers for drivers, technicians, and enthusiasts seeking to maintain peak suspension performance and vehicle safety.
If you’re ready to take a deeper dive into the core of modern suspension systems, our Knee Assembly (Strut Assy) Technical Guide: The Backbone of Modern Suspension Systems offers foundational insights and further reading.
Immediate Answer: Key Warning Signs and Replacement Intervals
Replace your strut assembly when you observe any of the following:
- Noticeable ride harshness or excessive bouncing after bumps
- Nose-diving during braking or excessive body roll in corners
- Uneven tire wear or cupping patterns on the tread
- Visible fluid leaks from the strut body
- Clunking or knocking noises over rough roads or speed bumps
- Steering instability—wandering, pulling, or delayed response
Recommended replacement intervals: Most manufacturers suggest inspecting struts every 50,000 miles (80,000 km), with replacement typically needed between 60,000 and 100,000 miles (96,000–160,000 km). However, severe use (rough roads, heavy loads, aggressive driving) can accelerate wear, requiring earlier replacement.
The Hidden Problem: Why Strut Assembly Wear Is Often Overlooked
Many drivers underestimate the gradual decline of their strut assemblies. Because strut wear is incremental, you may subconsciously adapt to increased road harshness, longer stopping distances, or subtle handling changes. This “creep” effect means critical safety issues often go unnoticed until a catastrophic failure or related component damage occurs.
Complicating matters, modern knee assemblies integrate multiple components (strut, spring, mount, bearing, and sometimes a knuckle), making diagnosis more complex than with older, simpler suspension designs. The result: delayed replacement, higher repair bills, and compromised safety.
Why Strut Assemblies Matter: The Technical and Safety Perspective
Strut assemblies serve as the structural link between your vehicle’s chassis and wheels, absorbing shocks, maintaining tire contact, and stabilizing body motion. As suspension technology has advanced, the knee assembly has become a sophisticated module that not only dampens road impacts but also supports braking, steering, and electronic stability systems.
Key functions of the strut assembly include:
- Damping: Controlling spring oscillations to prevent bounce and body float.
- Load bearing: Supporting a significant portion of vehicle weight.
- Alignment: Maintaining proper geometry for safe steering and tire wear.
- Integration: Housing mounts, bearings, and sometimes sensors for advanced driver-assistance systems.
A worn or failed strut assembly compromises all of these functions, increasing the risk of loss of control, extended braking distances, and premature wear on other suspension and steering components (NHTSA Equipment).
Deeper Dive: What Causes Strut Assembly Wear?
Strut assemblies are subject to relentless mechanical stress and environmental exposure. The primary causes of wear include:
- Internal fluid breakdown: Hydraulic oil degrades over time, reducing damping effectiveness.
- Seal failure: Dirt, salt, and moisture breach seals, leading to fluid leaks and contamination.
- Piston rod wear: Pitting or scoring from debris or lack of lubrication.
- Bushing and mount fatigue: Rubber components crack, compress, or separate, causing noise and misalignment.
- Spring fatigue: Repeated compression cycles eventually weaken the coil, affecting ride height and load support.
Material advances (e.g., high-strength steel, composite bushings) have improved longevity, but no strut assembly is immune to wear (DOE Materials Technologies).
Early Detection: Comprehensive Strut Assembly Warning Signs
Recognizing strut wear early prevents cascading damage and safety risks. Here’s a detailed checklist of symptoms:
Advertisement
Strut Assembly Warning Signs Checklist
| Symptom | Description | Likely Cause |
|---|---|---|
| Excessive bouncing | Vehicle continues to oscillate after bumps | Worn damping, fluid loss |
| Clunking/knocking noises | Audible over rough roads or bumps | Worn mounts or internal damage |
| Nose-diving on braking | Front end dips excessively during stops | Weak damping, spring fatigue |
| Poor cornering stability | Excessive lean or sway in turns | Worn strut, compromised bushings |
| Uneven tire wear | Cupping, scalloping, or rapid outer/inner tread wear | Loss of alignment control |
| Visible oil leaks | Oily residue on strut body or lower mount | Seal failure, internal damage |
| Steering instability | Vehicle pulls, wanders, or has delayed steering response | Mount/bearing wear, strut play |
| Reduced ground clearance | Sagging ride height, especially with load | Spring fatigue, broken coil |
If you notice any combination of the above, schedule a thorough suspension inspection immediately.
How Strut Failure Impacts Vehicle Safety and Performance
A compromised strut assembly isn’t just a comfort issue—it’s a direct threat to safety and drivability. Here’s how:
- Braking Distance: Worn struts can increase stopping distances by up to 20% due to loss of tire contact and excessive front-end dive.
- Tire Wear: Misalignment and loss of damping lead to rapid, uneven tire wear, increasing replacement costs and reducing traction.
- Steering Response: Delayed or vague steering input reduces driver confidence and increases accident risk.
- Component Stress: Adjacent parts—ball joints, control arms, sway bars—are subjected to abnormal loads, accelerating their wear and potential failure.
The National Highway Traffic Safety Administration (NHTSA) highlights the importance of maintaining all suspension components for overall vehicle safety (NHTSA Equipment).
Replacement Intervals: Manufacturer Guidelines vs. Real-World Conditions
While manufacturer recommendations are a starting point, real-world driving conditions often dictate earlier replacement. Here’s what you need to know:
- Standard interval: Inspect at 50,000 miles (80,000 km), replace at 60,000–100,000 miles (96,000–160,000 km).
- Severe service: If you regularly drive on rough roads, carry heavy loads, or tow, inspect every 30,000 miles (48,000 km) and plan for early replacement.
- Age factor: Even low-mileage vehicles can develop strut issues after 7–10 years due to rubber degradation and fluid breakdown.
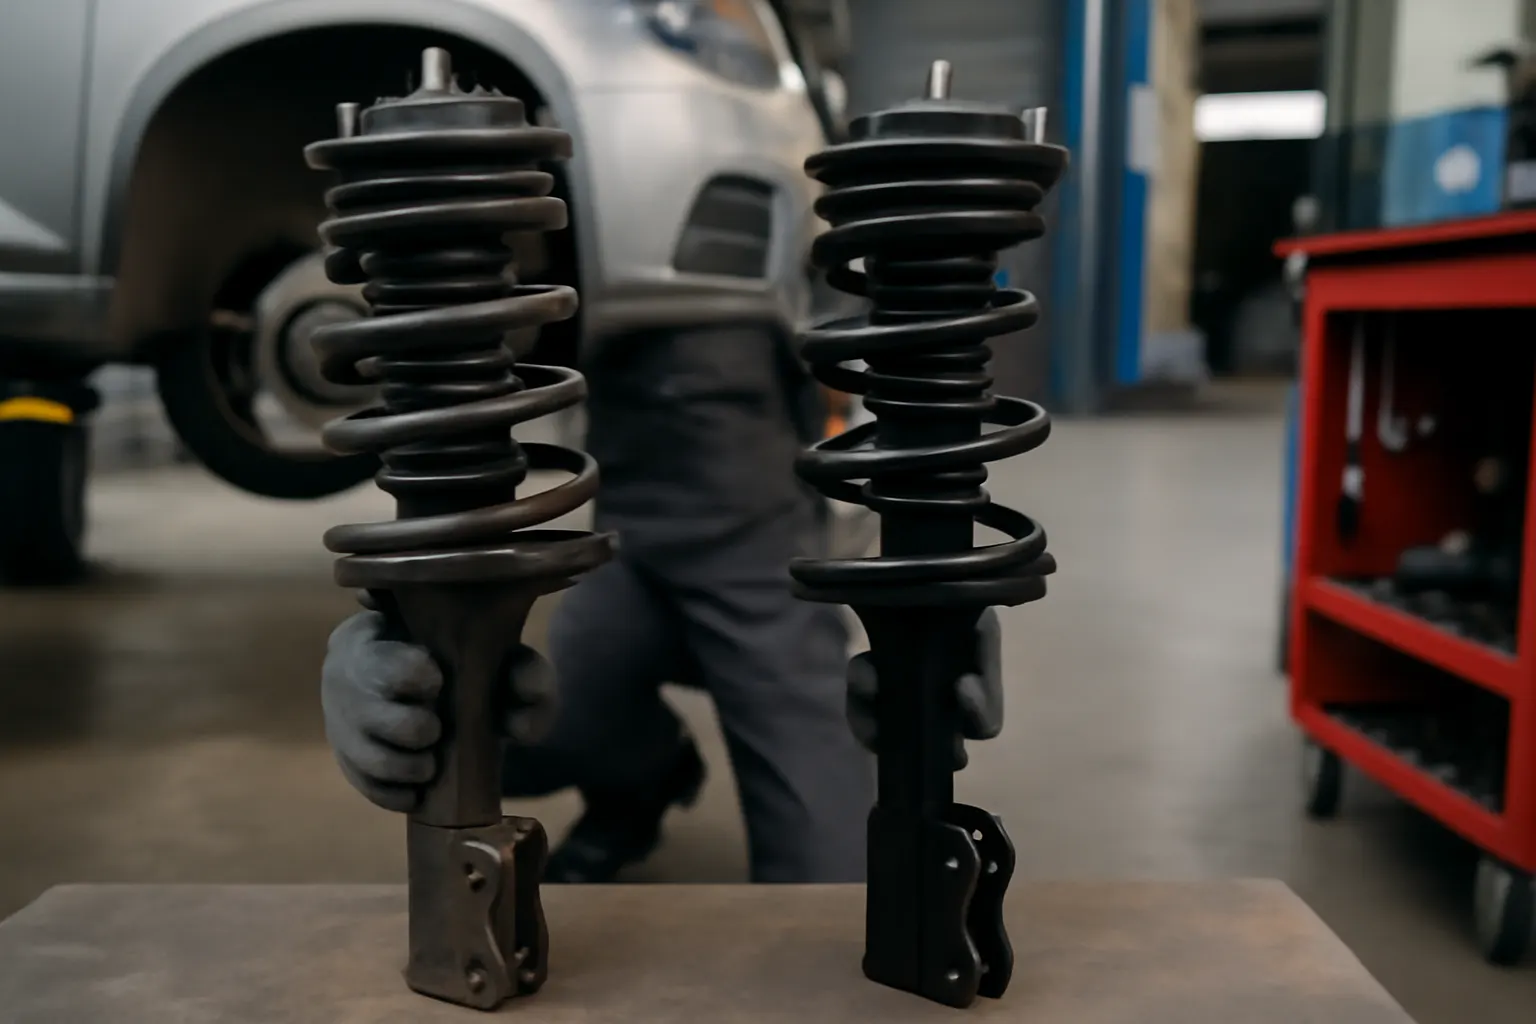
Pro tip: Always replace strut assemblies in pairs (left and right) to maintain balanced handling and safety.
Diagnostic Procedures: How to Confirm Strut Wear
A professional diagnosis involves more than a visual check. Follow this step-by-step process:
1. Bounce Test
- Push down firmly on each corner of the vehicle and release.
- The body should rebound once, then settle. Multiple oscillations indicate worn struts.
2. Visual Inspection
- Check for oil leaks, damaged boots, rust, or physical deformation.
- Inspect mounts and bushings for cracks or separation.
3. Road Test
- Listen for clunks, rattles, or squeaks over bumps.
- Note excessive body roll, nose dive, or instability during maneuvers.
4. Tire Examination
- Look for cupping, scalloping, or uneven tread patterns.
5. Specialized Tools
- Some shops use shock/strut testers or chassis ears for advanced diagnostics.
For a deeper understanding of suspension noise and diagnostics, refer to our dedicated guide: How to Diagnose Suspension Noise: Knee Assembly Edition.
Strut Assembly Replacement: Choosing the Right Part
Selecting the correct replacement strut assembly is critical for restoring ride quality and safety. Consider the following:
- OEM vs. Aftermarket: OEM struts match original performance and fitment, while quality aftermarket options may offer improved materials or features. Evaluate based on vehicle use and budget. See our analysis: OEM vs Aftermarket Knee Assemblies: What Matters Most?.
- Complete assembly vs. cartridge: Many modern vehicles use “quick struts” (pre-assembled with spring, mount, and bearing), simplifying installation and reducing labor time.
- Fitment: Always match the strut to your specific make, model, year, and trim. Double-check compatibility with electronic stability systems or ride control features.
- Quality: Choose assemblies meeting or exceeding SAE Standards for durability and performance.
Advertisement
Installation Guidance: What to Expect and Best Practices
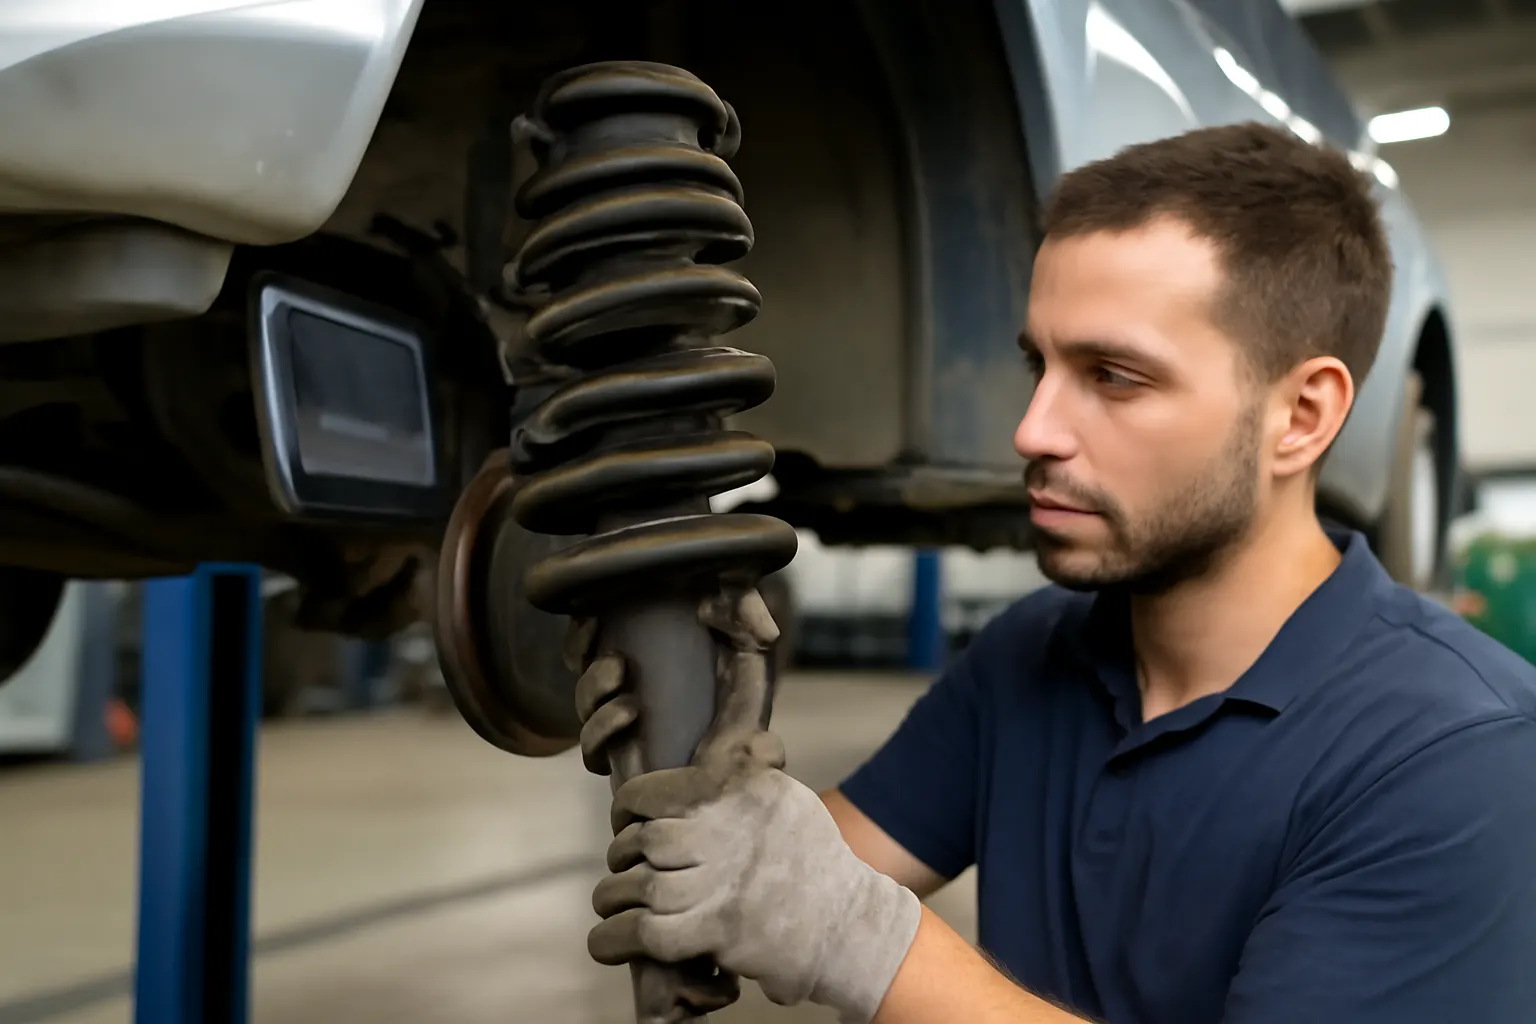
Replacing a strut assembly is a technical job requiring proper tools and safety procedures. Here’s what’s involved:
Key Steps in Strut Assembly Replacement
- Raise and support the vehicle securely using jack stands.
- Remove the wheel to access the strut tower and lower mount.
- Disconnect brake lines, ABS sensors, and sway bar links as needed.
- Unbolt the strut from the steering knuckle and strut tower.
- Install the new strut assembly, ensuring correct orientation and torque specs.
- Reconnect all components and double-check for clearance or interference.
- Repeat on the opposite side for balanced performance.
- Perform a full suspension alignment after installation to prevent premature tire wear and handling issues (Suspension Alignment After Knee Assembly Replacement).
Safety note: Spring compressors are required if reusing the original coil spring. Improper use can cause serious injury—when in doubt, consult a professional.
Post-Replacement: Alignment and Break-In Procedure
After installing new strut assemblies, a professional four-wheel alignment is mandatory. Misalignment can cause:
- Rapid tire wear
- Pulling or wandering
- Poor steering return
Break-in period: New strut assemblies may feel slightly stiff for the first 100–300 miles as seals and bushings settle. Monitor for abnormal noises or handling quirks and re-torque mounting bolts after the initial break-in.
Maintenance Tips to Extend Strut Assembly Life
While struts are not typically serviceable, you can extend their lifespan and maintain performance with these practices:
- Regular inspections: Check for leaks and wear at every oil change.
- Keep suspension clean: Remove road salt and debris to prevent corrosion.
- Avoid overloading: Excessive weight accelerates spring and mount fatigue.
- Drive cautiously: Slow down on rough roads and avoid potholes when possible.
- Replace worn bushings and mounts: Address related component wear promptly to prevent strut damage.
Sourcing Quality Strut Assemblies: What to Look For
When purchasing replacement strut assemblies, prioritize:
- Reputable brands with a track record of quality and safety.
- Comprehensive kits that include new mounts, bearings, and hardware.
- Clear warranty terms and manufacturer support.
- Certification to recognized standards (e.g., SAE, ISO).
Be wary of “bargain” parts that may use inferior materials, lack proper damping calibration, or omit critical components. The NHTSA Recalls Database is an essential resource for checking for safety recalls or known issues with specific strut assemblies or brands.
The AutoPartEx Advantage: Your Partner in Suspension Reliability
At AutoPartEx, we understand that the knee assembly—anchored by the strut assembly—is more than just a part. It’s a safety-critical system that demands technical accuracy, component quality, and expert guidance. Our curated selection of knee assemblies and strut components ensures correct fitment, durability, and compliance with the latest safety standards. Whether you drive an Acura, Alfa, or AMC, we have the right solution for your make and model.
Visit our Knee Assembly (Strut Assy) Technical Guide: The Backbone of Modern Suspension Systems for in-depth technical resources and to explore our full range of strut assemblies and related components.
Expert Action: Don’t Wait—Inspect and Replace as Needed
Act now: If you’ve noticed any warning signs or are approaching the recommended mileage interval, schedule a suspension inspection. Proactive replacement of worn strut assemblies preserves vehicle safety, maximizes tire life, and restores the confident handling your vehicle was engineered to deliver.
For further technical guidance, sourcing, or fitment assistance, contact the AutoPartEx technical team or consult our extensive online resources. Your safety and satisfaction are our top priorities.
References
Advertisement