Advertisement
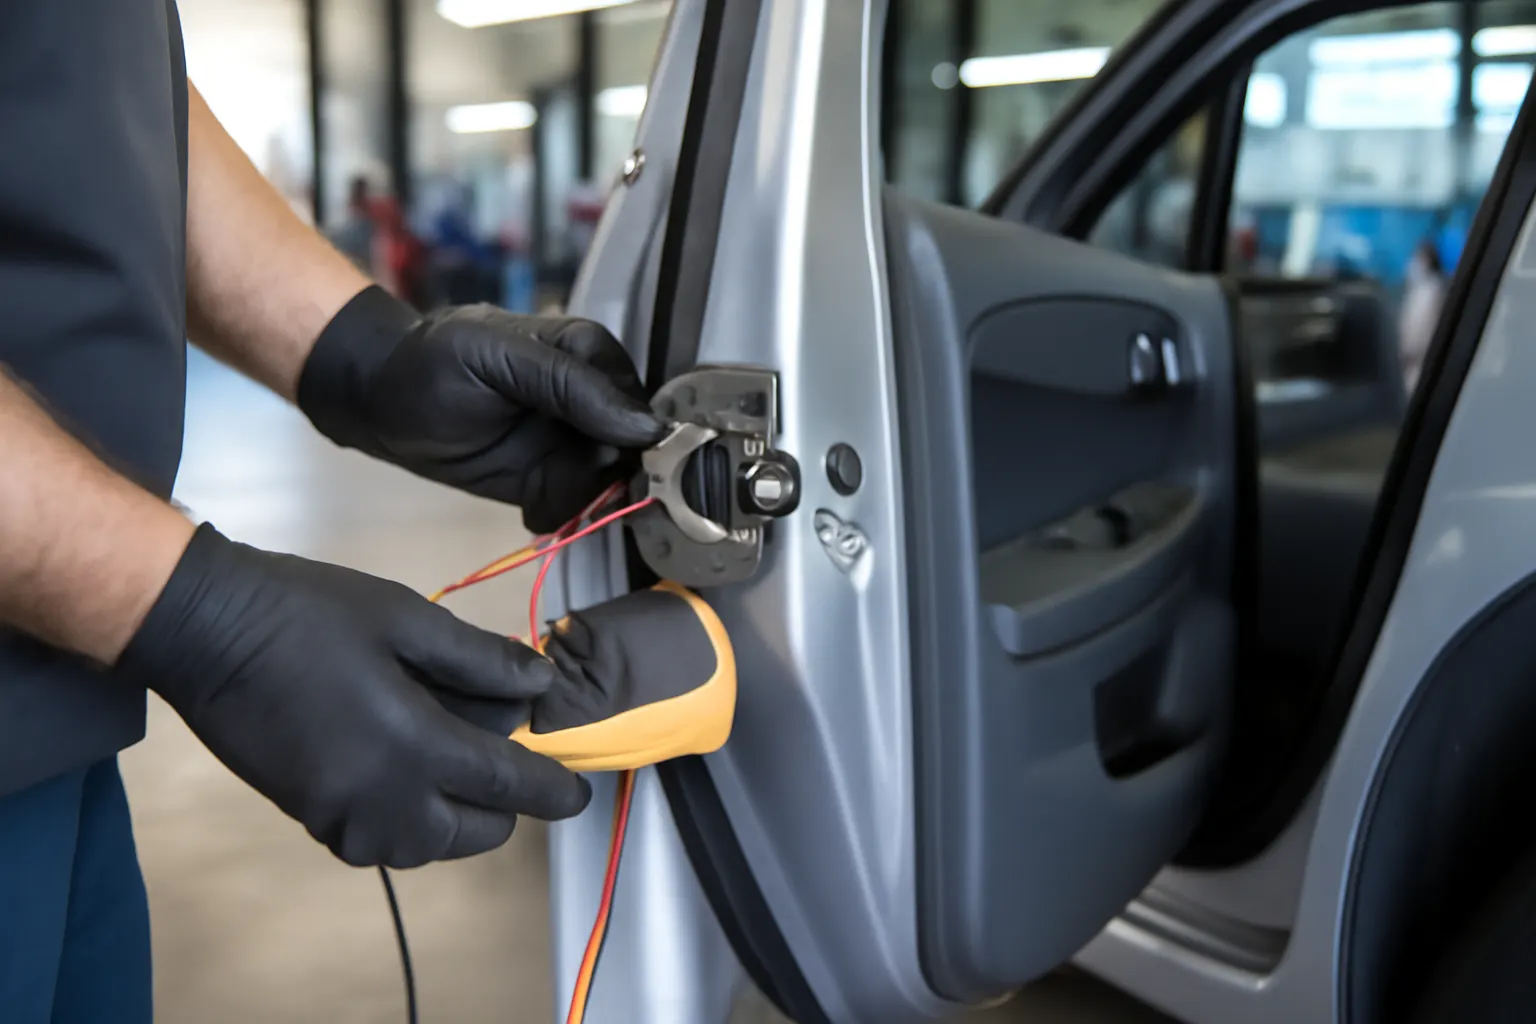
Rear door rattles and water leaks are among the most persistent and frustrating issues for vehicle owners, yet both can often be eliminated with straightforward latch maintenance and a focus on precision fitment. In this comprehensive guide, we’ll show you exactly how to silence annoying rear door noises and prevent costly water intrusion—protecting your vehicle’s structural integrity and interior comfort. Whether you drive a sedan, SUV, or pickup, understanding your rear door latch system is the key to lasting security and peace of mind. For an in-depth look at latch system design and fitment, visit our Rear Door Latch Systems: Security, Safety, and Precision Engineering category page.
The Immediate Solution: Latch Maintenance for a Quieter, Drier Ride
If you’re hearing rattles from the rear doors or noticing water stains or dampness near the door sills and carpet, the quickest way to restore comfort is to inspect and maintain your rear door latch system. Most rear door rattles and leaks originate from worn, misaligned, or poorly lubricated latches and seals. By following a targeted maintenance routine—cleaning, lubricating, adjusting, and replacing worn components—you can eliminate these issues at their source.
The Hidden Problem: Why Rear Door Latches Fail
While it’s tempting to blame all rattles and leaks on simple wear and tear, the underlying causes are often more complex. Rear door latch systems are sophisticated assemblies that must balance security, ease of use, and environmental sealing. Over time, repeated use, vibration, and exposure to moisture can degrade not only the latch mechanism itself but also related components like weatherstripping, door hinges, and striker plates. Even minor misalignment can compromise both noise isolation and water resistance, leading to a cascade of secondary problems such as corrosion, mold, and electrical issues.
Rear Door Latch Systems: The Technical Foundation
A modern rear door latch system consists of several interdependent elements:
- Latch Mechanism: The heart of the system, responsible for securing the door to the body.
- Striker Plate: The fixed component on the body that the latch grabs onto.
- Weatherstripping: Rubber or composite seals that prevent water and air ingress.
- Door Hinges: Allow the door to swing open and closed, affecting alignment.
- Linkages and Actuators: Connect the handle to the latch, sometimes powered.
Automakers design these systems to meet strict SAE engineering standards, ensuring durability and safety. However, even the best-engineered latches are subject to degradation, especially in climates with wide temperature swings or heavy precipitation.
How Rattles and Leaks Develop Over Time
Rattles are usually the first symptom of a failing latch system. As tolerances increase due to wear or misalignment, the latch may not hold the door tightly against the body. This allows vibration and movement, producing audible noise. Simultaneously, the weatherstripping may lose its elasticity or become compressed, creating gaps for water to seep through.
Water leaks are often less noticeable at first but can be far more damaging. Water entering through compromised seals or misaligned doors can soak carpets, corrode wiring, and promote mold growth. Over time, chronic moisture exposure can even affect the vehicle’s structural components, reducing resale value and safety.
Diagnosing Rear Door Rattles: Step-by-Step
Diagnosing the source of a rear door rattle requires a methodical approach:
- Listen and Localize: Drive on a bumpy road and pay attention to which door the rattle is coming from. Lightly press on the door panel to see if the noise changes.
- Visual Inspection: Open the door and examine the latch, striker plate, weatherstripping, and hinges for obvious wear, looseness, or damage.
- Door Movement Test: With the door closed, gently push and pull on the door. Excessive movement indicates a loose latch or worn striker.
- Latch Operation: Open and close the door, listening for grinding or clicking noises as the latch engages.
- Weatherstripping Check: Look for flattened, cracked, or missing rubber seals along the door perimeter.
Advertisement
If you need a more detailed diagnostic process, our Diagnosing Door Latch Failures: Step-by-Step guide provides a deep-dive into troubleshooting latch issues.
Water Leak Detection: Beyond the Obvious
Water leaks can be subtle but destructive. Here’s how to pinpoint their source:
- Visual Moisture Check: Inspect carpets, door sills, and trim for dampness or water stains.
- Seal Integrity Test: Close the door on a strip of paper at various points around the frame. If the paper slides out easily, the seal isn’t tight.
- Hose Test: With a helper, spray water around the door frame while sitting inside the vehicle. Watch for drips or seepage.
- Check Drainage: Ensure door drains at the bottom aren’t clogged with debris.
Many leaks are not directly due to the latch itself but to the interaction between the latch, door alignment, and weatherseal positioning.
The Role of Precision Engineering in Latch Performance
Automotive latches are engineered to extremely tight tolerances, often measured in fractions of a millimeter. This precision ensures that the door sits flush with the body, compressing the weatherstripping to form an effective seal. Over time, even minor deviations—caused by hinge wear, body flex, or repeated slamming—can disrupt this balance.
According to the National Highway Traffic Safety Administration, latch integrity is also a core element of vehicle safety. A door that doesn’t close securely not only allows in noise and water but may fail during a collision, putting occupants at risk.
Maintenance Checklist: Keeping Rear Door Latches in Top Condition
Regular maintenance is the key to preventing rattles and leaks. Use this checklist to keep your rear door latch system performing at its best:
Rear Door Latch Maintenance Checklist
| Task | Frequency | Tools Needed | Notes |
|---|---|---|---|
| Clean latch and striker | Every 6 months | Brush, mild cleaner | Remove dirt and debris |
| Lubricate moving parts | Every 6 months | White lithium grease | Avoid oil-based sprays that attract dust |
| Inspect weatherstripping | Every 6 months | Visual/tactile check | Replace if cracked or compressed |
| Check door alignment | Annually | Visual/feeler gauge | Adjust hinges if door sags or misaligns |
| Tighten fasteners | Annually | Screwdriver/wrench | Focus on latch, striker, and hinge bolts |
| Test door closure | Every oil change | Manual test | Door should close smoothly and firmly |
| Clear door drains | Annually | Wire or air compressor | Prevents water buildup inside the door |
Addressing Common Rear Door Latch Issues
Worn Latch Mechanisms
If the latch mechanism itself is visibly worn, sticky, or fails to engage securely, replacement is the best course of action. Modern latches are modular and can often be swapped out with basic hand tools, but always consult your vehicle’s repair manual for specific instructions.
Misaligned Striker Plates
A misaligned striker is a frequent cause of both rattles and leaks. If the door doesn’t latch firmly or sits unevenly, loosening the striker plate mounting bolts and adjusting its position (in small increments) can restore a tight seal. Mark the original position before making adjustments to avoid over-correction.
Damaged or Degraded Weatherstripping
Weatherstripping that’s brittle, cracked, or permanently compressed won’t provide an effective seal. Replacement is straightforward: remove the old seal, clean the mounting surface, and press the new weatherstripping into place, ensuring it’s fully seated.
Loose Hinges and Fasteners
Check for play in the door hinges and ensure all fasteners are tight. Even a small amount of hinge movement can magnify latch wear and misalignment over time.
Selecting the Right Replacement Parts
When sourcing replacement latches, weatherstripping, or striker plates, always choose components that meet or exceed OEM specifications. Parts that conform to SAE standards will offer the best fit, function, and durability. Beware of low-cost aftermarket parts that may not align precisely or may use inferior materials, as these can introduce new problems or fail prematurely.
For a complete overview of rear door latch systems and sourcing guidance, visit our Rear Door Latch Systems: Security, Safety, and Precision Engineering category page.
Installation Tips: Ensuring Proper Fitment
Proper installation is crucial for both noise reduction and water resistance. Here are expert tips for DIY installers:
Advertisement
- Test Fit Before Final Tightening: Temporarily install the latch and striker, close the door, and check alignment before fully tightening bolts.
- Use Threadlocker: Apply a medium-strength threadlocker to mounting bolts to prevent loosening from vibration.
- Do Not Over-Tighten: Excessive torque can deform the latch or striker, affecting operation and seal quality.
- Weatherstrip Overlap: Ensure weatherstripping overlaps at seams and corners for a continuous barrier.
If you’re new to latch replacement, our Replacing Rear Door Latches: Tools and Tips guide offers a detailed walk-through of the process.
The Impact of Rear Door Latch Condition on Vehicle Safety and Value
A secure, well-sealed rear door is not just a comfort issue—it’s a safety imperative. According to NHTSA equipment guidelines, door latches must remain engaged during normal driving and withstand crash forces. A compromised latch increases the risk of door opening during a collision, endangering passengers and potentially violating vehicle safety standards.
Additionally, chronic water leaks can lead to hidden corrosion, electrical faults, and mold, all of which reduce vehicle resale value and can complicate future repairs. Addressing latch and seal issues promptly preserves both safety and long-term value.
Advanced Diagnostic Techniques for Persistent Issues
Some rattles and leaks can persist even after basic maintenance. In these cases, advanced diagnostic techniques may be necessary:
- Chalk Test: Rub chalk along the weatherstripping, then close the door. Gaps will show as unmarked areas.
- Thermal Camera: Use a thermal imaging camera to detect cold spots around the door frame, indicating air or water leaks.
- Panel Removal: Remove interior door panels to inspect for hidden rust, loose linkages, or misrouted wiring that may interfere with latch operation.
If you suspect an issue beyond basic wear, professional inspection is recommended. Recalls related to door latches are not uncommon—always check the NHTSA recall database for your make and model.
Preventive Strategies: Keeping Rattles and Leaks Away
Prevention is always better than cure. Here are strategies to minimize future problems:
- Gentle Door Operation: Avoid slamming doors, which accelerates latch and hinge wear.
- Regular Cleaning: Keep latch and striker areas free of dirt, salt, and debris.
- Climate Awareness: In cold climates, lubricate latches with freeze-resistant grease to prevent sticking.
- Annual Inspection: Incorporate door latch checks into your annual maintenance routine.
When to Seek Professional Help
While many latch and seal issues can be tackled at home, certain symptoms warrant expert attention:
- Repeated Water Intrusion: Despite new seals and adjustments, water continues to enter.
- Structural Rust: Visible rust around the latch or door frame.
- Latch Failure Warning: Electronic warning lights or messages indicating a door is open when it’s not.
- Crash Damage: After any accident involving the door, have the latch system professionally inspected.
Certified technicians have the tools and training to diagnose and repair advanced latch system issues, including electronic actuators and integrated security systems.
AutoPartEx: Your Partner for Quiet, Leak-Free Doors
At AutoPartEx, we understand that rear door latch performance is central to your vehicle’s comfort, safety, and long-term value. Our curated selection of OEM-spec latches, weatherstripping, and related hardware ensures you get components that fit right the first time and stand up to real-world conditions. Our technical guides, like this one, are designed to empower you with the knowledge and confidence to tackle repairs and maintenance efficiently.
Explore our Rear Door Latch Systems: Security, Safety, and Precision Engineering category for the latest parts and in-depth resources, or check out our editorial on How Rear Door Latch Design Impacts Vehicle Security for a deeper dive into latch engineering.
Conclusion: Lasting Solutions for Annoying Noises and Costly Leaks
Rear door rattles and water leaks are more than minor annoyances—they’re early warning signs that your latch system needs attention. By understanding the technical foundation of latch operation, following a regular maintenance routine, and selecting high-quality replacement parts, you can restore quiet, comfort, and watertight integrity to your vehicle. Whether you’re a DIY enthusiast or rely on professional service, the right approach to rear door latch care will pay dividends in safety, vehicle value, and driving enjoyment.
References
- Vehicle Safety and Equipment - National Highway Traffic Safety Administration
- SAE Standards - SAE International
- Vehicle, Car Seat, Tire, and Equipment Recalls - National Highway Traffic Safety Administration
- Fuel Efficiency - United States Department of Energy
- Materials Technologies - United States Department of Energy
Advertisement