Advertisement
Rear wiper systems are essential for maintaining clear visibility in adverse weather, but their exposed location makes them especially vulnerable to moisture intrusion. Preventing moisture damage in rear wiper motor assemblies is critical for the longevity and reliability of your vehicle’s rear visibility system. In this comprehensive AutoPartEx guide, you’ll find practical, step-by-step strategies to keep your rear wiper motor protected from corrosion and electrical issues—ensuring your rear wiper operates smoothly for years to come.
If you’re looking for a replacement or OEM-fitment rear wiper motor, start by exploring our Rear Wiper Motor Replacement & OEM Fitment category for expert-vetted options.
The Immediate Answer: How to Prevent Moisture Damage in Rear Wiper Systems
To prevent moisture damage in rear wiper systems, regularly inspect and maintain the wiper motor assembly, ensure all seals and grommets are intact, promptly address any signs of corrosion, and use high-quality replacement parts designed for your vehicle’s make and model. Applying dielectric grease to electrical connectors and ensuring proper drainage around the hatch area are also essential steps.
By adopting these preventative measures, you can significantly reduce the risk of costly electrical failures and corrosion-related issues in your rear wiper motor.
The Hidden Problem: Why Rear Wiper Motors Are Especially Vulnerable
Rear wiper motors are uniquely exposed to the elements compared to their front counterparts. Located on the rear hatch or tailgate, these systems face direct spray from rain, snow, road salt, and washing equipment. Unlike the front cowl, the rear hatch often has fewer protective barriers, making water ingress more likely.
The main hidden problem is that even minor breaches in seals or grommets can allow moisture to enter the motor housing or wiring harness, setting the stage for corrosion, short circuits, and eventual motor failure. Because these issues develop gradually, they often go undetected until the wiper stops working or electrical faults appear.
Deeper Technical Explanation: How Moisture Damages Rear Wiper Assemblies
Corrosion of Electrical Contacts
Moisture can seep into the wiper motor’s electrical connectors and cause oxidation or corrosion of metal contacts. As corrosion builds up, electrical resistance increases, leading to intermittent operation, slow motor response, or total failure. Over time, corroded contacts can generate heat, further damaging insulation and connectors.
Water Intrusion into Motor Housing
If the rear wiper motor’s housing or mounting gasket fails, water can pool inside the motor assembly. This can result in:
- Rusting of internal gears and bearings
- Short-circuiting of the motor windings
- Breakdown of internal lubricants
The result is often a noisy, grinding wiper or a complete loss of function.
Wiring Harness and Connector Degradation
Rear hatch wiring harnesses are routed through flexible boots and tight spaces. Repeated opening and closing of the hatch can fatigue these boots, leading to cracks that admit water. Moisture in the harness can travel along the wires, causing widespread electrical issues beyond the wiper system.
Environmental Factors
Vehicles in regions with heavy rainfall, snow, or road salt exposure are at higher risk. Salt accelerates corrosion, and frequent freeze-thaw cycles can force water into tiny cracks in seals and gaskets.
Recognizing Early Signs of Moisture Damage
Catching moisture-related problems early can save you from expensive repairs. Watch for these warning signs in your rear wiper system:
Advertisement
- Intermittent or erratic wiper operation: The wiper may stop and start unpredictably or move sluggishly.
- Visible corrosion: Check for green or white powder on connectors, or rust on mounting bolts and brackets.
- Unusual noises: Grinding, squeaking, or clicking noises may indicate internal corrosion or gear damage.
- Water stains or condensation: Moisture inside the rear hatch or on the interior trim near the wiper motor is a red flag.
- Blown fuses: Electrical shorts from moisture can repeatedly blow the wiper fuse.
If you notice any of these symptoms, prompt inspection is critical.
Step-by-Step Checklist: Preventing Moisture Damage in Rear Wiper Systems
Use this comprehensive checklist to keep your rear wiper system protected:
- Inspect the rear wiper motor and mounting area every 6 months.
- Check all weather seals and rubber grommets for cracks, gaps, or hardness.
- Examine the wiring harness and connectors for signs of corrosion or moisture.
- Apply dielectric grease to all electrical connectors during inspection or service.
- Clean the area around the rear hatch drain holes to ensure proper water runoff.
- Ensure the wiper arm pivot is free from rust and moves smoothly.
- Replace any damaged or missing gaskets immediately.
- After heavy rain or car washes, check for water intrusion inside the hatch.
- Use only high-quality, OEM-spec replacement parts for repairs.
- If you live in a high-salt or wet climate, increase inspection frequency.
Regular use of this checklist will help extend the life of your rear wiper system and prevent costly moisture damage.
Diagnosing Moisture-Related Rear Wiper Motor Problems
When rear wiper issues arise, a systematic diagnostic approach is essential:
Visual Inspection
- Remove the rear hatch trim panel to access the wiper motor.
- Look for water stains, corrosion, or rust around the motor and wiring.
- Inspect gaskets and seals for proper seating and integrity.
Electrical Testing
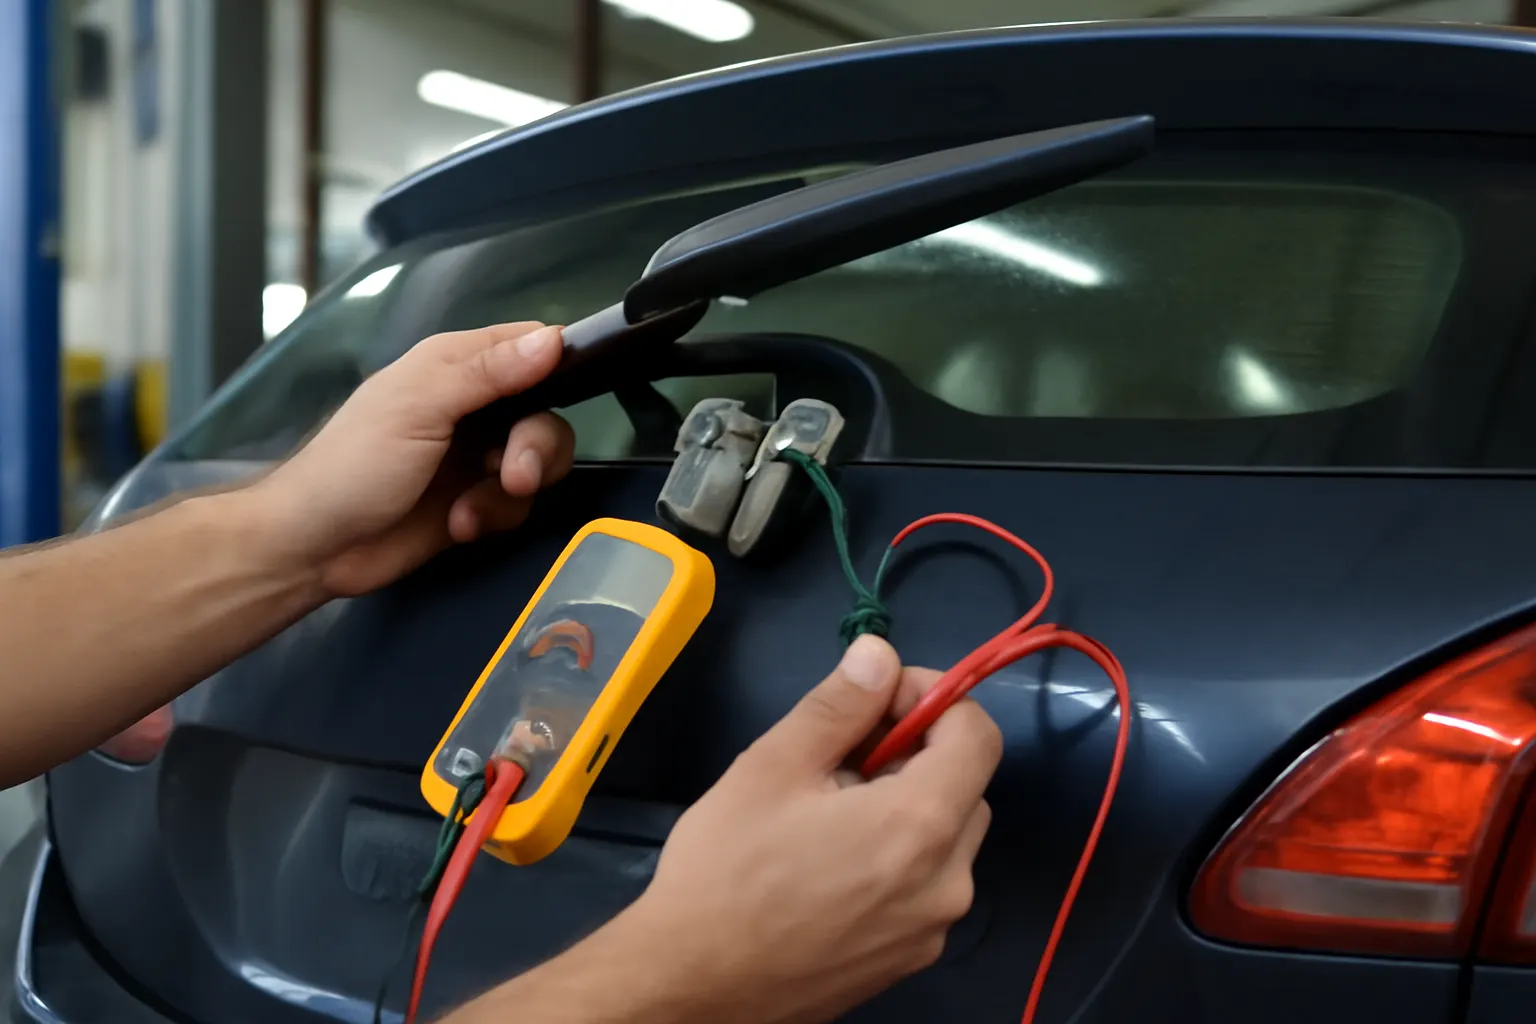
- Use a multimeter to check for voltage at the wiper motor connector with the switch on.
- Test continuity of ground connections and look for elevated resistance indicating corrosion.
- If available, use a scan tool to check for stored fault codes related to the rear wiper circuit.
Functional Testing
- Manually operate the wiper arm to check for mechanical binding or stiffness.
- Listen for abnormal noises from the motor during operation.
If significant corrosion or water intrusion is found, replacement of the motor and affected wiring is usually required. For a detailed step-by-step guide, see our How to Diagnose and Replace a Rear Wiper Motor.
Maintenance Strategies for Moisture Protection
Regular Cleaning and Inspection
Keeping the rear hatch area clean reduces the chances of dirt and debris compromising seals. Gently wash the hatch and wiper assembly, taking care not to force water into gaps.
Lubrication and Protection
Apply a thin layer of dielectric grease to all accessible connectors during routine maintenance. This non-conductive compound repels moisture and prevents corrosion.
Seal and Gasket Replacement
Rubber seals harden and shrink over time, especially when exposed to UV rays and temperature extremes. Replace any seals or grommets that show signs of aging or damage. Always use replacements that meet or exceed OEM standards for fit and material quality.
Drainage Maintenance
Ensure that hatch drain holes are clear. Blocked drains can cause water to pool around the wiper motor, dramatically increasing the risk of intrusion.
Choosing the Right Replacement Parts
When moisture damage necessitates replacement, select parts that meet original equipment specifications. Inferior aftermarket motors may lack adequate sealing, leading to repeat failures.
Advertisement
OEM vs. Aftermarket
- OEM (Original Equipment Manufacturer): Guaranteed fitment, tested sealing, and corrosion resistance.
- Aftermarket: May offer cost savings, but only choose reputable brands with robust sealing and materials.
Consult our Rear Wiper Motor Replacement & OEM Fitment resource for a curated list of reliable options.
Installation Tips: Ensuring a Moisture-Proof Fit
Proper installation is as important as part selection. Follow these tips to maximize moisture resistance:
- Always clean the mounting surface before installing a new motor.
- Use new gaskets and seals, even if the old ones appear serviceable.
- Torque mounting bolts to manufacturer specifications to ensure even gasket compression.
- Route wiring harnesses carefully, avoiding pinched wires or sharp bends.
- Apply dielectric grease to all connectors before assembly.
- After installation, test the system for full range of motion and check for leaks by spraying water around the hatch area.
Addressing Common Rear Wiper System Electrical Issues
Moisture is a leading cause of electrical faults in rear wiper systems. For a deeper look at troubleshooting techniques, visit our Common Rear Wiper System Electrical Issues article.
Key electrical issues linked to moisture include:
- Intermittent operation: Often caused by corroded connectors or ground points.
- No operation: May indicate a shorted motor or blown fuse from water ingress.
- Blown fuses: Frequently caused by water bridging electrical contacts.
Thoroughly drying and cleaning affected areas, followed by replacement of any damaged components, is essential for reliable operation.
Rear Wiper Blade Care: The Overlooked Moisture Barrier
While the focus is often on the motor, the rear wiper blade itself plays a role in moisture management. A worn or torn blade can allow water to drip back toward the motor mounting point, increasing the risk of intrusion.
- Inspect the wiper blade every six months for cracks, splits, or loss of flexibility.
- Replace the blade at least once per year, or sooner in harsh climates.
- Choose premium blades with UV-resistant rubber.
For guidance on selecting and maintaining wiper blades, refer to our Wiper Blade Selection and Care resource.
The Role of Materials and Engineering in Modern Rear Wiper Systems
Advancements in materials science have led to more durable, corrosion-resistant rear wiper motors and components. According to the U.S. Department of Energy, automotive manufacturers now routinely employ advanced polymers, stainless steel, and specialized coatings to resist moisture and salt exposure 1.
When sourcing replacement parts, prioritize those that reference SAE or equivalent standards for corrosion resistance and electrical insulation. This ensures your new wiper motor is built to withstand environmental hazards and deliver long service life.
AutoPartEx Expertise: Your Partner in Rear Wiper System Reliability
At AutoPartEx, we understand the critical role rear wiper motors play in vehicle safety and visibility. Our technical team rigorously evaluates all Rear Wiper Motor Replacement & OEM Fitment products for sealing, material quality, and electrical performance. We only recommend parts that meet stringent industry and safety standards, such as those outlined by the National Highway Traffic Safety Administration 2.
Whether you’re a DIY enthusiast or a professional technician, our expert guides and curated part selection help you prevent moisture damage and ensure a perfect fit the first time.
Expert Action: What to Do Next
- Inspect your rear wiper system today: Use our checklist to identify potential moisture risks before they become major problems.
- Upgrade with confidence: Choose replacement parts from trusted sources that emphasize advanced sealing and corrosion-resistant materials.
- Stay informed: Bookmark AutoPartEx for ongoing expert advice, troubleshooting guides, and the latest in rear wiper system technology.
For more detailed step-by-step instructions, troubleshooting help, and fitment advice, visit our related editorial resources and explore our full range of rear wiper system components.
References
- Vehicle Safety and Equipment – National Highway Traffic Safety Administration
- Materials Technologies – United States Department of Energy
- Fuel Efficiency – United States Department of Energy
Word count (body): ~2420
Footnotes
Advertisement