Diagnosing Common Interior Light Failures
Interior lighting is a critical component of automotive safety, comfort, and convenience. When your vehicle’s dome, map, or courtesy lights fail, it can create frustration and even pose safety risks during night driving or emergencies. This comprehensive guide provides immediate, actionable steps for diagnosing and resolving the most common interior light failures, backed by industry standards and best practices. For a broader look at cabin illumination systems, see our Interior Light Systems: Complete Guide to Automotive Cabin Illumination.
Immediate Answer: Quick Checks for Interior Light Malfunctions
If your car’s interior lights suddenly stop working, don’t panic. Most issues stem from a handful of common, easily diagnosed causes. Here’s a rapid checklist to get you started:
- Check the Bulb: Most interior lights use replaceable bulbs (incandescent or LED). Remove the lens and inspect for blackened or broken filaments.
- Test the Switch: Toggle the light switch (on, off, and door positions) to see if any setting restores function.
- Inspect the Fuse: Locate the interior light or “dome” fuse in your vehicle’s fuse box. Replace it if blown.
- Door Jamb Switch: Press each door’s jamb switch manually to see if the light responds. These switches turn the lights on when a door opens.
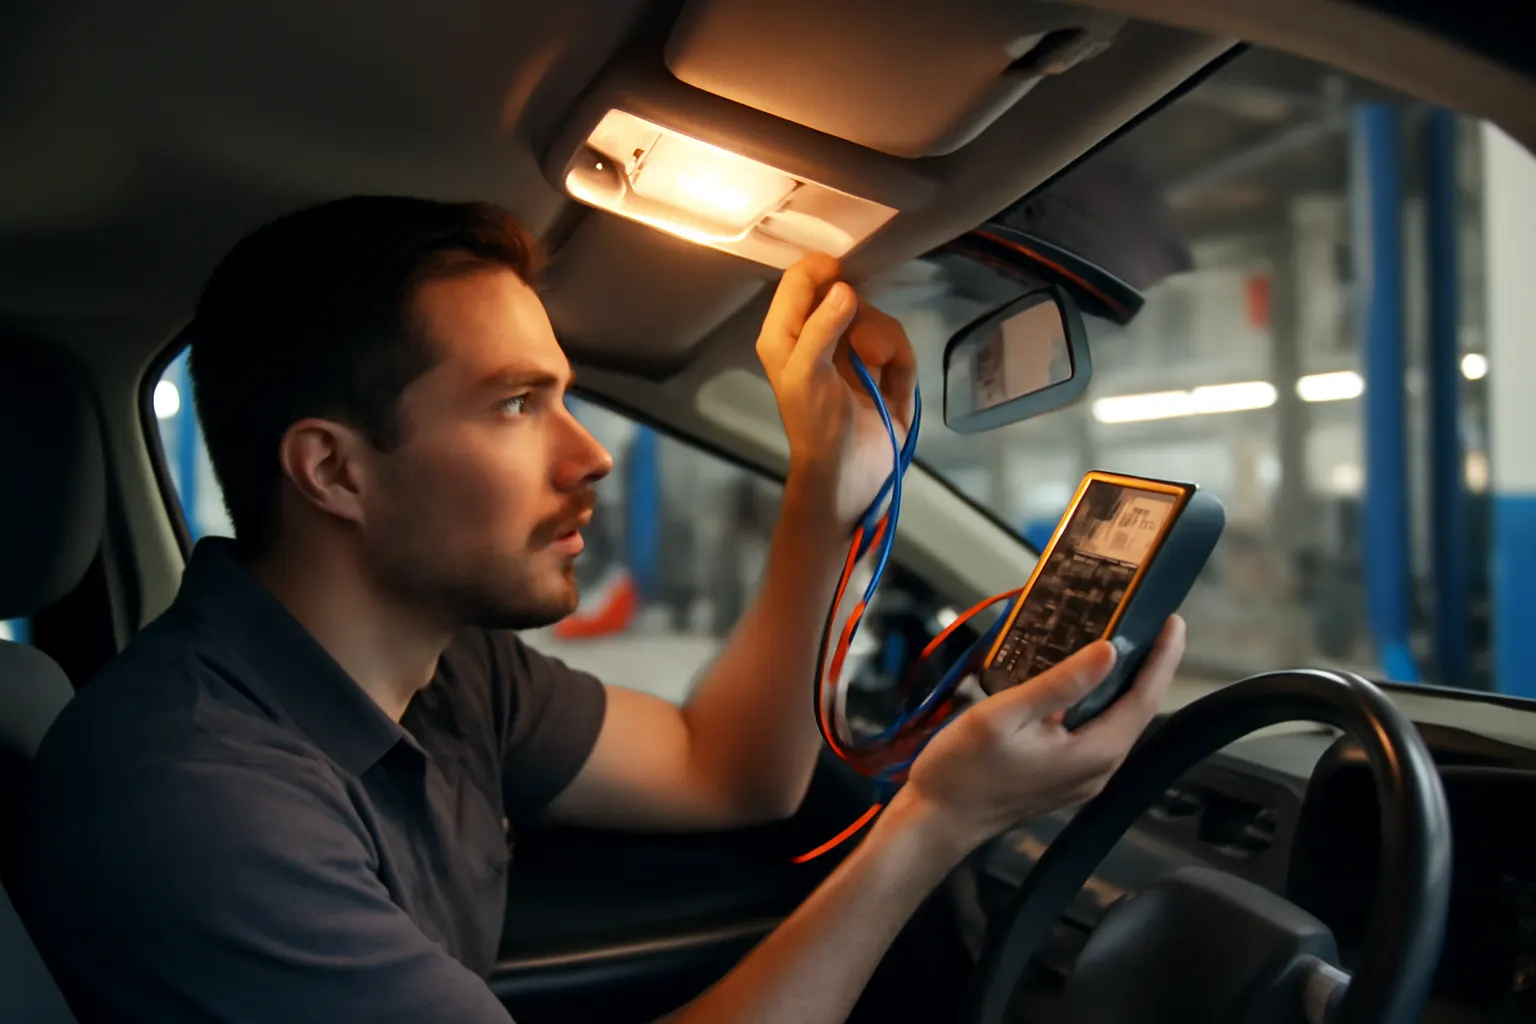
- Wiring and Connectors: Wiggle the light assembly and wiring harness gently; a loose connection can cause intermittent operation.
If these steps don’t restore function, deeper electrical diagnostics may be required. Let’s explore why even simple interior light failures can sometimes hide more complex vehicle system problems.
The Hidden Problem: Why Interior Light Failures Matter
While a non-functioning dome light may seem like a minor nuisance, it can indicate broader electrical or safety issues within your vehicle. Modern automotive interior lights are integrated with security systems, courtesy features, and even airbags in some models. A seemingly isolated light failure can sometimes point to:
- Malfunctioning body control modules (BCM)
- Short circuits or ground faults affecting other safety systems
- Wiring harness damage from moisture or rodents
- Impacts on vehicle safety compliance and inspection readiness
According to the National Highway Traffic Safety Administration (NHTSA), all vehicle equipment, including interior lighting, must function as intended to ensure occupant safety and compliance with federal standards.
Understanding Interior Light System Architecture
To effectively diagnose and repair interior light issues, it’s essential to understand how these systems are designed. Most modern vehicles feature a combination of:
- Dome Lights: Central ceiling-mounted for general illumination.
- Map/Reading Lights: Focused beams for driver/passenger use.
- Courtesy/Puddle Lights: Illuminate footwells or door sills when entering/exiting.
- Ambient/Accent Lighting: Subtle, often LED-based, for mood and aesthetics.
All these lights draw power from the vehicle’s electrical system, typically controlled via:
- Manual switches (on the lamp or dashboard)
- Door jamb switches (detect door open/close)
- Body Control Module (BCM): Centralizes control for dimming, timing, and integration with alarms or keyless entry.
Wiring diagrams may show these components linked through relays, fuses, and sometimes multiplexed circuits.
Common Causes of Interior Light Failures
Most interior light malfunctions can be traced to one or more of the following:
1. Burned-Out Bulbs
Traditional incandescent bulbs have a limited lifespan. LED upgrades, while longer-lasting, can also fail or be incompatible with factory dimming circuits. Always check the bulb first—if it’s visibly blackened or the filament is broken, replacement is necessary.
2. Blown Fuses
A blown fuse is a protective response to a short or overload. The fuse box diagram (in your owner’s manual or fuse panel cover) will indicate which fuse controls the interior lights. Replace only with the same amperage rating.
3. Faulty Switches
Switches wear out over time, especially those subjected to frequent use (map lights, door jamb switches). A faulty switch can interrupt power even if the bulb and fuse are fine.
4. Wiring Issues
Broken, pinched, or corroded wires—often in door jambs or under carpet—can disrupt power. Moisture intrusion or rodent damage may also be culprits.
5. Body Control Module (BCM) Faults
If all other causes are ruled out, a malfunctioning BCM or related relay may be at fault. This is more common in late-model vehicles with advanced electrical integration.
Step-by-Step Diagnostic Checklist
Use this detailed checklist to systematically diagnose interior light failures:
| Step | Action | Tools Needed | Expected Result |
|---|---|---|---|
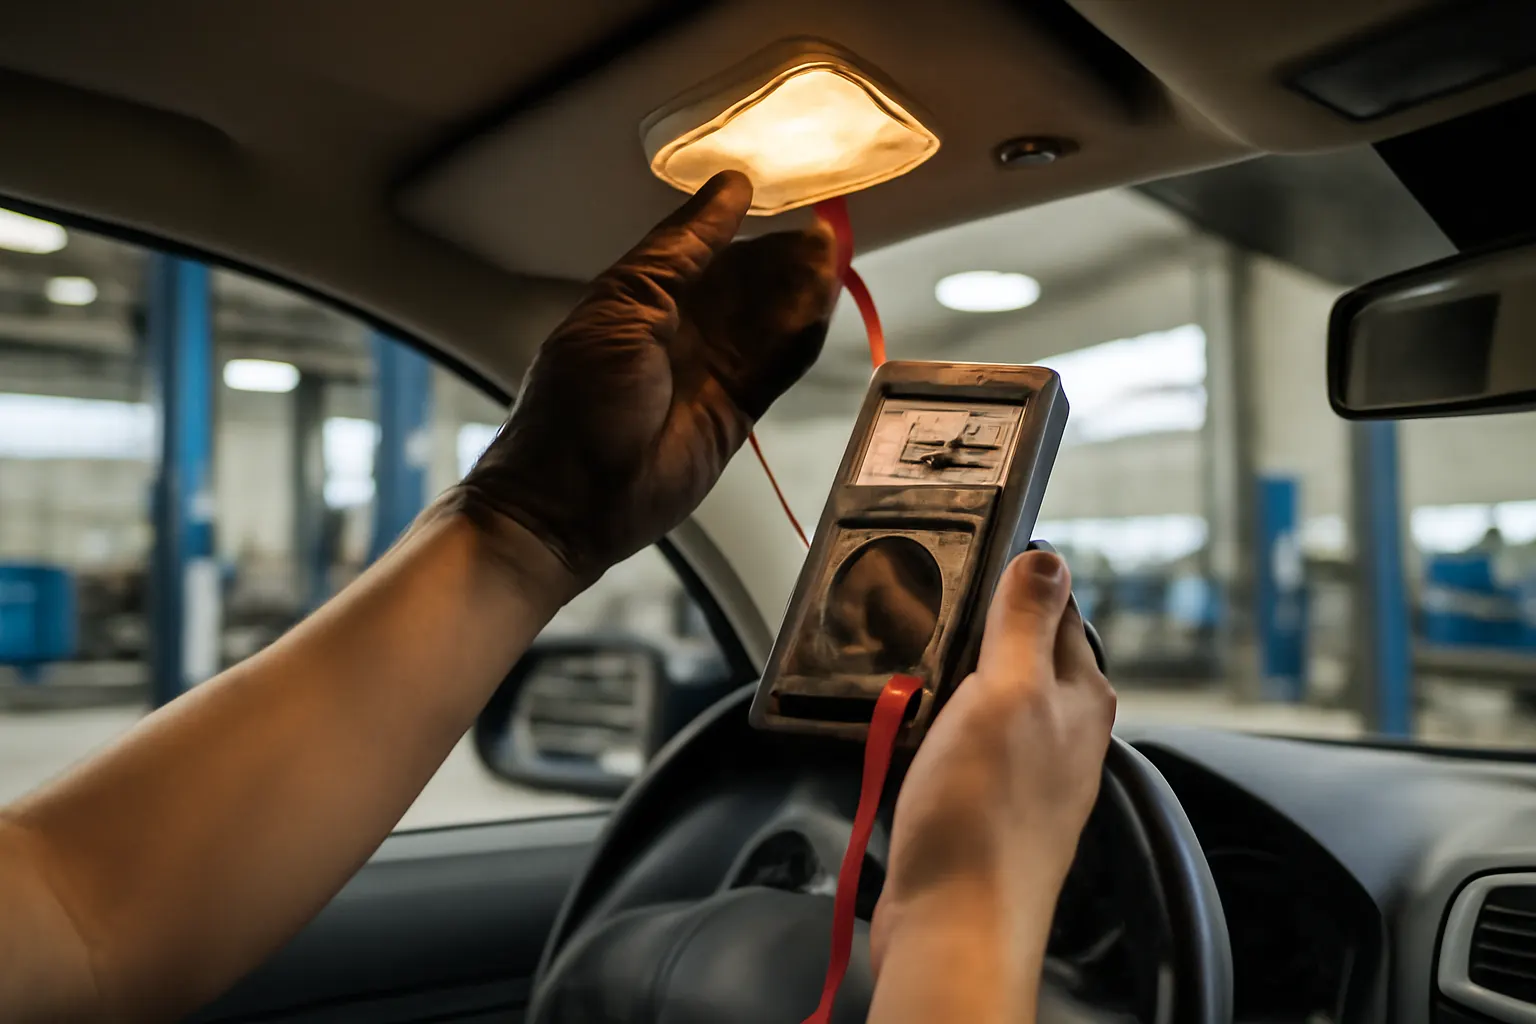
| 1 | Check bulb visually and with a multimeter (continuity test) | Multimeter, screwdriver | Bulb is good or needs replacement |
| 2 | Inspect and test the fuse | Fuse puller, multimeter | Fuse is intact or needs replacement |
| 3 | Test door jamb and manual switches | Multimeter, jumper wire | Switches make/break contact correctly |
| 4 | Examine wiring for visible damage or corrosion | Flashlight, test light | Wiring is intact or needs repair |
| 5 | Test voltage at the light socket | Multimeter | Power is present or absent |
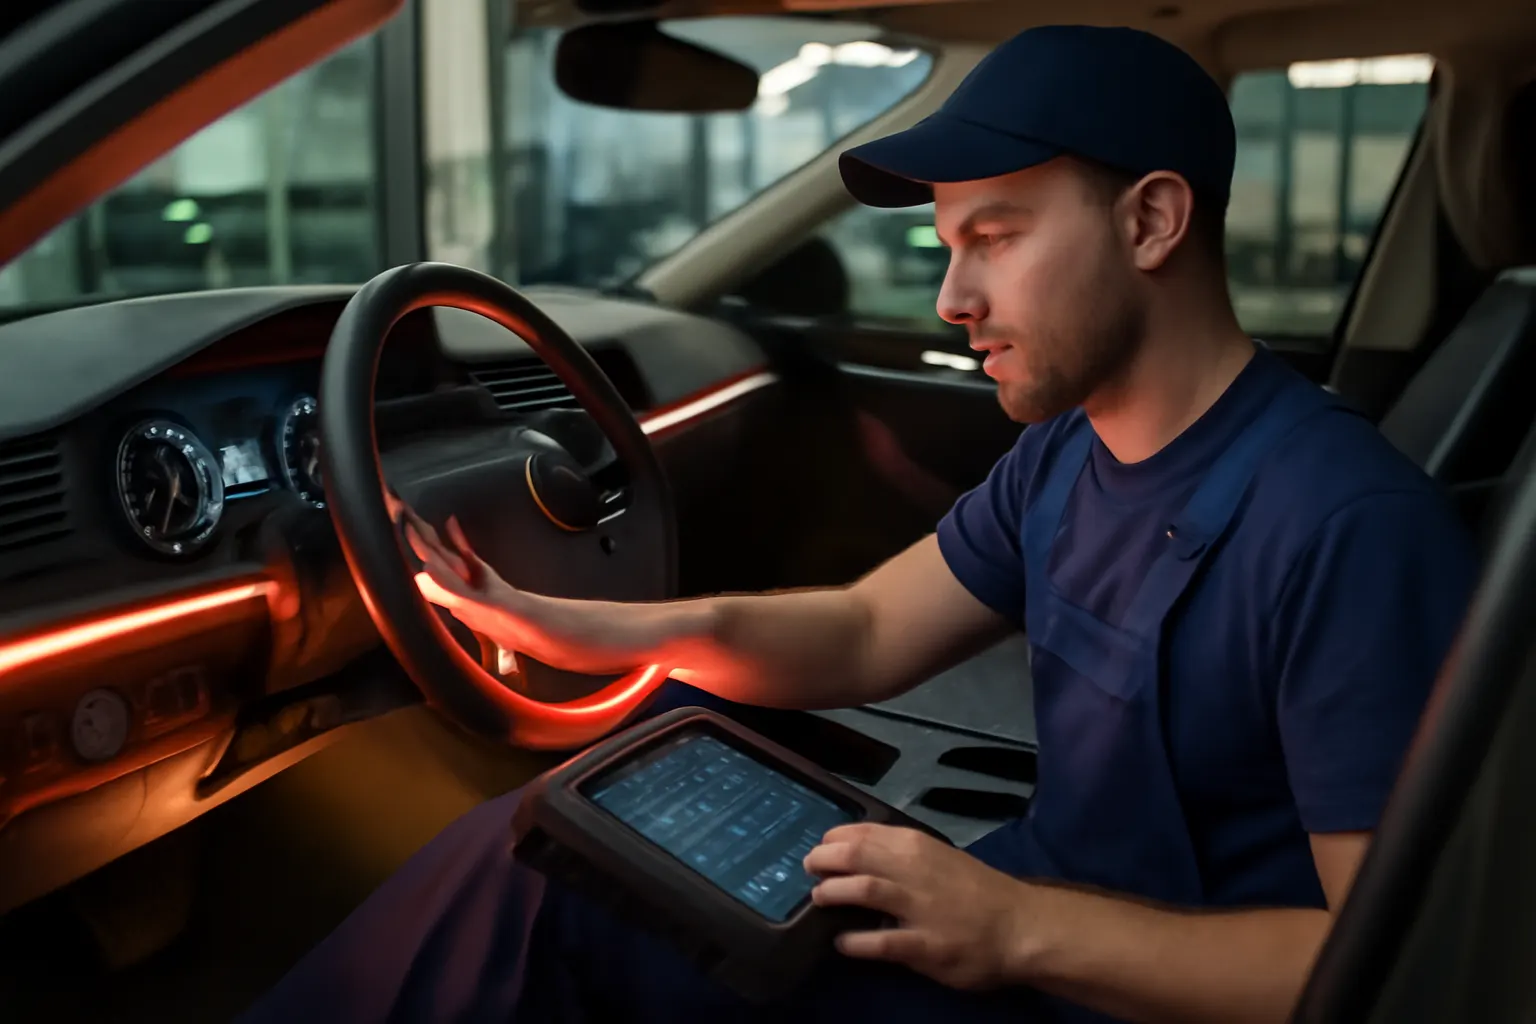
| 6 | Scan for BCM fault codes (if equipped) | OBD-II scanner | BCM is functioning or needs diagnosis |
By following this order, you can isolate the fault efficiently without unnecessary part replacements.
In-Depth: Diagnosing Bulbs, Fuses, and Switches
Bulb Testing
Remove the bulb and inspect it closely. For incandescent bulbs, look for a broken filament or darkened glass. For LED modules, check for discoloration or burnt components. Test with a multimeter set to continuity mode—if the circuit is open, the bulb is bad.
Fuse Testing
Identify the correct fuse using the diagram. Remove and inspect for a visible break. If uncertain, use a multimeter to check continuity. Never substitute a higher-amp fuse, as this can cause wiring damage.
Switch Testing
Test the switch in all positions. For door jamb switches, press and release while monitoring the light. Use a multimeter to check for continuity when the switch is engaged/disengaged. Replace any switch that fails to make proper contact.
Wiring and Connector Faults: How to Spot and Fix Them
Wiring issues are less common but can be the most challenging to locate. Focus on these high-failure areas:
- Door Jamb Harnesses: Frequent flexing causes broken wires.
- Under-Carpet Runs: Moisture can corrode connectors.
- Connector Pins: Loose or corroded pins in lamp sockets or switches.
To diagnose:
- Use a test light or multimeter to verify voltage at the socket.
- Wiggle wiring harnesses while observing the light—intermittent function suggests a broken wire.
- Inspect for greenish corrosion or water intrusion.
Repair involves splicing in new wire, cleaning connectors, or replacing harness sections as needed.
Advanced Diagnostics: BCM and Multiplexed Circuits
Modern vehicles often use a Body Control Module (BCM) to control interior lights, including dimming, fade-out, and security features. If all basic diagnostics fail, suspect the BCM or related relays.
- Symptoms of BCM failure: All interior lights fail, or lights behave erratically (e.g., won’t turn off, flicker, or stay dim).
- Diagnosis: Use an OBD-II scanner to check for BCM-related fault codes. Consult the vehicle’s wiring diagram for BCM pinouts.
BCM replacement or reprogramming may require dealership-level tools or advanced aftermarket scanners. Always verify power and ground at the BCM before condemning the module.
Special Cases: LED Upgrades and Compatibility Issues
Upgrading to LED interior lights is increasingly popular for improved brightness and energy efficiency. However, not all LED bulbs are compatible with factory dimming or CAN bus systems.
Common symptoms of LED incompatibility:
- Flickering or strobing when dimmed
- Lights remain faintly illuminated even when “off”
- Warning messages on the dashboard
Solutions:
- Use CAN bus-compatible LED bulbs.
- Install load resistors to simulate the current draw of incandescent bulbs.
- Refer to our How to Upgrade Your Vehicle's Interior Lights to LED guide for detailed steps.
Safety Considerations and Regulatory Compliance
Interior lighting is not just a convenience—it’s a safety feature. Properly functioning lights improve visibility when entering or exiting the vehicle, assist in reading instruments or maps, and help locate safety equipment in emergencies.
According to the NHTSA, all lighting equipment must meet federal safety standards. Non-functioning interior lights can lead to failed vehicle inspections or even safety recalls. Always use replacement parts that meet or exceed OE specifications and consult SAE standards for guidance on lighting performance and testing.
Maintenance Tips for Long-Lasting Interior Lighting
Proactive maintenance can extend the life of your vehicle’s interior lights and prevent unexpected failures:
- Clean lenses and contacts: Dust and grime can reduce light output and cause poor electrical contact.
- Check for moisture: Water leaks can corrode sockets and wiring. Address any signs of condensation or wet carpet promptly.
- Inspect door seals: Damaged seals allow water in, leading to wiring and switch failures.
- Upgrade wisely: When upgrading to LEDs, choose high-quality, vehicle-specific bulbs to avoid compatibility issues.
Regularly test all interior lights as part of your routine vehicle inspection.
Sourcing Quality Replacement Parts
When it’s time to replace bulbs, switches, or wiring, sourcing high-quality parts is crucial for safety and reliability. Consider the following:
- OE vs. Aftermarket: Original Equipment (OE) parts guarantee fit and function. High-quality aftermarket options may offer improved performance or features.
- Compatibility: Always verify fitment by year, make, and model. Some vehicles require specific bulb types or switch designs.
- Safety Certification: Look for parts that meet SAE and NHTSA standards.
AutoPartEx offers a curated selection of interior lighting components for all major manufacturers, including Acura and AMC, ensuring you get the right part the first time.
When to Seek Professional Help
Some interior light failures—especially those involving BCMs, complex wiring, or persistent electrical issues—are best handled by a professional technician. Seek expert assistance if:
- Multiple electrical systems are affected (central locking, alarms, dash lights)
- Fuses repeatedly blow after replacement
- There’s evidence of water intrusion or rodent damage
- Diagnostic trouble codes (DTCs) point to module failures
A certified automotive electrician can perform advanced diagnostics, including circuit tracing, module programming, and harness repairs.
Preventing Future Failures: Best Practices
To minimize the risk of future interior light issues:
- Address electrical problems promptly: Small issues can escalate if ignored.
- Keep the cabin dry: Moisture is a major enemy of automotive electrical systems.
- Use correct replacement parts: Avoid generic bulbs or switches that may not meet OEM specs.
- Perform regular inspections: Test all lights during routine maintenance.
These steps help ensure your vehicle remains safe, functional, and comfortable for all occupants.
AutoPartEx: Your Partner in Interior Lighting Solutions
At AutoPartEx, we understand that diagnosing and repairing interior light failures requires more than just replacing a bulb. Our expert resources, diagnostic guides, and curated parts selection empower you to tackle both simple and complex issues with confidence.
Explore our Interior Light Systems: Complete Guide to Automotive Cabin Illumination for a deeper dive into cabin lighting technology, or check out Ambient Lighting Trends in Modern Vehicles to stay ahead of the curve in automotive interior design.
Whether you’re a DIY enthusiast or a professional technician, AutoPartEx is your trusted source for accurate information and quality components.