Diagnosing Common Interior Light Failures
Interior lighting is essential for both comfort and safety in any vehicle. When your dome lights, map lights, or ambient illumination fail, it can be more than a minor annoyance—it can signal deeper electrical or equipment issues that impact your driving experience and, in some cases, your vehicle’s compliance with safety standards. This step-by-step guide from AutoPartEx provides actionable diagnostics and repair strategies for the most frequent interior light malfunctions, ensuring you restore full functionality efficiently and safely.
For a complete overview of how interior lighting systems work, see our Interior Light Systems: Complete Guide to Automotive Cabin Illumination category page. This foundational knowledge will help you understand the context behind specific failures and the best way to address them.
Quick Answer: Why Do Interior Lights Fail and How Can You Fix Them?
The most common causes of interior light failures are blown bulbs, faulty switches, wiring issues, blown fuses, and, increasingly, control module malfunctions. Diagnosing these issues typically involves a systematic check of the bulbs, switches, wiring, and related fuses. Replacing a burnt-out bulb or fuse is often straightforward, but persistent or complex failures may require deeper electrical diagnostics or even module replacement. For most owners, starting with a visual inspection and following a logical troubleshooting path can resolve the majority of issues in under an hour.
The Hidden Problem: Interior Light Failures Are Often a Symptom
While a burnt-out bulb or fuse might seem like a simple fix, recurring or multi-light failures often indicate broader electrical or equipment problems. Overlooking these can lead to further electrical faults, battery drain, or even safety system malfunctions. According to the National Highway Traffic Safety Administration, lighting equipment is integral to vehicle safety and must be kept in good working order—not just for comfort, but for compliance and occupant protection.
Understanding the Scope: Interior Light System Complexity
Today’s interior light systems are far more advanced than the simple dome lights of decades past. Modern vehicles integrate ambient lighting, LED arrays, dimmer controls, and even networked control modules that communicate with door sensors, ignition status, and security systems. This complexity increases the number of possible failure points:
- Traditional Incandescent Bulbs: Prone to burning out, but easy to replace.
- LED Modules: Longer lifespan but can fail due to driver circuitry or solder joint fatigue.
- Switches and Dimmers: Often integrated into multi-function modules.
- Wiring Harnesses: Routed through doors, pillars, and headliners—vulnerable to wear, corrosion, or rodent damage.
- Body Control Modules (BCM): Coordinate lighting based on multiple vehicle signals.
Understanding this complexity is crucial for effective diagnosis and repair. For a deeper dive into electrical architecture, see Understanding Automotive Electrical Systems.
Step 1: Initial Assessment and Visual Inspection
Before reaching for diagnostic tools, start with a thorough visual and functional assessment:
- Identify Which Lights Are Out: Is it a single dome light, all map lights, or the entire cabin lighting system?
- Check for Patterned Failure: If only one area is affected, the problem is likely localized. If multiple zones are out, suspect a systemic issue.
- Test Switches and Dimmers: Toggle all relevant switches, including door-activated and dashboard dimmers.
- Observe for Flickering or Dimness: Intermittent or weak lighting often points to poor connections or failing bulbs.
Checklist: Initial Interior Light Assessment
- All lights fail to operate
- Only specific lights are out
- Lights flicker or are dim
- Lights work only with the door open/closed
- Switches and dimmers function as expected
Document these observations—they will inform your next diagnostic steps.
Step 2: Bulb and LED Module Diagnostics
Incandescent Bulbs: Remove the lens cover and inspect the filament. A broken or blackened filament means the bulb is blown. Replace with the correct bulb type, matching wattage and base style.
LED Modules: LEDs rarely burn out individually but may fail due to circuit board issues. If a single LED or segment is out, replacement of the entire module is usually required, as most are not serviceable at the component level.
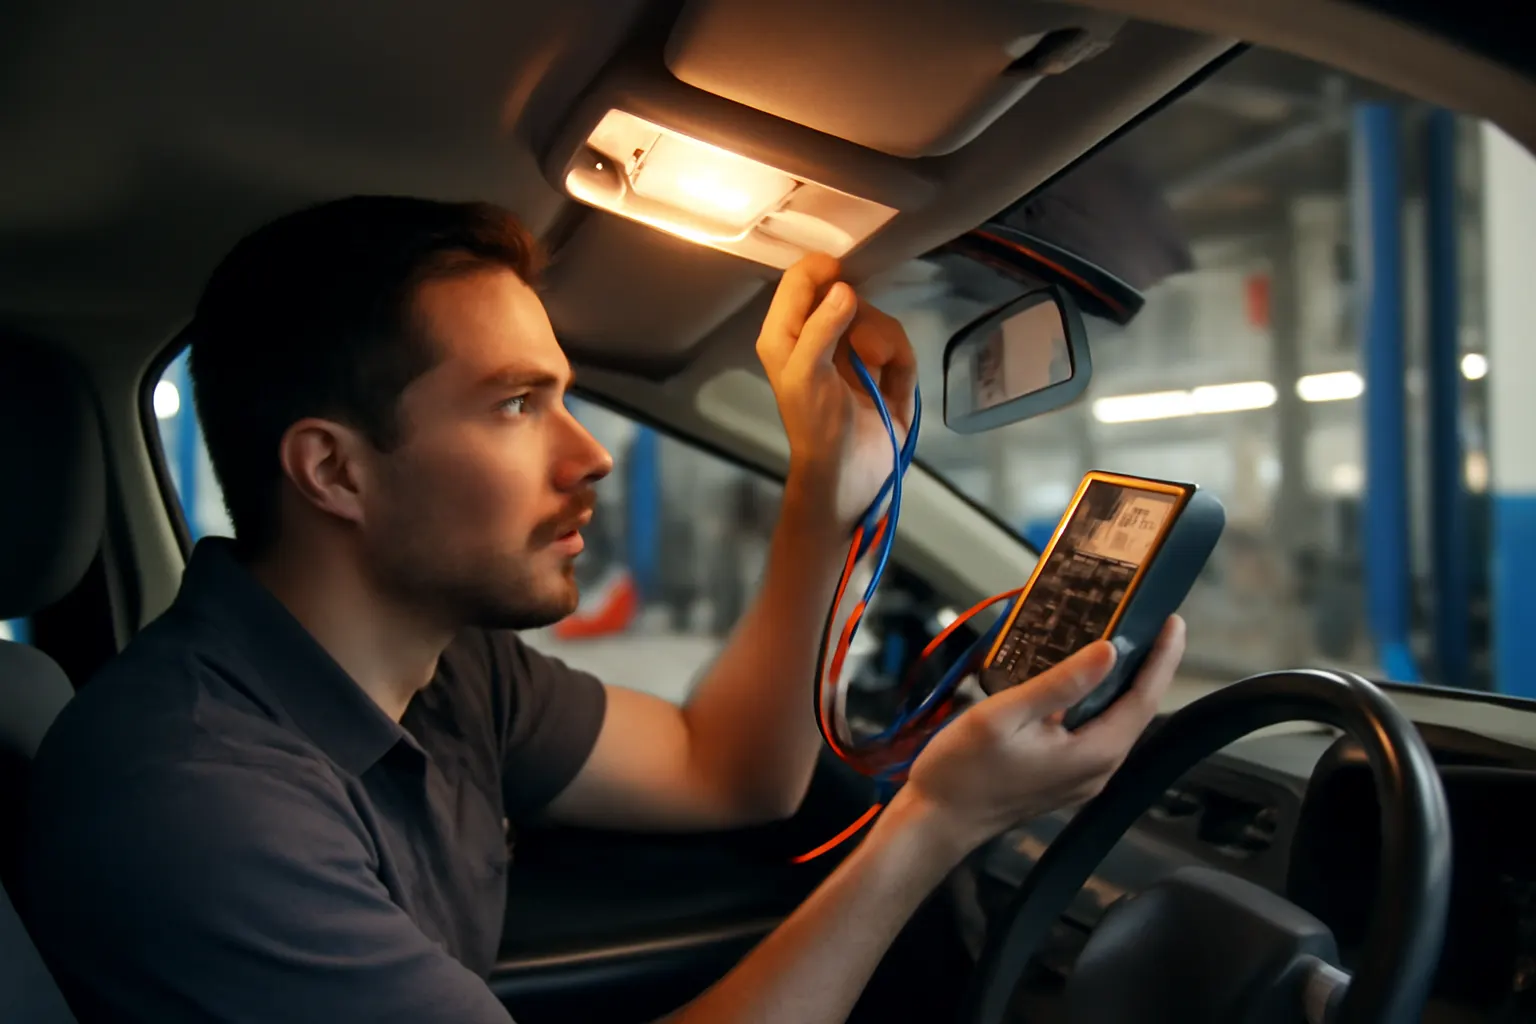
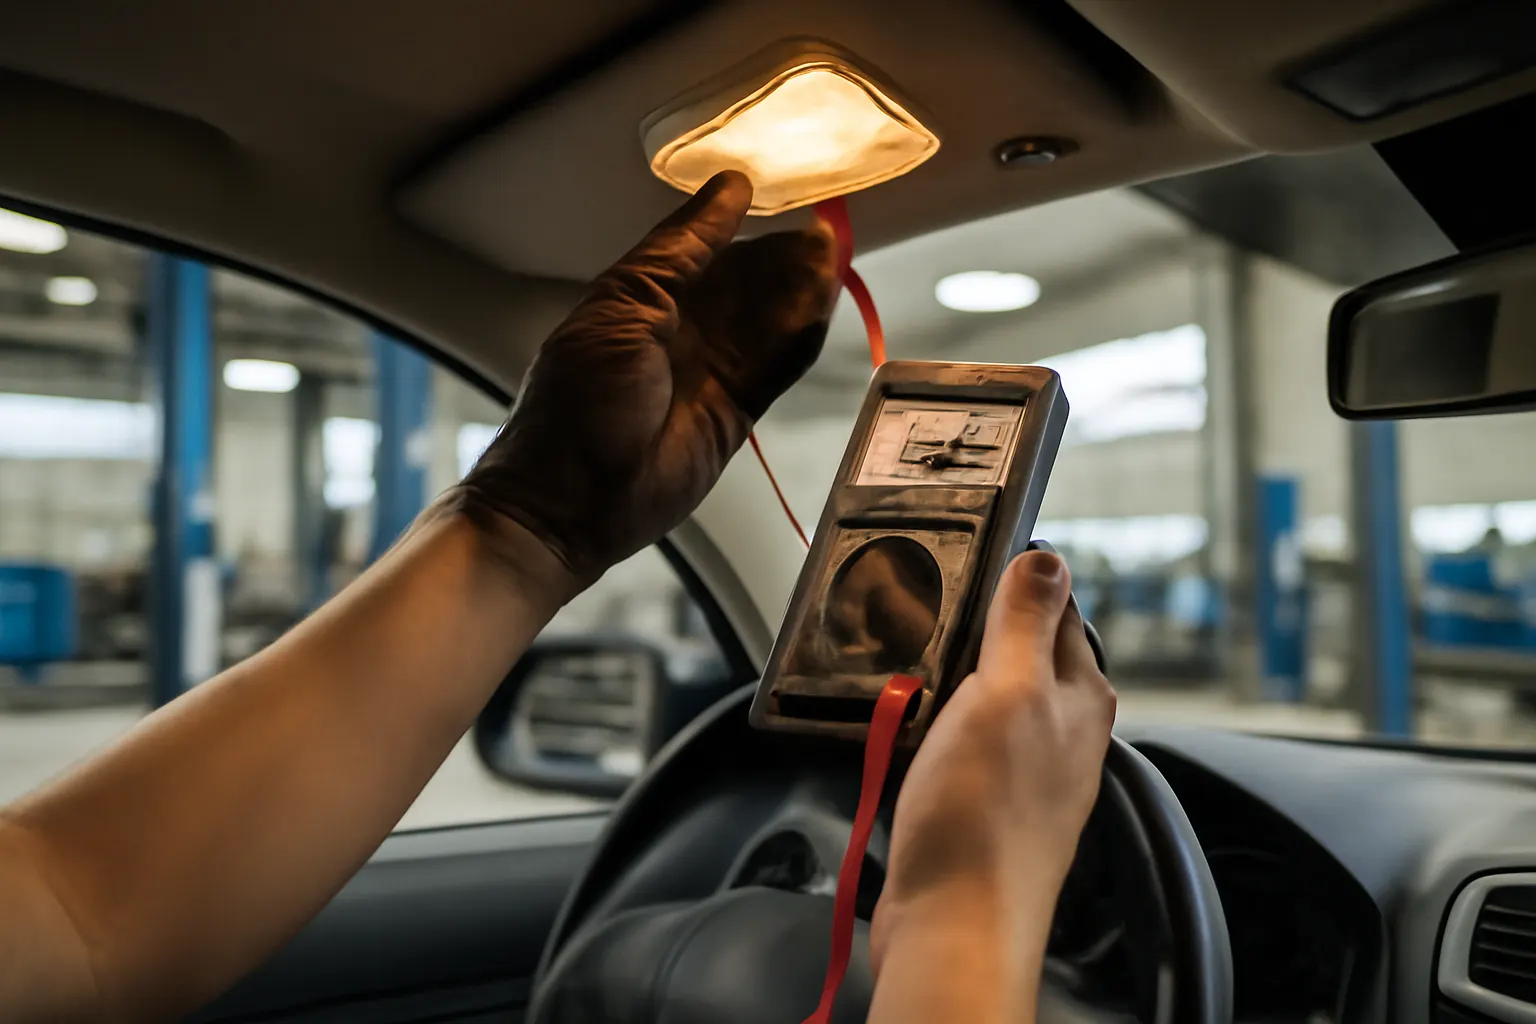
- Use a multimeter to check for voltage at the socket before replacing the bulb; no voltage suggests an upstream issue (switch, wiring, or fuse).
Pro Tip: Always handle new bulbs with gloves or a cloth to avoid oil contamination, which can reduce bulb life.
Step 3: Fuse and Power Supply Checks
Interior lighting circuits are protected by dedicated fuses, usually located in the passenger compartment fuse box. Consult your owner’s manual or fuse box diagram to identify the correct fuse.
- Test the Fuse: Remove and visually inspect for a broken filament, or use a continuity tester/multimeter.
- Check for Multiple Blown Fuses: If more than one interior lighting fuse is blown, suspect a short circuit or wiring issue.
Checklist: Fuse and Power Supply
- Correct fuse identified
- Fuse visually intact
- Continuity confirmed with tester
- No evidence of corrosion or heat damage
Replace blown fuses only after identifying and correcting the underlying cause to prevent recurrence.
Step 4: Switches, Dimmers, and Door Sensor Diagnostics
Switches and dimmers are frequent failure points, especially in high-use areas like dome lights or door jambs.
Switch Testing:
- Use a multimeter to check for continuity when the switch is operated.
- For door-activated lights, inspect the door jamb switch for sticking, corrosion, or physical damage.
Dimmer Controls:
- If all interior lights are dim or inoperable, check the dashboard dimmer/rheostat. These can fail internally or be accidentally set to the “off” position.
Door Sensors:
- Modern vehicles use magnetic or optical switches integrated into door latches. Faulty sensors may prevent lights from activating when doors open.
Diagnostic Tip: If lights work when manually switched but not with door activation, focus your attention on door switches and related wiring.
Step 5: Wiring Harness and Connector Inspection
Wiring issues are a leading cause of intermittent or multi-light failures, especially in older vehicles or those exposed to moisture or rodents.
Key Inspection Points:
- Door Sill Harnesses: Wires routed through flexible boots between the door and body can fatigue and break.
- Headliner and Pillar Routing: Moisture intrusion or improper installation can cause corrosion or pinched wires.
- Connector Corrosion: Inspect for green or white corrosion, loose pins, or melted plastic at connectors.
Testing Strategy:
- Use a multimeter to check for continuity and voltage at key points in the circuit.
- Gently manipulate harnesses while testing to reveal intermittent faults.
Repair Tip: Use high-quality automotive wire and connectors for repairs. Always insulate and secure splices to prevent future issues.
Step 6: Control Module and Networked System Diagnostics
In late-model vehicles, interior lighting is often managed by a Body Control Module (BCM) or similar electronic control unit. These modules receive input from switches, sensors, and vehicle data networks.
Symptoms of BCM-Related Failures:
- All interior lights fail despite good bulbs and fuses.
- Lights behave erratically (e.g., delayed shutoff, random flicker).
- Lighting tied to security or keyless entry systems malfunctions.
Diagnostic Approach:
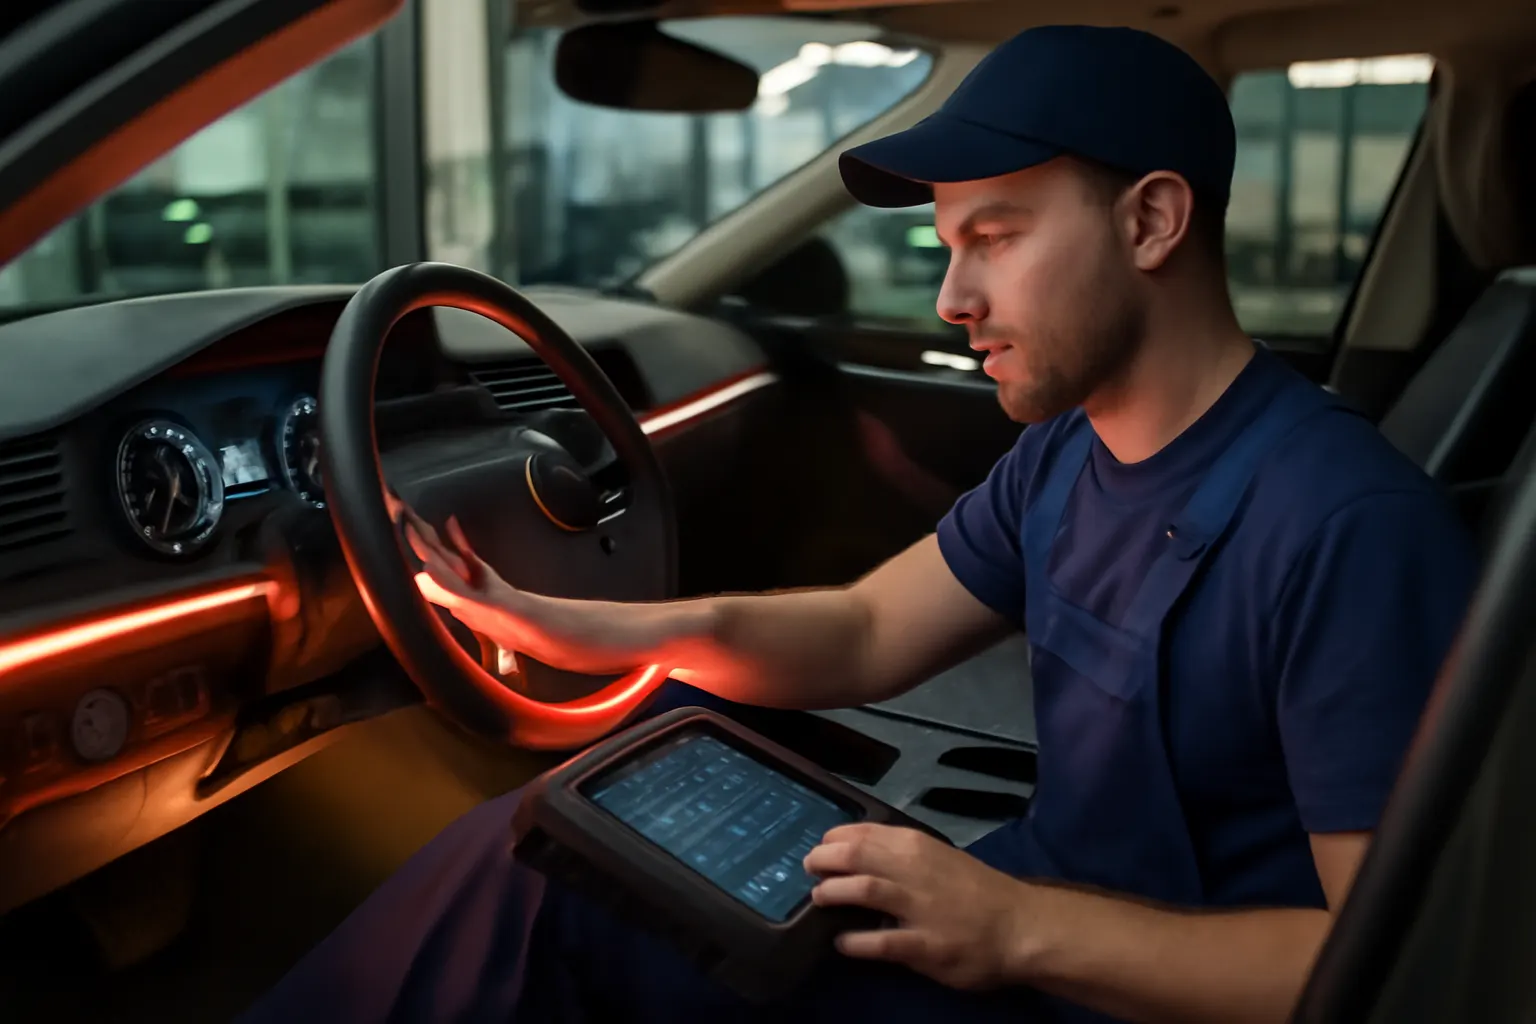
- Use a scan tool capable of reading BCM codes.
- Check for software updates or Technical Service Bulletins (TSBs) related to lighting.
- Inspect wiring to the BCM for damage or corrosion.
Replacement: BCM replacement or reprogramming may be required if internal faults are found. This is best handled by experienced technicians.
Step 7: Special Cases—Ambient and Custom Lighting Failures
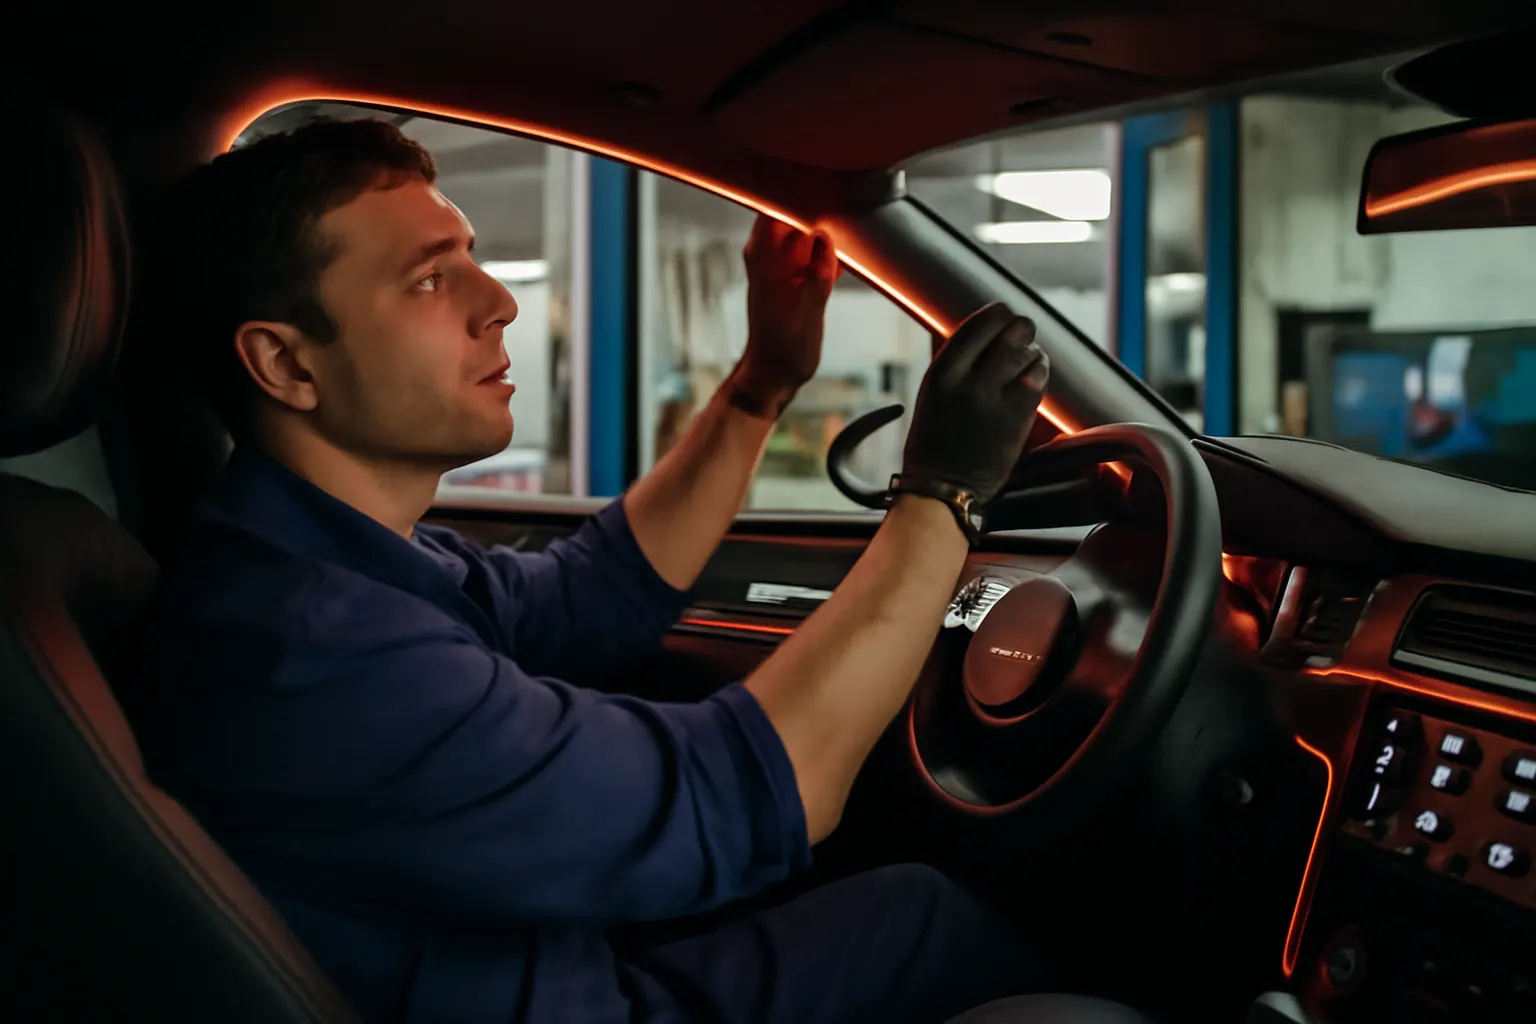
Ambient lighting systems, often using LED strips and color-changing modules, introduce additional complexity:
- Color Inconsistency: May indicate a failing module or wiring fault.
- Partial Failure: If only part of a strip or zone is out, the issue is likely at the module or connector level.
Diagnostic Steps:
- Check for voltage at each segment.
- Inspect connectors and control modules for water ingress or pin damage.
- Consult manufacturer wiring diagrams for troubleshooting.
For more on ambient lighting evolution and common issues, see Ambient Lighting Trends in Modern Vehicles.
Step 8: Battery Drain and Parasitic Load Considerations
Interior lighting faults can sometimes cause battery drain, especially if a stuck relay, faulty switch, or BCM glitch keeps lights on after the vehicle is locked.
Warning Signs:
- Battery is dead after the vehicle sits overnight.
- Dome or courtesy lights remain faintly illuminated with all switches off.
Diagnostic Steps:
- Observe interior lights after locking the vehicle.
- Use an ammeter to test for excessive current draw from the interior lighting circuit with all switches off.
Resolution: Correct the underlying switch or module fault. Do not simply remove bulbs or fuses to “fix” battery drain, as this disables safety features.
Step 9: Sourcing Quality Replacement Parts
When replacement is necessary, always use high-quality parts that meet or exceed OE specifications. Inferior bulbs, switches, or modules can cause repeat failures or even safety hazards.
Buying Checklist:
- Match bulb type, wattage, and base exactly.
- For LEDs, choose automotive-rated modules with proper heat sinking and voltage regulation.
- Source switches and modules from reputable suppliers; avoid generic, non-certified parts.
- Confirm fitment by cross-referencing with your vehicle’s year, make, and model.
AutoPartEx offers a full selection of interior lighting components, ensuring compatibility and reliability for every major manufacturer, including Acura and other brands.
Step 10: Installation Best Practices and Safety
Proper installation is key to long-term reliability and safety:
- Disconnect the battery before working on electrical systems.
- Use trim removal tools to avoid damaging interior panels.
- Secure wires and connectors to prevent rattles and wear.
- Test all lights and switches before reassembling trim.
Safety Note: Improper wiring or module installation can cause electrical shorts, fires, or airbag system faults. If in doubt, consult a professional technician.
Step 11: Preventative Maintenance for Interior Lighting
Preventative maintenance can extend the life of your interior lighting and reduce the risk of sudden failures:
- Inspect and clean light lenses and switches during routine maintenance.
- Check for moisture or leaks in the cabin area, especially near light fixtures.
- Periodically test all interior lights, including those rarely used (trunk, glovebox, rear dome).
- Keep an eye on recalls and safety bulletins relevant to your vehicle’s lighting equipment by visiting the NHTSA Equipment page.
Step 12: When to Seek Professional Help
While most interior light failures can be diagnosed and repaired by a capable DIYer, certain situations warrant professional attention:
- Persistent or complex electrical faults.
- Suspected control module or networked system failures.
- Evidence of melted wiring, burning smells, or repeated fuse failures.
Certified automotive electricians have the specialized tools and expertise to safely diagnose and repair these advanced systems.
Step 13: Upgrading to LED—An Opportunity During Repairs
If you’re already replacing bulbs or modules, consider upgrading to LED lighting for improved longevity, efficiency, and brightness. See our detailed guide on How to Upgrade Your Vehicle's Interior Lights to LED for step-by-step instructions, compatibility notes, and buying tips.
AutoPartEx: Your Partner in Interior Lighting Diagnostics and Solutions
AutoPartEx provides not only a comprehensive range of interior lighting components but also authoritative technical resources to support every stage of diagnosis, repair, and upgrade. Our curated catalog ensures you find the right part for your vehicle, and our expert editorial content empowers you to tackle even the most challenging lighting issues with confidence.
For a full overview of available parts, troubleshooting tips, and upgrade options, visit the Interior Light Systems: Complete Guide to Automotive Cabin Illumination page.
Conclusion: Restore and Enhance Your Cabin Lighting
Diagnosing interior light failures is a practical, stepwise process that begins with simple checks and can progress to advanced electrical diagnostics if needed. By understanding the underlying causes—from basic bulb burnout to complex module failures—you can restore your vehicle’s interior illumination efficiently and safely. Regular inspection, quality replacement parts, and preventative maintenance are your best defenses against recurring failures. And if you’re ready to upgrade or personalize your cabin lighting, AutoPartEx is your trusted source for the latest in automotive lighting technology.
References
- Vehicle Safety and Equipment – National Highway Traffic Safety Administration
- SAE Standards – SAE International
- Materials Technologies – United States Department of Energy
This article is part of the AutoPartEx technical editorial series on automotive lighting systems.