Advertisement
How to Replace a Transmission Wiring Harness: Pro Tips
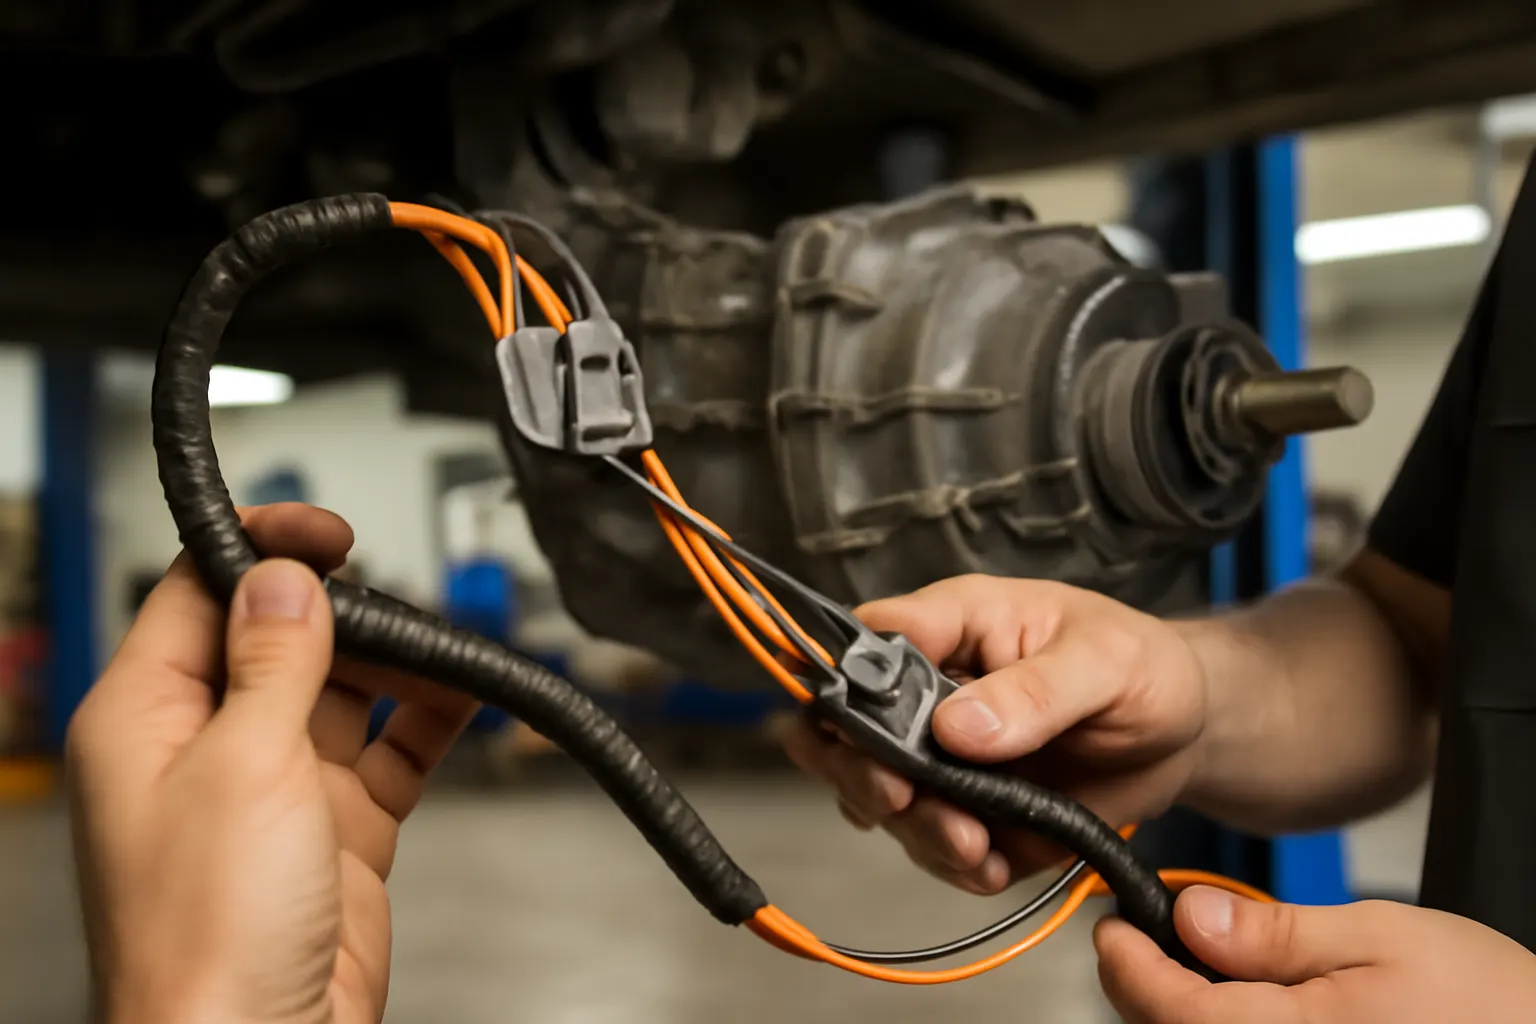
Replacing a transmission wiring harness is a critical repair that can restore smooth shifting, prevent electrical faults, and even improve fuel efficiency. This comprehensive guide from AutoPartEx provides step-by-step instructions, expert insights, and essential safety tips for successfully removing and installing a new transmission wiring harness—while avoiding the most common pitfalls. Whether you’re a seasoned DIYer or a professional technician, this guide will help you execute a flawless harness replacement and ensure your drivetrain’s “nerve center” is in top working order.
For a deeper understanding of the harness’s role in your drivetrain, see our Transmission Wiring Harness: The Nerve Center of Modern Drivetrains category overview.
Why Replacing the Transmission Wiring Harness Matters
The transmission wiring harness serves as the primary electrical conduit between your vehicle’s electronic control unit (ECU) and the transmission’s actuators, solenoids, and sensors. When this harness fails—whether from corrosion, chafing, oil contamination, or internal wire breakage—it can lead to erratic shifting, limp mode activation, trouble codes, or even total transmission failure. Timely replacement is essential for:
- Restoring precise shift performance
- Preventing further drivetrain or electrical damage
- Maintaining fuel efficiency and emissions compliance
- Ensuring the safety and reliability of your vehicle
According to the United States Department of Energy, well-integrated drivetrain electronics directly contribute to improved fuel economy and vehicle performance by enabling adaptive control strategies and reducing mechanical losses [1].
The Hidden Problem: More Than Just Wires
Many vehicle owners and even some technicians underestimate the complexity and importance of the transmission wiring harness. Unlike simple engine bay wiring, the transmission harness is exposed to high temperatures, vibration, fluid contamination, and constant movement. Its connectors are often buried under fluid lines, shields, or even inside the transmission case itself.
Common issues that can complicate replacement include:
- Brittle or oil-soaked insulation that tears during removal
- Corroded or stuck connectors, especially in older vehicles
- Harness routing that passes through tight grommets or bulkheads
- Integration with CAN bus or other multiplexed vehicle networks
Failure to address these challenges can result in new electrical faults, fluid leaks, or even transmission damage. Careful planning and methodical execution are essential for a successful repair.
Diagnosing a Faulty Transmission Wiring Harness
Before committing to a harness replacement, it’s crucial to confirm that the harness is indeed the source of your transmission woes. Symptoms of a failing harness can mimic sensor or solenoid faults, so a thorough diagnostic process is required:
Checklist: Diagnosing Harness Issues
- Check for Trouble Codes: Use an advanced scan tool to retrieve transmission-related DTCs. Common codes include P0700 (transmission control system malfunction) and specific solenoid or sensor circuit errors.
- Inspect for Physical Damage: Look for visible signs of wear, such as cracked insulation, melted sections, or oil-soaked connectors.
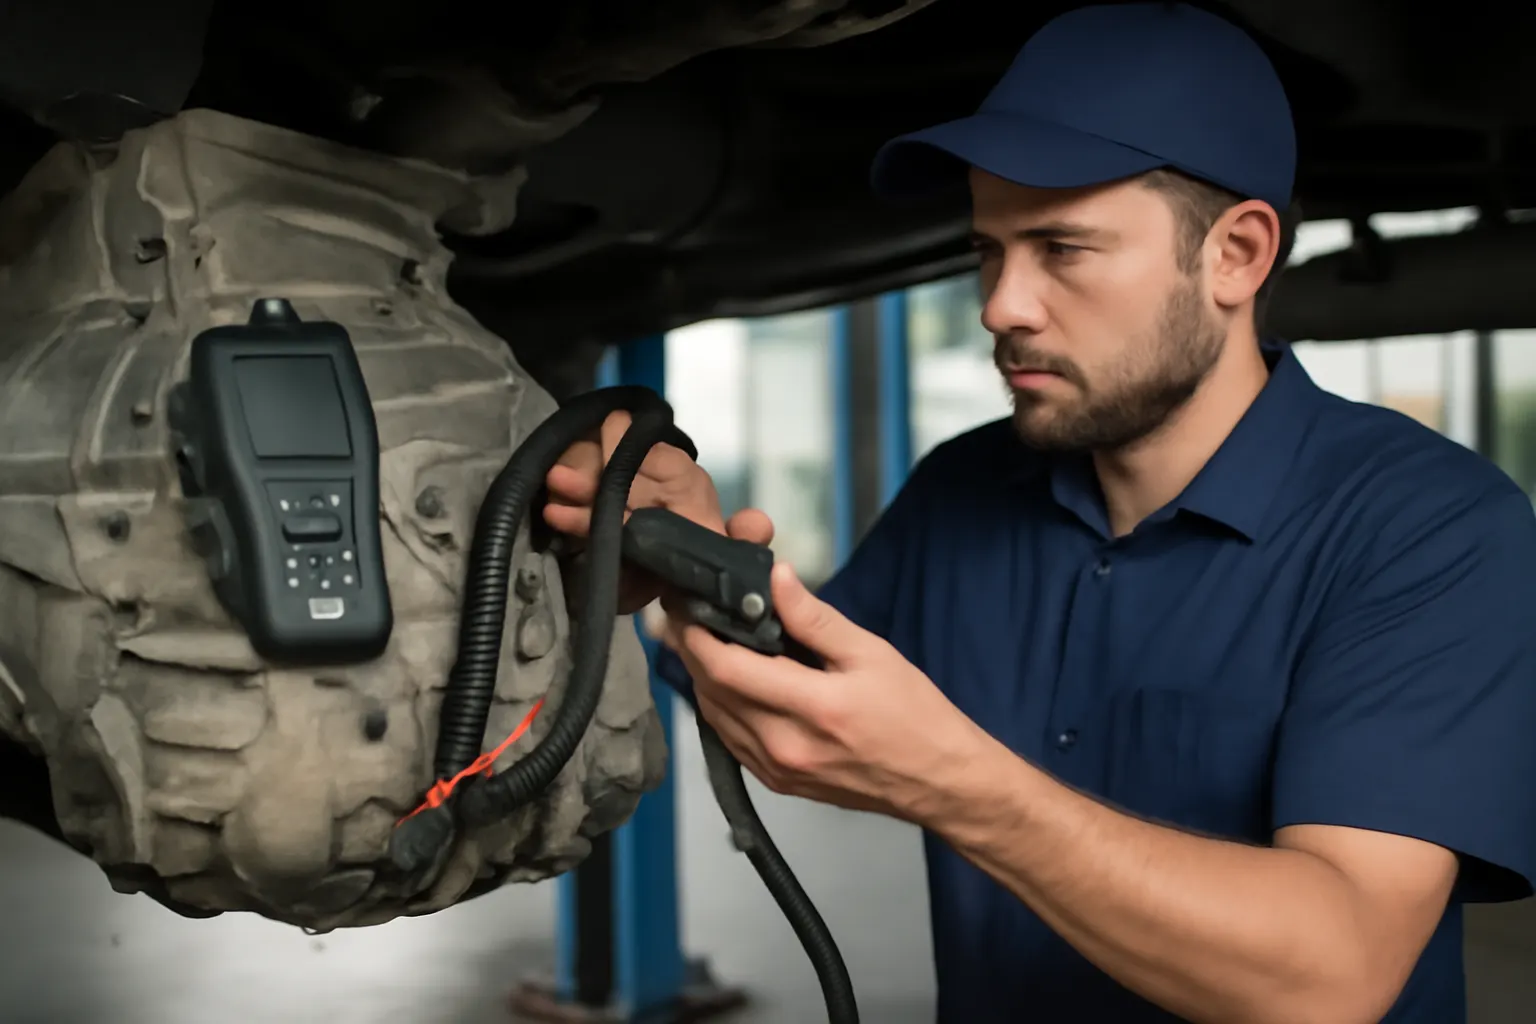
- Perform Pin-to-Pin Continuity Testing: With the battery disconnected, use a multimeter to check resistance and continuity between harness ends. High resistance or open circuits indicate broken wires.
- Wiggle Test: With the vehicle running and safely supported, gently flex the harness while monitoring live data or actuator operation. Intermittent faults often show up during movement.
- Check for Fluid Intrusion: Transmission fluid or water inside connectors is a red flag for harness failure.
If diagnostics confirm the harness is the culprit, proceed with replacement. For more on troubleshooting, see our guide on Diagnosing Transmission Electrical Issues.
Gathering the Right Tools and Materials
A successful transmission wiring harness replacement starts with having the correct tools and components on hand. Depending on your vehicle, you may need:
- Socket and ratchet set (metric and SAE)
- Screwdrivers (Phillips and flathead)
- Pick and hook set for connectors
- Torque wrench
- Transmission fluid catch pan
- Replacement transmission fluid and filter (if fluid must be drained)
- New transmission wiring harness (OEM or high-quality aftermarket)
- Dielectric grease for connector protection
- Zip ties or harness clips for secure routing
- Shop rags and brake cleaner for cleanup
Advertisement
Always consult your vehicle’s service manual for specific tool requirements and torque specifications.
Step-by-Step Guide: Removing the Old Transmission Harness
Proper removal is as important as installation. Rushing this step can lead to broken connectors, stripped bolts, or contamination of sensitive transmission components.
1. Prepare the Vehicle
- Park the vehicle on a level surface and engage the parking brake.
- Disconnect the negative battery terminal to prevent accidental shorts or airbag deployment.
- If necessary, safely lift and support the vehicle using jack stands.
2. Drain Transmission Fluid (If Required)
- Some vehicles require partial or full draining of the transmission fluid to access the harness or avoid spills.
- Place a catch pan under the transmission pan or drain plug.
- Remove the drain plug or pan bolts as needed, and allow fluid to drain completely.
3. Locate and Access the Harness
- Consult your service manual for harness routing and connector locations.
- Remove any shields, brackets, or exhaust components that obstruct access.
- Identify all harness connectors—these may be on the transmission case, valve body, or routed through the case to the interior.
4. Disconnect Harness Connectors
- Use a pick or small screwdriver to release locking tabs—never force connectors apart.
- Inspect each connector for corrosion, bent pins, or fluid intrusion.
- Label connectors with masking tape if their positions are not obvious.
5. Remove the Harness
- Carefully unclip or unbolt the harness from mounting points.
- If the harness passes through a case grommet or bulkhead, gently pull it through, taking care not to tear seals.
- Remove the harness from the vehicle, keeping it as intact as possible for comparison with the new unit.
Preparing the New Transmission Wiring Harness
A quality replacement harness—whether OEM or high-end aftermarket—should match the original in length, connector type, and wire gauge. Before installation:
- Inspect the New Harness: Check for shipping damage, bent pins, or missing connectors.
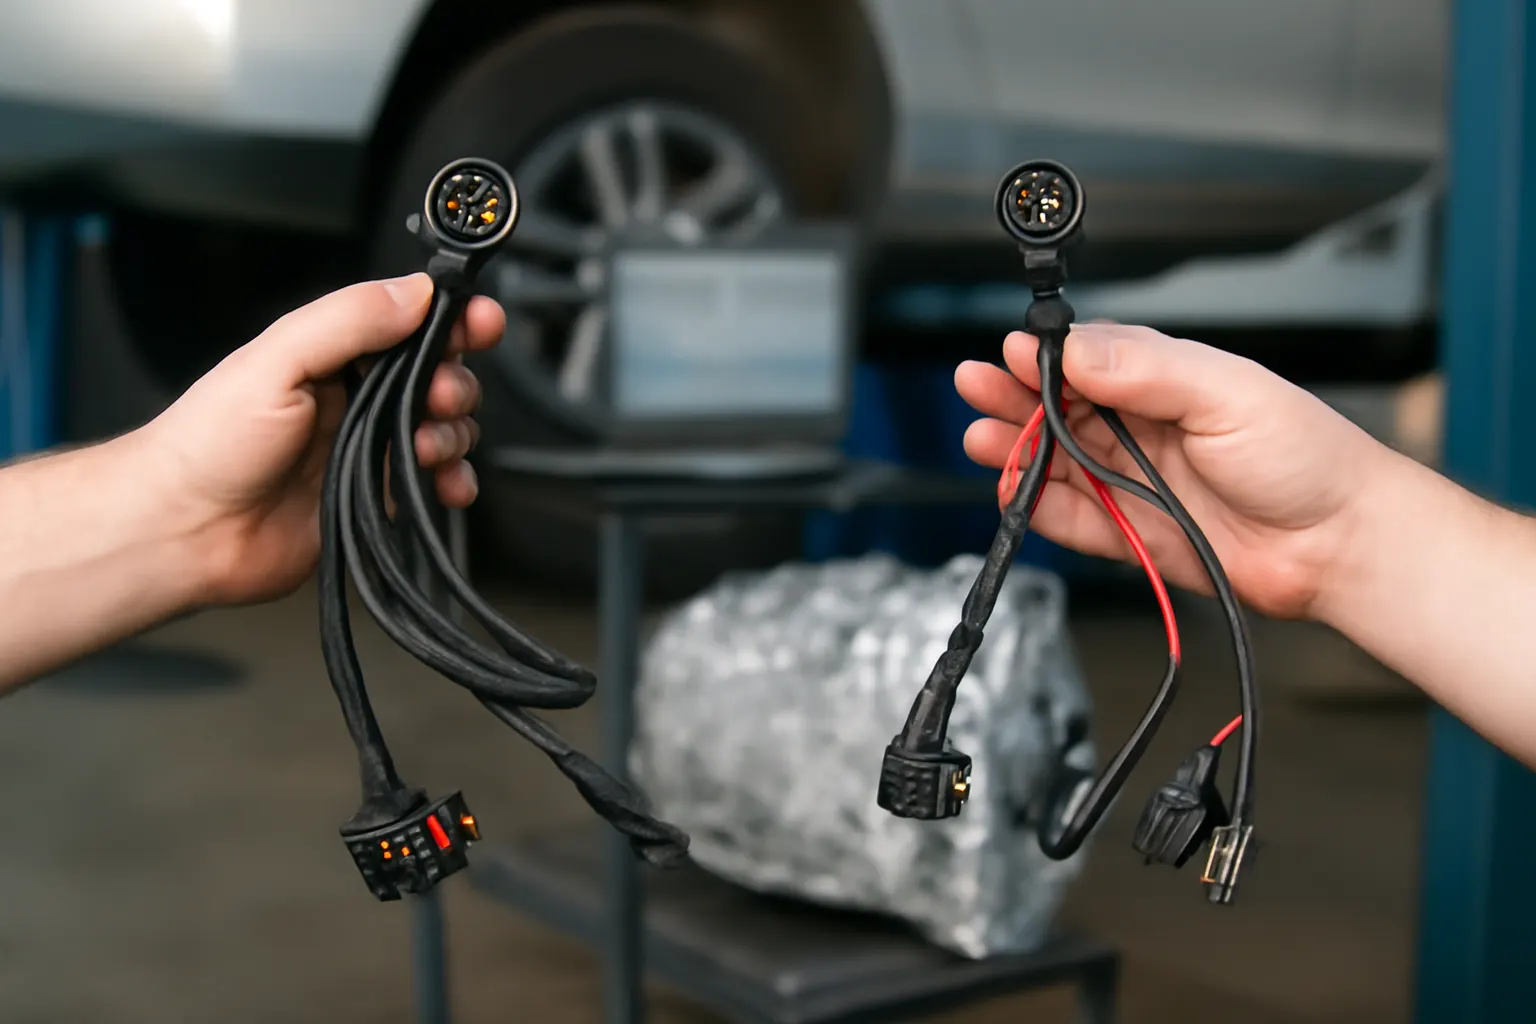
- Compare with Old Harness: Lay both side by side to verify length, connector orientation, and mounting points.
- Pre-fit Connectors: Test-fit connectors to make sure they engage securely and lock positively.
- Apply Dielectric Grease: Lightly coat connector seals to prevent future corrosion and ease installation.
For more details on choosing between OEM and aftermarket harnesses, see our editorial on OEM vs Aftermarket Transmission Harnesses: What Matters?.
Installing the New Transmission Wiring Harness
With preparation complete, installation is the reverse of removal—but attention to detail is key.
1. Route the Harness
- Follow the exact path of the original harness, using all factory clips and grommets to prevent chafing and abrasion.
- Ensure the harness is clear of moving parts, exhaust components, and sharp edges.
2. Connect All Plugs and Terminals
- Insert each connector until it clicks or locks firmly.
- Double-check pin alignment before mating connectors—forcing misaligned pins can cause permanent damage.
- Reinstall any bulkhead grommets or seals, ensuring a tight, fluid-proof fit.
3. Secure the Harness
- Use zip ties or harness clips to prevent movement and vibration.
- Avoid overtightening ties, which can damage insulation.
- Reinstall any brackets, heat shields, or covers removed earlier.
4. Refill Transmission Fluid
- If fluid was drained, replace the pan/filter and refill with the correct specification and quantity of transmission fluid.
- Check for leaks at harness grommets, pan, and drain plug.
5. Reconnect Battery and Test
- Reconnect the negative battery terminal.
- Start the vehicle and check for proper transmission operation.
- Use a scan tool to clear any stored trouble codes and verify that no new codes are present.
Common Pitfalls and How to Avoid Them
Even experienced technicians can encounter issues during a transmission harness replacement. Here are the most frequent pitfalls—and how to sidestep them:
Advertisement
- Forcing Connectors: Forcing a connector can bend pins or break the locking mechanism. Always depress the release tab fully before separating.
- Incorrect Routing: Misrouted harnesses can contact hot exhaust or moving parts, leading to rapid failure. Photograph the original routing before removal.
- Fluid Leaks: Failing to seat grommets or seals properly can allow transmission fluid to leak, potentially damaging electronics.
- Mixing Up Connectors: Label similar connectors with tape or tags to avoid cross-connection.
- Skipping Dielectric Grease: This increases the risk of future corrosion, especially in harsh environments.
Special Considerations for Modern and CAN Bus Vehicles
Modern transmissions often use multiplexed wiring (such as CAN bus) and integrate transmission control with other vehicle systems. On these vehicles:
- Harnesses May Carry Both Power and Data: A single wire failure can cause multiple, seemingly unrelated symptoms.
- Programming May Be Required: Some vehicles require a “learn” or initialization procedure after harness replacement.
- Extra Shielding: CAN lines require careful handling to avoid electromagnetic interference.
For a deeper dive into networked transmission controls, see Understanding CAN Bus Integration in Transmissions.
Sourcing Quality Replacement Harnesses
Not all replacement harnesses are created equal. When shopping for a new transmission wiring harness:
- Prioritize OEM or OEM-equivalent Parts: These are engineered for your vehicle’s specific electrical and mechanical environment.
- Check for Updated Designs: Some harnesses are updated to address known failure points, such as improved insulation or better connector seals.
- Verify Fitment: Use your vehicle’s VIN and transmission code to confirm compatibility.
- Buy from Reputable Suppliers: Avoid no-name harnesses with poor reviews or unclear origins.
AutoPartEx partners with leading manufacturers to ensure you receive only high-quality, vehicle-specific wiring harnesses that meet or exceed SAE and NHTSA standards.
Post-Installation Checklist
After completing your harness replacement, use this checklist to ensure everything is in order:
| Step | Action Item | Status |
|---|---|---|
| Connectors | All connectors fully seated and locked | [ ] |
| Harness Routing | Harness secured with all clips and ties | [ ] |
| Grommets and Seals | All grommets flush and sealed | [ ] |
| Transmission Fluid | Fluid topped off to correct level | [ ] |
| Scan Tool Check | No new DTCs; all sensors reporting as expected | [ ] |
| Road Test | Smooth shifting, no warning lights | [ ] |
| Leak Check | No fluid leaks at harness entry points | [ ] |
Safety, Fuel Efficiency, and Longevity
A properly installed transmission wiring harness not only restores drivetrain performance but also contributes to overall vehicle safety and efficiency. According to the National Highway Traffic Safety Administration, faulty wiring is a leading cause of transmission-related recalls and safety issues [2]. The Department of Energy further notes that advanced electronic control—enabled by reliable wiring—plays a key role in maximizing fuel economy and reducing emissions [1].
Ongoing harness maintenance (regular inspection, keeping connectors clean and dry, and addressing any warning signs early) will help ensure long-term reliability and prevent costly repairs.
When to Seek Professional Help
While many skilled DIYers can replace a transmission wiring harness, some scenarios call for professional expertise:
- Internal Harness Replacement: Some transmissions house the harness inside the case, requiring pan or valve body removal.
- Complex CAN Bus Integration: Reprogramming or advanced diagnostics may be needed.
- Persistent Electrical Faults: If new faults appear after replacement, a professional with advanced test equipment may be required.
If in doubt, consult a transmission specialist or certified technician—especially for late-model vehicles with complex electronic controls.
AutoPartEx: Your Partner in Transmission Harness Solutions
At AutoPartEx, we understand the critical role of the transmission wiring harness in modern drivetrains. Our extensive inventory covers OEM and top-tier aftermarket harnesses for most makes and models, with expert support to help you find the perfect fit. Whether you drive an Acura, AMC, or any other major brand, our team is here to ensure your repair is a lasting success.
Explore our Transmission Wiring Harness: The Nerve Center of Modern Drivetrains category for more information, or contact our technical advisors for personalized assistance.
Final Thoughts
Replacing a transmission wiring harness is not a trivial job, but with the right preparation, tools, and attention to detail, it’s well within reach for most advanced DIYers and professionals. By following the steps outlined in this guide—and leveraging the resources and expertise available at AutoPartEx—you can restore your vehicle’s shift quality, reliability, and efficiency for years to come.
References
Advertisement