Advertisement
How to Replace a Rear Door Window Switch: Step-by-Step
Replacing a rear door window switch is a straightforward job that can restore full window control and safety to your vehicle’s rear seating area. Whether your rear window switch is stuck, intermittent, or fully dead, this guide will help you diagnose, remove, and install a new switch reliably—saving you time, money, and frustration. This step-by-step tutorial covers practical details, safety tips, and common pitfalls, ensuring your repair meets Vehicle Safety and Equipment standards and helps you keep your vehicle’s electrical system in peak condition.
For more on how rear door window switches fit into your vehicle’s overall control system, visit our Rear Door Window Switches: Precision Control for Modern Vehicles category page.
Why Rear Door Window Switch Replacement Matters
Rear door window switches are a critical part of your vehicle’s convenience, comfort, and safety features. When these switches malfunction, rear passengers—often children—lose the ability to control their windows. This can create safety risks, especially in emergencies or during extreme weather. Additionally, a faulty switch can be a symptom of broader electrical or system issues, potentially affecting other power accessories in the door.
Modern vehicles use complex multiplexed wiring and safety interlocks to manage window control. A malfunctioning rear window switch can sometimes result in unpredictable window behavior, lockouts, or even battery drain if the switch fails in a closed circuit state. Addressing the issue promptly not only restores functionality but also ensures compliance with NHTSA safety standards and reduces wear on related components.
Hidden Problems: What a Bad Window Switch Can Signal
A nonfunctional rear window switch is sometimes just the tip of the iceberg. While a worn-out or contaminated switch is a common culprit, underlying issues can lurk within the door’s wiring harness, the vehicle’s body control module, or even in the main driver’s master switch. In multiplexed systems, a single faulty switch can disrupt communication to other door modules, leading to widespread electrical glitches.
Worse, intermittent failures—where the window works sporadically—can mislead even experienced DIYers. These may result from corroded terminals, loose fitment, or moisture ingress, which can cause further corrosion or short circuits. If not addressed, these conditions may compromise other safety-critical systems, such as door locks or child safety interlocks. Regular inspection and prompt replacement are key to maintaining system integrity.
Understanding Rear Door Window Switches: Technical Overview
Rear door window switches are typically single-pole, double-throw (SPDT) rocker or toggle switches embedded in the rear door trim panel. They are designed to reverse polarity to the window motor, allowing the window to move up or down. In most modern vehicles, these switches are part of a multiplexed network, sending digital signals to the body control module (BCM), which then actuates the window motor relay.
Key technical considerations when replacing a rear door window switch include:
- Connector Pinout: Ensuring the new switch matches the existing electrical connector and pin configuration.
- Physical Fitment: Confirming the switch housing aligns with the door trim cutout and snaps securely in place.
- Compatibility: Verifying the switch is compatible with your make, model, year, and (if applicable) window lockout features.
- Electrical Ratings: Using a switch that meets or exceeds original equipment specifications for voltage and current handling.
For an in-depth look at how multiplexed window control systems function, see Understanding Multiplexed Window Control Systems.
Diagnosing a Faulty Rear Door Window Switch
Before you replace the switch, confirm it is actually the source of the problem. Many window failures are misdiagnosed, leading to unnecessary parts replacement or repeated failures.
Step-by-Step Diagnostic Process
- Test the Master Switch: Try operating the rear window from the driver’s master switch. If it works, the rear switch is likely faulty.
- Test the Rear Switch: Attempt to operate the window using the rear door switch. If unresponsive, proceed to the next steps.
- Child Lockout Check: Ensure the child safety lockout function is not engaged, as this disables rear window controls.
- Listen for Noise: If you hear the window motor engage but the window doesn’t move, the issue may be mechanical (regulator or track).
- Swap Switches (if possible): Temporarily swap the suspect switch with a working one from another door to confirm diagnosis.
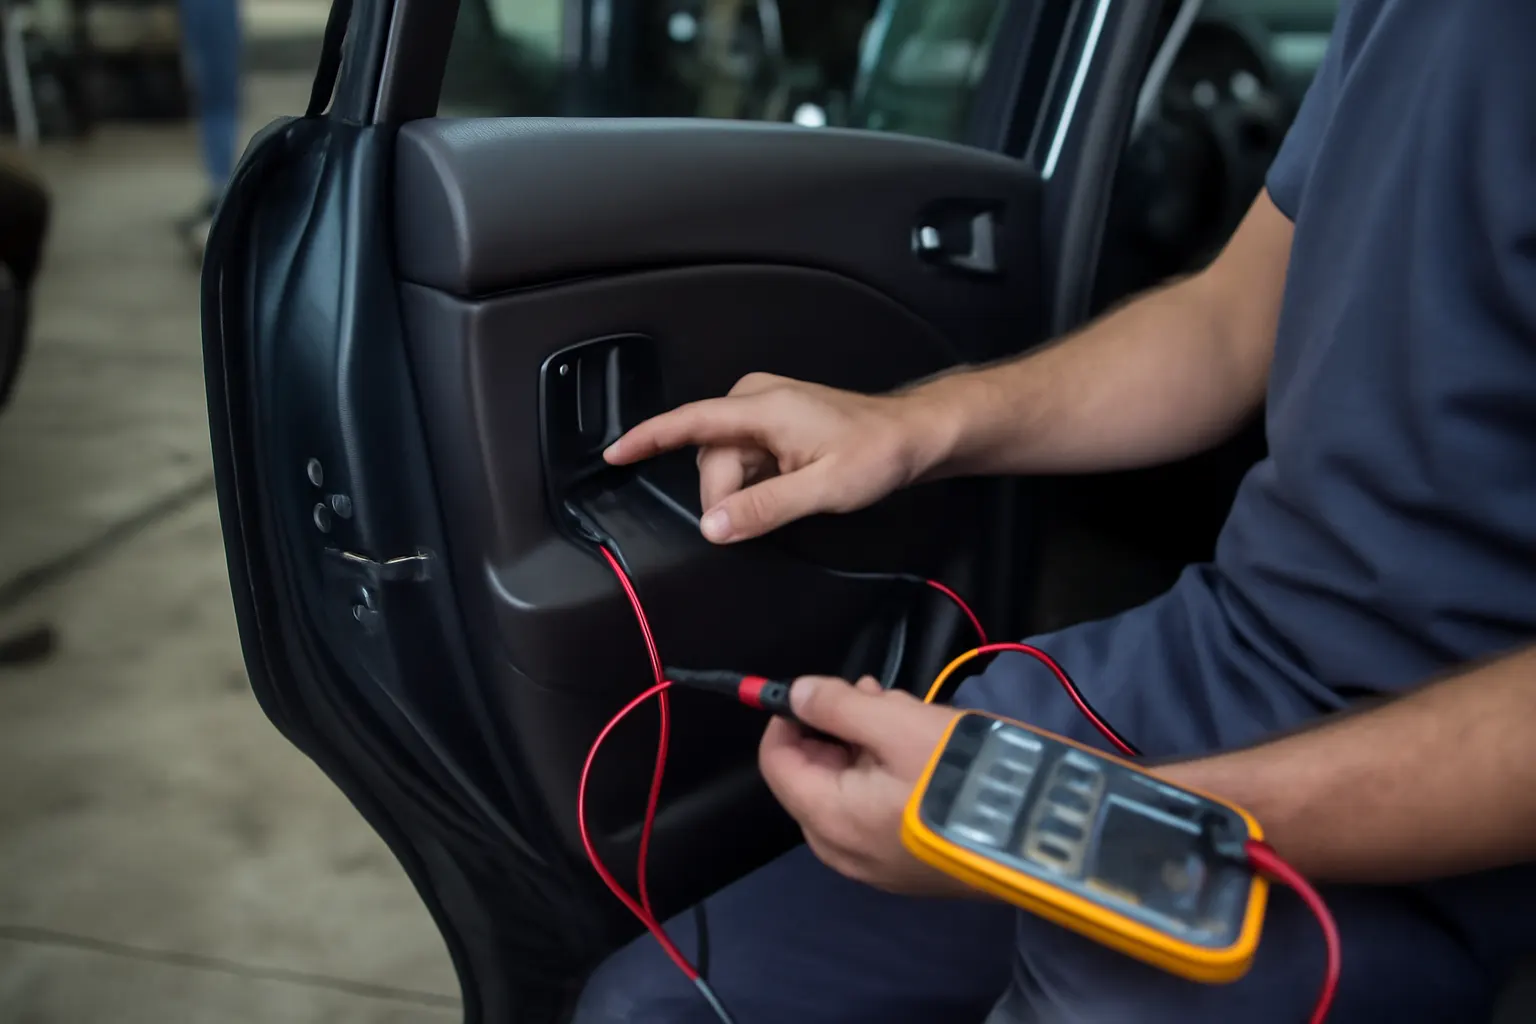
- Check for Power: Use a multimeter to test for voltage at the switch connector with the ignition “ON.” If no power, check fuses and wiring.
- Inspect for Corrosion: Remove the switch and examine the connector for signs of moisture, corrosion, or bent pins.
Advertisement
If your diagnosis points to the switch, proceed with replacement. If issues persist after replacement, consult Diagnosing Power Window Failures in Modern Vehicles for advanced troubleshooting.
Tools and Materials Needed
Gather the following tools and supplies before beginning the replacement process:
- Trim removal tool (plastic preferred to avoid marring surfaces)
- Small flathead screwdriver
- Phillips and/or Torx screwdrivers (depending on vehicle)
- Multimeter (for diagnostic checks)
- Clean shop towel or rag
- Electrical contact cleaner (optional, for corroded connectors)
- Replacement rear door window switch (OEM or high-quality aftermarket)
- Safety gloves
Having the correct tools on hand will ensure a smooth and damage-free installation. Consult your vehicle’s service manual for any model-specific fastener or trim requirements.
Rear Door Window Switch Replacement: Step-by-Step Guide
Follow these detailed steps to safely and efficiently replace your rear door window switch:
1. Ensure Safety and Prepare the Vehicle
- Park the vehicle on a level surface and set the parking brake.
- Turn off the ignition and remove the key.
- Disconnect the negative battery terminal (recommended for safety and to avoid triggering airbag or electrical faults).
2. Remove the Rear Door Trim Panel or Switch Bezel
- Use a plastic trim removal tool to gently pry around the switch bezel or trim panel.
- On some vehicles, you may need to remove screws hidden under trim caps—inspect closely.
- Carefully lift the switch assembly out of the door panel, taking care not to damage clips or wiring.
3. Disconnect the Electrical Connector
- Depress the locking tab on the switch connector and gently pull it free.
- Inspect the connector for corrosion, bent pins, or debris. Clean with electrical contact cleaner if necessary.
4. Remove the Old Switch
- Most switches are secured by retaining clips or small screws. Release these and slide the switch out of the bezel.
- Compare the old switch to the new one to confirm correct fitment.
5. Install the New Switch
- Insert the new switch into the bezel or panel, ensuring it clicks or screws into place securely.
- Reconnect the electrical connector, making sure it is fully seated and locked.
6. Reinstall the Trim Panel or Bezel
- Align the trim panel and press it back into place, ensuring all clips engage.
- Replace any screws or trim caps removed earlier.
7. Reconnect the Battery and Test Function
- Reconnect the negative battery terminal.
- Turn the ignition to the “ON” position and test the new switch for proper operation in both directions.
- Confirm the switch also works with the master control and that child safety lockout functions as intended.
Quick-Reference Checklist: Rear Door Window Switch Replacement
| Step | Action | Notes |
|---|---|---|
| 1. Vehicle Prep | Park, set brake, disconnect battery | Prevents electrical shorts, ensures safety |
| 2. Trim Panel Removal | Pry bezel/panel, remove screws as needed | Use plastic tool to avoid scratches |
| 3. Disconnect Connector | Depress tab, pull connector | Inspect for corrosion or bent pins |
| 4. Switch Removal | Release clips/screws, remove switch | Compare old/new for fitment |
| 5. Switch Installation | Insert and secure new switch | Ensure correct orientation |
| 6. Connector Reattachment | Reconnect wiring connector | Listen for click/lock engagement |
| 7. Trim Reinstallation | Press panel/bezel into place, replace screws/caps | Confirm all fasteners are tight |
| 8. Test Function | Reconnect battery, test switch in both directions | Check master and child lockout operation |
Avoiding Common Pitfalls
Even experienced DIYers can run into trouble when replacing rear door window switches. Here are some of the most frequent issues and how to prevent them:
Advertisement
- Forcing Trim Panels: Using metal tools or excessive force can break fragile clips or mar interior surfaces. Always use plastic trim tools and work slowly.
- Mismatched Switches: Installing a switch with the wrong pinout or connector type can cause window inoperation or even short circuits. Double-check part numbers and compare connectors.
- Neglecting Battery Disconnection: Failing to disconnect the battery risks accidental airbag deployment (if side airbags are in the door) or electrical shorts.
- Overlooking Corrosion: Reusing a corroded connector can lead to premature failure of the new switch. Clean and dry all terminals before reassembly.
- Skipping Function Tests: Always test all window switch positions, master controls, and child lockout functions before reassembling the door.
Sourcing the Correct Replacement Switch
Not all window switches are created equal. For best results, source your replacement from a reputable supplier who provides OE-spec or certified aftermarket parts. Vehicle manufacturers often update switch designs to resolve known issues or improve durability—using a subpar replacement can introduce new problems.
When shopping for a replacement, verify:
- Make, Model, and Year: Even within a single model, switch designs may change from year to year.
- Features: Some switches include illumination, lockout, or auto-down functions; match these to your original.
- Certifications: Look for parts that meet or exceed NHTSA equipment standards or SAE testing protocols.
For a curated selection of rear door window switches by manufacturer and model, browse the Rear Door Window Switches: Precision Control for Modern Vehicles section on AutoPartEx.
Ensuring Safety and Compliance
Rear door window switches are not just a convenience feature—they are regulated safety equipment. Faulty switches can prevent rear passengers, especially children, from escaping in emergencies or expose them to entrapment hazards. The National Highway Traffic Safety Administration (NHTSA) sets standards for window switch placement, operation, and resistance to inadvertent activation, especially in vehicles with rear child seating.
After replacement, verify that:
- The switch operates smoothly in both directions.
- The child safety lockout disables rear switch operation as intended.
- The window stops and reverses if an obstruction is detected (in vehicles with pinch protection).
- The switch and trim are secure and free of sharp edges or protrusions.
Advertisement
For more on child safety and rear window controls, see Child Safety and Rear Window Controls: What Every Parent Should Know.
Maintenance Tips for Long-Term Reliability
To maximize the lifespan of your new rear door window switch:
- Keep Door Interiors Dry: Moisture is the enemy of electrical contacts. Address any door seal leaks promptly.
- Operate Windows Regularly: Periodic use helps prevent contacts from sticking or oxidizing.
- Clean Switch Surroundings: Dust and debris can work their way into the switch, causing gritty operation or sticking.
- Address Slow Windows Quickly: If a window becomes slow or labored, inspect for regulator or motor issues before switch damage occurs.
Annual inspection of all power window switches is recommended, especially in vehicles exposed to harsh climates or heavy use.
When to Seek Professional Help
While most rear door window switch replacements are DIY-friendly, certain situations warrant professional attention:
- Persistent Electrical Issues: If the new switch does not resolve the problem, or if multiple windows fail simultaneously, there may be a fault in the body control module or wiring harness.
- Airbag-Equipped Doors: Some vehicles route side airbag wiring through the door panel. If you are unsure, consult a professional to avoid accidental airbag deployment.
- Complex Trim Removal: Luxury or late-model vehicles may have intricate trim assemblies or hidden fasteners requiring special tools.
Professional technicians have access to factory diagnostic tools and wiring diagrams, ensuring a safe and correct repair.
The AutoPartEx Advantage
At AutoPartEx, our mission is to empower drivers and technicians with the knowledge and parts to keep vehicles safe, efficient, and reliable. Our extensive inventory of rear door window switches covers a wide range of makes, models, and years, with a focus on OE fitment and compliance with the latest safety standards. Our technical editorial team ensures every guide is grounded in industry best practices and up-to-date regulatory information.
For more expert guidance and quality parts, explore our Rear Door Window Switches: Precision Control for Modern Vehicles category, or browse related systems such as Air Box/Air Cleaner for complete maintenance solutions.
Conclusion
Replacing a rear door window switch is a manageable DIY project that restores both convenience and safety to your vehicle. By following this step-by-step guide, you’ll avoid common pitfalls, ensure proper fitment, and maintain compliance with national safety standards. Always confirm your diagnosis, use quality parts, and test all functions thoroughly before finishing the job. For more advanced troubleshooting, maintenance tips, and parts selection, rely on AutoPartEx as your trusted source for automotive expertise.
References
Advertisement