Advertisement
Winter Prep: Caring for Your Wiper Arms
Winter driving brings a unique set of challenges, and few components are as critical for cold-weather safety as your vehicle’s wiper arms. Ensuring your wiper arms are in top condition before the first frost isn’t just about clear visibility—it’s about protecting yourself and your passengers, preventing costly repairs, and complying with safety standards. In this comprehensive AutoPartEx guide, you’ll learn exactly how to inspect, maintain, and prepare your wiper arms for winter, with actionable steps and expert insights tailored for both DIYers and professional technicians.
For more information on wiper arm specifications, fitment, and replacement best practices, explore our Wiper Arm Replacement, Fitment & Technical Guide | AutoPartEx.
Why Wiper Arm Care Is Crucial Before Winter
Immediate Answer: Wiper Arms Are Your First Line of Winter Visibility Defense
Wiper arms are the mechanical backbone of your windshield clearing system. While wiper blades do the wiping, it’s the arms that deliver the pressure, movement, and alignment necessary for a streak-free, safe view. As winter brings snow, sleet, and freezing rain, any weakness in your wiper arms can translate directly to impaired visibility—one of the top contributors to winter driving incidents.
The Hidden Problem: Winter Exposes Existing Weaknesses
What many drivers overlook is that cold weather amplifies existing issues in their wiper system. Metal fatigue, corrosion, worn joints, and misalignment can all go unnoticed during mild weather, only to cause sudden failure or poor performance when temperatures drop. According to the National Highway Traffic Safety Administration (NHTSA), defective or poorly maintained vehicle equipment—including wiper systems—can directly impact driver safety and accident rates [NHTSA Equipment].
Understanding the Winter Risks to Wiper Arms
How Cold, Ice, and Snow Affect Wiper Arms
Winter conditions pose several threats to wiper arms:
- Metal Contraction and Fatigue: Cold temperatures cause metal components to contract. Repeated cycles of freezing and thawing can stress the arm’s structure, especially where corrosion or minor cracks already exist.
- Corrosion Acceleration: Road salts and de-icing chemicals can accelerate rust, especially at pivot joints and mounting points.
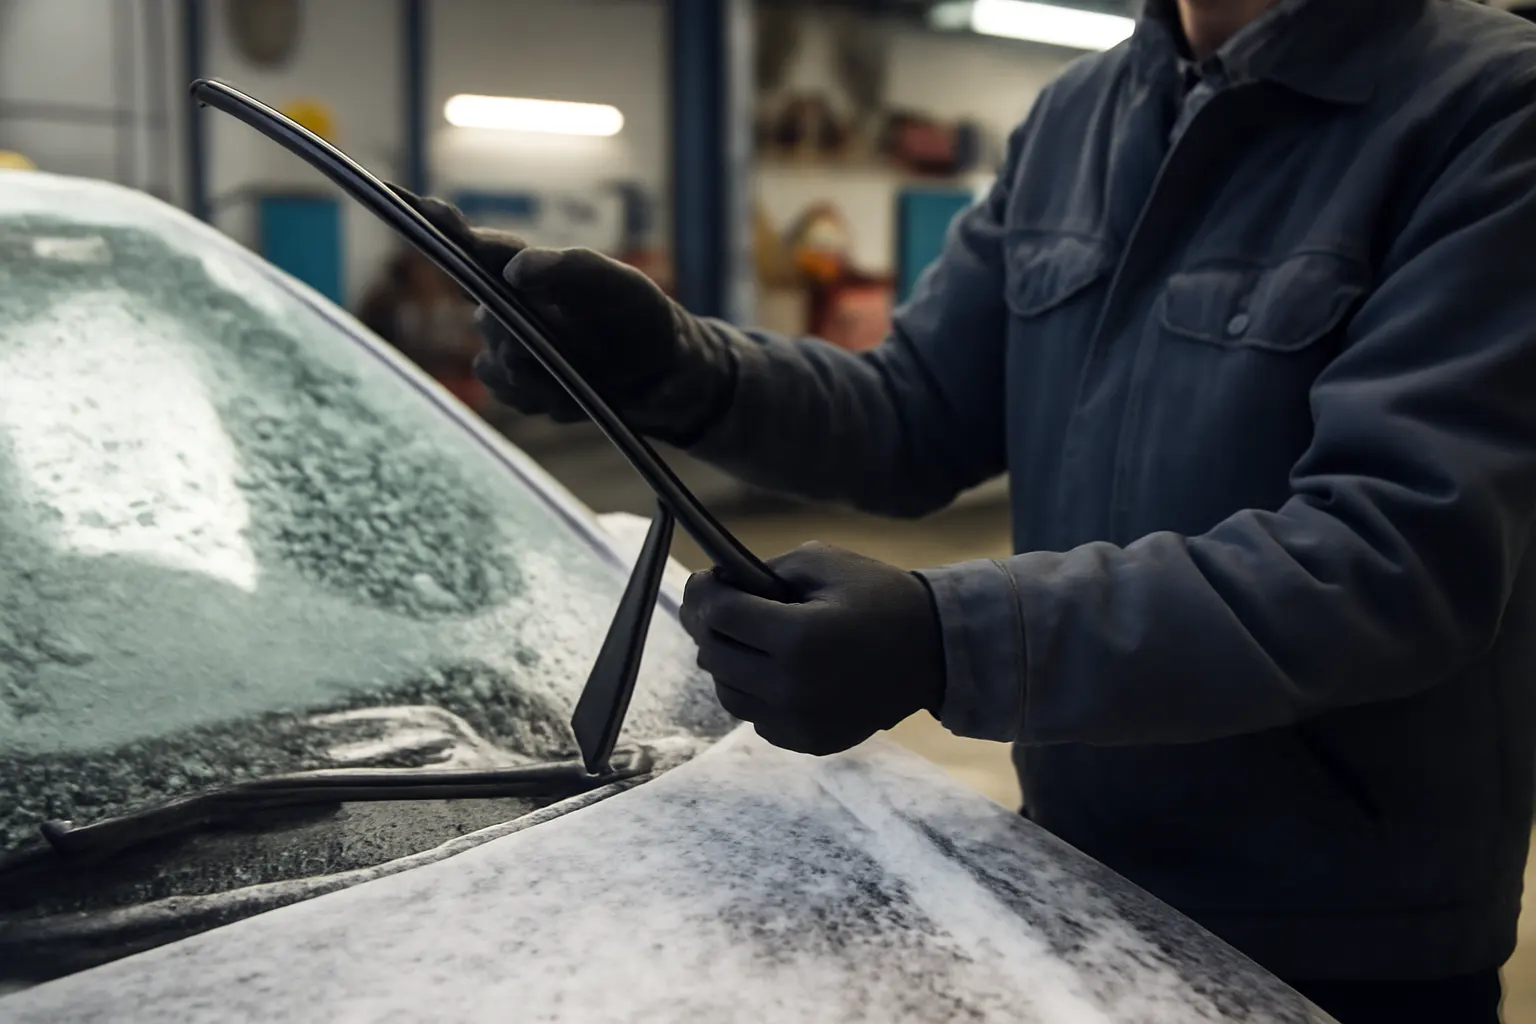
- Ice Build-Up: Ice can freeze wiper arms to the windshield, risking motor overload or bending the arm during activation.
- Heavy Snow Loads: Attempting to use wipers to clear heavy snow can overstrain the arm, causing bending, misalignment, or detachment.
The Cost of Neglect
Failing to prepare your wiper arms for winter can lead to:
- Reduced visibility and increased accident risk
- Motor and linkage damage (if the arm jams or binds)
- Expensive emergency repairs
- Potential violation of vehicle safety regulations
Signs Your Wiper Arms Need Attention Before Winter
Routine checks are essential, but winter prep demands a more detailed inspection. Look for:
- Uneven or Incomplete Wiping: Streaks, missed spots, or chatter noises indicate possible arm misalignment or loss of tension.
- Visible Rust or Corrosion: Especially at pivot points and mounting bases.
- Loose or Wobbly Arms: Excessive play at the attachment point or along the arm.
- Bent or Warped Shape: Any deviation from the original arm profile can reduce blade contact and wiping efficiency.
- Blade “Hop” or Skipping: Often a sign of insufficient downforce or worn arm springs.
For an in-depth look at the warning signs, see 5 Signs Your Wiper Arm Needs Replacement.
Step-by-Step Winter Wiper Arm Inspection Checklist
Before the first snowfall, perform this thorough wiper arm inspection:
Advertisement
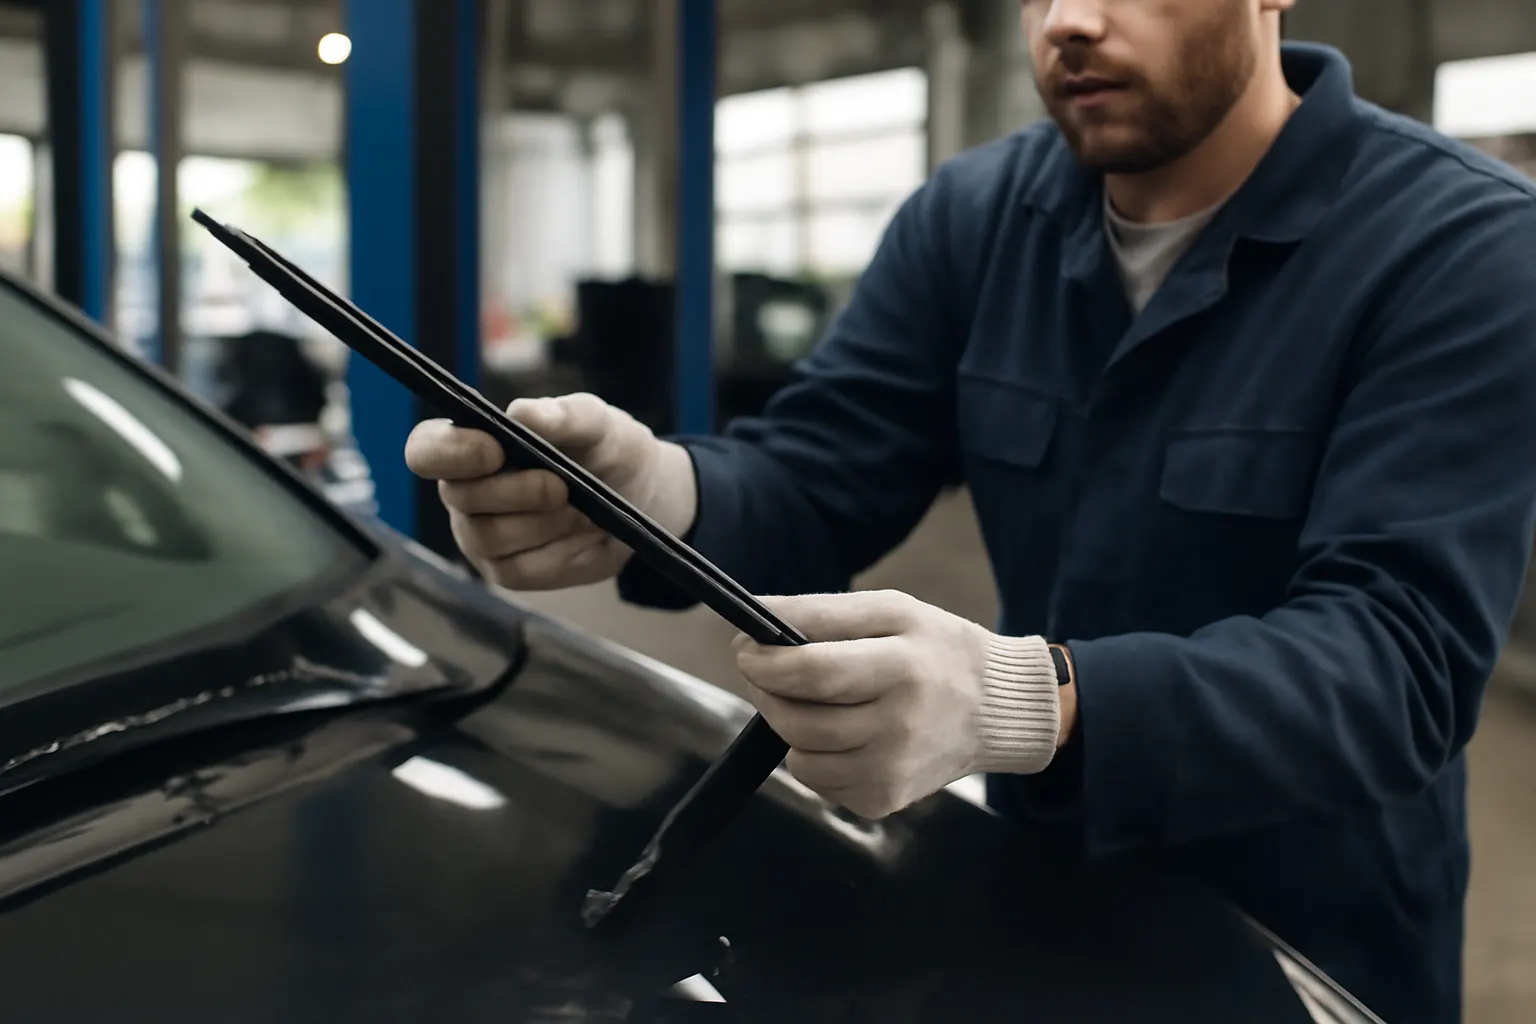
- Lift Each Arm: With the ignition off, gently lift each wiper arm away from the windshield. It should move smoothly and hold itself up without drooping.
- Check for Corrosion: Examine the entire length, especially around joints and mounting points, for rust or pitting.
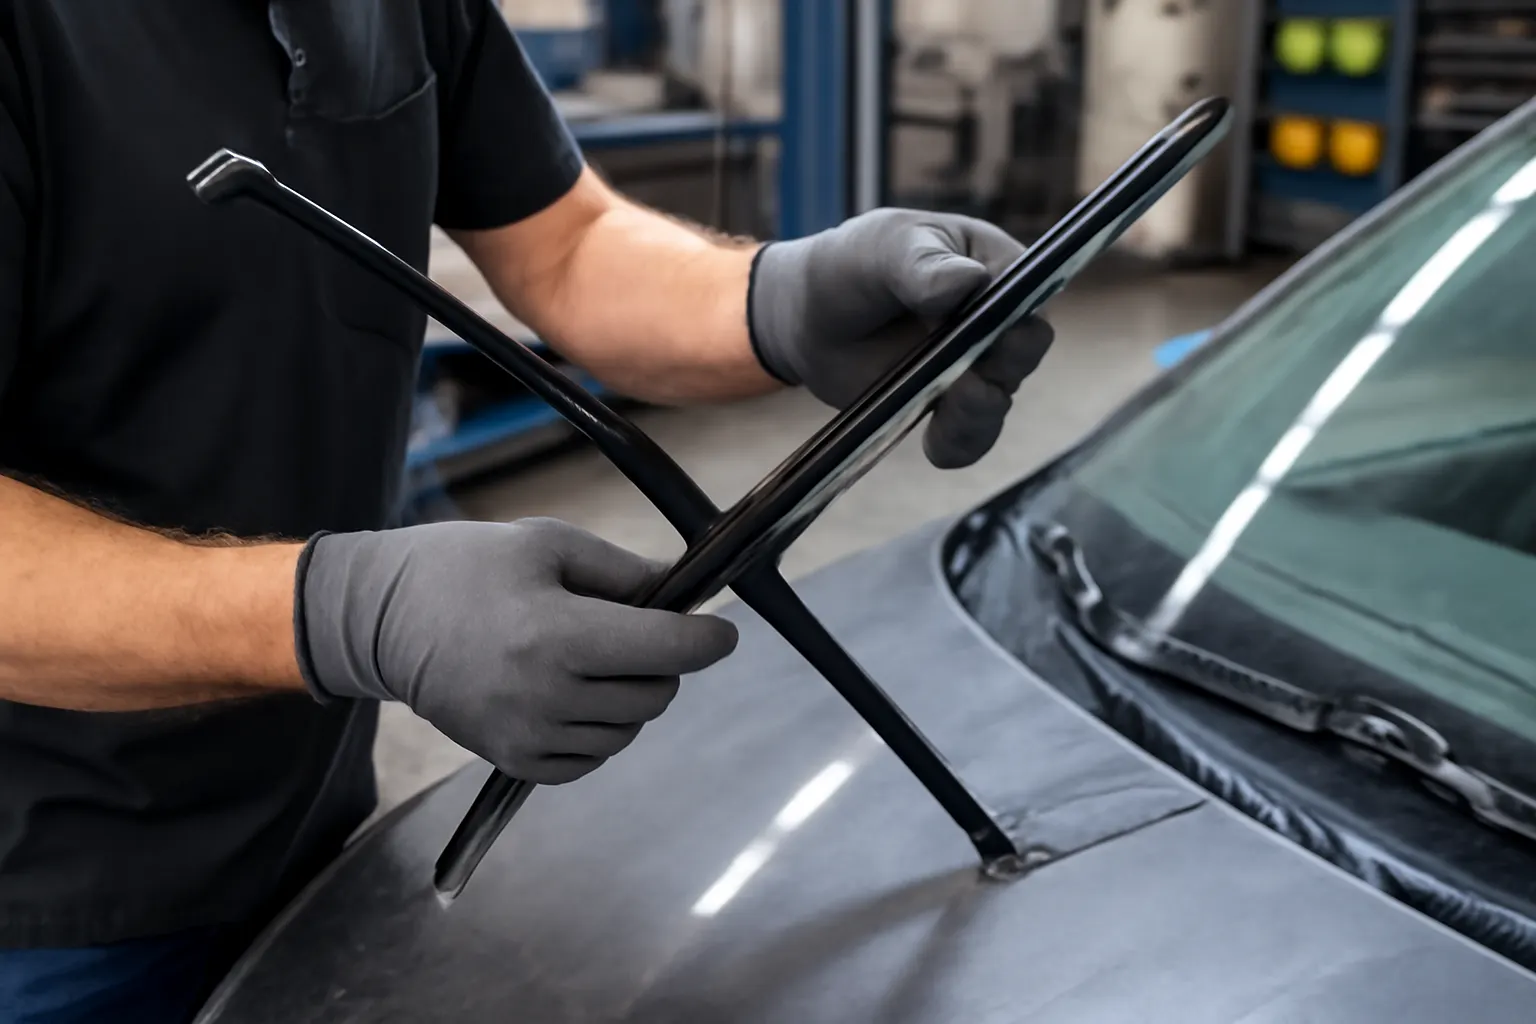
- Inspect for Bends or Twists: Compare both arms side by side. Look for any bends, twists, or unevenness.
- Test Spring Tension: With the arm lifted, feel the resistance as you pull gently. Weak or inconsistent tension suggests a worn spring.
- Check Attachment Point: Wiggle the arm at its base. There should be minimal play; excessive movement may indicate a loose nut or worn splines.
- Blade Alignment: Ensure the blade sits flat against the windshield and follows its curve.
- Review Wiping Pattern: Operate the wipers with washer fluid. Look for missed areas, streaking, or unusual sounds.
Pro Tip: Don’t overlook the wiper blades themselves! See our wiper blade category for blade-specific care.
Common Winter Wiper Arm Failures and Their Causes
Understanding why wiper arms fail in winter helps you prevent issues:
- Spring Fatigue: Springs lose tension over time, especially after repeated exposure to ice and freezing temperatures.
- Corrosion and Rust: Salt, brine, and moisture can corrode metal, weakening the arm and pivot.
- Physical Damage from Ice/Snow: Forcing frozen wipers to operate can bend arms or strip splines.
- Improper Blade Installation: Incorrect blade fitment can stress the arm, causing it to warp or detach.
- Worn Joints and Bushings: Pivot joints may seize or loosen, especially if never lubricated.
Technical Deep Dive: Wiper Arm Construction and Winter Vulnerabilities
Anatomy of a Wiper Arm
Wiper arms typically consist of:
- Mounting Base: Connects to the wiper motor linkage.
- Main Arm Body: Usually made of coated steel or lightweight alloys.
- Spring Mechanism: Provides downforce to keep the blade pressed against the glass.
- Blade Attachment: End fitting for securing the wiper blade.
Material Considerations
Modern arms use corrosion-resistant coatings, but exposure to winter road chemicals can breach these protections. Steel arms are strong but prone to rust; aluminum arms resist corrosion but may be more susceptible to bending if overloaded.
SAE and NHTSA Standards
The Society of Automotive Engineers (SAE) sets standards for wiper system performance, including minimum sweep area and pressure. NHTSA regulations require that all critical equipment—including wipers—function reliably in all weather conditions [SAE Standards], [NHTSA Equipment].
Preventive Maintenance: Preparing Wiper Arms for Winter
Cleaning and Lubrication
- Clean Regularly: Wipe down the arms with a damp cloth to remove salt, grime, and debris.
- Lubricate Joints: Use a silicone-based spray on pivot points (avoid petroleum products that can degrade rubber).
- Protective Coating: Apply a thin layer of rust inhibitor to exposed metal surfaces.
Tightening and Adjustment
- Check Mounting Nuts: Tighten the retaining nuts at the base of each arm. Use a torque wrench if possible to manufacturer specs.
- Adjust Arm Angle: Ensure the arm sits at the correct angle relative to the windshield. Misalignment can cause incomplete wiping or blade lift-off.
Blade Replacement
- Inspect Blades: Replace wiper blades with winter-specific models for optimal performance.
- Correct Fitment: Ensure the blade is properly seated in the arm’s attachment point.
For a detailed installation walkthrough, see How to Replace a Wiper Arm: Step-by-Step.
Diagnosing Wiper Arm Issues in Cold Weather
Troubleshooting Common Problems
- Wipers Not Moving: If both arms fail to move, check the wiper motor and linkage. If only one arm is affected, inspect the mounting splines and retaining nut.
- Chattering or Skipping: Clean the arm and blade, check for bent arms or worn springs.
- Uneven Pressure: Test spring tension and look for physical deformation.
- Stuck or Frozen Arms: Never force wipers free from ice. Use de-icer spray or warm water (not boiling) to melt the ice.
Advanced Diagnostics
If problems persist, consider a full system check. Refer to Wiper System Diagnostics: Troubleshooting Poor Visibility for advanced troubleshooting, including electrical and mechanical tests.
Advertisement
Sourcing Quality Replacement Wiper Arms
What to Look For
- OEM vs. Aftermarket: OEM arms guarantee fit and finish but may cost more. Quality aftermarket options are available—ensure they meet or exceed SAE and NHTSA standards.
- Material and Coating: Look for arms with anti-corrosion coatings and robust spring mechanisms.
- Fitment Accuracy: Double-check vehicle compatibility using your make, model, and year.
Where to Buy
AutoPartEx offers a curated selection of wiper arms for all major vehicle brands, with detailed technical fitment guides. Visit our wiper arm category to find the right part for your winter prep.
Installation Tips: Replacing Wiper Arms for Winter
Essential Tools
- Ratchet and socket set (usually 13mm or 15mm)
- Flathead screwdriver (to remove covers)
- Torque wrench (for precise tightening)
Step-by-Step Overview
- Mark Blade Position: Use masking tape to mark the resting position on the windshield.
- Remove Retaining Nut: Lift the cover and loosen the nut securing the arm.
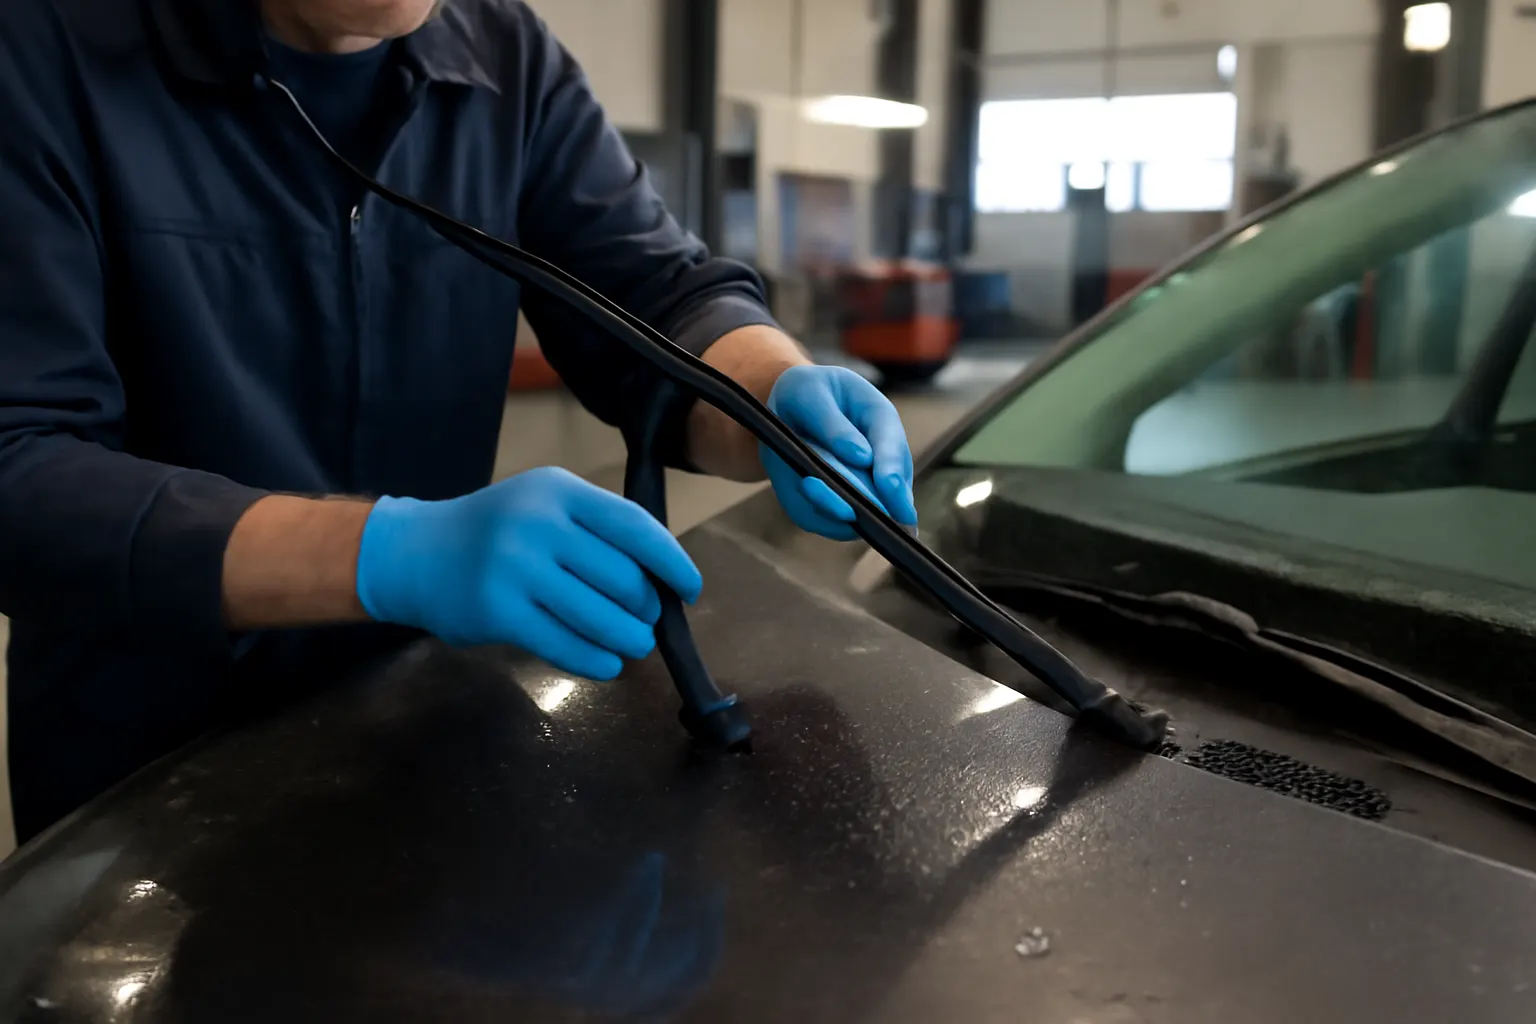
- Detach Old Arm: Wiggle gently to release the arm from the splined shaft.
- Install New Arm: Align with tape marks, press onto splines, and tighten nut to spec.
- Test Operation: Check for smooth, full-sweep motion and proper blade contact.
See our full How to Replace a Wiper Arm: Step-by-Step guide for detailed instructions.
Winter-Specific Wiper Arm Upgrades
Heavy-Duty and Winter-Ready Designs
- Heated Wiper Arms: Some premium vehicles offer heated arms to prevent ice buildup.
- Reinforced Springs: Designed to maintain tension in sub-zero temperatures.
- Aero-Profile Arms: Reduce lift and improve contact at highway speeds in winter winds.
Consider upgrading if you live in a region with extreme winter conditions.
Best Practices for Winter Wiper Arm Use
Daily Habits to Extend Wiper Arm Life
- Lift Arms Before Storms: Prevent freezing to the windshield by lifting arms when parking outdoors.
- Clear Heavy Snow Manually: Always remove snow and ice by hand before using the wipers.
- De-Ice Gently: Use a plastic scraper or de-icer spray, never force frozen blades or arms.
- Avoid Running Wipers on Dry Glass: This increases wear on both blades and arms.
Troubleshooting Emergency Wiper Arm Failures in Winter
What to Do If a Wiper Arm Fails Mid-Storm
- Pull Over Safely: Reduced visibility is dangerous—stop as soon as it’s safe.
- Inspect for Obvious Issues: Look for detached arms, broken springs, or stripped splines.
- Temporary Fixes: If the arm is loose, tightening the nut may restore function temporarily.
- Replace ASAP: Do not drive in winter conditions with only one working wiper arm.
Remember, driving with impaired visibility is not only unsafe but may violate safety regulations [NHTSA Equipment].
The Link Between Wiper Arm Maintenance and Overall Vehicle Safety
Regulatory and Safety Considerations
Wiper arm performance is part of federally mandated safety equipment. The NHTSA emphasizes the importance of maintaining all windshield wiping components to ensure compliance with vehicle safety standards [NHTSA Equipment]. Regular checks and prompt replacement reduce the risk of accidents, citations, and even recall-related liabilities.
Recall Awareness
Occasionally, manufacturers issue recalls for defective wiper systems. Always check your vehicle’s VIN for open recalls via the NHTSA Recalls database, especially before winter.
AutoPartEx: Your Partner in Winter Wiper Arm Prep
At AutoPartEx, we understand the critical role wiper arms play in winter driving safety. Our technical guides, fitment databases, and expert support ensure you find the right part and install it correctly the first time. Whether you’re a DIY enthusiast or a service professional, our resources—from Wiper Arm Replacement, Fitment & Technical Guide | AutoPartEx to step-by-step tutorials—are built to keep you safe and confident on the road.
Don’t wait for the first snowstorm to discover a problem. Proactive wiper arm maintenance is one of the simplest, most effective ways to protect your vehicle, your passengers, and everyone you share the road with this winter.
References
Advertisement