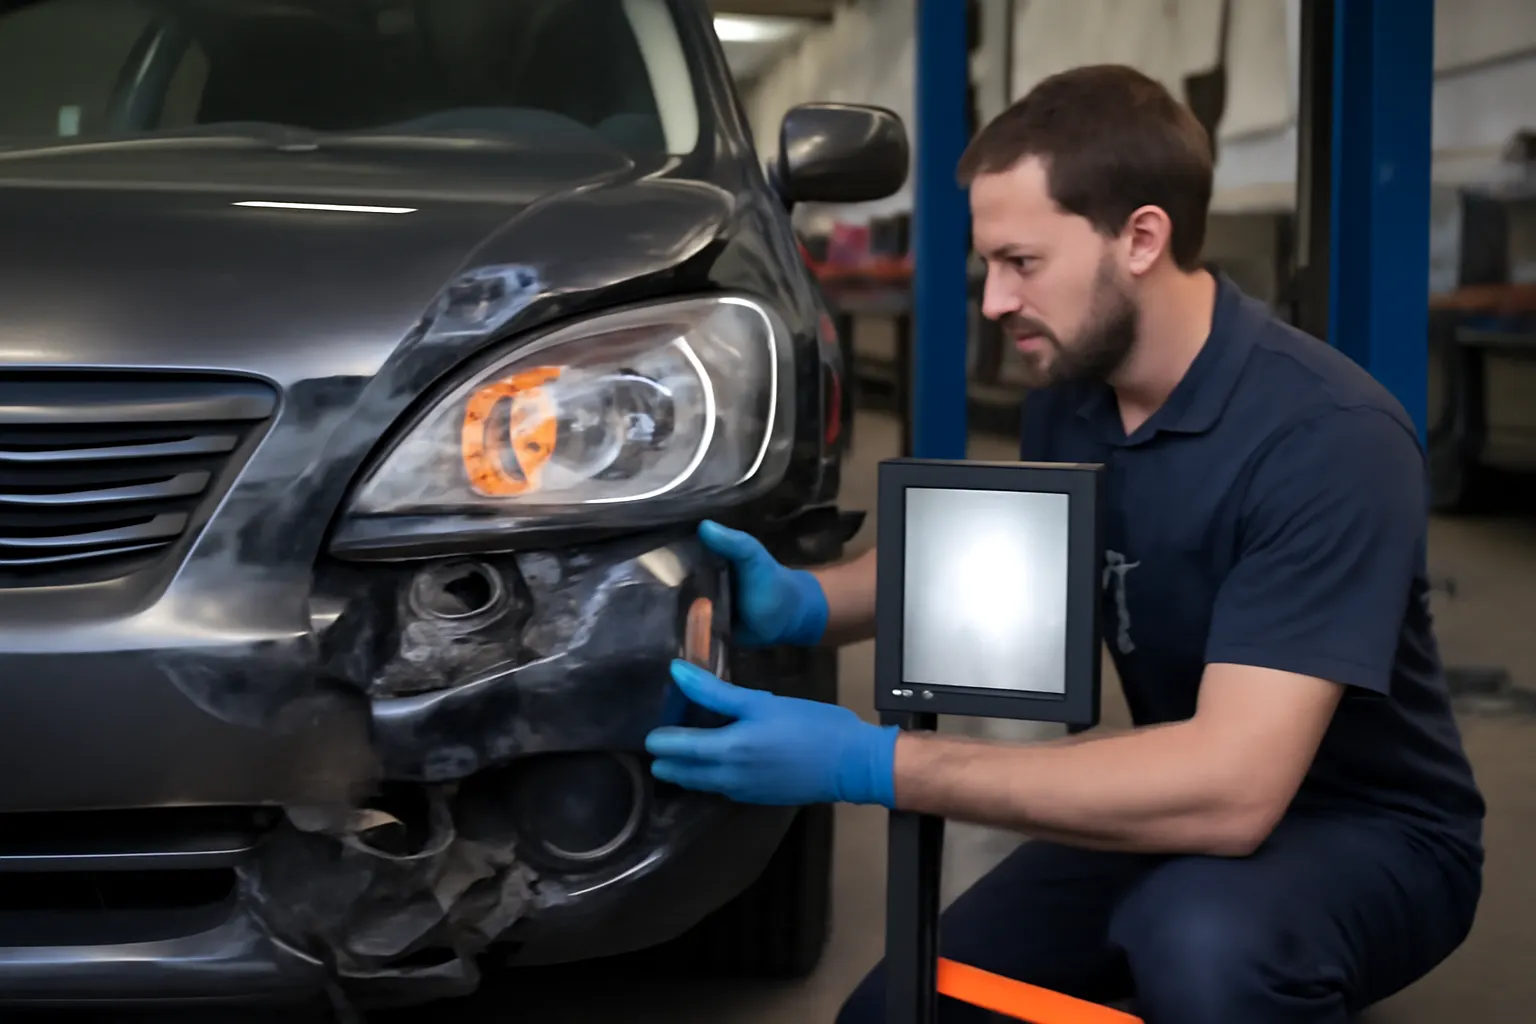
The Impact of Front-End Collisions on Headlight Alignment
Front-end collisions—whether minor parking lot bumps or more serious impacts—can have a profound effect on your vehicle’s headlight alignment. Even seemingly insignificant accidents may compromise the integrity of the headlight bracket, leading to misalignment, reduced visibility, and potential safety hazards on the road. Understanding how these impacts affect headlight components, and what to inspect during repairs, is essential for every vehicle owner and repair professional. In this comprehensive guide, we will explore the mechanics behind headlight alignment issues after a collision, provide detailed inspection and repair checklists, and outline best practices for restoring optimal headlight performance.
If you’re looking for a foundational overview of headlight bracket construction and function, visit our Headlight Bracket Technical Guide: Secure Mounting for Optimal Illumination for in-depth technical insights.
Why Even Minor Collisions Matter for Headlight Alignment
A common misconception is that only major accidents can impact headlight performance. In reality, even low-speed impacts or “fender benders” can jostle, bend, or crack the headlight bracket—a critical component that secures the headlamp in its precise, manufacturer-specified position. When the bracket is compromised, the headlight itself may shift, resulting in beams that point too high, too low, or off to the side. This not only reduces your own visibility but can also blind oncoming drivers, significantly increasing the risk of nighttime accidents.
Regulatory bodies such as the National Highway Traffic Safety Administration (NHTSA) emphasize the importance of vehicle lighting equipment for road safety, noting that correct headlamp aim is essential for both driver visibility and the safety of others (NHTSA Equipment). This makes prompt inspection and repair of headlight brackets after any front-end impact a critical safety step.
The Hidden Problem: Headlight Bracket Damage Often Goes Unnoticed
The true challenge with headlight bracket damage is that it’s frequently overlooked. Unlike a shattered headlamp or a visibly crumpled bumper, a bent or cracked bracket is often hidden behind trim panels or within the engine bay. Many drivers and even repair shops may focus on cosmetic damage, missing subtle yet significant misalignments that can only be detected with careful inspection.
Headlights may appear to function normally at a glance, but a subtle change in beam pattern or angle can have outsized effects on night driving safety. The bracket’s role is to hold the headlamp at the correct angle and location; any deviation from factory settings can compromise the effectiveness of advanced lighting systems, including adaptive or projector headlights. Over time, unnoticed bracket issues can also accelerate wear on bulbs and housings due to vibration or moisture ingress.
How Front-End Collisions Affect Headlight Brackets and Alignment
The Physics of Impact
Front-end collisions transfer force through the vehicle structure, often concentrating stress at mounting points like the headlight bracket. Depending on the design, brackets may be made of metal, reinforced plastic, or composite materials—each with different failure modes. According to the U.S. Department of Energy, modern materials technology aims to balance strength and weight, but even advanced composites can crack or deform under sudden impact (DOE Materials Technologies).
Common Types of Damage
- Bending or Warping: The bracket may deform, changing the angle at which the headlight sits.
- Cracking or Fracture: Plastic brackets may crack at mounting holes or stress points.
- Mounting Point Failure: The bolts or clips securing the bracket can shear or loosen.
- Hidden Stress: Even if the bracket appears intact, internal stress fractures may develop, leading to gradual misalignment over time.
Resulting Alignment Issues
- Vertical Misalignment: Headlights point too high (blinding other drivers) or too low (insufficient road illumination).
- Horizontal Misalignment: Beams point left or right, reducing effective coverage and potentially violating safety standards.
- Vibration and Flicker: A loose bracket allows the headlamp to vibrate, causing flickering light and premature bulb failure.
Regulatory and Safety Implications
Proper headlight alignment is not just a matter of convenience—it’s a legal and safety requirement. The NHTSA sets standards for headlamp performance and alignment, and vehicles with misaligned headlights may fail state inspections or be subject to recall (NHTSA Equipment). Misaligned headlights can also contribute to accidents by reducing visibility or dazzling other drivers.
For vehicles equipped with advanced lighting systems—such as adaptive headlights or automatic leveling—bracket integrity is even more critical. These technologies rely on precise headlamp positioning to function correctly. A compromised bracket can render these systems ineffective, negating their safety benefits.
Diagnosing Headlight Alignment After a Front-End Collision
Initial Visual Inspection
- Check for Visible Damage: Inspect the front bumper, grille, and headlight lens for cracks, chips, or misalignment.
- Inspect Panel Gaps: Uneven gaps between the headlight and fender or hood may indicate bracket movement.
- Examine Headlight Movement: Gently press on the headlight assembly; excessive movement suggests bracket or mounting point failure.
Detailed Bracket Inspection
- Remove Trim Panels: If possible, remove surrounding trim to access the headlight bracket directly.
- Look for Cracks or Deformation: Use a flashlight to check for stress cracks, warping, or missing fasteners.
- Check Mounting Hardware: Ensure that all bolts, screws, and clips are present and secure.
Beam Pattern Assessment
- Park on Level Ground: Position the vehicle 25 feet from a wall or garage door.
- Turn on Headlights: Mark the beam center on the wall with tape.
- Compare to Manufacturer Specifications: Use service manual guidelines to determine if the beams are aimed correctly.
- Check for Uneven Patterns: Misaligned or fuzzy beam edges often indicate bracket or mounting issues.
Comprehensive Headlight Bracket Inspection Checklist
Use this checklist after any front-end collision to ensure thorough evaluation:
| Inspection Step | Pass/Fail | Notes |
|---|---|---|
| Headlight lens and housing intact | ||
| Panel gaps even and consistent | ||
| Headlight assembly secure (no movement) | ||
| Bracket visible, no cracks or bends | ||
| All mounting hardware present/secure | ||
| Beam pattern matches spec at 25ft | ||
| No flicker or vibration when tapped | ||
| Moisture or condensation absent | ||
| Advanced lighting system functions |
The Deeper Technical Explanation: Bracket Materials and Failure Modes
Bracket Material Science
Modern headlight brackets are engineered for strength, durability, and lightweight performance. Materials include:
- High-Strength Steel: Offers rigidity but may bend under impact.
- Reinforced Plastics (Polycarbonate/ABS): Lightweight, resistant to corrosion, but susceptible to cracking.
- Composites: Used in high-end vehicles for weight savings, but can suffer from hidden delamination or microfractures.
The U.S. Department of Energy highlights that advances in materials technology have enabled automakers to use lighter and stronger materials, improving fuel efficiency while maintaining crash safety (DOE Materials Technologies). However, each material responds differently to impact forces, and repair strategies must be tailored accordingly.
Failure Modes in Collisions
- Plastic Brackets: Likely to crack or shatter at mounting points, especially in cold weather.
- Metal Brackets: May bend but are less likely to break. However, even minor bends can cause significant misalignment.
- Composite Brackets: Can suffer both surface and internal damage that may not be visible without disassembly.
Repair vs. Replacement: Making the Right Call
After diagnosing bracket damage, the next step is deciding whether to repair or replace the component. Factors to consider include:
- Severity of Damage: Minor bends in metal brackets may be carefully straightened, but cracks in plastic or composite brackets generally require replacement.
- Cost and Availability: OEM brackets ensure perfect fit but may be more expensive or require lead time. High-quality aftermarket options can be a cost-effective alternative.
- Safety Standards: Replacement parts must meet or exceed original equipment standards as outlined by SAE and NHTSA guidelines (NHTSA Equipment; SAE Standards).
For a step-by-step guide on bracket replacement, see our editorial resource: How to Diagnose and Replace a Headlight Bracket.
Step-by-Step Headlight Bracket Replacement Procedure
- Disconnect Battery: To prevent electrical shorts, always disconnect the battery before working on lighting components.
- Remove Headlight Assembly: Follow vehicle-specific instructions to remove trim panels and access mounting bolts.
- Detach Old Bracket: Carefully remove all fasteners and disconnect the bracket from the body.
- Inspect Surrounding Structure: Check the radiator support, bumper reinforcement, and adjacent panels for hidden damage.
- Install New Bracket: Position the new bracket, ensuring all mounting points align precisely. Torque fasteners to manufacturer specs.
- Reinstall Headlight Assembly: Ensure the headlamp sits flush and secure in the new bracket.
- Reconnect Battery and Test: Turn on headlights, check for proper function, and perform alignment adjustments as needed.
Headlight Alignment: Fine-Tuning for Optimal Performance
Even after bracket replacement, precise headlight alignment is essential. Here’s how to ensure your headlights are aimed for maximum visibility and compliance:
- Use Manufacturer Specifications: Always refer to the service manual for correct beam height and lateral aim.
- Adjust with Leveling Screws: Most headlights have built-in adjusters for vertical and horizontal aim.
- Verify on the Road: After shop alignment, drive at night to confirm effective illumination without dazzling other drivers.
- Professional Tools: Alignment tools such as headlamp aimers or laser guides can provide greater precision, especially for vehicles with projector or adaptive headlights.
Preventing Future Headlight Bracket Damage
While not all collisions are avoidable, there are steps you can take to reduce the risk of headlight misalignment:
- Maintain Safe Following Distances: Reduces the risk of low-speed impacts.
- Park Defensively: Choose spots away from high-traffic areas in parking lots.
- Inspect After Minor Incidents: Even if damage seems limited to the bumper or grille, always check headlight alignment.
- Upgrade to Reinforced Brackets: Some aftermarket options offer enhanced durability for vehicles frequently exposed to rough conditions.
For more on bracket durability and water protection, see: Preventing Water Ingress: The Role of Headlight Brackets.
Sourcing the Right Headlight Bracket: OEM vs. Aftermarket
Choosing the correct replacement bracket is vital for fitment, durability, and safety:
- OEM Brackets: Designed to match factory specifications, ensuring perfect fit and function.
- Aftermarket Brackets: Can offer improved materials or lower cost, but quality varies—ensure they meet NHTSA and SAE standards.
- Compatibility: Always verify part numbers and fitment for your specific make, model, and year.
- Supplier Reputation: Choose trusted suppliers with clear return policies and technical support.
For an in-depth comparison, read: Choosing OEM vs Aftermarket Headlight Brackets.
Maintenance and Ongoing Inspection
Headlight bracket integrity isn’t a “set it and forget it” issue. Regular inspection is key to maintaining optimal illumination and safety:
- Check After Routine Services: Inspect brackets whenever the bumper, grille, or headlights are removed for other repairs.
- Monitor for Moisture: Water inside the headlight often indicates a compromised bracket or seal.
- Listen for Vibration: Rattling noises from the front end may signal a loose or broken bracket.
- Schedule Annual Alignment Checks: Especially important for vehicles regularly exposed to rough roads or minor impacts.
The AutoPartEx Advantage: Technical Support and Quality Parts
At AutoPartEx, we understand that headlight bracket integrity is critical for both safety and performance. Our extensive catalog covers OEM and high-quality aftermarket brackets for all major manufacturers, including Acura, AMC, and more. Our technical editorial team provides up-to-date guides, diagnostic checklists, and installation resources to empower both DIYers and professionals.
Whether you’re sourcing a direct-fit replacement or upgrading to a reinforced bracket, AutoPartEx ensures every part meets rigorous quality standards and regulatory requirements. Explore our Headlight Bracket Technical Guide: Secure Mounting for Optimal Illumination for more information, or consult our support team for expert fitment advice.
When to Seek Professional Help
While many headlight bracket inspections and replacements can be handled by experienced DIYers, certain situations call for professional expertise:
- Complex Collisions: If there is extensive front-end damage, structural alignment tools may be required.
- Advanced Lighting Systems: Vehicles equipped with adaptive or matrix headlights require precise calibration after repairs.
- Persistent Moisture or Vibration: If issues persist after bracket replacement, there may be deeper structural problems.
Professional shops have access to alignment tools, diagnostic equipment, and technical service bulletins that ensure repairs meet all safety and performance standards.
Conclusion: Don’t Underestimate the Impact of Small Collisions
Front-end collisions, no matter how minor, can have lasting effects on your vehicle’s lighting performance and safety. The headlight bracket, though often hidden from view, plays a pivotal role in maintaining correct alignment and beam pattern. Regular inspection, prompt repair, and the use of high-quality replacement parts are essential steps in ensuring optimal visibility and road safety.
By understanding the mechanics of bracket damage and following a structured inspection and repair process, you can mitigate risks and keep your vehicle’s lighting system performing at its best. For all your headlight bracket needs, trust AutoPartEx as your technical resource and parts supplier.