Preventing Water Ingress: The Role of Headlight Brackets
When it comes to vehicle lighting performance and reliability, the headlight bracket is often an unsung hero. A properly installed and well-maintained headlight bracket is vital not just for supporting the headlamp assembly, but also for preventing water ingress—a leading cause of headlight malfunction, electrical issues, and even safety hazards. Understanding how headlight brackets contribute to water resistance is essential for anyone seeking optimal illumination and long-term protection for their vehicle’s lighting system. In this comprehensive guide, we’ll break down the bracket’s role, identify the hidden problems that water ingress can cause, and provide actionable solutions for technicians, DIYers, and fleet managers alike.
If you’re seeking foundational details or want to dive deeper into bracket types and mounting standards, start with our Headlight Bracket Technical Guide: Secure Mounting for Optimal Illumination.
The Immediate Answer: Why Bracket Integrity Matters for Water Resistance
A headlight bracket, when properly designed, manufactured, and installed, acts as a critical barrier against water ingress. It holds the headlight assembly tightly in place, maintaining the alignment and pressure needed for seals and gaskets to do their job. If the bracket is damaged, improperly fitted, or corroded, water can seep into the headlight housing, leading to fogged lenses, electrical shorts, and premature bulb or module failure. A secure bracket is the first line of defense in keeping your vehicle’s lighting system dry and fully functional.
Key Takeaway: Headlight brackets are not just structural supports; they’re essential for maintaining the watertight integrity of your headlamp units.
The Hidden Problem: Water Leaks and Their Far-Reaching Consequences
Many vehicle owners notice condensation, flickering lights, or even complete headlamp failure and assume the issue is a faulty bulb or gasket. In reality, the root cause is often a compromised bracket. Water leaks can be subtle, but their effects are cumulative and potentially severe:
- Short circuits in the wiring harness or control modules.
- Corrosion of internal metal contacts, reflectors, or mounting points.
- Reduced visibility due to fogged or clouded lenses.
- Costly repairs from electrical damage or repeated bulb/module replacement.
Most critically, water ingress can lead to non-compliance with safety regulations, putting the driver at risk and potentially resulting in failed inspections or even recalls (NHTSA Equipment).
How Water Ingress Happens: The Bracket’s Role in Sealing
Water ingress typically occurs when the headlight assembly is not adequately sealed against the vehicle body. The headlight bracket plays three major roles in this regard:
-
Maintaining Consistent Pressure: By securing the headlight assembly, the bracket ensures that rubber gaskets and foam seals are compressed evenly, preventing gaps.
-
Preventing Vibration and Flex: A loose or damaged bracket allows the headlight to move, creating micro-gaps where water can infiltrate—especially during rain or car washes.
-
Acting as a Physical Barrier: Many brackets incorporate splash shields or drainage channels, redirecting water away from sensitive electrical components.
If any of these functions are compromised, the risk of water ingress increases dramatically.
Technical Deep Dive: Materials, Design, and Bracket Standards
Modern headlight brackets are engineered using advanced materials and manufacturing techniques to maximize strength, corrosion resistance, and sealing performance. According to the U.S. Department of Energy’s Materials Technologies, lightweight polymers, reinforced plastics, and treated metals are now common in bracket construction. These materials are chosen for their:
- Resistance to corrosion and environmental degradation—critical for water-exposed components.
- Dimensional stability—ensuring a consistent fit even after years of thermal cycling.
- Compatibility with sealing materials—to maintain a watertight interface.
Design Standards: SAE International and NHTSA set guidelines for the structural integrity and mounting of lighting equipment (SAE Standards). Bracket designs must withstand vibration, impact, and environmental exposure while maintaining the headlamp’s position and seal.
Common Causes of Bracket-Related Water Leaks
Water ingress through the headlight assembly is rarely the result of a single catastrophic failure. Instead, it’s often the end result of one or more bracket-related issues:
-
Physical Damage: Cracked or bent brackets from minor collisions, curb impacts, or improper removal/installations.
-
Corrosion: Rust or oxidation weakens metal brackets, causing them to lose their shape and sealing ability.
-
Improper Fitment: Using the wrong bracket (or a universal fit) can leave gaps or misalign the headlamp, breaking the seal.
-
Missing or Damaged Hardware: Lost bolts, stripped threads, or degraded bushings can reduce bracket clamping force.
-
Aging and Fatigue: Over time, even quality brackets can warp, especially if made from low-grade plastics or untreated metals.
Identifying and addressing these issues early is essential for preventing long-term water damage.
Diagnosing Water Ingress: A Practical Checklist
If you suspect water ingress in your headlights, use this diagnostic checklist to trace the problem to the bracket or related components:
Headlight Water Ingress Diagnostic Checklist
-
Visual Inspection
- Look for condensation, droplets, or fog inside the headlight lens.
- Check for visible cracks or deformations in the bracket and surrounding housing.
- Inspect mounting points for rust or corrosion.
-
Physical Testing
- Gently wiggle the headlight assembly; excessive movement suggests a loose bracket.
- Apply light pressure to see if the assembly flexes or shifts.
-
Seal Assessment
- Examine all gaskets and foam seals for compression marks or signs of uneven contact.
- Look for missing or misaligned seals where the headlight meets the bracket.
-
Water Test
- With the vehicle off, use a gentle stream of water (not a pressure washer) to simulate rain.
- Check for water entry inside the headlight over the next 24 hours.
-
Electrical Check
- Test headlight function for flickering, dimming, or non-operation.
- Inspect connectors for greenish corrosion or moisture.
If any of these tests indicate a bracket issue, immediate repair or replacement is necessary.
Installation Best Practices: Achieving a Watertight Seal
Proper installation is as important as bracket quality. Even the best bracket can’t prevent leaks if installed incorrectly. Follow these steps for a reliable, watertight fit:
1. Clean All Mounting Surfaces
Dirt, old gasket material, and corrosion can prevent proper sealing. Use a wire brush or plastic scraper to clean both the bracket and vehicle body contact areas.
2. Inspect and Replace Seals
Always check the condition of rubber gaskets and foam seals. Replace any that are brittle, cracked, or compressed beyond recovery.
3. Use Correct Torque
Over-tightening can deform brackets or strip threads; under-tightening leads to loose assemblies. Follow manufacturer torque specs for all fasteners.
4. Confirm Alignment
Ensure the headlight assembly sits flush with the body panels and that all bracket holes line up perfectly. Misalignment is a common cause of leaks.
5. Test Before Final Assembly
After loosely fitting the bracket and headlight, test for movement and perform a preliminary water test before fully tightening everything.
For a step-by-step replacement walkthrough, see How to Diagnose and Replace a Headlight Bracket.
Maintenance Strategies: Keeping Water Out Over the Long Term
Preventive maintenance is key to long-lasting, leak-free headlights. Here’s how to keep your brackets and assemblies in top condition:
Regular Inspections
- Check bracket tightness and headlamp alignment at every major service interval.
- Look for early signs of corrosion or fatigue, especially in vehicles exposed to road salt or coastal environments.
Seal Care
- Lubricate rubber seals with a silicone-based protectant to prevent drying and cracking.
- Replace seals proactively if you notice any hardening or loss of elasticity.
Fastener Check
- Retorque all bracket bolts as part of your seasonal maintenance routine.
- Replace any hardware showing signs of rust or wear.
Address Minor Impacts Promptly
- Even a small bump can misalign the bracket or break the seal. Inspect after any incident, no matter how minor.
Selecting the Right Bracket: OEM vs Aftermarket Considerations
Choosing the correct headlight bracket is crucial for both fitment and water resistance. Here’s what to consider:
-
OEM (Original Equipment Manufacturer) Brackets: Designed specifically for your vehicle, guaranteeing perfect fit and alignment. Typically use high-quality materials and match original sealing interfaces.
-
Aftermarket Brackets: Can offer cost savings, but quality varies. Always select reputable brands and verify compatibility with your headlight and vehicle model.
-
Universal Brackets: These are rarely recommended for primary headlamp mounting due to fitment and sealing challenges.
For a detailed comparison, see Choosing OEM vs Aftermarket Headlight Brackets.
The Impact of Front-End Collisions on Bracket Integrity
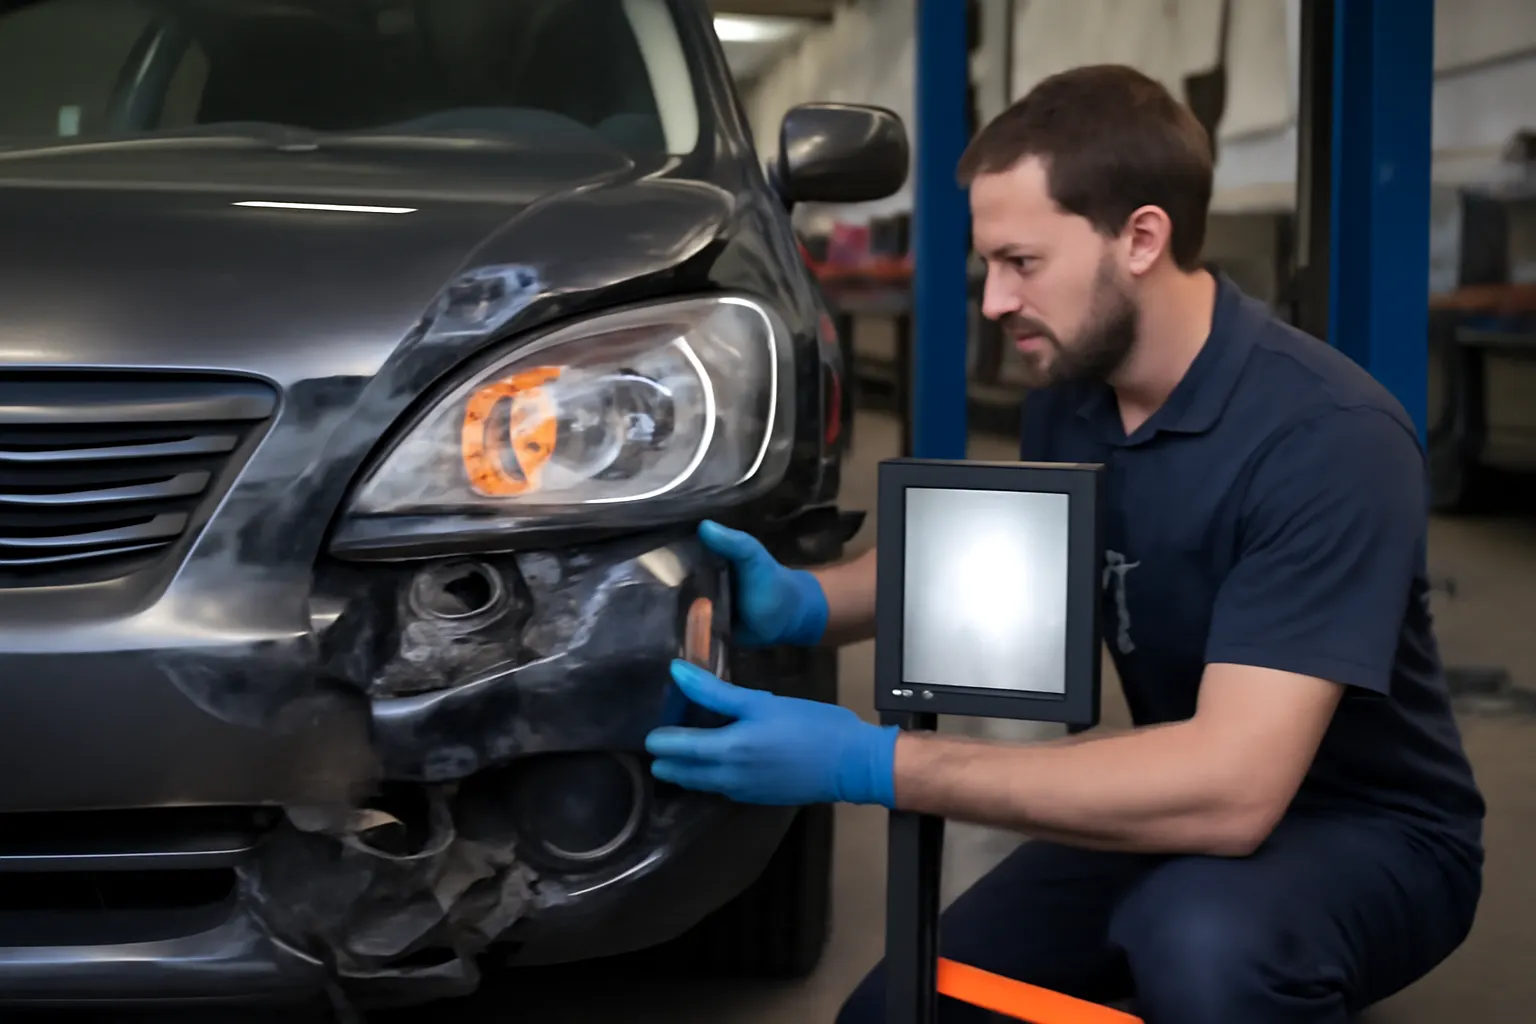
Front-end collisions—even low-speed ones—can bend, crack, or misalign headlight brackets. This often goes unnoticed during cosmetic repairs, but the impact on water resistance is significant. A bracket that is just a few millimeters out of alignment can break the headlight seal, allowing water to seep in with every rainstorm or car wash.
Pro Tip: Always inspect and, if necessary, replace headlight brackets after any front-end collision, regardless of visible damage. For more on this topic, read The Impact of Front-End Collisions on Headlight Alignment.
Advanced Bracket Technologies: Materials and Engineering Trends
Recent advances in materials science and engineering are driving improvements in bracket performance. According to the U.S. Department of Energy, manufacturers are adopting:
- Glass-fiber-reinforced polymers for high strength-to-weight ratios.
- Corrosion-resistant coatings on metal brackets to extend lifespan.
- Integrated drainage channels to actively divert water away from seals and connectors.
- Precision-molded interfaces that improve gasket compression and fit.
These advancements not only improve longevity, but also contribute to overall vehicle safety and reliability, as demanded by NHTSA Equipment standards.
Common Symptoms of Bracket Failure: What to Watch For
Recognizing early symptoms of bracket failure can save time and money. Here’s what to look for:
- Persistent condensation or fogging inside the headlight, especially after rain.
- Loose or rattling headlight assemblies when driving over bumps.
- Unusual headlight beam patterns or misalignment.
- Frequent bulb or module failures due to moisture exposure.
- Visible rust or corrosion around mounting points.
If you notice any of these symptoms, inspect the bracket and associated hardware immediately.
When and How to Replace a Headlight Bracket
Timely replacement of a compromised bracket is essential. Here’s a high-level overview of the process:
- Disconnect the battery to prevent electrical shorts.
- Remove the headlight assembly following your vehicle’s service manual.
- Unbolt and remove the old bracket.
- Clean mounting surfaces and inspect for hidden damage.
- Install the new bracket, ensuring all fasteners are torqued to spec.
- Reinstall the headlight assembly with new seals if necessary.
- Test for movement and perform a water ingress check before finalizing.
For detailed, vehicle-specific instructions, consult your service manual or our in-depth replacement guide: How to Diagnose and Replace a Headlight Bracket.
AutoPartEx: Your Partner in Leak-Free Lighting Performance
At AutoPartEx, we understand that the headlight bracket is a critical component—not just for alignment and support, but for the watertight protection of your lighting system. Whether you’re a DIY enthusiast, a professional technician, or a fleet manager, our curated selection of OEM and high-quality aftermarket brackets ensures you get the right fit, materials, and engineering for your specific vehicle. Explore our Headlight Bracket Technical Guide: Secure Mounting for Optimal Illumination for expert advice, diagnostics, and product selection support.
Conclusion: Protecting Your Investment Through Bracket Excellence
Prevention is always better than cure—especially when it comes to water ingress in your vehicle’s headlight assemblies. By prioritizing bracket integrity, following best installation practices, and choosing the right replacement parts, you can safeguard your lighting system’s performance, safety, and longevity. Don’t overlook this humble but essential component; a few extra minutes of inspection and care can save you from costly repairs and dangerous nighttime driving conditions.