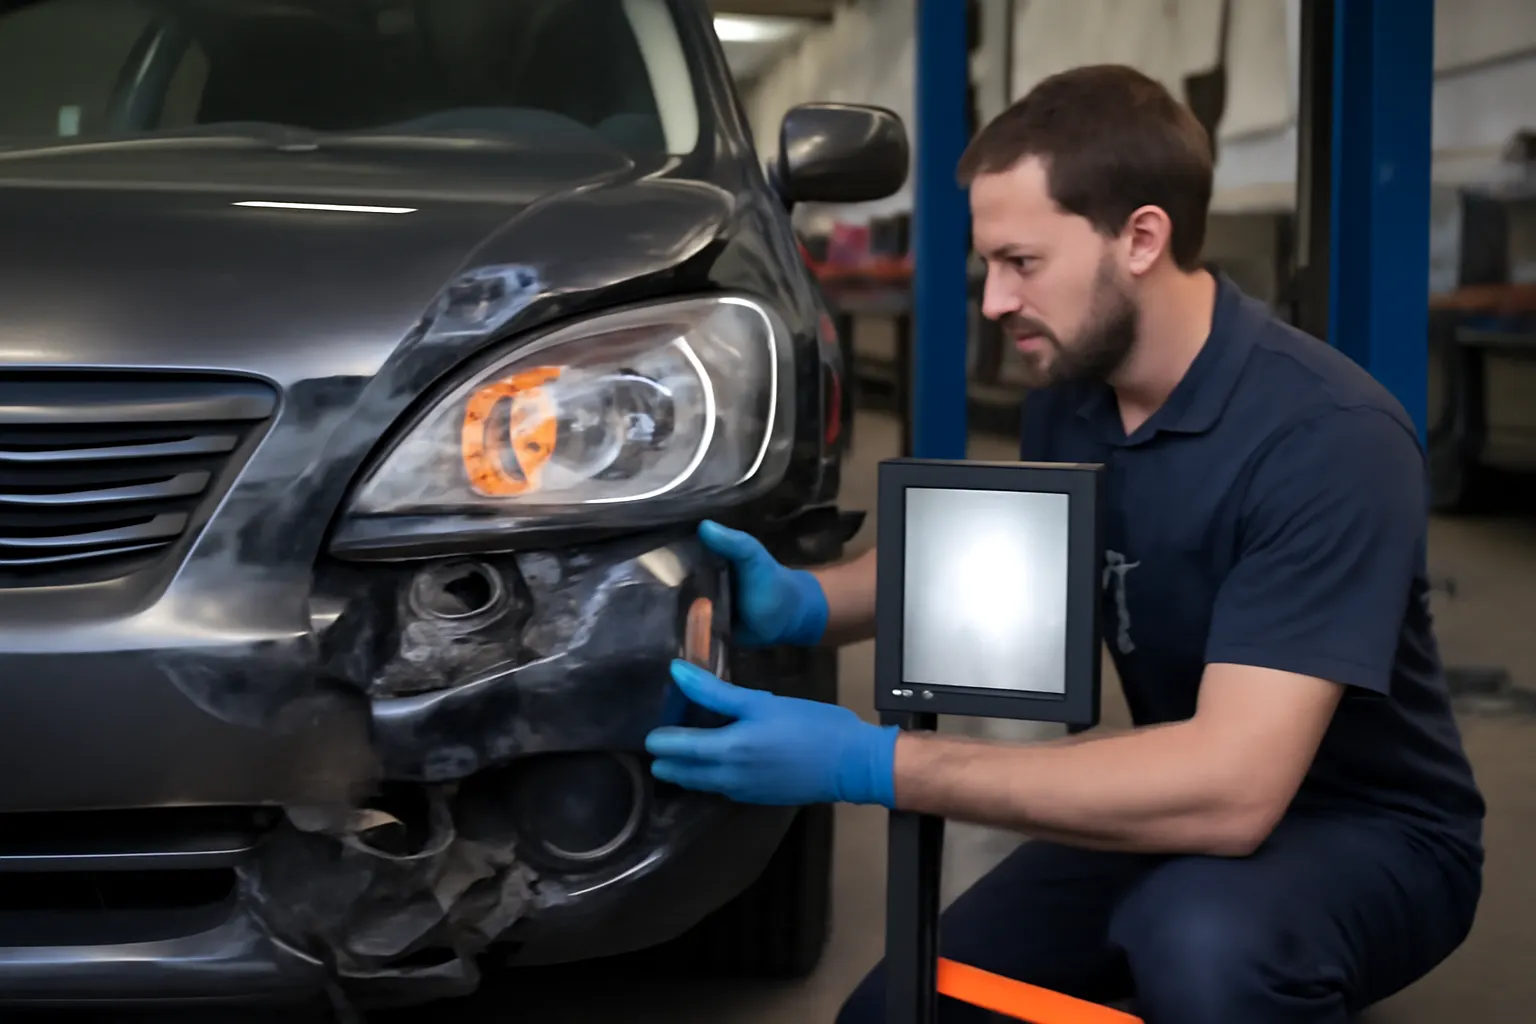
Preventing Water Ingress: The Role of Headlight Brackets
Water ingress into your vehicle’s headlights is more than just a cosmetic nuisance—it can lead to decreased visibility, premature bulb failure, and even electrical system damage. The headlight bracket plays a pivotal but often overlooked role in sealing and securing the headlight assembly, forming a critical barrier against water leaks. Whether you’re a DIY enthusiast or a professional technician, understanding the connection between headlight brackets and water ingress is essential for maintaining optimal lighting performance and vehicle safety. For a comprehensive overview of headlight bracket types and their mounting importance, visit the Headlight Bracket Technical Guide: Secure Mounting for Optimal Illumination.
Why Headlight Brackets Matter for Water Protection
The headlight bracket is not just a mounting piece—it’s an integral part of your vehicle’s weatherproofing strategy. When properly engineered and installed, the bracket ensures that the headlight housing aligns precisely with the bodywork, compressing seals and gaskets to create a watertight enclosure. If the bracket is bent, cracked, or improperly fitted, even the best headlight seal can fail, allowing moisture to seep in during rain, car washes, or even high-humidity conditions.
A compromised headlight bracket can result in:
- Condensation inside the lens, reducing light output.
- Corroded connectors and wiring, leading to intermittent or failed lighting.
- Accelerated deterioration of bulbs and reflective surfaces.
- Costly repairs or replacements of the entire assembly.
The Hidden Problem: Subtle Bracket Failures Trigger Water Leaks
While damaged headlight lenses or degraded seals are common culprits for water ingress, bracket issues are frequently missed. Many water leaks begin after minor front-end impacts, improper headlight installation, or even routine service where the bracket is disturbed. Unlike obvious cracks or holes, bracket misalignments can be nearly invisible—yet they undermine the pressure that weather seals require to stay effective.
Symptoms that point to bracket-related water ingress include:
- Persistent fogging despite replacing headlight seals.
- Water pooling at the bottom of the headlight after rain.
- Difficulty achieving a flush fit between the headlight and surrounding body panels.
- Rattling or vibration noises from the headlight area while driving.
Recognizing the bracket as a potential leak path is vital for effective diagnosis and long-term repair.
How Water Ingress Damages Headlights and Vehicle Systems
Water inside a headlight assembly can wreak havoc far beyond simple fogging. Here’s a technical breakdown of the risks:
- Electrical Short Circuits: Moisture bridges can form between terminals, causing blown fuses, malfunctioning bulbs, or erratic operation of adaptive lighting systems.
- Reflector and Lens Degradation: Water droplets scatter light, reducing beam focus and intensity. Over time, moisture can corrode reflective coatings and cloud plastic lenses.
- Corrosion: Metal bracket components, bulb sockets, and wiring harnesses are all vulnerable to rust and oxidation, especially in vehicles exposed to road salt.
- Regulatory Non-Compliance: According to National Highway Traffic Safety Administration (NHTSA) equipment standards, headlights must maintain specific illumination and safety criteria. Water-compromised assemblies can fail inspections and pose safety risks.
Effective water management is thus not only about comfort—it’s a regulatory and safety imperative.
Technical Anatomy: The Headlight Bracket’s Role in Sealing
Headlight brackets are precision-engineered components, typically manufactured from injection-molded plastics, steel, or aluminum alloys. Their design is informed by strict SAE standards for mounting accuracy and durability. Key technical features that influence water ingress prevention include:
- Mounting Tabs and Surfaces: These interface with the vehicle’s body and the headlight housing, ensuring even pressure distribution on perimeter seals.
- Integrated Drainage Paths: Some brackets incorporate channels or holes to direct any incidental moisture away from sensitive electronics.
- Material Selection: Modern brackets use corrosion-resistant materials to maintain structural integrity and sealing force over years of exposure (see Materials Technologies).
- Alignment Features: Precision dowels, locating pins, and keyed slots guarantee that the headlight sits squarely, maximizing seal compression.
A robust bracket ensures the headlight assembly is neither under- nor over-tightened—both extremes can compromise the seal and allow water entry.
Common Causes of Bracket-Related Water Leaks
Several scenarios can degrade a headlight bracket’s effectiveness:
1. Collision Damage
Even minor fender-benders can bend or crack brackets, shifting the headlight’s position and breaking the seal.
2. Improper Installation
Over-torquing mounting fasteners or misaligning the bracket during replacement can distort the assembly, opening leak paths.
3. Material Fatigue and Aging
Plastic brackets may become brittle and lose their shape after years of thermal cycling and UV exposure, especially in older vehicles.
4. Non-OEM or Poor-Quality Aftermarket Parts
Inferior bracket designs may lack the precise fit or material durability of original equipment, increasing leak risks. For a comparison of OEM and aftermarket bracket performance, see Choosing OEM vs Aftermarket Headlight Brackets.
Diagnostic Checklist: Is Your Headlight Bracket the Culprit?
Before replacing seals or entire headlight assemblies, use this diagnostic checklist to assess the bracket:
| Diagnostic Step | What to Check | Signs of a Problem |
|---|---|---|
| Visual Inspection | Look for cracks, bends, or missing mounting tabs on the bracket | Any visible damage or misalignment |
| Headlight Fitment | Gently push/pull the headlight—does it move or rattle? | Excessive movement indicates bracket failure |
| Seal Compression | Inspect the seal around the headlight perimeter—does it appear evenly compressed? | Gaps or uneven compression suggest bracket misfit |
| Water Test | Spray water around the headlight and check for ingress inside the lens | Moisture inside signals a sealing issue |
| Fastener Check | Are all mounting bolts/screws tight and present? | Loose or missing fasteners compromise bracket function |
| Alignment with Body Panels | Is the headlight flush with the fender and bumper? | Gaps or unevenness reveal bracket alignment issues |
If any of these checks reveal bracket problems, address them before replacing seals or headlight units.
Step-By-Step: How to Replace or Adjust a Headlight Bracket
Proper replacement or adjustment of a headlight bracket is crucial for restoring water-tightness. Here’s a general procedure:
- Disconnect the Battery: Prevent electrical shorts by disconnecting the negative terminal.
- Remove the Headlight Assembly: Follow manufacturer instructions to avoid damaging mounting tabs or wiring.
- Inspect the Bracket: Look for cracks, warping, or corrosion. Compare with a new or known-good bracket if possible.
- Remove the Old Bracket: This may involve unbolting from the body or separating from the headlight housing.
- Install the New/Adjusted Bracket: Align all locating pins and mounting points. Do not force the bracket into place.
- Torque Fasteners to Spec: Over-tightening can warp plastic brackets; use a torque wrench if available.
- Reinstall Headlight Assembly: Ensure all seals are clean and properly seated.
- Test Fitment and Sealing: Check for flush alignment and perform a water test before reassembling trim panels.
- Reconnect Battery and Test Lights: Confirm proper operation and absence of warning lights.
This process can vary by vehicle make and model. For a detailed walkthrough, consult How to Diagnose and Replace a Headlight Bracket.
Preventive Maintenance: Keeping Water Out Long-Term
Routine inspection and maintenance can extend the life of both your headlight brackets and assemblies. Adopt these best practices:
- Inspect After Impacts: Any collision, even minor, warrants a close look at headlight mounting.
- Check During Bulb Changes: Use the opportunity to examine seals and bracket integrity.
- Clean Drainage Channels: Ensure any designed drains in the bracket or housing are clear of debris.
- Replace Aged or Brittle Brackets: Don’t wait for a leak—plastic fatigue is a silent enemy.
- Use Quality Replacement Parts: Select brackets that meet or exceed OEM specifications for materials and fit.
Regular maintenance not only prevents water ingress but also ensures compliance with safety standards (see NHTSA Equipment).
Sourcing the Right Headlight Bracket: Fitment and Material Considerations
Choosing the correct bracket is vital for both sealing and structural performance. Consider the following when sourcing a replacement:
Fitment:
- Vehicle Make, Model, and Year: Brackets are highly vehicle-specific. Even small changes between model years can affect fit.
- Side (Left/Right): Many brackets are not interchangeable side-to-side.
- Headlight Type: Halogen, HID, and LED assemblies may use different mounting systems.
Material and Build Quality:
- OEM vs Aftermarket: OEM brackets guarantee factory fit, while reputable aftermarket options may offer improved materials or corrosion resistance.
- Material Specs: Look for UV-resistant plastics or coated metals that resist corrosion and fatigue.
Supplier Reputation:
- Warranty and Return Policy: Reputable suppliers stand behind their parts.
- Technical Support: Access to fitment data or installation guidance is invaluable.
For more on selecting the right bracket, explore the Headlight Bracket Technical Guide: Secure Mounting for Optimal Illumination.
The Connection Between Bracket Integrity and Headlight Alignment
Improper bracket fitment doesn’t just cause water leaks—it also throws off headlight aim. Misaligned headlights reduce road visibility and can blind oncoming drivers, creating a significant safety hazard. After any bracket replacement, always verify and adjust headlight aim per manufacturer specifications.
For insight into how front-end impacts affect both alignment and sealing, refer to The Impact of Front-End Collisions on Headlight Alignment.
When to Replace vs. Repair a Headlight Bracket
Not all bracket damage requires full replacement. Minor cracks or loose mounting tabs can sometimes be repaired with specialty adhesives or reinforcement kits, especially in older or rare vehicles. However, replacement is recommended when:
- The bracket is warped or cannot maintain proper alignment.
- Multiple mounting points are broken or missing.
- The material is brittle or shows signs of fatigue.
- Previous repairs have failed to restore water-tightness.
A new bracket is a relatively low-cost investment compared to the expense of repeated water damage or failed lighting systems.
Additional Factors: Bracket Design, Materials, and Environmental Exposure
Modern vehicles use advanced materials and engineering in bracket design to cope with a range of environmental challenges:
- Composite Plastics: Offer high strength-to-weight ratios and resist corrosion, but can become brittle over time.
- Aluminum Alloys: Lightweight and strong, with excellent corrosion resistance, but may be more expensive.
- Steel Brackets: Durable, but susceptible to rust if coatings are compromised.
Environmental exposure—road salt, temperature extremes, and UV radiation—can accelerate bracket degradation. Vehicles in harsh climates should have brackets inspected more frequently and replaced with materials suited for the environment, as outlined in Materials Technologies.
Integrating Headlight Bracket Care into Your Maintenance Schedule
To ensure long-term headlight performance and water resistance, integrate the following into your maintenance routine:
- Annual Inspection: Check headlight brackets and seals at least once a year.
- After-Service Checks: Inspect brackets after any front-end service, bodywork, or headlight replacement.
- Seasonal Prep: Before wet or winter months, verify that all headlights are secure and water-tight.
- Document Repairs: Keep records of bracket replacements or adjustments for future reference.
These steps will help you avoid unexpected water ingress and maintain safe, compliant lighting year-round.
AutoPartEx: Your Partner in Headlight Bracket Solutions
At AutoPartEx, we understand that a secure, water-tight headlight bracket is essential for vehicle safety, performance, and longevity. Our curated catalog features only high-quality, fitment-verified brackets for all major makes and models. With expert technical support and detailed installation guides, AutoPartEx is your go-to resource for both DIYers and professionals seeking reliable solutions.
Explore our full range of headlight bracket options, or browse related categories such as AC Compressor Bracket and Air Box/Air Cleaner for comprehensive front-end repair solutions.
Conclusion: Don’t Overlook the Bracket in Headlight Water Leaks
Water ingress into headlights is a persistent problem that often traces back to the humble headlight bracket. By understanding the bracket’s critical role in sealing and alignment, diagnosing bracket-related leaks, and following rigorous installation and maintenance protocols, you can protect your vehicle’s lighting system from costly water damage. Always prioritize high-quality, vehicle-specific brackets and integrate bracket checks into your routine maintenance for optimal illumination and safety.
Ready to solve your water ingress issues? Start by inspecting your headlight brackets—your vehicle (and your night vision) will thank you.