
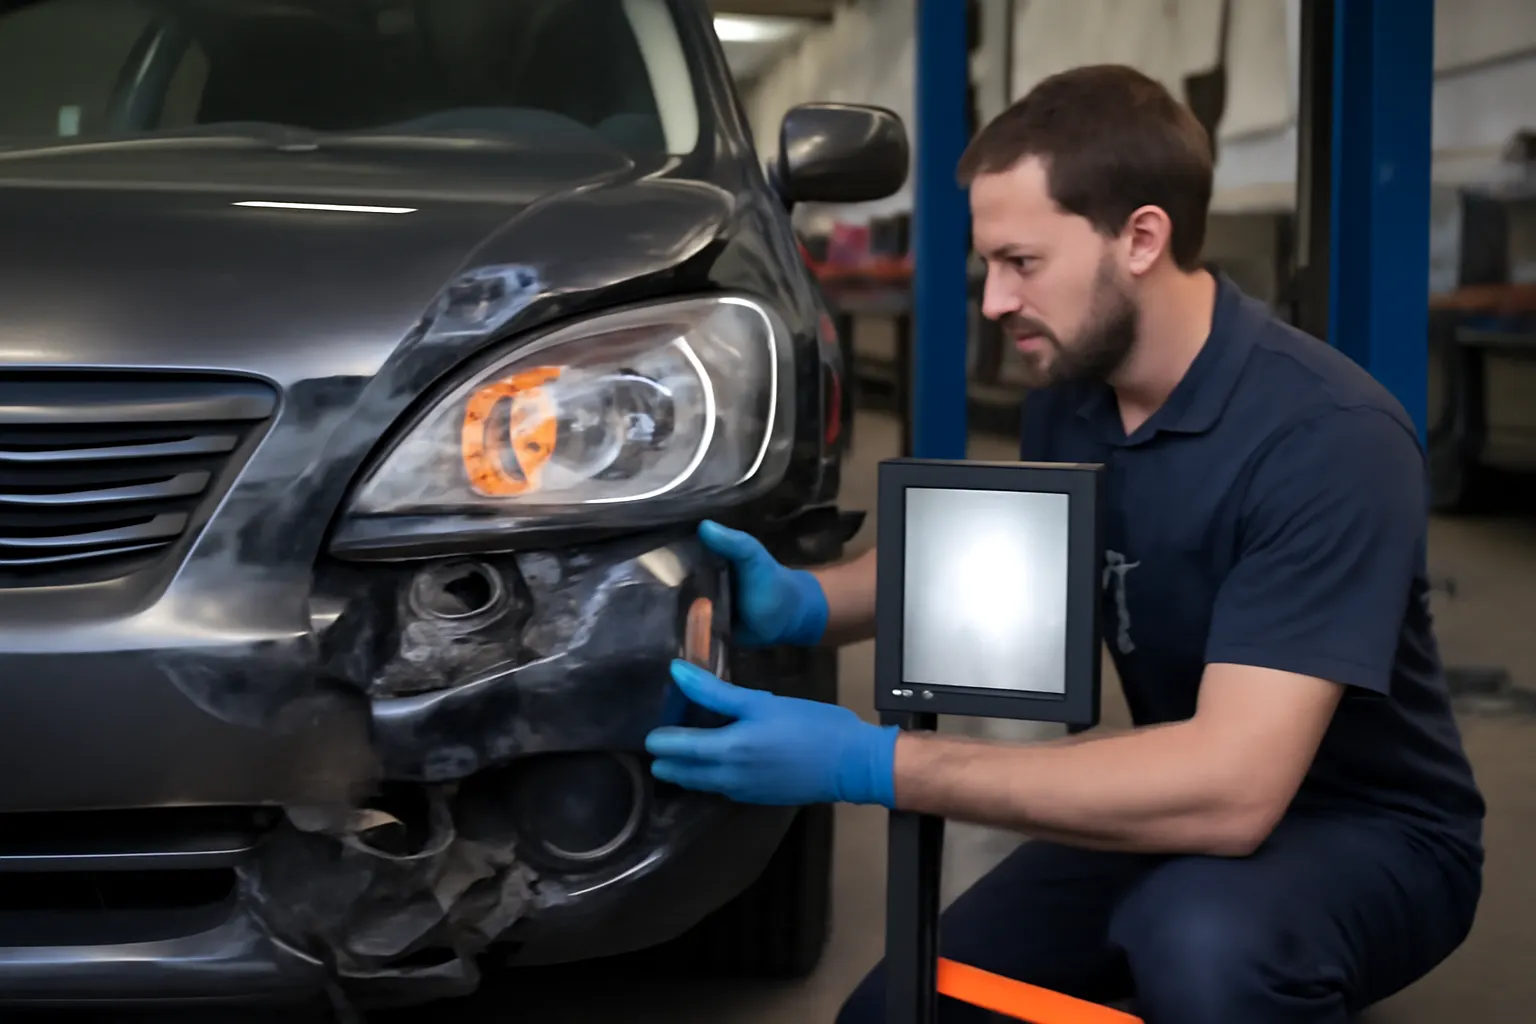
The Impact of Front-End Collisions on Headlight Alignment
Front-end collisions, even at low speeds, can have a profound impact on your vehicle’s headlight alignment and the integrity of the headlight brackets that secure them. Misaligned headlights not only diminish your nighttime visibility but also pose a significant safety risk to you and other drivers. In this comprehensive guide, we break down how collisions impact headlight mounting, what to inspect during repairs, and how to restore optimal illumination. If you’re looking for a foundational overview of bracket function and replacement, see our Headlight Bracket Technical Guide: Secure Mounting for Optimal Illumination.
Why Headlight Alignment Matters Immediately After a Collision
Proper headlight alignment is a critical factor in safe driving. After a front-end collision, even if the damage appears cosmetic, the alignment and secure mounting of your headlights are likely compromised. This can result in:
- Reduced forward visibility due to scattered or misdirected light beams.
- Increased glare for oncoming drivers, elevating accident risk.
- Failure to meet legal safety requirements and inspection standards.
Given the importance of lighting for both your safety and regulatory compliance, it’s essential to inspect and address any headlight misalignment or bracket damage as part of post-collision repairs.
The Often-Overlooked Problem: Hidden Bracket Damage
While most collision repairs focus on visible bodywork, the underlying support structures—including the headlight brackets—can be subtly bent, cracked, or misaligned. These issues are frequently missed in quick visual inspections.
Why is this a concern?
- Headlight brackets are typically made from lightweight materials such as plastics, aluminum alloys, or thin steel to meet modern efficiency and weight targets (DOE Materials Technologies).
- Even a minor impact can cause micro-cracks, warping, or stress fractures that are not immediately visible.
- Damaged brackets can cause headlights to vibrate, shift, or lose alignment over time, even if they seem fine initially.
How Front-End Collisions Affect Headlight Mounting and Performance
A front-end collision transfers energy through the bumper, grille, and radiator support, often reaching the headlight assemblies. The headlight bracket—responsible for both positioning and securing the headlight—bears the brunt of this force. Here’s what typically happens:
- Bracket Deformation: The bracket may bend or twist, changing the angle at which the headlight sits.
- Mounting Point Failure: Fasteners can shear, or plastic tabs can snap, causing the headlight to become loose.
- Headlight Housing Stress: The headlight itself may crack or its adjusters may be forced out of place.
The result is a misaligned beam pattern that fails to properly illuminate the road ahead or, worse, blinds other drivers.
Headlight Bracket Construction and Vulnerability
Modern vehicle design prioritizes weight reduction and crash energy management. Headlight brackets are engineered to be lightweight but strong enough to withstand normal road vibrations and minor bumps. However, they are not designed to absorb the concentrated force of a collision.
- Materials: Common materials include injection-molded plastics, stamped steel, and aluminum. Each has distinct failure modes under impact (DOE Materials Technologies).
- Plastics may crack or snap.
- Steel may bend or deform.
- Aluminum may deform or fracture.
- Mounting Locations: Brackets are typically attached to the radiator support, fenders, or frame rails—areas often affected in a front-end impact.
Because of this, even a seemingly minor collision can render the bracket unfit for continued use.
Diagnosing Headlight Bracket and Alignment Issues Post-Collision
A thorough diagnostic process is essential to ensure both safety and regulatory compliance. Here’s how to systematically evaluate headlight brackets and alignment after a front-end impact:
Step-by-Step Diagnostic Checklist
- Visual Inspection:
- Check for obvious cracks, bends, or missing pieces in the bracket.
- Inspect the headlight housing for signs of movement or tilt.
- Look for broken or missing mounting tabs and fasteners.
- Manual Movement Test:
- Gently push and pull on the headlight assembly. Any excessive movement indicates bracket or mounting failure.
- Beam Pattern Assessment:
- Park the vehicle on level ground facing a wall.
- Turn on the headlights and observe the beam pattern for height and alignment discrepancies.
- Adjuster Functionality:
- Attempt to adjust the headlight using built-in adjusters. If the beam does not move as expected, the bracket or adjuster may be damaged.
- Check for Water or Debris Intrusion:
- Inspect for moisture or dirt inside the headlight, which can indicate improper sealing due to bracket misalignment (see Preventing Water Ingress: The Role of Headlight Brackets).
The Role of Headlight Brackets in Modern Vehicle Safety
According to the National Highway Traffic Safety Administration, headlights are a primary safety device, and their proper alignment is mandated by federal regulations. Headlight brackets are the unsung heroes that ensure headlights are positioned to meet these standards.
- Structural Support: Brackets maintain the correct position and angle for the headlight, even under normal driving vibrations.
- Crash Energy Management: In a collision, brackets are designed to deform in a controlled way, minimizing further damage to the headlight or wiring.
- Sealing and Protection: Proper bracket alignment ensures the headlight seals correctly against the body, preventing water and dirt ingress.
Failure of any bracket component can compromise these safety functions, leading to regulatory non-compliance and increased accident risk.
Common Symptoms of Headlight Bracket Damage
Recognizing the symptoms of bracket damage early can save you from further complications. Here are the most common signs:
- Headlight Vibration: Noticeable shaking of the headlight while driving, especially on rough roads.
- Misaligned Beams: One or both headlights appear to point too high, too low, or off to the side.
- Loose Housing: The headlight feels loose or wobbles when touched.
- Water or Dust Inside Headlight: Loss of seal integrity due to bracket distortion.
- Unresponsive Adjusters: Headlight aim cannot be corrected using factory adjusters.
If you experience any of these symptoms after a collision, a detailed inspection is warranted.
Repair or Replace? Evaluating Headlight Bracket Options
Once damage is detected, you must decide whether to repair or replace the headlight bracket. This decision depends on several factors:
- Extent of Damage: Minor bends in steel brackets may be repairable, but cracks or broken mounting points in plastic brackets typically require replacement.
- Material Type: Plastic brackets are more likely to suffer irreparable damage, while metal brackets may be bent back if not fatigued.
- Availability of Parts: OEM and aftermarket brackets are widely available for most models (see Choosing OEM vs Aftermarket Headlight Brackets).
- Cost and Labor: Sometimes, the labor to repair a bracket exceeds the cost of replacement, especially when considering safety and longevity.
A general rule: If in doubt, replace the bracket. Compromised mounting can lead to repeated misalignment and potential damage to the headlight assembly itself.
Step-by-Step Guide to Headlight Bracket Replacement
Replacing a damaged headlight bracket is a precise process. Here’s a general guide:
- Disconnect the Battery: Prevent electrical shorts while working on headlight wiring.
- Remove the Headlight Assembly: Unbolt the headlight and disconnect wiring harnesses.
- Access the Bracket: Remove any trim or covers blocking access to the bracket.
- Remove the Damaged Bracket: Unfasten and carefully extract the bracket from the mounting points.
- Inspect Mounting Areas: Check for hidden damage to the radiator support or fender.
- Install the New Bracket: Align and fasten the replacement bracket securely.
- Reinstall the Headlight: Ensure proper fitment and reconnect wiring.
- Test Alignment: Adjust the headlight beam to factory specifications (see next section).
For detailed, model-specific procedures, refer to our How to Diagnose and Replace a Headlight Bracket guide.
Headlight Alignment: Restoring Factory Specifications
After replacing or repairing the bracket, precise headlight alignment is essential. Incorrect aiming can fail safety inspections and reduce nighttime visibility.
DIY Headlight Alignment Procedure
- Level Surface: Park your vehicle on a flat surface 10–25 feet from a vertical wall.
- Mark Reference Points: Use masking tape to mark the horizontal and vertical centerlines of each headlight on the wall.
- Measure and Adjust:
- The top of the low-beam pattern should be at or slightly below the height of the headlight center (usually 2–4 inches lower at 25 feet).
- The beam should be centered horizontally with minimal left/right deviation.
- Use Factory Adjusters: Turn the vertical and horizontal screws to fine-tune the beam pattern.
- Test Drive: Confirm proper illumination and lack of glare in real-world conditions.
Consult your vehicle's service manual for model-specific alignment specifications.
Preventing Future Headlight Bracket and Alignment Issues
Proactive measures can extend the life of your headlight assemblies:
- Install High-Quality Brackets: Use OEM or premium aftermarket brackets for best fit and durability.
- Check Alignment Annually: Regularly inspect and adjust headlights as part of routine maintenance.
- Avoid Aftermarket Modifications: Custom headlight assemblies may not mount securely to factory brackets.
- Inspect After Minor Impacts: Even small bumps can affect bracket integrity—always inspect after parking mishaps or curb strikes.
For more on headlight bracket selection and maintenance, visit our Headlight Bracket Technical Guide: Secure Mounting for Optimal Illumination.
Sourcing the Right Replacement Bracket
When sourcing a replacement, consider the following:
- Vehicle Make and Model: Brackets are highly model-specific; check compatibility with your vehicle.
- OEM vs. Aftermarket: OEM brackets guarantee fit and finish, while aftermarket options may offer cost savings or enhanced durability (Choosing OEM vs Aftermarket Headlight Brackets).
- Material Quality: Look for brackets made from reinforced plastics or corrosion-resistant metals.
- Supplier Reputation: Purchase from trusted suppliers with clear return and warranty policies.
AutoPartEx offers a comprehensive selection of headlight brackets for all major manufacturers, including Acura, AMC, and more.
Integration with Other Front-End Components
Front-end collisions rarely affect just one component. When inspecting or replacing headlight brackets, also check adjacent systems:
- Radiator Support: Often shares mounting points with the headlight bracket.
- Fenders and Bumper Covers: Misalignment here can affect bracket installation.
- AC Condenser and Fans: Located near the front, these may also be displaced (AC Condenser, AC Condenser Fan).
- Air Box/Air Cleaner: Can be jarred loose, affecting air intake performance (Air Box/Air Cleaner).
A comprehensive inspection ensures no hidden issues compromise your repair.
Regulatory and Inspection Considerations
The National Highway Traffic Safety Administration sets strict requirements for headlight performance. Misaligned headlights can result in:
- Failed Vehicle Inspections: Many states require headlights to meet specific aim and intensity standards.
- Increased Accident Risk: Poor visibility or excessive glare endangers all road users.
- Potential Recalls: Persistent alignment issues may be subject to manufacturer recalls (NHTSA Recalls).
Always verify alignment and bracket integrity after any front-end repair to ensure compliance and safety.
AutoPartEx: Your Partner in Safe, Reliable Headlight Repairs
At AutoPartEx, we understand that headlight bracket integrity is essential for road safety. Our technical guides, extensive parts catalog, and expert support help you:
- Diagnose hidden bracket issues after collisions.
- Choose the right replacement bracket for your vehicle.
- Restore headlight alignment to factory specifications.
- Ensure long-term durability and compliance.
For advanced troubleshooting or part selection, explore our in-depth resources or contact our technical team. Your safety and satisfaction are our top priorities.
Conclusion: Don’t Overlook the Small Brackets That Make a Big Difference
While front-end collisions may seem straightforward to repair, overlooking the integrity of your headlight brackets can lead to persistent alignment issues, compromised safety, and regulatory headaches. By following the diagnostic and repair steps outlined above, you ensure optimal illumination and peace of mind on every drive.
For more technical insights, bracket fitment guides, and trusted parts, visit our Headlight Bracket Technical Guide: Secure Mounting for Optimal Illumination or consult our expert editorial team.


