Advertisement
Sunbeam Model History: Engineering Milestones
The Sunbeam marque stands as a testament to British automotive ingenuity, charting a course from Edwardian competition cars to the V8-powered icons of the 1960s. This comprehensive engineering overview traces Sunbeam’s evolution through its landmark models, focusing on the technology, materials, and design philosophies that defined each era. Whether you’re restoring a Tiger, sourcing Alpine fitment data, or seeking authentic parts, understanding Sunbeam’s engineering milestones is essential to making informed decisions for classic vehicle ownership. For those ready to dive deeper into part selection, fitment, and authenticity, the Sunbeam Parts Catalog is your starting point for technical accuracy and heritage preservation.
The Immediate Answer: Sunbeam’s Engineering Timeline at a Glance
Sunbeam’s history is punctuated by bold engineering advances: the pioneering 1911 12/16HP, the 1920s Grand Prix racers, the pre-war Talbot-influenced tourers, and postwar icons like the Sunbeam Alpine and Tiger. Each milestone model introduced new materials, drivetrain configurations, and safety innovations, setting benchmarks for their contemporaries. Collectors and restorers should note that Sunbeam’s engineering legacy is complex—fitment, authenticity, and parts compatibility can vary dramatically between models, making research and verification essential for successful restoration or maintenance.
Hidden Problem: The Complexity of Sunbeam Fitment and Authenticity
While Sunbeam models are celebrated for their engineering, their diverse lineage presents significant challenges. Parts interchangeability is limited, and running changes within model years can complicate restoration. For example, the transition from Rootes Group’s early postwar engineering to the Ford V8-powered Tiger introduced unique chassis and drivetrain requirements. Additionally, sourcing genuine components is complicated by decades of mergers and badge engineering. Without a clear understanding of Sunbeam’s technical evolution, restorers risk purchasing incorrect or incompatible parts, undermining safety, performance, and historical value.
Expanding the Problem: Why Sunbeam’s Engineering Milestones Matter
Model Overlaps and Running Changes
Sunbeam’s model history is marked by overlapping production runs, mid-year engineering updates, and shared components across Rootes Group brands. The Sunbeam Alpine, for instance, existed in several distinct Series (I-V), each with unique suspension, bodywork, and drivetrain configurations. The Tiger, built on the Alpine platform, required significant structural modifications to accommodate the Ford 260 and 289 V8 engines. These changes are not always visible externally, making accurate identification and fitment research crucial.
Materials and Manufacturing Variations
Throughout its history, Sunbeam adopted new materials and manufacturing techniques—from early steel and wood coachwork to postwar unitary construction and aluminum body panels. These changes directly affect part compatibility, structural integrity, and restoration methods. Owners must be aware of which materials were used in their specific model to select the correct replacement parts and maintenance procedures, particularly when safety-critical components like suspension mounts or braking systems are involved.
Evolving Safety and Regulatory Standards
Sunbeam’s engineering milestones often predate modern safety and efficiency standards. For example, early models lack the crash protection and emissions controls expected in contemporary vehicles, while later Alpines and Tigers began to incorporate improved braking systems and lighting. When restoring or upgrading, understanding these original standards—and the implications for modern use—is essential for both authenticity and safety. For more on safety and equipment standards, consult the National Highway Traffic Safety Administration’s Vehicle Safety and Equipment guidelines.
Edwardian Beginnings: Sunbeam’s Early Engineering Prowess
The 12/16HP and 25HP (1911–1914)
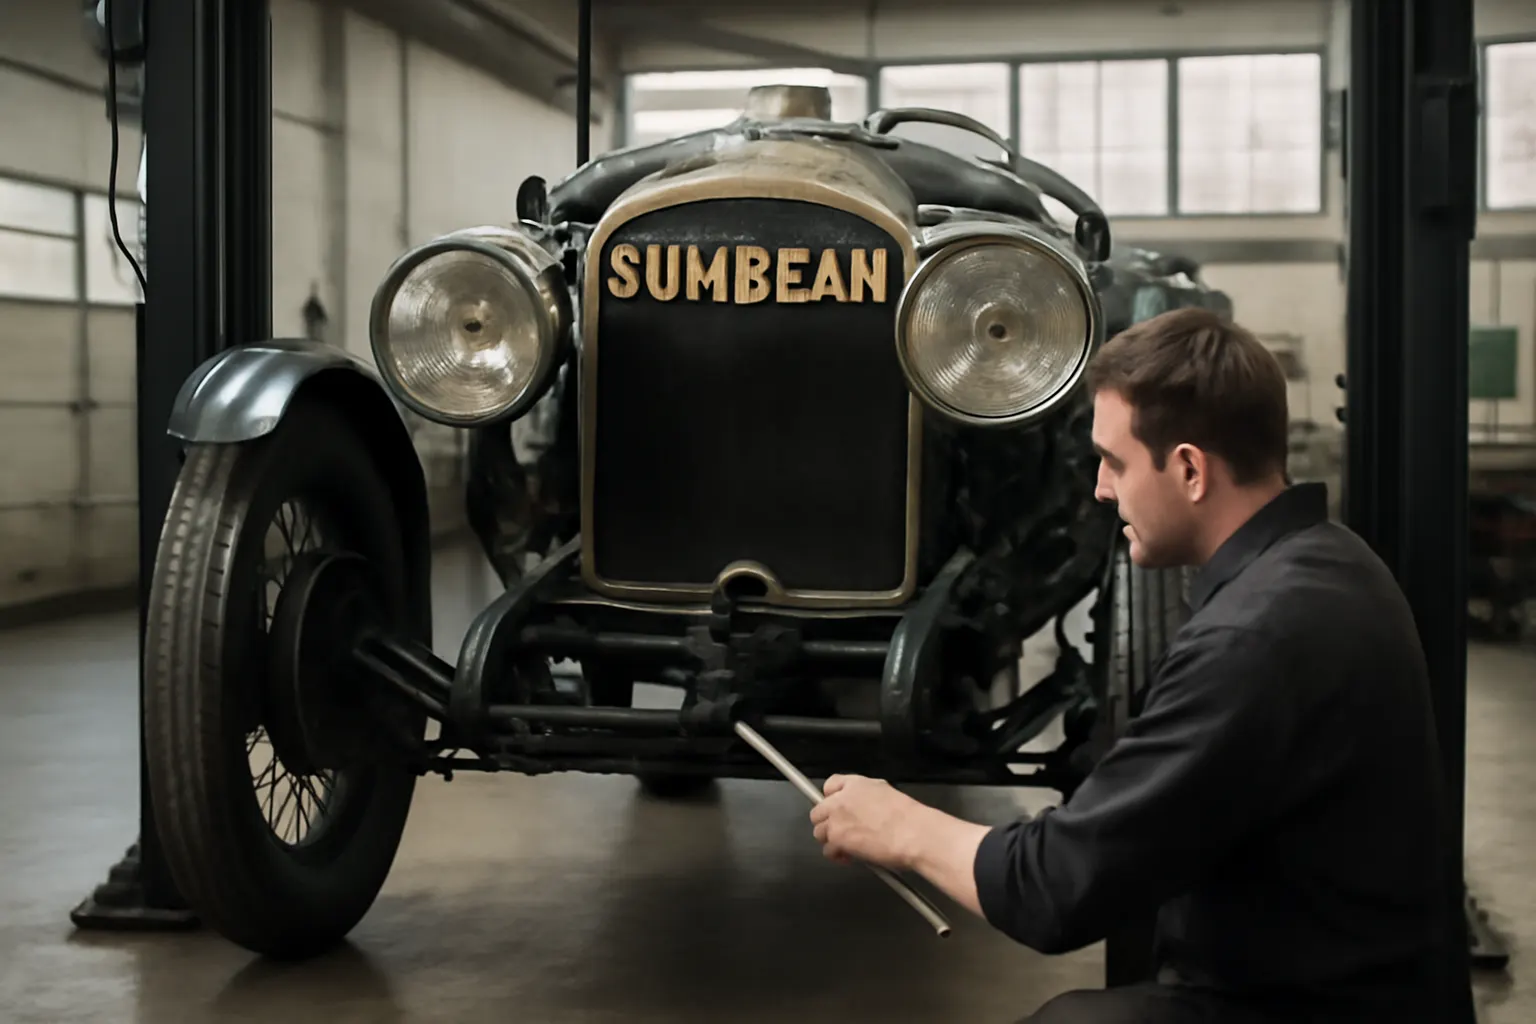
Sunbeam’s first significant engineering milestone was the 12/16HP, introduced in 1911. With its four-cylinder side-valve engine and advanced-for-its-time pressure lubrication system, the 12/16HP established Sunbeam’s reputation for robust, reliable engineering. The larger 25HP followed, featuring a six-cylinder engine and improved chassis rigidity—an early example of Sunbeam’s commitment to performance and structural innovation.
Technical Highlights
- Pressure lubrication: Improved engine longevity and reliability compared to splash systems.
- Early use of steel chassis: Enhanced torsional rigidity and crashworthiness.
- Coachbuilt bodies: Allowed for customization but introduced fitment variability between cars.
Restoration and Fitment Considerations
Restorers of Edwardian Sunbeams must contend with bespoke bodywork and limited parts interchangeability. Original replacement parts are rare, and custom fabrication is often required. Detailed chassis and engine number verification is essential for authenticity.
Advertisement
The Golden Age: Sunbeam’s Racing and Touring Innovations (1920s–1930s)
Grand Prix and Land Speed Record Cars
Sunbeam’s 1920s engineering was defined by competition success. The 1922 Sunbeam Grand Prix car introduced twin overhead camshafts and four valves per cylinder—ahead of its time for both racing and road use. The Sunbeam 1000HP, holder of the 1927 land speed record, showcased twin V12 aero engines and advanced streamlining.
Touring Models: 16HP, 20HP, and Talbot-Sunbeam
During the interwar period, Sunbeam produced refined touring cars featuring advanced braking (four-wheel brakes), synchromesh gearboxes, and improved ride quality. The Talbot-Sunbeam merger introduced further engineering cross-pollination, with shared chassis and powertrain components.
Diagnostic Checklist: Key Engineering Features (1920s–1930s)
- Twin overhead cam engines: Check for correct camshaft and timing components.
- Four-wheel brakes: Inspect for original cable or hydraulic mechanisms.
- Chassis numbering: Verify against factory records for authenticity.
- Body mounting: Confirm correct body-to-chassis mounting hardware and materials.
Postwar Rebirth: The Sunbeam-Talbot Era (1945–1956)
Sunbeam-Talbot 80, 90, and Mk III
Postwar Sunbeam models reflected both engineering conservatism and innovation. The Sunbeam-Talbot 90, for example, featured a robust four-cylinder OHV engine and independent front suspension—providing improved handling and ride comfort. The Mk III introduced further refinements, including a larger engine and enhanced braking.
Materials and Safety Upgrades
The postwar era saw increased use of stamped steel panels and improved corrosion resistance. While safety features remained basic by today’s standards, Sunbeam’s engineering prioritized durability and ease of maintenance.
Fitment and Restoration Guidance
- Engine variations: Confirm engine codes and displacement before ordering parts.
- Suspension components: Early models may use unique bushings and mounts—verify fitment.
- Electrical systems: Check for original Lucas components; wiring harnesses may require custom reproduction.
The Alpine Series: Lightweight Construction and Modern Engineering (1959–1968)
Series I–V: Evolution of the Classic British Roadster
The Sunbeam Alpine’s five Series (I–V) introduced continual engineering improvements. Early Series featured a 1.5L engine and swing-axle rear suspension, while later Series IV and V adopted a 1.7L engine and revised rear suspension for better handling. The Alpine pioneered unibody construction for Sunbeam, reducing weight and improving rigidity.
Technical Advancements
- Unitary construction: Enhanced crashworthiness and reduced panel flex.
- Improved drivetrain: Series V introduced a stronger gearbox and rear axle.
- Disc brakes: Later Series featured front disc brakes for improved stopping power.
Maintenance and Sourcing Checklist: Sunbeam Alpine
- Chassis rust: Inspect sills and floorpans for corrosion; unitary construction is sensitive to rust.
- Engine swaps: Verify engine and gearbox numbers for originality.
- Brake upgrades: Ensure correct fitment of disc vs. drum brake components.
- Electrical compatibility: Series-specific wiring harnesses—do not mix between Series.
For a detailed restoration guide, see the Sunbeam Alpine Restoration Guide.
The Tiger: American Muscle Meets British Engineering (1964–1967)
Carroll Shelby’s Influence and the Ford V8
The Sunbeam Tiger represents the pinnacle of Sunbeam’s engineering ambition. Carroll Shelby’s team adapted the Alpine’s chassis to accept a Ford 260 (later 289) V8, requiring extensive chassis strengthening, modified steering, and upgraded brakes. The result was a compact roadster with performance rivaling the AC Cobra.
Chassis and Drivetrain Modifications
- Strengthened transmission tunnel: Accommodates larger gearbox and V8 torque.
- Revised steering: Rack-and-pinion relocated for engine clearance.
- Upgraded rear axle: Sourced from Ford for durability.
Fitment and Authenticity Checklist: Sunbeam Tiger
- VIN and JAL tags: Confirm authenticity—replicas and conversions are common.
- Chassis reinforcements: Inspect for correct factory welds and gussets.
- Cooling system: Verify correct radiator and shroud for V8 fitment.
- Brake system: Tiger-specific master cylinder and servo—do not substitute Alpine parts.
For comprehensive fitment data, refer to the Sunbeam Tiger Powertrain Fitment Guide.
Materials Technology: From Steel to Aluminum
Sunbeam’s adoption of advanced materials paralleled broader industry trends. Early models used a mix of steel, wood, and aluminum, while the Alpine and Tiger featured all-steel unitary bodies. Select competition models experimented with aluminum panels for weight reduction. Understanding these materials is essential for sourcing correct body panels and ensuring structural safety during restoration.
Advertisement
Body Panel Sourcing and Repair
- Steel panels: Check for factory spot-welds; aftermarket panels may require fitting.
- Aluminum: Use correct welding and repair techniques to prevent galvanic corrosion.
- Underbody protection: Apply modern anti-corrosion coatings to extend service life.
For more on automotive materials technology, consult the Department of Energy’s Materials Technologies resource.
Safety, Standards, and Regulatory Compliance
While most Sunbeam models predate modern safety standards, later Alpines and Tigers incorporated improved braking, lighting, and crash protection. When restoring or modifying, reference SAE standards for brake, lighting, and chassis systems to ensure compliance with contemporary safety expectations. Retrofitting seatbelts, improved lighting, or dual-circuit brakes can enhance safety without compromising authenticity if done sensitively.
Safety Upgrade Checklist
- Brakes: Consider dual-circuit master cylinder upgrades for added safety.
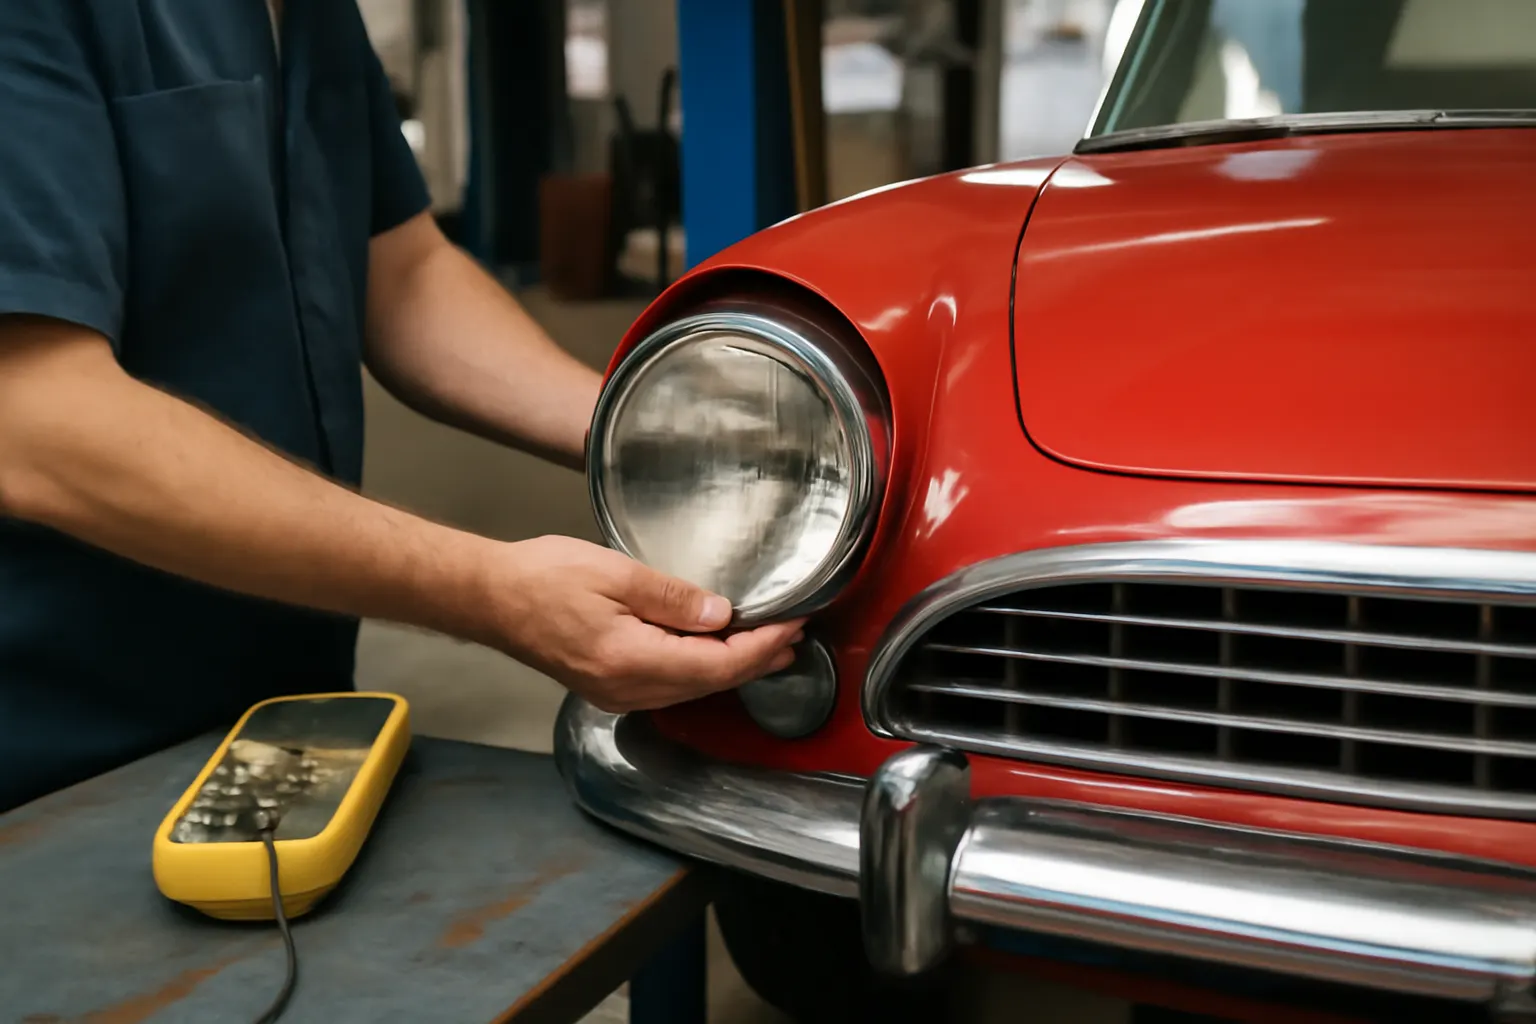
- Lighting: Upgrade to halogen bulbs or LED inserts, maintaining period-correct appearance.
- Seatbelts: Install anchor points in accordance with SAE recommendations.
For authoritative standards, visit SAE Standards.
Diagnostics: Verifying Sunbeam Model Authenticity
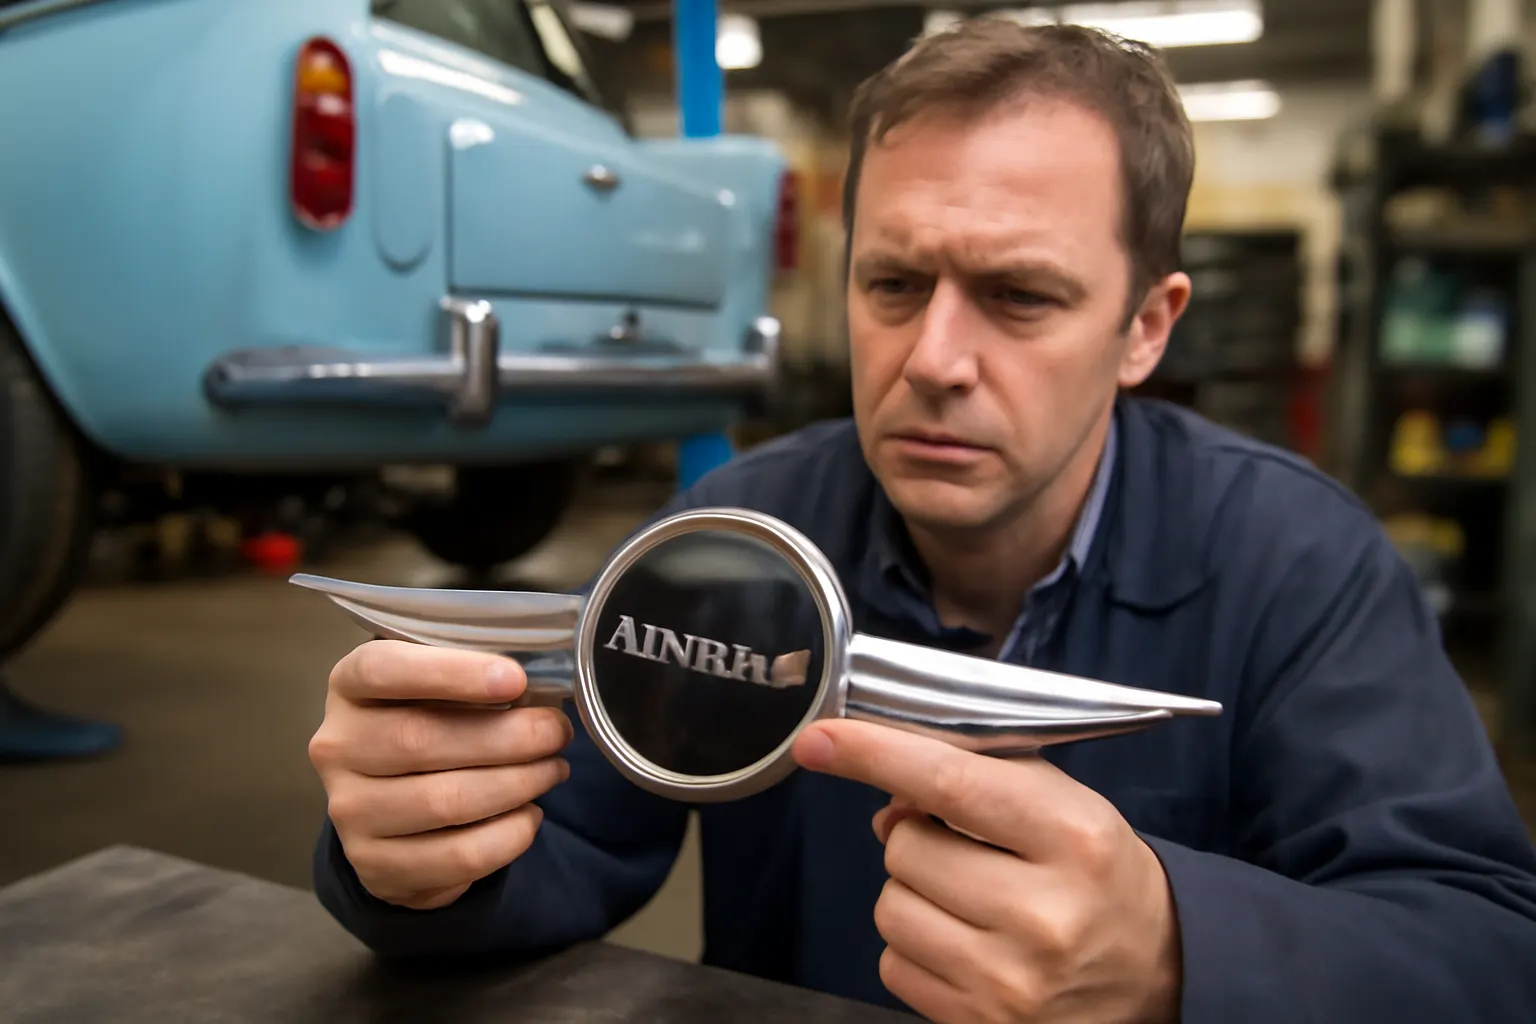
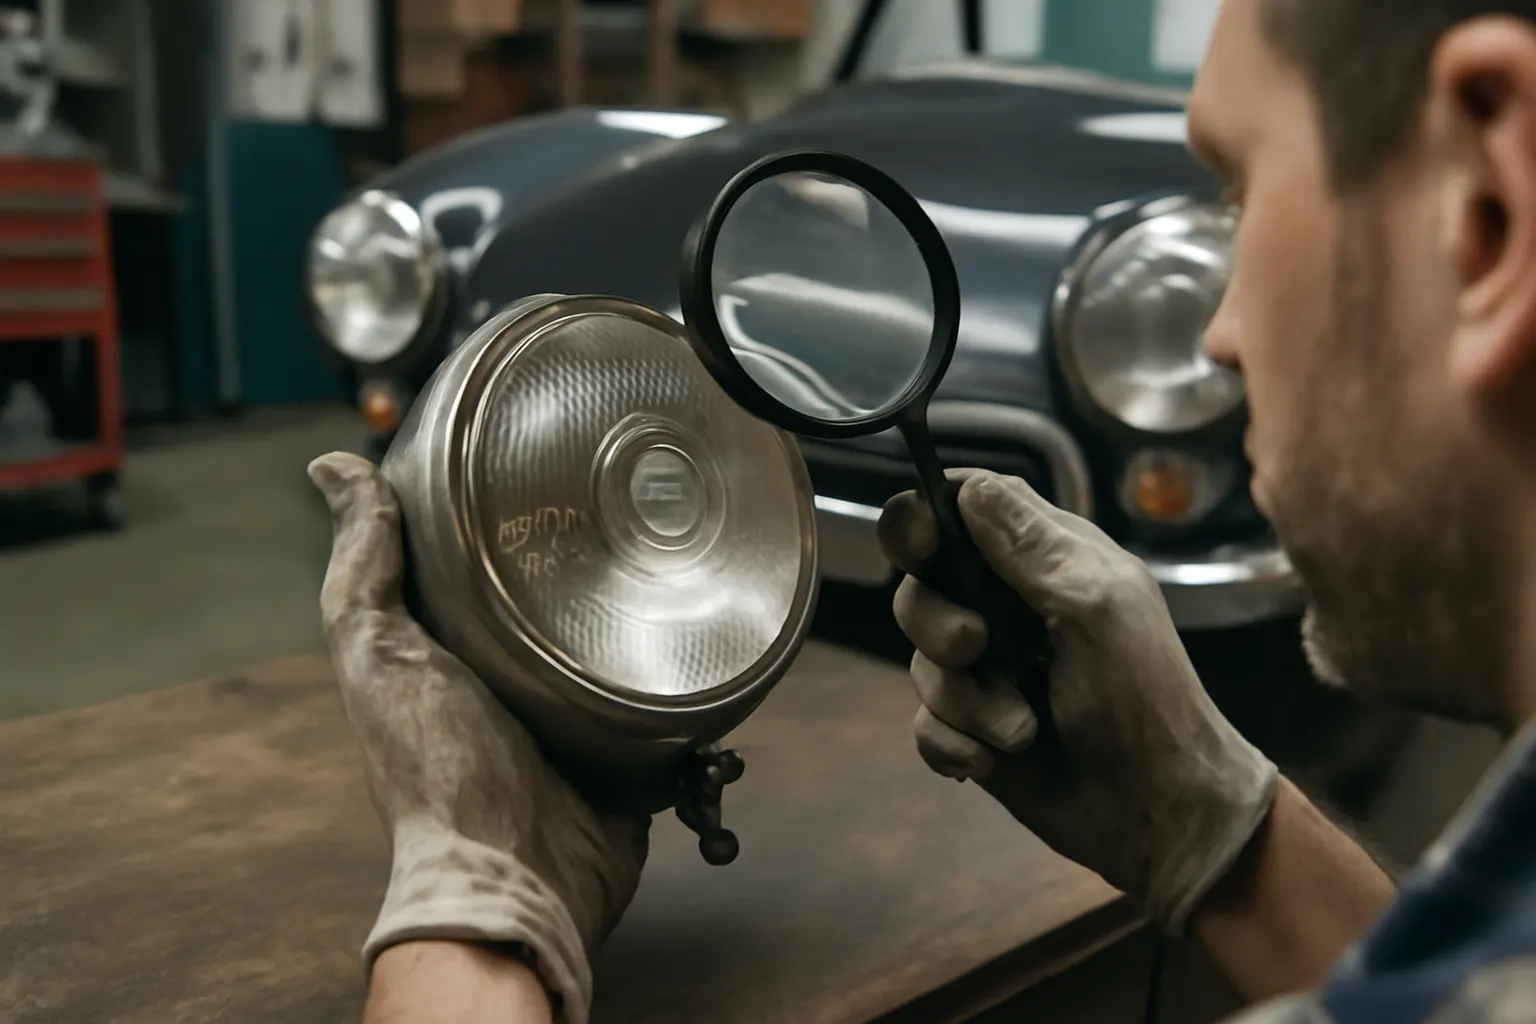
Given the prevalence of badge engineering and conversions (particularly for Tigers), rigorous verification is essential. Use a combination of chassis numbers, engine codes, body tags, and period documentation to confirm authenticity. The Spotting Genuine Sunbeam Parts: Collector's Checklist provides a detailed guide for distinguishing original components from reproductions or conversions.
Diagnostic Steps
- VIN and JAL Tag Inspection: Cross-reference with factory records.
- Engine and Gearbox Codes: Ensure numbers match period-correct specifications.
- Chassis Features: Look for Tiger-specific reinforcements or Alpine Series-specific body features.
- Component Markings: Identify original supplier marks (e.g., Lucas, Girling).
Maintenance and Upkeep: Keeping Sunbeam Engineering Alive
Routine maintenance is critical for preserving Sunbeam’s engineering legacy. Classic Sunbeams require regular inspection of lubrication systems, cooling, and electrical components. Pay particular attention to fuel system cleanliness and brake hydraulic integrity, as older materials can degrade over time. Use only compatible fluids and replacement parts matched to your model’s engineering specifications.
Maintenance Schedule Overview
- Engine oil: Change every 3,000 miles or annually.
- Coolant: Flush and replace every two years.
- Brakes: Inspect hydraulic components for leaks and replace fluid biennially.
- Suspension: Grease all points at regular intervals; inspect for bushing wear.
- Electrical: Clean and tighten all connections; inspect harness for brittleness.
Sourcing Sunbeam Parts: Navigating Fitment and Authenticity
With the diversity of Sunbeam models, careful sourcing is crucial. Use model-specific catalogs and consult expert suppliers who understand Sunbeam’s engineering nuances. Prioritize NOS (new old stock) or high-quality reproduction parts, and always verify fitment against your vehicle’s chassis and engine numbers.
Sourcing Checklist
- Model and Series identification: Confirm before ordering.
- Component compatibility: Cross-check against factory parts lists.
- Supplier reputation: Use trusted classic car specialists.
- Documentation: Retain purchase records and fitment notes for future reference.
For a curated selection of authentic components, visit the Sunbeam Parts Catalog.
The AutoPartEx Advantage: Expertise for Sunbeam Enthusiasts
AutoPartEx provides Sunbeam owners with a unique combination of technical resources, expert guidance, and a curated parts selection. Our editorial and fitment guides—such as the Sunbeam Alpine Restoration Guide and Sunbeam Tiger Powertrain Fitment Guide—are grounded in industry standards and verified historical data. Our commitment to accuracy ensures that restorers and collectors can maintain the authenticity, safety, and performance of their classic Sunbeams for generations to come.
Taking Action: Steps for Sunbeam Owners and Restorers
For those embarking on a Sunbeam restoration or maintenance project, follow these expert steps:
- Document your vehicle’s specifics: Record chassis, engine, and body numbers.
- Research your model’s engineering details: Use factory manuals, period documentation, and expert guides.
- Source parts from reputable suppliers: Prioritize fitment accuracy and authenticity.
- Consult standards and safety resources: Reference SAE and NHTSA for safety-critical components.
- Maintain detailed records: Track maintenance, part numbers, and restoration decisions for provenance.
By combining historical research with modern technical standards, Sunbeam owners can preserve both the heritage and performance of these remarkable British classics.
References
- Fuel Efficiency – United States Department of Energy
- Vehicle Safety and Equipment – National Highway Traffic Safety Administration
- Materials Technologies – United States Department of Energy
- SAE Standards – SAE International
- Vehicle, Car Seat, Tire, and Equipment Recalls – National Highway Traffic Safety Administration
Advertisement