Advertisement
Restoring a Studebaker is a deeply rewarding experience, but even seasoned enthusiasts can fall victim to common pitfalls that compromise authenticity, safety, and long-term value. Whether you’re tackling a Champion, Commander, Hawk, or Avanti, understanding these restoration mistakes upfront will save you time, money, and disappointment. In this comprehensive guide, the AutoPartEx Technical Editorial Team details the most frequent Studebaker restoration errors and provides actionable advice to help you preserve originality and ensure your classic stands the test of time.
If you’re searching for authentic parts or want to verify fitment, start with our Studebaker Auto Parts: Authentic OEM & Restoration Guide | AutoPartEx.io, your foundational resource for restoration success.
The Most Common Studebaker Restoration Mistakes at a Glance
Quick Reference Table: Top Pitfalls and Solutions
| Mistake | Impact | Solution Path |
|---|---|---|
| Using incorrect or non-OEM parts | Loss of authenticity, safety risk | Source verified OEM or high-quality repros |
| Overlooking safety upgrades | Unsafe operation | Integrate modern safety discreetly |
| Neglecting original materials/finishes | Devalues restoration | Research factory specs and materials |
| Poor documentation of disassembly | Reassembly errors, lost parts | Photograph, label, and catalog every step |
| Ignoring model-specific fitment issues | Poor fit, mechanical problems | Use detailed fitment guides and cross-check |
| Inadequate rust and corrosion repair | Structural weakness, future costs | Perform thorough inspection and remediation |
| Skipping professional brake, fuel, or electrical work | Safety hazards | Consult experts and reference standards |
| Over-restoring (modernizing excessively) | Loss of historical value | Balance upgrades with preservation |
Hidden Problems: Why Studebaker Restorations Go Off Track
Many restorers begin with high hopes and a vision of a concours-worthy classic, only to encounter setbacks that dramatically increase costs or force compromises. The underlying issue is that Studebaker models—while mechanically straightforward—demand attention to period-correct detail, careful part sourcing, and a nuanced understanding of vintage automotive systems. The temptation to “make do” with generic parts, rush through body repairs, or skip seemingly minor details can undermine the entire project.
Even more insidious are the mistakes that only become apparent after reassembly: ill-fitting trim, mismatched paint, unreliable brakes, or persistent electrical gremlins. These problems aren’t just frustrating—they can make your Studebaker unsafe to drive or difficult to sell.
The Authenticity Trap: Using Incorrect or Generic Parts
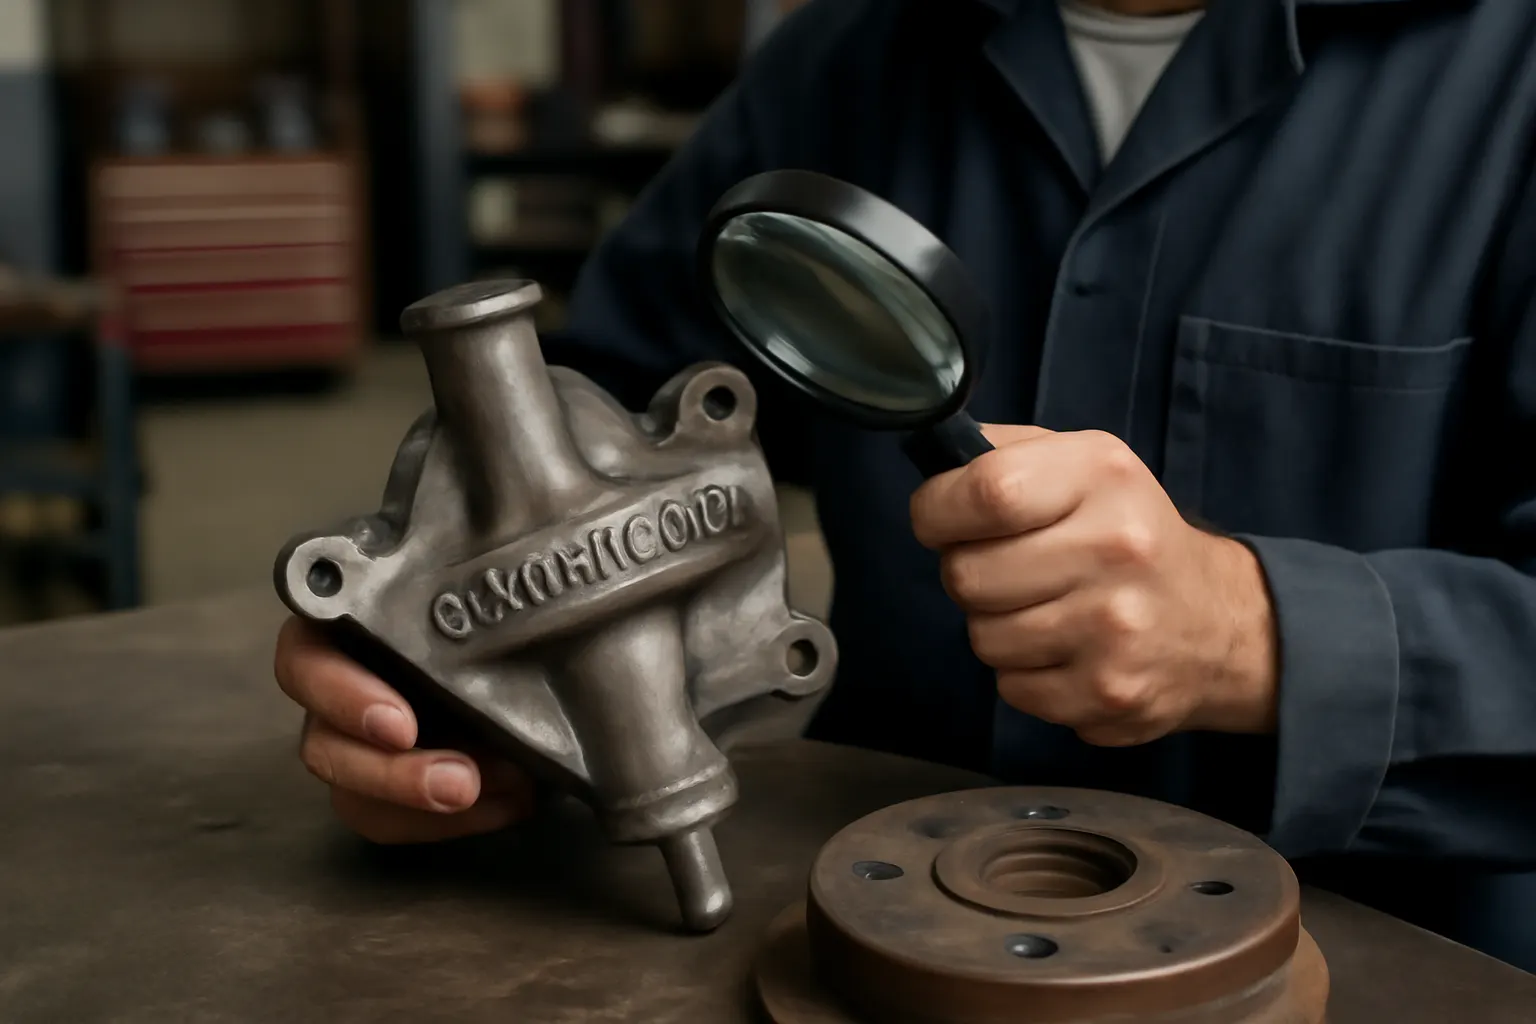
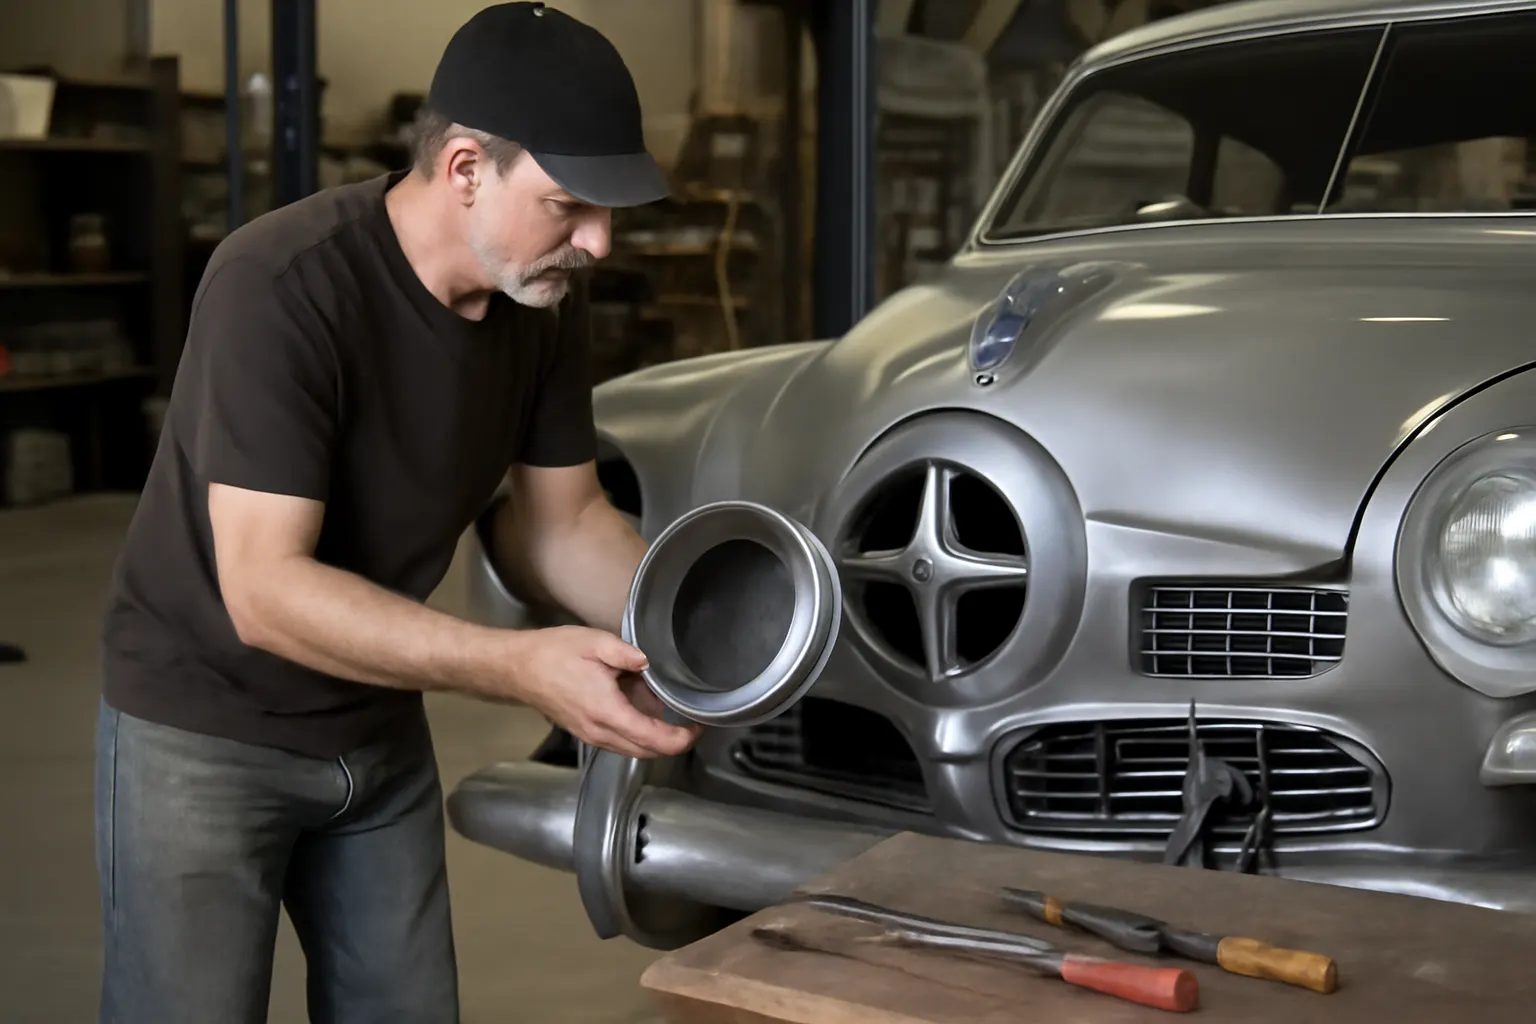
Perhaps the most widespread mistake is substituting generic or incorrect parts for hard-to-find Studebaker components. This is especially common with trim, emblems, interior fittings, and mechanical assemblies like brakes and suspension.
Why It Matters:
Studebaker’s engineering was distinctive, and many components (from fasteners to body panels) differ subtly from their Big Three contemporaries. Using non-OEM parts can cause fitment issues, premature wear, or even safety hazards. For example, installing a “close enough” brake cylinder from another make may result in incorrect pedal feel, uneven braking, or leaks.
Solution:
Invest time in sourcing authentic parts. Reference the Restoring a Studebaker: Sourcing Authentic Parts guide for reputable vendors and tips on distinguishing OEM from reproduction. When reproduction is necessary, choose suppliers who adhere to original specifications and finishes.
Overlooking Model-Specific Fitment: The Devil in the Details
Studebaker’s model evolution means that even within the same year, parts can vary significantly. For example, a 1953 Commander door handle may look similar to a 1954, but mounting points or contours can differ.
Hidden Problem:
Relying on visual similarity or incomplete parts catalogs leads to mismatched panels, gaps, or components that simply won’t bolt up. This often isn’t discovered until late in the build, wasting hours and increasing costs.
Practical Guidance:
Always cross-reference part numbers and consult the Studebaker Model Fitment Guide before purchasing or installing. Keep a detailed log of your vehicle’s VIN, build date, and factory options to ensure accurate fitment.
Neglecting Safety Upgrades: Balancing Authenticity and Modern Standards
While originality is the goal, certain safety upgrades are essential for reliable operation. Studebakers were built before modern crash standards, and components like brakes, seat belts, and lighting may not meet today’s expectations.
Advertisement
Common Mistake:
Restorers sometimes skip safety improvements for the sake of authenticity, or conversely, install modern components that clash visually with the original interior.
Best Practice:
Discreetly integrate safety upgrades where possible. For example, use period-correct seat belt webbing with modern retractors, or install dual-circuit master cylinders that fit within the stock firewall. Consult the Vehicle Safety and Equipment standards for guidance on critical systems.
Failing to Document Disassembly: The Recipe for Reassembly Nightmares
A Studebaker restoration often spans months or years. Without thorough documentation, it’s easy to lose track of fastener types, wiring routes, or small brackets.
Hidden Problem:
Improper documentation leads to reassembly errors, missing parts, and guesswork that can result in mechanical failures or incorrect appearance.
Checklist for Effective Documentation:
- Photograph every step of disassembly (multiple angles)
- Label all bags/boxes with part names and locations
- Maintain a written log of removed parts and their condition
- Record fastener types and note any unique hardware
- Tag wires and connectors with durable labels
This process pays dividends when it’s time to reassemble, reducing errors and ensuring authenticity.
Underestimating Rust and Corrosion: Structural and Cosmetic Risks
Studebakers, especially those from the 1940s–1960s, are notorious for hidden rust in floor pans, rocker panels, and trunk wells. Surface rust may be visible, but structural corrosion often hides beneath seam sealer or undercoating.
Common Mistake:
Rushing through bodywork or simply “patching” visible rust without inspecting the full extent of corrosion.
Technical Explanation:
Rust weakens the structure, leading to unsafe driving conditions and costly future repairs. It can also spread to mounting points for suspension and drivetrain components.
Solution Path:
- Completely strip the body and inspect all seams, panels, and subframes
- Use borescopes or cameras to inspect enclosed sections
- Replace or fabricate metal panels as needed, following original gauge and contour
- Apply modern rust inhibitors and correct seam sealers to match factory appearance
Skipping Professional Brake, Fuel, or Electrical System Restoration
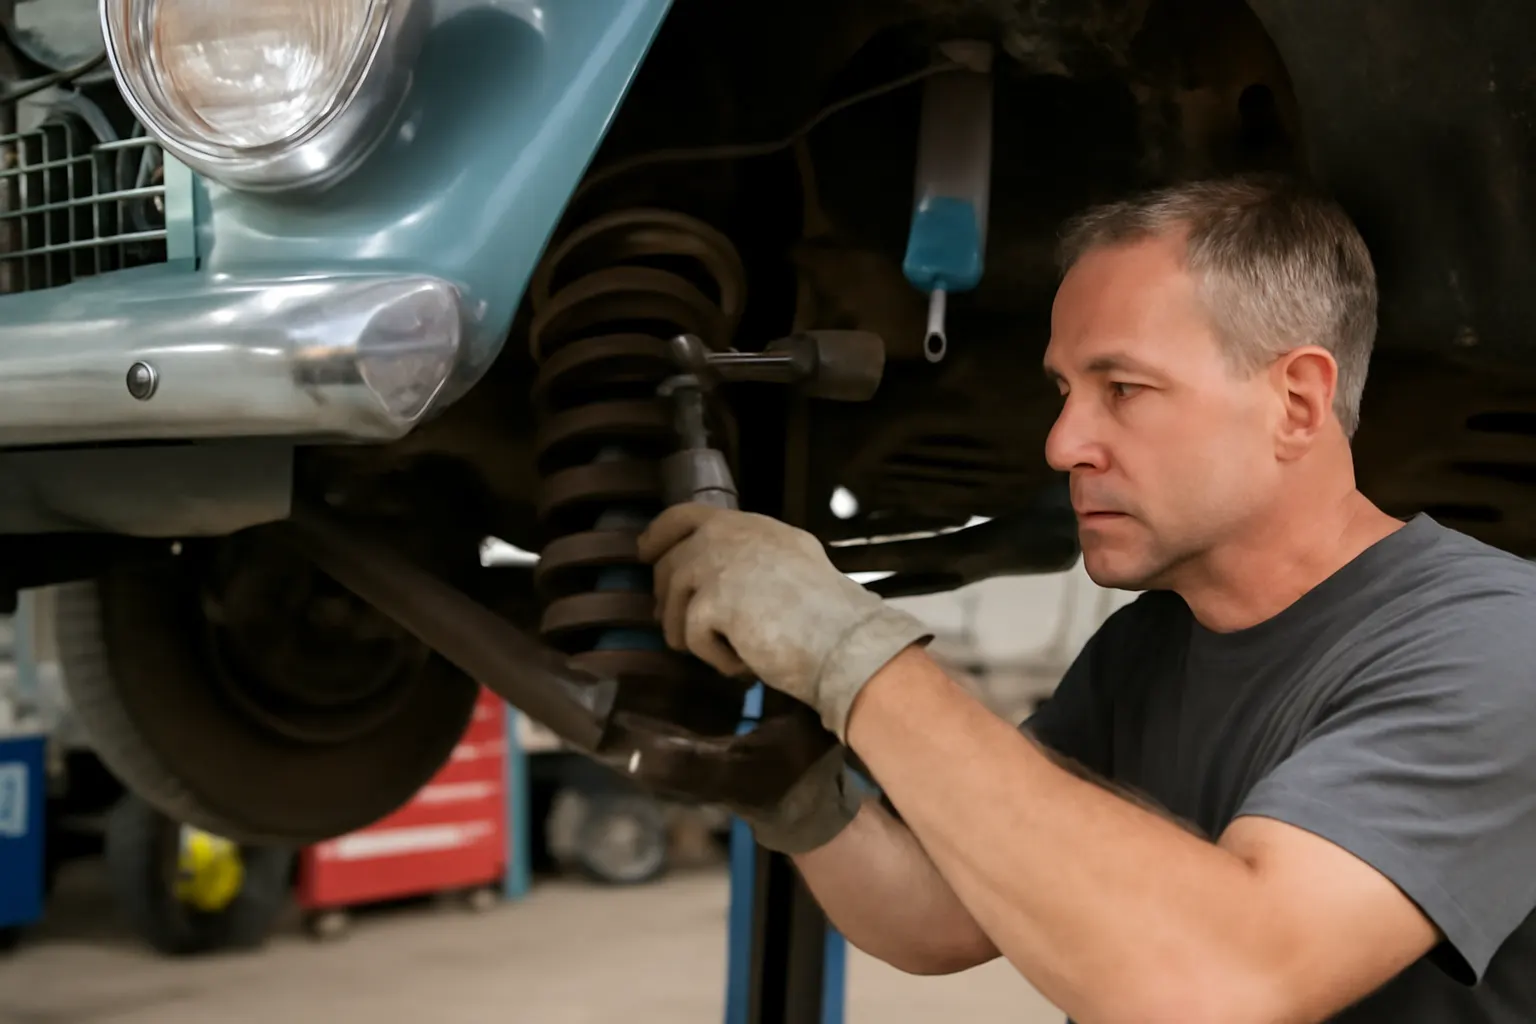
Studebaker’s mechanical systems, while robust, are now decades old. Attempting DIY rebuilds of brakes, fuel lines, or wiring without the proper tools and standards knowledge is a recipe for trouble.
Common Pitfalls:
- Reusing old brake lines or cylinders
- Failing to replace perished fuel hoses
- Overlooking brittle or corroded wiring
Expert Guidance:
Reference safety guidelines from the National Highway Traffic Safety Administration and consult the Studebaker Brake System Reference. If in doubt, have brake and fuel components rebuilt or pressure-tested by specialists. Replace the entire wiring harness if insulation is cracked or brittle.
Over-Restoring: When Modernization Goes Too Far
It’s tempting to add modern conveniences—A/C, disc brakes, digital gauges—but excessive modernization can undermine Studebaker’s historical character and reduce collector value.
Problem Expansion:
“Restomod” features may be appealing for drivability, but irreversible modifications (cutting dashes, welding new mounts) can’t be undone. Purists and future buyers often seek original engineering and appearance.
Balanced Solution:
If upgrades are desired, use reversible modifications and period-style accessories. Keep all original parts for potential reinstallation. Document every modification for future reference.
Neglecting Original Materials and Finishes
Studebaker interiors and exteriors had distinctive textures, grains, and colors. Modern materials may be more durable or readily available, but incorrect choices are easy to spot.
Common Errors:
- Using vinyl instead of original cloth or leather
- Applying incorrect paint codes or gloss levels
- Substituting plastic for metal trim
Technical Reference:
Consult the Materials Technologies guidelines for proper materials selection. Research period-correct finishes and consult factory documentation or restoration forums for guidance.
Inadequate Preparation for Paint and Bodywork
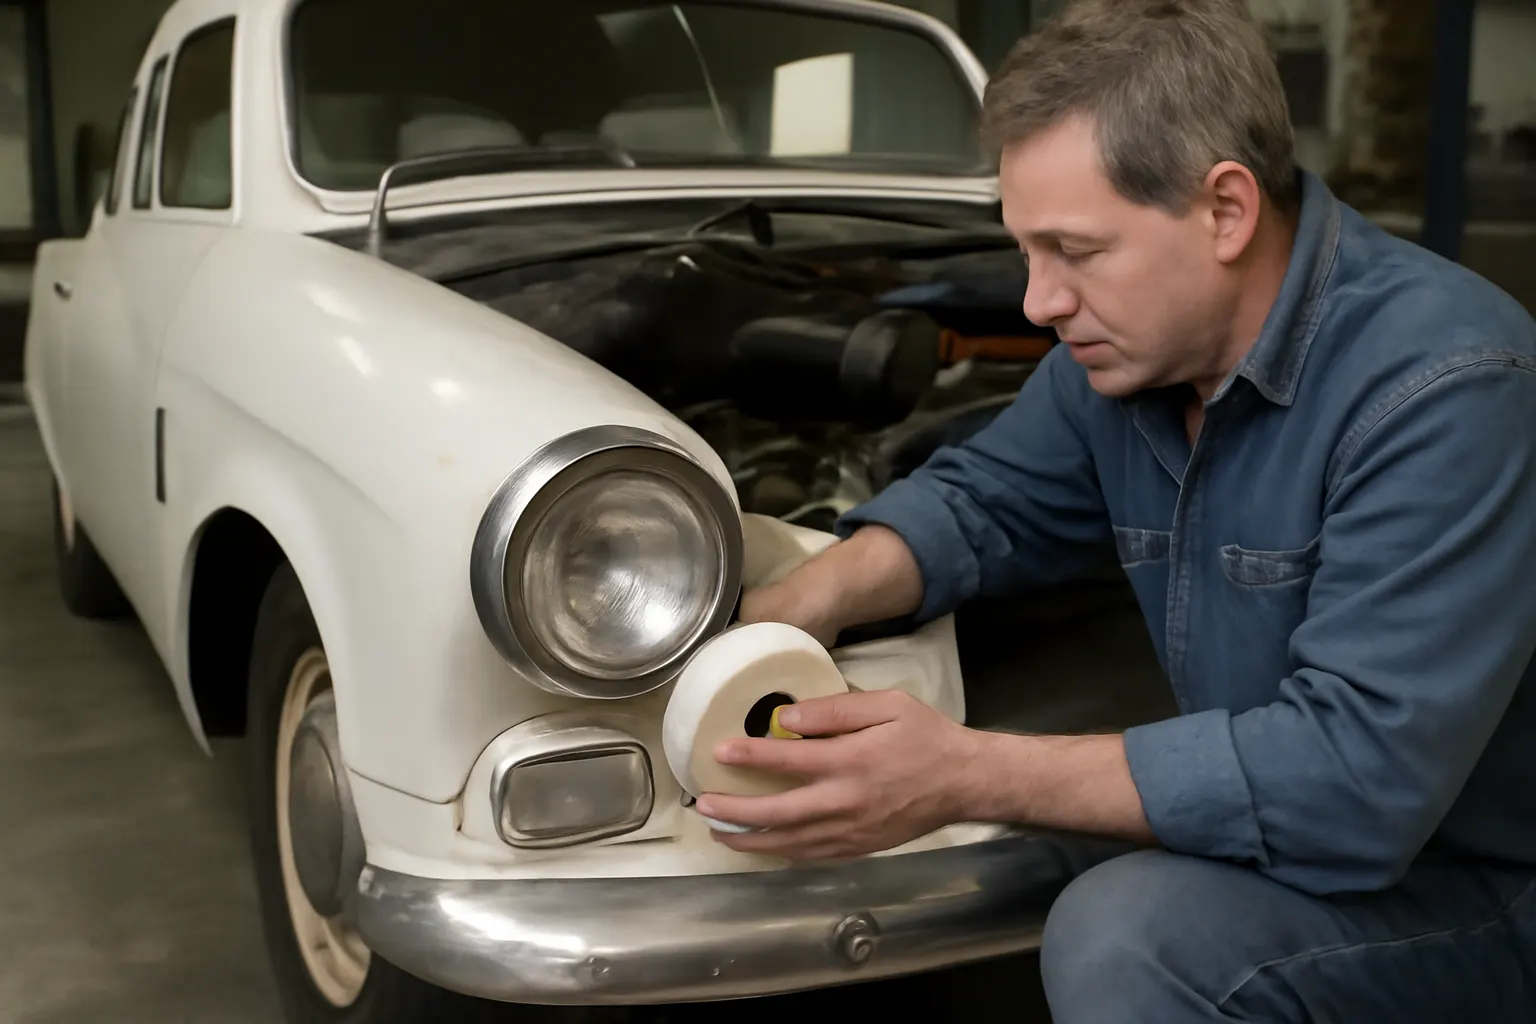
Bodywork is often underestimated in complexity. Poor surface prep, incorrect primer choice, or shortcuts in sanding can lead to visible waves, poor paint adhesion, or rapid deterioration.
Checklist for Paint Preparation:
Advertisement
- Strip all old paint and filler to bare metal
- Repair dents and rust with correct gauge metal
- Use etching primers compatible with final paint
- Block-sand surfaces to achieve smooth, flat panels
- Apply color and clear coats in a dust-free environment
Document paint codes and application methods to match original factory appearance.
Overlooking Fuel Efficiency and Drivability Upgrades
While originality is important, certain efficiency upgrades can be integrated without compromising authenticity. Studebaker inline-sixes and V8s can benefit from modern carburetor internals, improved ignition, or synthetic lubricants.
Common Mistake:
Retaining obsolete components (e.g., worn carburetors, points ignition) that degrade performance, reliability, and fuel economy.
Practical Upgrades:
- Rebuild or upgrade carburetors using ethanol-tolerant materials
- Install electronic ignition modules inside original housings
- Use low-friction engine and differential lubricants
Reference the Fuel Efficiency guidelines for tips on maximizing efficiency in classic vehicles.
Ignoring SAE and Industry Standards for Fasteners and Torque
Studebaker used a combination of SAE and proprietary fasteners. Substituting modern metric hardware or ignoring torque specifications can lead to mechanical failures.
Hidden Problem:
Incorrect fasteners may strip threads or fail under load, especially in suspension and drivetrain assemblies.
Solution:
Reference SAE Standards and original Studebaker service manuals for correct fastener types, finishes, and torque values. When replacing hardware, source period-correct or reproduction fasteners.
Overlooking Documentation, Provenance, and Build Sheets
A well-documented restoration not only aids reassembly but also enhances resale value and historical interest. Missing or incomplete documentation is a common oversight.
Best Practices:
- Secure a copy of the original build sheet or production order
- Maintain a restoration log with photos, receipts, and part numbers
- Document all deviations from factory specifications
This paperwork is invaluable for insurance, resale, and concours judging.
Restoration Planning Checklist: Avoiding the Most Costly Mistakes
Before you start your Studebaker restoration, use this checklist to set yourself up for success:
- Research: Gather factory manuals, fitment guides, and period literature for your specific model and year.
- Inventory: Catalog existing parts, noting originality and condition.
- Documentation: Photograph and label every disassembly step.
- Part Sourcing: Identify reputable suppliers for OEM and reproduction parts. Prioritize safety-critical items.
- Rust Inspection: Inspect all panels and subframes for corrosion. Plan for professional repairs where needed.
- Safety Upgrades: Plan for discreet integration of seat belts, brakes, and lighting upgrades.
- Material Selection: Research original materials, finishes, and colors for interior and exterior.
- Professional Services: Budget for expert help with brakes, wiring, paint, and upholstery.
- Modification Log: If modernizing, document all changes and retain original parts.
- Final Assembly: Use torque specs, fastener guides, and factory diagrams for assembly.
Solution Path: Building a Restoration That Lasts
Restoring a Studebaker to its former glory is a marathon, not a sprint. By anticipating these common mistakes and following best practices, you’ll create a safer, more authentic, and more valuable classic. Leverage comprehensive resources such as the Studebaker Auto Parts: Authentic OEM & Restoration Guide | AutoPartEx.io for sourcing and technical support, and consult linked fitment and brake system guides for model-specific details.
Remember, the most successful restorations blend period-correct detail with discreet safety and reliability upgrades. Careful documentation, patience, and a commitment to authenticity will ensure your Studebaker stands out for all the right reasons.
AutoPartEx: Your Partner in Studebaker Restoration
At AutoPartEx, we know that every Studebaker project is unique. Our guides, fitment tools, and curated parts inventory are designed to help you avoid restoration pitfalls and achieve museum-quality results. Whether you’re sourcing rare emblems, decoding brake fitment, or seeking advice on original finishes, our technical team is here to support your journey.
Explore our Studebaker Auto Parts: Authentic OEM & Restoration Guide | AutoPartEx.io for a comprehensive overview, or dive deeper into fitment with the Studebaker Model Fitment Guide.
Ready to take your restoration to the next level? Reach out to AutoPartEx for expert consultation, sourcing assistance, and the latest technical resources tailored for Studebaker enthusiasts.
References
Advertisement