Advertisement
Window regulators—especially those for the back glass—are among the most overlooked yet essential components for both safety and convenience in modern vehicles. If you want to avoid the inconvenience, safety risk, and expense of a stuck or failed window, preventive maintenance is your best defense. In this comprehensive guide, AutoPartEx experts share actionable maintenance strategies to extend the lifespan of your back glass regulator, reduce the risk of sudden failures, and help you avoid costly emergency repairs.
Why Window Regulator Maintenance Matters
A window regulator is the mechanical assembly that raises and lowers your vehicle’s windows, often powered by an electric motor. When a regulator fails—whether due to wear, corrosion, or electrical issues—you may be left with a window stuck open or closed. This not only exposes your vehicle’s interior to theft and weather but can also be a direct safety concern, especially if the failure occurs unexpectedly.
Regular maintenance of your window regulator, particularly the back glass unit, can:
- Prevent sudden breakdowns and emergency repairs
- Enhance overall vehicle safety and security
- Prolong the lifespan of both the regulator and associated components (like the window motor)
- Maintain factory-grade fit and finish, preserving your vehicle’s value
Neglecting these simple practices can lead to avoidable expenses and frustrating downtime.
The Hidden Problem: Why Regulators Fail Prematurely
Most back glass regulator failures are not random. They’re the result of gradual processes that go unnoticed until a major failure occurs. Here’s what’s happening behind the scenes:
- Dirt and debris: Accumulate in window tracks, increasing friction and forcing the regulator motor to work harder.
- Lack of lubrication: Dry or corroded tracks and cables create resistance, straining mechanical and electrical parts.
- Moisture intrusion: Water entering the door or hatch area can corrode metal components and electrical connections.
- Neglected minor symptoms: Early signs like slow window movement or unusual noises are often ignored until complete failure.
Understanding these underlying issues is key to effective prevention.
Technical Deep Dive: Anatomy of a Window Regulator
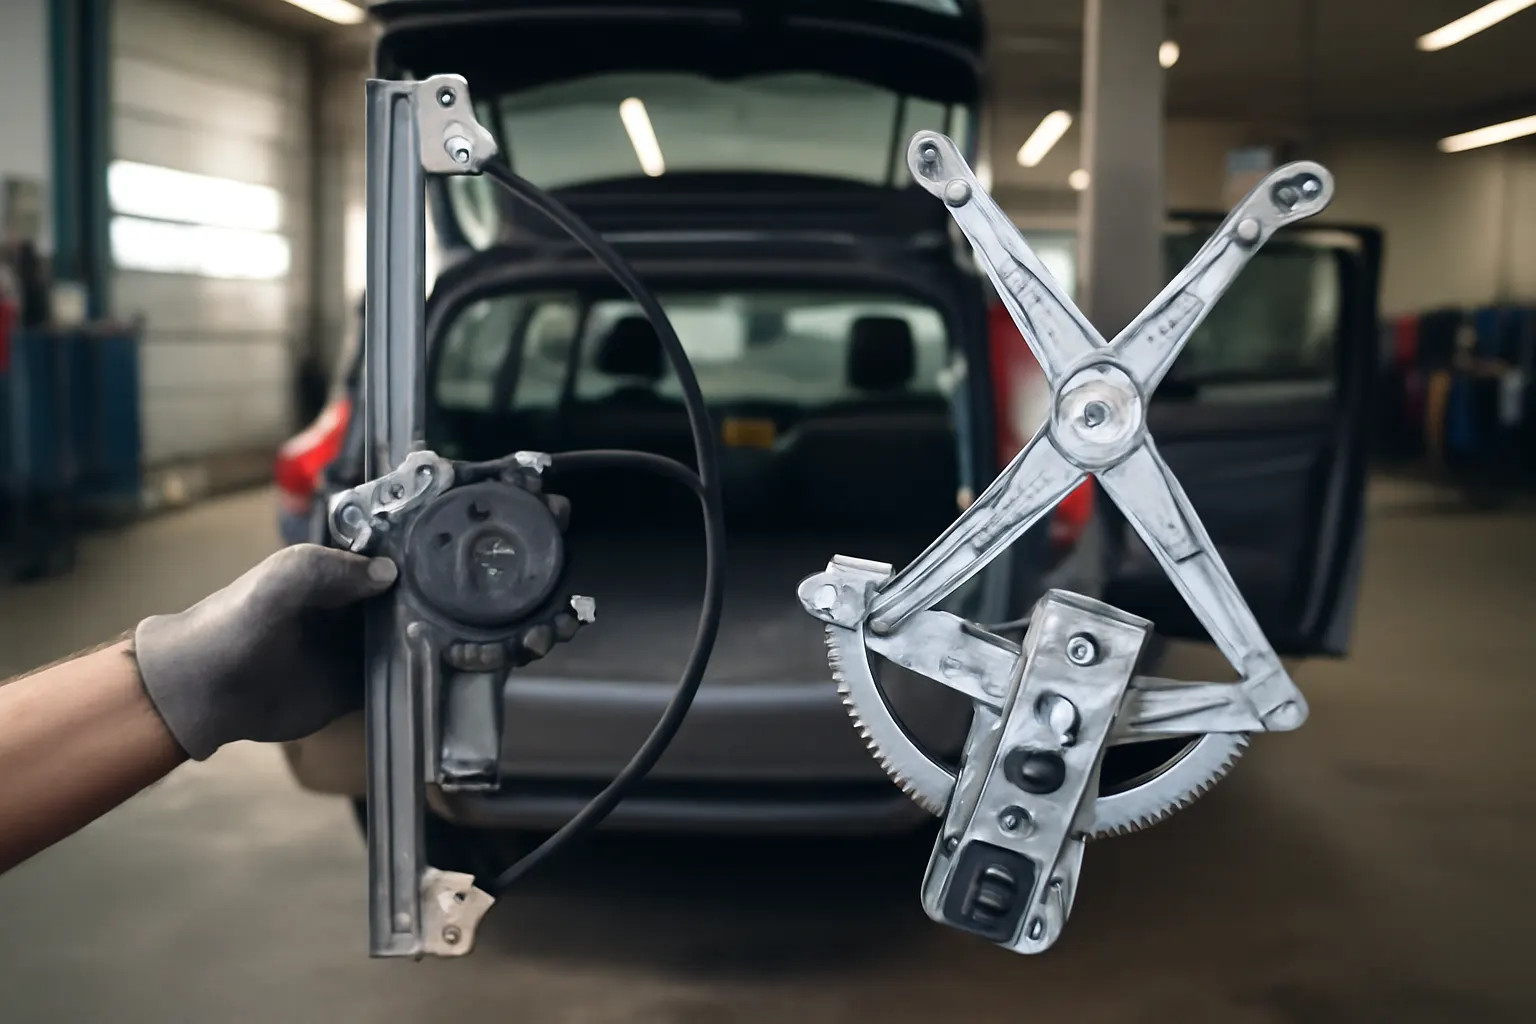
To maintain your window regulator, you need to know what you’re working with. Most modern vehicles use one of two regulator designs:
- Cable-type regulators: Use steel cables routed over pulleys to move the window. They’re lightweight but sensitive to cable wear and debris buildup.
- Scissor-type regulators: Employ a metal arm assembly that pivots to raise and lower the glass. They’re robust but prone to pivot point wear and corrosion.
Both types rely on smooth, low-resistance movement. Any increase in friction or binding—whether from dirt, rust, or misalignment—can accelerate failure. The back glass regulator is especially vulnerable due to its exposure to the elements and infrequent use, making proactive care essential.
For a deeper comparison, see our guide: Cable vs Scissor Regulators: Which is Better?.
Common Warning Signs of Regulator Trouble
Catching early symptoms is the most cost-effective way to prevent a total failure. Watch for these warning signs:
- Sluggish or uneven window movement
- Clicking, grinding, or popping noises when operating the window
- Window drops down suddenly or won’t stay closed
- Window only moves partway or gets stuck mid-travel
- Unresponsive window switch (could indicate electrical issues or motor failure)
If you notice any of these, refer to our Diagnosing Window Regulator Problems guide for a step-by-step troubleshooting process.
Maintenance Checklist: Keeping Your Back Glass Regulator Healthy
Proactive maintenance can delay or even prevent most regulator failures. Here’s the AutoPartEx step-by-step checklist for keeping your back glass regulator in peak condition:
Window Regulator Preventive Maintenance Checklist
-
Inspect Window Operation Monthly
- Run each window (including back glass) up and down fully.
- Listen for abnormal noises; note any hesitation or uneven movement.
-
Clean Window Tracks and Seals
- Use compressed air or a soft brush to remove debris from tracks.
- Wipe down weatherstripping and seals with a mild cleaner.
Advertisement
-
Lubricate Moving Parts
- Apply a silicone-based spray to window tracks and pivot points.
- Avoid petroleum-based lubricants, which can attract dirt or damage rubber.
-
Check for Moisture or Corrosion
- Inspect the door or hatch interior for water intrusion.
- Look for rust on regulator arms, cables, or mounting points.
-
Test Electrical Operation
- Activate the window switch and observe for slow or intermittent response.
- Inspect wiring and connectors for corrosion or loose contacts.
-
Address Minor Issues Promptly
- Don’t ignore slow operation or odd noises—these are early warning signs.
- Schedule repairs before the regulator fails completely.
-
Inspect and Replace Weatherstripping as Needed
- Damaged seals allow water and debris to enter, accelerating regulator wear.
-
Keep the Back Glass Clean
- Regularly wash the back glass to prevent grit from entering the tracks.
Lubrication: The Regulator’s Lifeline
One of the simplest yet most effective maintenance steps is proper lubrication. Window regulators, especially those exposed to the elements like the back glass unit, benefit from periodic lubrication to minimize friction and wear.
Best Practices for Lubricating Window Regulators
- Use the Right Lubricant: A high-quality silicone spray is ideal for tracks and moving parts. Avoid greases that can gum up or attract dust.
- Access the Tracks: Lower the window fully, then spray lubricant along the vertical tracks inside the door or hatch.
- Operate the Window: Cycle the window up and down several times to distribute the lubricant evenly.
- Wipe Away Excess: Prevent drips or overspray from reaching glass or upholstery.
Proper lubrication not only extends the life of the regulator but also improves the performance of related components such as the window motor and power window switch.
Protecting Against Dirt, Debris, and Contamination
Back glass regulators are uniquely vulnerable to environmental contamination, especially on SUVs, hatchbacks, and trucks where the rear window is exposed to road dust, mud, and snow.
How to Minimize Contamination
- Regular Cleaning: Make it a habit to clean the rear window and surrounding seals during every car wash.
- Inspect Seals and Gaskets: Ensure the rubber weatherstripping is intact and flexible; replace if cracked or missing.
- Avoid High-Pressure Sprays Directly at Seals: This can force water and grit into the regulator mechanism.
By maintaining clean tracks and seals, you reduce the risk of binding and premature cable or gear wear.
Electrical System Maintenance for Power Regulators
Power window regulators rely on the vehicle’s electrical system for smooth operation. Corrosion, poor connections, or weak motors can all contribute to regulator failure.
Key Electrical Maintenance Steps
- Check Battery Health: Low voltage can cause slow or erratic window operation.
- Inspect Wiring and Connectors: Look for signs of fraying, corrosion, or loose plugs—especially in the hatch area where wires flex with each opening.
- Test the Power Window Switch: A faulty switch can mimic regulator failure; replace as needed.
- Monitor for Recalls: Some vehicles have manufacturer recalls related to power window systems. Check your VIN at the NHTSA Equipment page.
Electrical issues often masquerade as mechanical problems—diagnose both systems during troubleshooting.
Weatherstripping and Water Intrusion: The Silent Regulator Killer
Water is the enemy of all moving parts—especially regulators hidden inside the back door or hatch. Even a small leak can lead to rust, swollen cables, and seized pivots.
Preventive Steps
- Inspect Weatherstripping Annually: Look for cracks, gaps, or hardening.
- Seal Leaks Promptly: Use automotive-grade weatherstrip adhesive to repair minor issues, or replace the seal if necessary.
- Check Drain Holes: Ensure that water drains freely from the bottom of the hatch or door, preventing pooling around the regulator.
Neglecting weatherstripping can lead to regulator failure and even electrical shorts in the electric window motor.
Don’t Ignore Early Warning Signs
Many drivers ignore minor symptoms like a slow-moving window or faint clicking sounds. This is a costly mistake. Most regulators fail gradually, and early intervention can save both time and money.
Advertisement
What to Do If You Notice Symptoms
- Stop Using the Window: Continued operation can cause more damage.
- Diagnose the Issue: Refer to our Diagnosing Window Regulator Problems guide for a systematic approach.
- Schedule Maintenance or Replacement: Don’t wait for a complete failure—address issues as soon as possible.
Prompt attention can often mean the difference between a simple lubrication and a full regulator replacement.
The Role of Quality Materials and Design
Not all window regulators are created equal. The longevity of your back glass regulator is heavily influenced by the quality of its materials and construction.
- OEM vs Aftermarket: Original equipment manufacturers (OEM) typically use higher-grade metals and plastics, resulting in better durability.
- Corrosion Resistance: Regulators with galvanized or coated components are less susceptible to rust, especially in harsh climates.
- Precision Engineering: Tighter manufacturing tolerances mean smoother operation and less wear over time.
For more on how materials technology impacts part longevity, see the DOE’s Materials Technologies resource.
DIY Regulator Replacement: When Maintenance Isn’t Enough
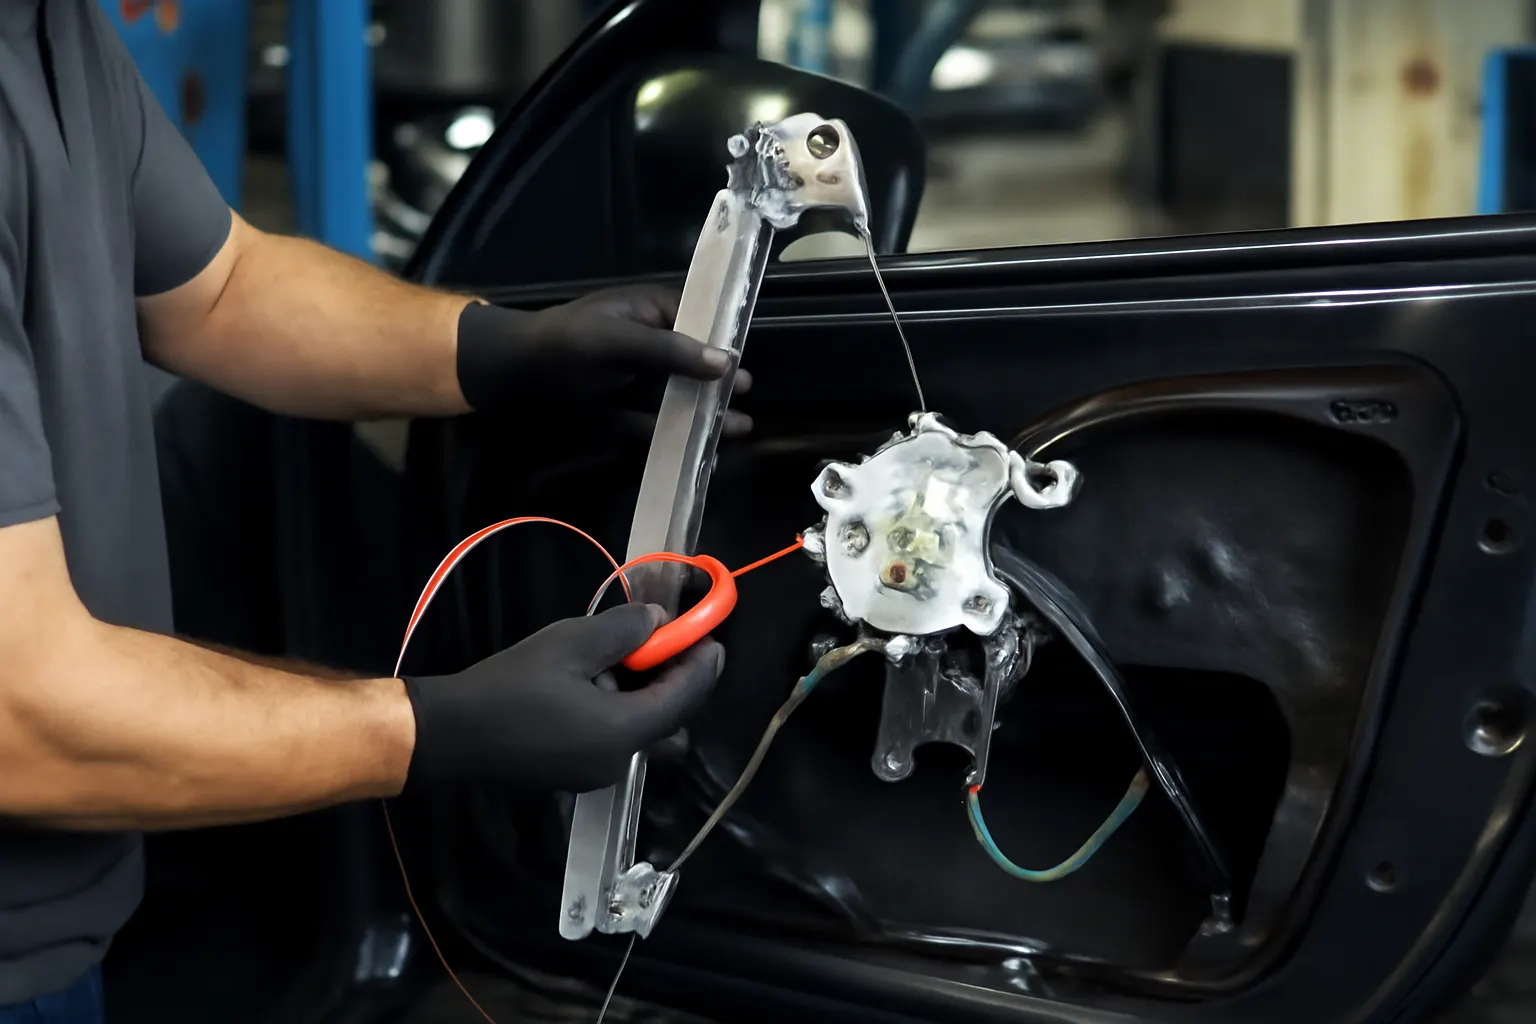
Despite your best efforts, some regulators will eventually wear out. If you’re facing a failed back glass regulator, a well-prepared DIY replacement can save hundreds in labor costs.
Key Steps for DIY Replacement
- Source the Correct Regulator: Use your vehicle’s year, make, and model to ensure a perfect fit.
- Gather Tools and Supplies: You’ll need screwdrivers, trim removal tools, and possibly a rivet gun or drill.
- Follow a Detailed Guide: Our DIY Back Glass Regulator Replacement Guide walks you through every step.
- Test Before Reassembly: Always verify window operation before replacing the trim panel.
If DIY isn’t your style, a trusted technician can handle the job—just be sure they follow proper installation and lubrication procedures.
Maximizing Regulator Life in Harsh Climates
Vehicles exposed to severe weather—hot summers, freezing winters, heavy rain, or salty roads—face accelerated regulator wear. Take these additional precautions:
- Increase Inspection Frequency: Check operation and condition every 2-3 months.
- Use Anti-Corrosion Sprays: Lightly coat exposed metal parts with a rust inhibitor, especially in winter.
- Park in Sheltered Areas: Garages or covered parking protect against temperature swings and direct precipitation.
Proactive care is especially important for vehicles that see off-road use or frequent hatch/window operation.
When to Replace vs. Repair
Not all regulator issues require a full replacement. Minor binding or noise can often be resolved with cleaning and lubrication. However, replacement is necessary if you observe:
- Broken or frayed cables
- Cracked or bent arms
- Seized or burned-out motors
- Excessive play or looseness in the mechanism
Always compare the cost and time of repair versus replacement. High-quality replacement regulators are often a better long-term investment.
The AutoPartEx Advantage: Trusted Parts and Expert Guidance
At AutoPartEx, we know that vehicle maintenance is about more than just parts—it’s about peace of mind. Our curated selection of back glass regulators and related components are engineered to meet or exceed OEM standards, ensuring reliable performance and safety.
- Expert Fitment Support: Our team helps you find the exact regulator for your vehicle, every time.
- Comprehensive Guides: From Diagnosing Window Regulator Problems to DIY Back Glass Regulator Replacement, we empower you to maintain and repair with confidence.
- Quality Assurance: We source only from trusted manufacturers, prioritizing durability, corrosion resistance, and precise engineering.
Don’t wait for a failure—take control of your vehicle’s reliability and safety with AutoPartEx.
Key Takeaways: Proactive Maintenance Means Fewer Headaches
- Regular inspection, cleaning, and lubrication are the core of window regulator longevity.
- Early attention to minor symptoms can prevent major failures and expensive repairs.
- Protect your regulator from dirt, moisture, and corrosion with intact seals and regular cleaning.
- Use only quality replacement parts engineered for your specific vehicle.
- Leverage AutoPartEx’s expert resources and product selection for peace of mind.
For more information on related components, see our back glass and back door parts categories.
References
- Vehicle Safety and Equipment – National Highway Traffic Safety Administration
- Materials Technologies – United States Department of Energy
- Fuel Efficiency – United States Department of Energy
By following these practical maintenance tips and leveraging expert resources, you can ensure your back glass regulator delivers reliable, long-term performance—saving you time, money, and frustration down the road.
Advertisement