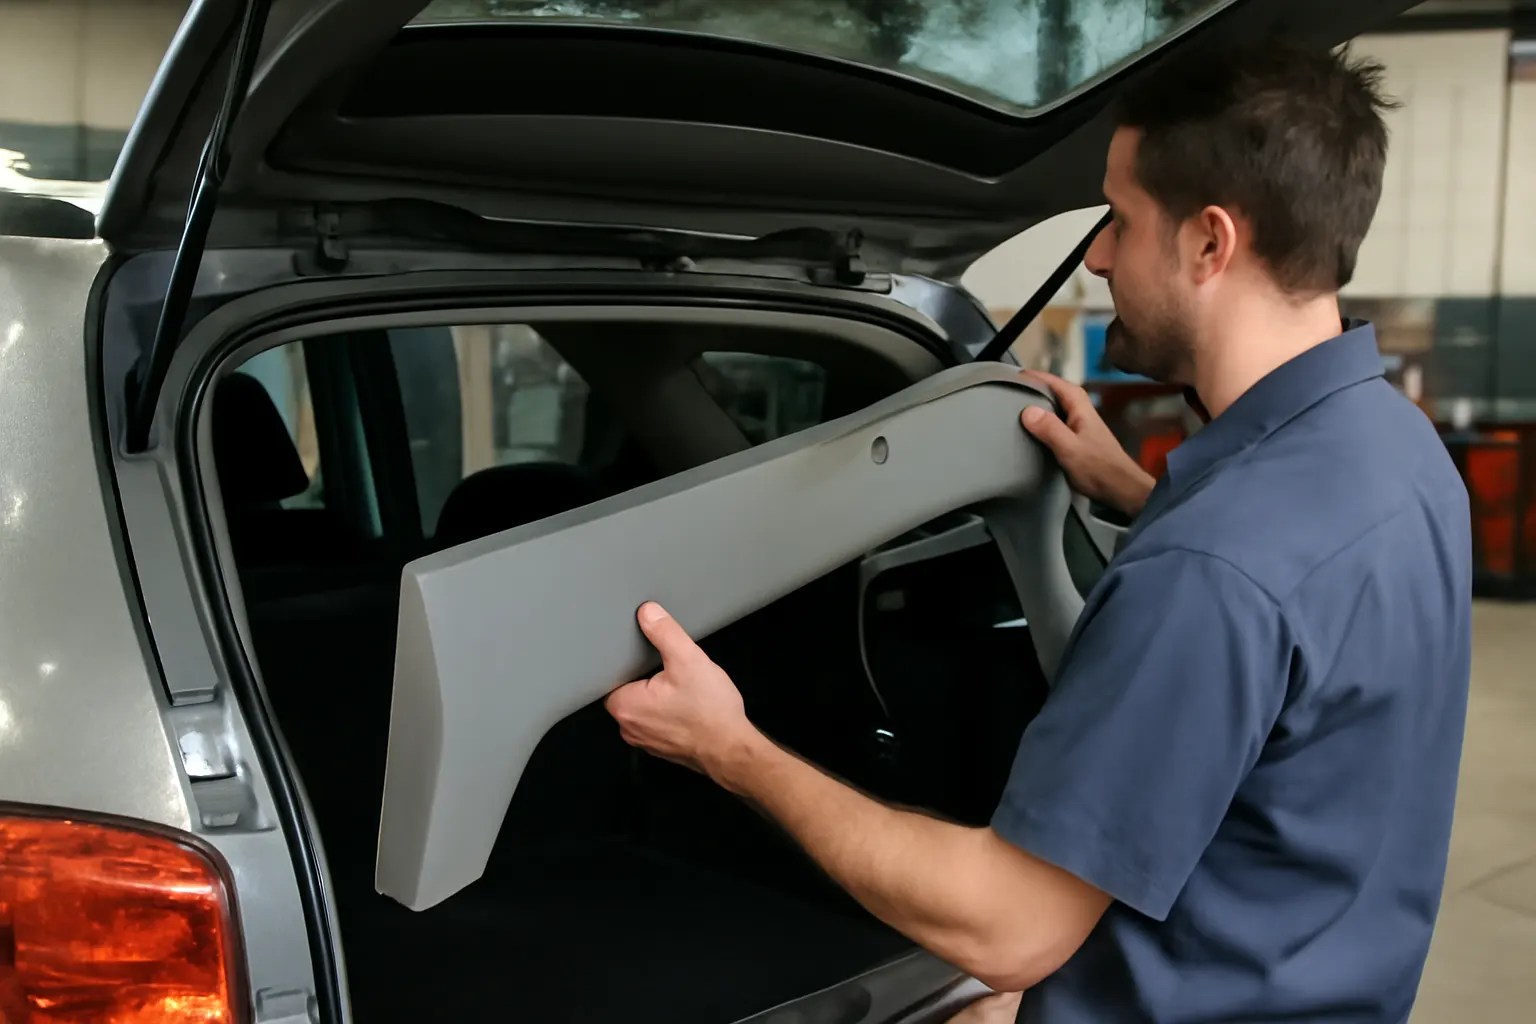
Preventing Water Leaks Through Rear Hatch Trim
Water leaks through the rear hatch trim are a common but preventable problem that can damage your vehicle’s interior, compromise safety, and lead to expensive repairs. Proper installation, maintenance, and understanding of the interior trim panel (gate/lid) are essential to keep your vehicle dry and protected. This comprehensive guide details how to prevent water ingress, the hidden dangers of leaks, and step-by-step solutions for maintaining your hatch trim. For further technical detail on trim panels, see our Interior Trim Panel (Gate/Lid): Complete Technical Guide & Sourcing Solutions.
Why Water Leaks Through Rear Hatch Trim Demand Immediate Attention
Water intrusion through your vehicle’s rear hatch trim is more than just an annoyance—it signals a breach in your vehicle’s protective barriers. Even minor leaks can allow moisture to accumulate inside the cargo area, leading to mold growth, electrical faults, corrosion, and upholstery damage. If left unchecked, leaks compromise not only the comfort but also the long-term value and safety of your vehicle.
Modern vehicles rely on sophisticated interior trim panel designs to create effective seals and manage water flow away from sensitive areas. However, improper installation, degraded seals, or damaged panels can undermine these protections. Addressing leaks quickly is essential for maintaining safety and preventing cascading issues.
The Hidden Problem: Silent Damage and Escalating Costs
Water leaks through rear hatch trim are often subtle—drips, damp carpets, or minor condensation may go unnoticed for weeks or months. Yet, hidden beneath the surface, water can saturate sound-deadening materials, corrode metal substructures, and cause electronic connectors to short or corrode. Over time, these issues escalate from simple cosmetic concerns to major mechanical and safety hazards.
Many drivers underestimate the risks associated with water ingress. Moisture can activate corrosion in steel panels, degrade adhesives, and create a breeding ground for mold and bacteria, all of which can reduce the structural integrity of the hatch area. According to the National Highway Traffic Safety Administration, compromised interior equipment and trim can negatively affect both safety and the performance of vehicle systems.
How Rear Hatch Trim Panels Are Engineered to Prevent Water Ingress
Understanding the engineering behind rear hatch trim panels is crucial for effective prevention and repair. Modern trim panels are typically constructed from advanced polymers, fiber-reinforced plastics, or composite materials that combine durability, low weight, and resistance to moisture. These materials are selected based on stringent SAE Standards and tested for fitment, tolerance, and weather resistance.
Key features of effective rear hatch trim systems include:
- Integrated water deflectors: Direct water away from seams and joints.
- Precision-molded seals and gaskets: Create a tight barrier between the trim and bodywork.
- Drainage channels: Allow water to escape harmlessly rather than pooling inside the hatch cavity.
- Secure fastener systems: Prevent movement or warping of the trim panel under load or temperature changes.
If any of these components are compromised—by age, impact, or improper installation—water can bypass the intended barriers and enter the interior.
Common Causes of Water Leaks in Rear Hatch Trim
Water leaks typically originate from one or more of the following issues:
- Worn or misaligned weatherstripping: Rubber seals around the hatch perimeter can crack, flatten, or shift out of position, breaking the water barrier.
- Improper trim panel installation: Missing fasteners, broken clips, or gaps between the trim and bodywork provide entry points for water.
- Physical damage: Impacts, accidents, or mishandling can deform the trim or underlying hatch structure.
- Aging or degraded materials: UV exposure, temperature cycling, and chemical cleaners can weaken plastics, adhesives, and gaskets.
- Blocked drainage channels: Debris or corrosion in drainage paths prevents water from escaping, causing backflow into the cargo area.
Each of these issues requires a targeted diagnostic approach and the right repair strategy to restore water-tight integrity.
Diagnosing Water Leaks: Step-by-Step Inspection Process
Proper diagnosis is the foundation of effective leak prevention and repair. Use the following checklist to methodically identify the source of water ingress:
Rear Hatch Water Leak Diagnostic Checklist
- Visual Inspection:
- Examine the hatch trim for visible gaps, cracks, or loose sections.
- Check for water stains, discoloration, or mold on the interior trim and carpet.
- Seal and Gasket Assessment:
- Inspect weatherstripping for splits, flattening, or detachment.
- Run your fingers along the seal to detect inconsistencies or hard spots.
- Fastener and Clip Check:
- Confirm that all trim panel clips and screws are present and secure.
- Look for broken plastic tabs or missing retainers.
- Water Test:
- Close the hatch and slowly pour water over the exterior seams and window.
- Observe the interior for any drips or moisture accumulation.
- Drainage Channel Inspection:
- Use a flexible wire or compressed air to clear drainage holes.
- Check for signs of rust or debris blocking water flow.
- Electronic Component Check:
- Inspect wiring harnesses and connectors near the hatch for signs of corrosion or moisture.
A systematic approach ensures that you don’t miss subtle causes of water ingress that could lead to future problems.
The Role of Materials and Manufacturing Quality in Leak Prevention
The effectiveness of rear hatch trim panels in preventing leaks is directly tied to the materials and manufacturing processes used. According to the United States Department of Energy, advancements in materials technology have enabled the use of lightweight composites and advanced polymers that resist moisture absorption and maintain dimensional stability under stress.
Key considerations include:
- Material compatibility: Trim panels must work harmoniously with both the metal hatch structure and rubberized seals.
- Precision molding: Modern manufacturing techniques ensure tight tolerances, reducing the risk of gaps or misalignment.
- Chemical resistance: Materials are engineered to withstand automotive cleaners, UV exposure, and extreme temperature swings without degrading.
When sourcing replacement panels or seals, it’s essential to choose parts that meet or exceed OEM specifications. Inferior materials may fit initially but can degrade quickly, leading to recurring leaks.
Best Practices for Rear Hatch Trim Panel Installation
Proper installation is the most critical factor in preventing water leaks. Follow these best practices to ensure a watertight fit:
Installation Best Practices
- Clean all mating surfaces: Remove old adhesive, debris, and moisture before fitting new trim or seals.
- Check alignment: Ensure the trim panel sits flush against the hatch with no visible gaps or misalignment.
- Use OEM or high-quality aftermarket clips: Weak or incorrect fasteners can allow movement and create leak paths.
- Apply sealant sparingly: Only use automotive-grade sealant where specified by the manufacturer; excess can block drainage or interfere with fitment.
- Torque fasteners to spec: Over-tightening can crack plastic trim, while under-tightening leads to rattles and leaks.
- Test for leaks: After installation, perform a controlled water test to verify the integrity of the repair.
For detailed installation guidance, refer to our How to Replace a Liftgate Interior Trim Panel step-by-step editorial.
The Impact of Water Leaks on Safety and Vehicle Electronics
Water leaks do more than damage upholstery—they can compromise critical safety systems and electronics. Rear hatches often house wiring for tail lights, wipers, defrosters, and rearview cameras. Moisture intrusion can short-circuit these systems, triggering warning lights or disabling key safety features.
The National Highway Traffic Safety Administration emphasizes the importance of maintaining the integrity of interior equipment and trim to prevent electrical faults and maintain vehicle safety. Even a minor leak can lead to corrosion in connectors, causing intermittent faults that are difficult and expensive to diagnose.
Preventive Maintenance: Keeping Rear Hatch Trim Leak-Free
Routine maintenance is essential for long-term leak prevention. Integrate the following tasks into your regular vehicle care schedule:
- Inspect seals and weatherstripping every 6 months: Look for signs of wear, flattening, or detachment.
- Clean drainage channels: Use compressed air or a flexible wire to clear debris from hatch drains.
- Lubricate rubber seals: Apply silicone-based lubricant to keep seals supple and effective.
- Tighten fasteners and check clips: Ensure all trim components remain secure after use or cargo loading.
- Monitor for water stains or odors: Early detection of moisture can prevent more serious damage.
Proactive maintenance extends the life of your trim panels and protects your vehicle’s interior from costly water damage.
Choosing the Right Replacement Parts: OEM vs Aftermarket
When replacement is necessary, selecting the correct trim panel, seal, or fastener is critical. OEM (Original Equipment Manufacturer) parts guarantee compatibility, material quality, and fit, but may be more expensive than aftermarket alternatives. High-quality aftermarket parts can provide similar performance at a lower cost, but it’s essential to verify specifications and materials.
Consider the following factors when sourcing replacement parts:
- Material quality: Choose parts made from weather-resistant, automotive-grade plastics and rubbers.
- Fitment precision: Ensure the panel matches your vehicle’s year, make, and model.
- Supplier reputation: Purchase from reputable suppliers or certified distributors.
- Compatibility with existing hardware: Confirm that clips, screws, and seals are included or available separately.
For a deeper dive into sourcing decisions, read our guide on OEM vs Aftermarket Trim Panels: What Matters Most?.
Addressing Persistent or Complex Leaks
In some cases, water leaks may persist despite replacing the trim panel and seals. These situations often involve deeper structural issues, such as:
- Body panel misalignment: Previous collision repairs or manufacturing defects can distort the hatch opening.
- Hidden rust or corrosion: Metal fatigue or rust can create pinholes or weak spots that allow water entry.
- Compromised window seals: Rear window gaskets or adhesives may fail, channeling water behind the trim.
If you encounter a persistent leak, it may be necessary to remove the trim entirely, inspect the underlying structure, and consult a body repair specialist. In some instances, advanced diagnostic tools such as smoke machines or UV dye tests can pinpoint elusive leak paths.
The Link Between Water Leaks and Cabin Comfort
Water leaks through rear hatch trim don’t just threaten your vehicle’s structure—they also degrade cabin comfort. Moisture trapped under carpets leads to musty odors, foggy windows, and increased humidity, making the driving experience unpleasant. Over time, this can also increase the risk of allergic reactions and respiratory issues due to mold growth.
Preventing leaks is therefore not only a matter of vehicle preservation but also of maintaining a healthy, comfortable interior environment for you and your passengers.
The AutoPartEx Approach: Sourcing, Support, and Technical Expertise
At AutoPartEx, we understand that preventing water leaks through rear hatch trim requires the right combination of quality parts, technical guidance, and ongoing support. Our curated inventory of Interior Trim Panel (Gate/Lid) components is sourced from trusted OEM and premium aftermarket suppliers, ensuring you receive parts engineered for durability and precise fitment.
We provide:
- Comprehensive fitment data: Quickly find the correct parts for your specific vehicle.
- Technical guides and installation resources: Step-by-step instructions and troubleshooting support.
- Expert support: Our technical team is available to assist with complex diagnostic or installation questions.
Whether you’re a DIY enthusiast or a professional technician, AutoPartEx is your partner in keeping your vehicle’s interior dry, safe, and protected.
When to Seek Professional Help
While many rear hatch trim leaks can be diagnosed and repaired at home with the right tools and guidance, some scenarios call for professional intervention:
- Structural damage or severe corrosion
- Electrical system faults linked to water ingress
- Persistent leaks after replacing trim and seals
- Warranty or recall-related repairs
Certified automotive technicians have access to advanced diagnostic equipment and manufacturer repair procedures, ensuring the most challenging leaks are addressed correctly and safely.
Summary Checklist: Preventing Water Leaks Through Rear Hatch Trim
Use this summary checklist as a quick reference:
| Step | Action | Frequency/Trigger |
|---|---|---|
| Visual inspection | Check trim, seals, and hatch for damage | Every 6 months/after impact |
| Seal/gasket assessment | Inspect for wear, cracks, or detachment | Every 6 months |
| Fastener/clip check | Confirm all retainers are present and secure | Every 6 months/after use |
| Drainage channel cleaning | Clear debris and check for blockages | Every 6 months/after storms |
| Water test | Pour water to check for leaks | After repairs/maintenance |
| Replace worn components | Use OEM or high-quality aftermarket parts | As needed |
| Professional inspection | Seek help for persistent or complex leaks | As needed |
Next Steps: Protecting Your Vehicle’s Interior for the Long Haul
Preventing water leaks through your rear hatch trim is an ongoing process that combines regular inspection, proper installation, and informed parts selection. By following the guidance in this article and leveraging resources from AutoPartEx, you can safeguard your vehicle’s interior against water damage, preserve its value, and ensure a comfortable, safe driving experience.
For more detailed technical information, sourcing solutions, and related maintenance topics, explore our Interior Trim Panel (Gate/Lid): Complete Technical Guide & Sourcing Solutions and related editorial content such as Diagnosing Rattles and Noises in Rear Hatch Panels.