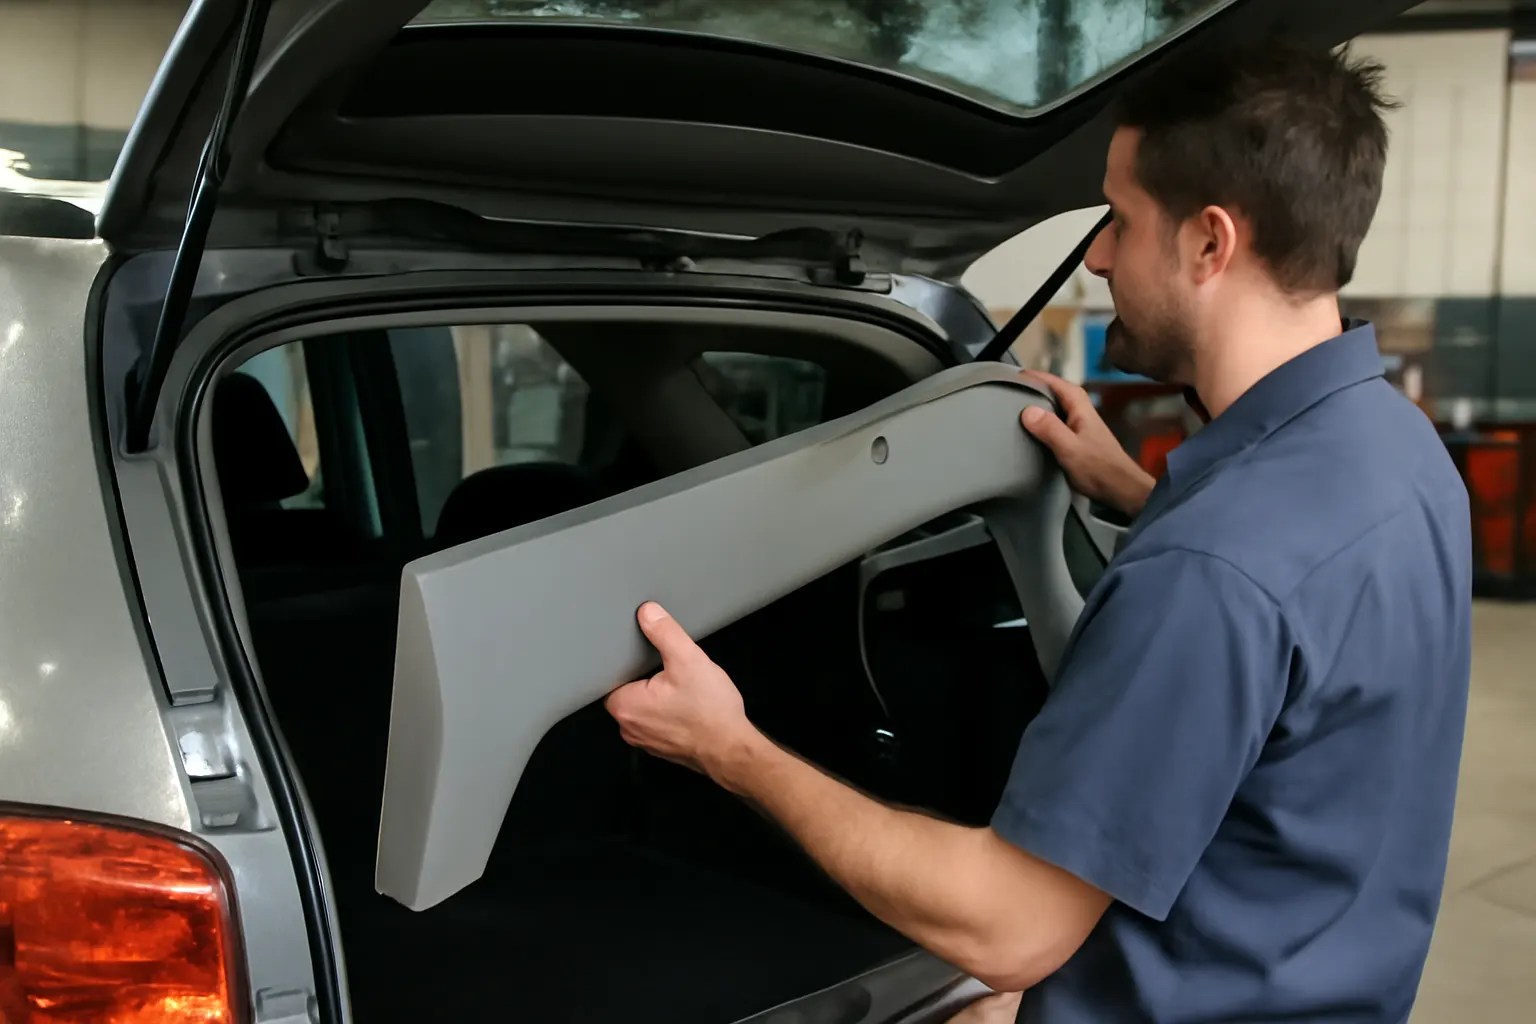
Diagnosing Rattles and Noises in Rear Hatch Panels
Rattles and vibrations from your vehicle’s rear hatch panel can quickly turn a comfortable ride into a frustrating experience. Diagnosing and resolving noises in the interior trim panel of a gate or liftgate is a critical step to maintaining a quiet, safe, and enjoyable cabin environment. This comprehensive guide from AutoPartEx covers the most common causes, technical background, diagnostic steps, and proven solutions for eliminating hatch panel noises—empowering you to restore your vehicle’s interior integrity and driving pleasure.
For a full overview of gate and lid trim panel construction, sourcing, and upgrades, visit the Interior Trim Panel (Gate/Lid): Complete Technical Guide & Sourcing Solutions category.
The Quick Answer: Why Is My Rear Hatch Panel Making Noise?
Rear hatch panel rattles and noises typically result from loose fasteners, worn or missing clips, degraded insulation, or improper panel fitment. These issues allow the trim panel to vibrate against the hatch frame or adjacent components, generating audible rattles, squeaks, or buzzing—especially on rough roads or when closing the hatch. Resolving these noises usually involves removing the panel, inspecting all attachment points, replacing worn fasteners or insulation, and ensuring correct reinstallation.
The Overlooked Problem: Cabin Noise and Its Hidden Impacts
Most drivers view interior rattles as a mere annoyance, but persistent hatch panel noises can signal deeper problems:
- Structural Wear: Repeated vibrations may accelerate wear on mounting points, fasteners, and even the hatch structure.
- Water and Dust Intrusion: Gaps or misaligned panels can compromise weather seals, leading to leaks and potential corrosion or interior damage.
- Safety Concerns: In some cases, loose panels may hinder hatch operation or obscure critical components such as rear airbags or wiring harnesses.
- Resale Value: Cabin noise is a major factor in perceived vehicle quality, impacting resale and trade-in values.
Ignoring hatch panel noises can thus lead to higher repair costs, reduced safety, and diminished vehicle value.
Why Rear Hatch Panels Are Prone to Rattle: A Technical Overview
Rear hatch trim panels—sometimes called gate or lid interior panels—are engineered to balance aesthetics, weight, durability, and safety. According to the United States Department of Energy’s Materials Technologies, modern panels are typically constructed from lightweight thermoplastics, fiber-reinforced composites, or molded fiberboard to optimize fuel efficiency and handling. While these materials reduce weight, they can be less forgiving of improper installation or aging hardware.
Key technical factors contributing to noise:
- Panel Flexibility: Lightweight materials can flex or resonate when not securely fastened.
- Attachment Methods: Most panels rely on plastic push-clips, screws, and hidden tabs—components prone to fatigue, breakage, or loss.
- Thermal Expansion: Plastic panels expand and contract with temperature changes, potentially loosening over time.
- Integrated Components: Modern hatch panels may house speakers, wiring harnesses, or latches, increasing the number of potential vibration sources.
Understanding these design challenges is essential for effective diagnosis and repair.
Common Causes of Rattles and Vibrations in Hatch Panels
A thorough diagnosis starts with a clear understanding of what typically goes wrong. The most frequent causes of hatch panel noise include:
1. Loose or Missing Fasteners
- Plastic Clips: These can break or lose tension after repeated panel removals.
- Screws/Bolts: Sometimes omitted during previous repairs or left loose.
2. Deteriorated Insulation or Padding
- Foam Strips: Used to dampen vibration; may degrade, compress, or fall out.
- Sound Deadening Mats: Can peel away or become saturated if water intrusion occurs.
3. Misaligned or Warped Panels
- Improper Reinstallation: Failing to align tabs or clips can leave the panel loose.
- Warping: Heat and age may cause plastic panels to deform.
4. Foreign Objects and Debris
- Loose Items: Screws, broken clips, or other debris trapped behind the panel.
- Wiring Harnesses: Unsecured wires can tap against the panel or metal frame.
5. Integrated Mechanism Wear
- Latch/Lock Rods: May vibrate if bushings or retainers wear out.
- Speakers or Sensors: Mounting hardware can loosen, creating new noise sources.
Step-by-Step Diagnostic Checklist for Rear Hatch Panel Noises
Before removing any trim, use this systematic checklist to pinpoint the source of the noise:
| Step | Action | What to Listen/Feel For |
|---|---|---|
| 1 | Road Test | Drive over various surfaces; note when/where noise occurs. |
| 2 | Stationary Tap Test | Gently tap the panel by hand; listen for loose or buzzing areas. |
| 3 | Check Hatch Operation | Open/close hatch slowly; listen for shifting or rattling components. |
| 4 | Inspect Panel Edges | Press along edges; any movement indicates loose clips or fasteners. |
| 5 | Check for Water Leaks | Look for signs of moisture—may indicate panel seal issues. |
| 6 | Remove Loose Items | Ensure no tools, debris, or personal items are in the cargo area. |
If the noise persists after these checks, proceed with panel removal for a deeper inspection.
Removing the Rear Hatch Trim Panel Safely
Proper removal is crucial to avoid further damage or introducing new rattles. Always consult your vehicle’s service manual for model-specific instructions, but the general process is:
- Disconnect the Battery: If the panel houses electrical components (e.g., speakers, lights, rear camera), disconnect the negative battery terminal.
- Locate and Remove Fasteners: Identify all visible screws (often hidden behind covers or handles) and remove them.
- Release Clips: Use a plastic trim removal tool to gently pry the panel away, working around the perimeter to release all clips evenly.
- Support the Panel: As the last clips release, support the panel to avoid stressing wiring or damaging tabs.
- Disconnect Electrical Connectors: Carefully unplug any connectors for lights, speakers, or switches.
Refer to How to Replace a Liftgate Interior Trim Panel for a detailed walkthrough and safety tips.
Inspecting and Identifying Problem Areas
With the panel removed, conduct a thorough inspection:
- Check All Fasteners and Clips: Replace any that are broken, missing, or show signs of fatigue.
- Inspect Insulation: Look for missing, compressed, or degraded foam strips and sound deadening materials.
- Look for Panel Damage: Inspect for cracks, warping, or broken mounting tabs.
- Evaluate Electrical Components: Ensure all wiring harnesses, speakers, and sensors are securely fastened and cushioned.
- Test Integrated Mechanisms: Operate the latch, lock, and any moving parts to check for free play or excessive movement.
Document any issues and collect replacement parts as needed.
Sourcing Quality Replacement Parts and Materials
Not all replacement clips, insulation, or panels are created equal. To ensure a long-lasting, noise-free repair:
- Use OEM or High-Quality Aftermarket Parts: OEM clips and fasteners are designed for precise fit and material compatibility. Some reputable aftermarket options meet or exceed OE standards.
- Select Proper Insulation: Use closed-cell foam or automotive-grade sound deadening material. Avoid generic household foams, which may degrade quickly.
- Panel Fitment: If replacing the entire panel, confirm compatibility by part number, model year, and trim level. Reference the OEM vs Aftermarket Trim Panels: What Matters Most? guide for sourcing insights.
For a complete list of compatible parts and materials, consult the Interior Trim Panel (Gate/Lid): Complete Technical Guide & Sourcing Solutions page.
Reinstalling the Hatch Panel: Best Practices
Careful reinstallation is essential to prevent future rattles:
- Clean All Surfaces: Remove dust, debris, and old adhesive from both the panel and hatch frame.
- Replace Worn Clips/Fasteners: Always use new clips where possible; old clips may not grip securely.
- Restore Insulation: Reapply or replace foam strips and sound deadening mats in their original locations.
- Align Panel Precisely: Start by aligning tabs and gently pressing the panel into place, ensuring all clips engage.
- Torque Screws Properly: Do not overtighten—striped threads or cracked plastic will compromise fitment.
- Reconnect Electrical Components: Double-check all connectors for solid engagement before final assembly.
After reinstallation, repeat the stationary tap test and road test to confirm the noise is resolved.
Preventive Maintenance: Keeping Hatch Panel Noises at Bay
Regular maintenance can prevent many hatch panel noise issues before they start:
- Inspect Annually: During routine service, inspect the hatch panel for looseness or visible wear.
- Address Water Leaks Promptly: Moisture accelerates insulation breakdown and corrosion. For guidance, see Preventing Water Leaks Through Rear Hatch Trim.
- Avoid Overloading: Excessive cargo weight or impact can deform panels and stress fasteners.
- Gentle Operation: Avoid slamming the hatch; close it firmly but gently to minimize shock to the panel and clips.
Advanced Diagnostics: When the Noise Persists
If a rattle remains after basic repairs:
- Check Adjacent Panels: Sometimes, noises originate from nearby panels, tailgate covers, or even the rear seatbacks.
- Thermal and Seasonal Changes: Some noises only occur in extreme heat or cold due to material expansion or contraction.
- Professional Tools: Automotive stethoscopes or chassis ears can help isolate elusive vibrations.
- Consult Technical Service Bulletins (TSBs): Some hatch panel noise issues are known defects and may be covered by manufacturer TSBs or recalls. Check the NHTSA Recalls Database for your vehicle.
If all else fails, a qualified interior trim specialist or dealership technician can perform in-depth diagnostics.
Choosing Between Repair and Full Panel Replacement
In some cases, persistent noise or visible damage may require complete panel replacement. Consider replacement if:
- Panel is Cracked or Severely Warped: Structural integrity is compromised.
- Multiple Mounting Points Are Broken: Secure fitment is impossible with missing tabs or anchors.
- Repeated Repairs Fail: Chronic noise after several attempts often signals deeper panel or frame issues.
Replacement panels should match your vehicle’s model, trim, and color. Review the OEM vs Aftermarket Trim Panels: What Matters Most? guide for pros and cons of each option.
The Role of Materials and Design in Noise Prevention
Automotive engineers continually refine hatch panel design for improved NVH (Noise, Vibration, Harshness) performance. According to the United States Department of Energy’s Materials Technologies, advances in polymer blends and fiber reinforcements have enabled lighter, stiffer panels that resist vibration. However, these benefits are only realized with precise manufacturing tolerances and correct installation.
Some modern panels feature:
- Integrated Sound Damping Layers: Bonded foam or felt to absorb vibration.
- Improved Clip Designs: Multi-point or compression-fit clips for better retention.
- Modular Construction: Separate trim, insulation, and mounting subcomponents for easier service.
When sourcing replacement panels or hardware, prioritize parts that use the latest material and attachment technologies.
Safety and Regulatory Considerations
Properly secured hatch panels are not just about comfort—they’re a safety requirement. As highlighted by the National Highway Traffic Safety Administration, loose interior trim can interfere with airbag deployment, obscure warning labels, or expose occupants to sharp edges and electrical wiring.
Key safety points:
- Never Drive with a Loose Panel: Temporary fixes (like tape or glue) are not substitutes for correct attachment.
- Use Approved Parts: Only use clips, fasteners, and panels that meet OEM or SAE standards.
- Check for Recalls: Some vehicles have known defects involving hatch panel fasteners or insulation. Always verify your VIN for open recalls.
AutoPartEx: Your Partner for Quiet, Quality Interiors
At AutoPartEx, we understand that interior trim panel noises can undermine your driving experience and vehicle value. Our technical resources, curated parts catalog, and expert guidance empower you to diagnose, source, and install the right solutions for your specific model. Whether you need OEM clips, high-quality aftermarket panels, or step-by-step installation guides, AutoPartEx is your trusted resource for reliable, quiet, and safe vehicle interiors.
For more technical articles and sourcing solutions, explore our Interior Trim Panel (Gate/Lid): Complete Technical Guide & Sourcing Solutions or browse by manufacturer, such as Acura.
Conclusion: Restore Comfort and Value by Tackling Hatch Panel Noises
Rattles and noises from your rear hatch panel are more than just an annoyance—they can signal structural, safety, or fitment issues that deserve prompt attention. By following a systematic diagnostic process, using high-quality replacement parts, and adhering to best installation practices, you can restore your vehicle’s interior tranquility and safeguard its value. For ongoing support, technical resources, and the best in OEM and aftermarket trim solutions, rely on AutoPartEx.