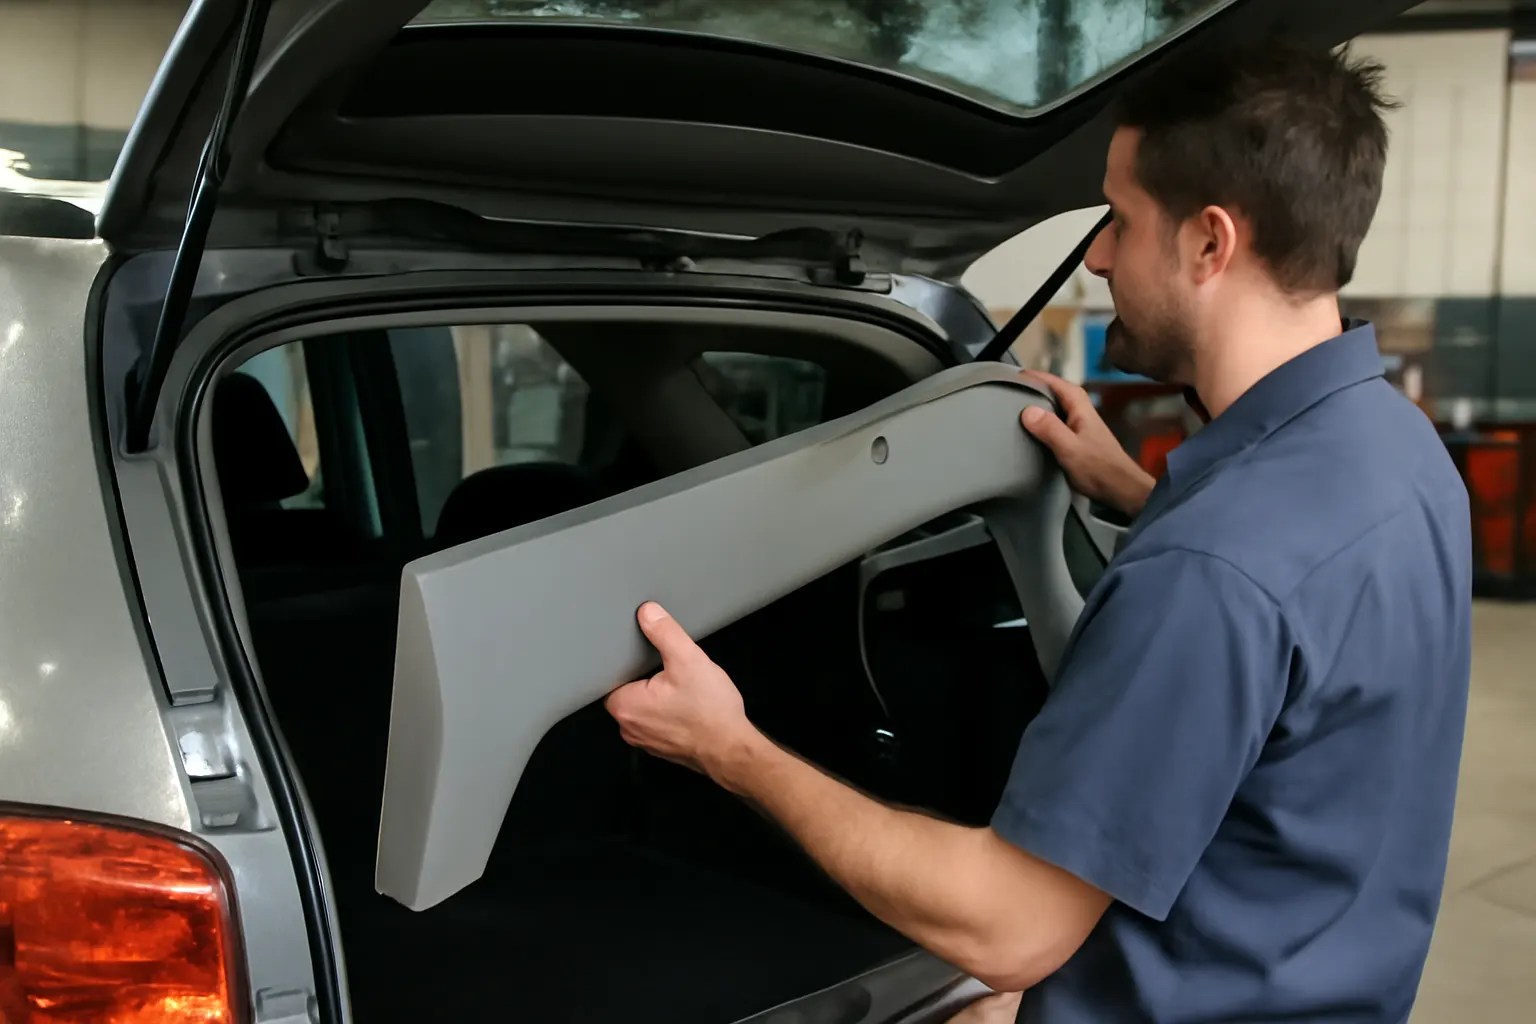
Diagnosing Rattles and Noises in Rear Hatch Panels
Rattles, squeaks, and vibrations in the rear hatch panel of your vehicle can turn a smooth ride into an annoying, distracting experience. Fortunately, these noises are usually fixable with a systematic diagnostic approach. This guide from AutoPartEx provides immediate answers, exposes common hidden culprits, and covers advanced troubleshooting and resolution strategies. Whether you’re a DIY enthusiast, a professional technician, or a parts buyer, you’ll find actionable steps to restore your vehicle’s quiet cabin and maintain the integrity of your Interior Trim Panel (Gate/Lid).
Immediate Solutions: Quick Steps to Silence Rear Hatch Rattles
If you notice persistent rattling, buzzing, or ticking from your rear hatch panel, follow these immediate steps before delving into deeper diagnostics:
- Check for Loose Items: Remove all cargo from the rear area. Even small objects can create noise when the vehicle is in motion.
- Inspect the Panel Fasteners: Open the hatch and gently press around the trim panel. If it feels loose or moves, fasteners or clips may be missing or broken.
- Test the Latch and Striker: With the hatch open, wiggle the latch and striker mechanism. Any play or looseness can create vibrations.
- Listen During a Test Drive: With the rear seats folded down, drive on a rough road. Try to localize the noise to the panel, glass, or another component.
These quick checks often reveal simple causes like loose screws, missing clips, or unsecured jack tools. If the noise persists, deeper issues may be at play.
The Hidden Problem: Why Rear Hatch Panel Noises Are Tricky to Diagnose
What makes rear hatch panel rattles so elusive? Unlike door trim or dashboard noises, hatch panel sounds can transmit through multiple surfaces and components. The hatch area is a convergence point for:
- Interior trim panels
- Weatherstripping and gaskets
- Lock and latch mechanisms
- Wiring looms and connectors
- Rear wiper motors and related hardware
Temperature changes, road vibrations, and normal wear can loosen or degrade any of these elements. Modern hatch panels are also constructed from lightweight materials to improve fuel efficiency, as highlighted by the U.S. Department of Energy’s materials technology initiatives. While these materials reduce weight, they can be more susceptible to vibration and noise if not properly secured.
Expanding the Problem: Common Causes of Hatch Panel Rattles and Vibrations
Rear hatch panel noises typically originate from a handful of recurring sources:
1. Loose or Broken Trim Fasteners
Plastic push-clips, metal screws, and specialized retainers secure the panel to the hatch structure. Over time, these can loosen, break, or fall out, especially if the panel has been removed for service.
2. Worn Weatherstripping and Gaskets
The rubber seals around the hatch perimeter isolate the panel from metal-on-metal contact. If these seals are compressed, torn, or missing, the panel can rattle against the hatch frame.
3. Failing Latch or Striker
A worn latch may not hold the hatch tightly against its stops, allowing movement and noise. Misaligned strikers and loose mounting bolts can also contribute.
4. Internal Component Interference
Wiring harnesses, rear camera modules, washer fluid lines, and wiper motor mounts may vibrate against the inner trim if not properly clipped or insulated.
5. Panel Warping or Material Fatigue
Composite and plastic panels can warp due to heat, UV exposure, or age, leading to poor fitment and new contact points that generate noise.
6. Aftermarket Modifications
Non-OEM speakers, lighting, or insulation added behind the panel can disrupt factory tolerances, creating new sources of rattle.
Understanding these causes helps you target your inspection and repair efforts for maximum effectiveness.
Technical Deep Dive: How Modern Hatch Panels Are Built—and Why It Matters
Automakers engineer hatch trim panels to balance weight, durability, and acoustics. According to DOE research on materials technologies, the use of advanced plastics and composites is now standard. These materials reduce mass, which improves fuel economy, but they require precise manufacturing and installation to maintain rigidity and fit.
A typical rear hatch trim panel assembly includes:
- Outer Trim Shell: Usually injection-molded ABS or polypropylene, designed for impact resistance and low weight.
- Acoustic Insulation: Foam or felt pads to dampen vibration and block road noise.
- Mounting Hardware: A combination of plastic clips, metal screws, and sometimes adhesive pads.
- Integrated Components: Cutouts or mounts for speakers, lights, rear cameras, or emergency release handles.
Because these panels must interface with both the inner and outer hatch structures, even a minor misalignment can lead to noise. The challenge is compounded by the need for panels to be removable for service, which can wear out the mounting points over time.
Diagnostic Checklist: Pinpointing the Source of Hatch Panel Noises
Use the following checklist to systematically identify the source of rattles and vibrations:
| Step | Inspection Point | What to Look For | Tools Needed |
|---|---|---|---|
| 1 | Panel Movement | Press around the panel for excessive flex/play | Hands, flashlight |
| 2 | Fastener Integrity | Check for missing/broken clips or screws | Trim tool, driver |
| 3 | Seal Condition | Inspect weatherstripping for gaps or damage | Visual, hand test |
| 4 | Latch/Striker Fit | Test for hatch movement when closed | Hands |
| 5 | Internal Loose Parts | Listen for noises when tapping panel | Rubber mallet |
| 6 | Electrical Connectors | Ensure harnesses are clipped and insulated | Flashlight |
| 7 | Aftermarket Additions | Check for non-factory items behind panel | Visual, hand test |
| 8 | Road Test | Drive with panel partially removed (if safe/legal) | Assistant driver |
Follow this checklist in order. Many noises can be traced to a single loose clip or worn seal. If the source remains elusive, consider using a mechanic’s stethoscope or smartphone sound meter to further localize the sound.
Step-by-Step: Removing the Rear Hatch Trim Panel Safely
Gaining access behind the panel is often necessary for thorough inspection and repair. Here’s how to remove most hatch trim panels without causing damage:
- Gather Tools: Trim removal tools, screwdrivers, and a flashlight.
- Disconnect Battery: If you’ll be unplugging electrical connectors (e.g., for lights or cameras), disconnect the negative battery terminal.
- Open the Hatch: Fully open to access all fasteners.
- Locate Fasteners: Identify all visible screws (often hidden under covers) and plastic push-clips.
- Remove Fasteners: Use the correct tool to avoid stripping heads or breaking clips.
- Release Panel: Starting at one corner, use a trim tool to gently pry the panel away from the hatch. Work around the perimeter to release all clips.
- Disconnect Connectors: Carefully unplug any attached wiring, noting their positions for reassembly.
- Inspect Panel: Check the backside for broken tabs or missing insulation.
Refer to your vehicle’s service manual for model-specific instructions. For a detailed guide, see our editorial: How to Replace a Liftgate Interior Trim Panel.
Common Fixes: Addressing the Most Frequent Hatch Panel Noise Issues
Once you’ve removed the panel and identified the problem, the following repair strategies address the most common issues:
Replacing Broken or Missing Fasteners
- OEM Clips: Always use factory-style clips for best fit. Generic clips may not hold as tightly or may rattle themselves.
- Screws and Retainers: Replace stripped or corroded screws with identical size/type.
- Reinforcement: For worn mounting holes, consider using slightly oversized clips or adding a small dab of automotive adhesive for extra security.
Repairing or Replacing Weatherstripping
- Seal Inspection: Look for hard, cracked, or flattened sections.
- Replacement: Remove old seal, clean the mounting surface, and install new weatherstripping per OEM specs.
- Lubrication: Use a silicone-based lubricant to maintain flexibility and prevent sticking or squeaking.
Fixing Latch and Striker Alignment
- Tighten Bolts: Snug all latch and striker bolts to manufacturer torque specs.
- Adjust Alignment: Loosen striker bolts, adjust position, and retighten while checking hatch closure.
- Replace Worn Components: If excessive play persists, replace the latch or striker assembly.
Securing Internal Components
- Wiring and Modules: Use cable ties or foam tape to prevent wires from contacting the panel.
- Insulation Pads: Add or reattach insulation pads to dampen vibration.
Restoring Panel Integrity
- Warped Panels: In some cases, the panel itself may need replacement if it no longer fits properly.
- Aftermarket Additions: Remove or properly secure any non-factory items that could cause interference.
Preventive Maintenance: Keeping Rear Hatch Panels Quiet for the Long Term
To avoid recurring rattles and noises, incorporate these preventive measures into your maintenance routine:
- Regularly Inspect Panel and Seals: Every oil change, check the hatch area for loose trim, missing clips, or degraded weatherstripping.
- Clean and Lubricate: Keep seals clean and lubricated to prevent sticking and wear.
- Avoid Overloading: Heavy cargo or slamming the hatch can stress fasteners and seals.
- Monitor Aftermarket Installs: If adding speakers, cameras, or insulation, ensure all components are securely mounted and do not contact the trim panel.
- Address Water Leaks Promptly: Moisture intrusion can degrade adhesives and cause squeaks. See our related article: Preventing Water Leaks Through Rear Hatch Trim.
Sourcing Replacement Hatch Trim Panels and Hardware
Not all trim panels or fasteners are created equal. When sourcing replacements:
- Choose OEM When Possible: OEM panels and clips guarantee fit and finish, aligning with factory design tolerances.
- Aftermarket Options: Quality aftermarket panels can offer savings, but verify compatibility and reviews before purchasing. See: OEM vs Aftermarket Trim Panels: What Matters Most?
- Buy Complete Kits: Many suppliers offer fastener kits tailored to specific makes/models, minimizing guesswork.
- Check for Recalls: Before replacing hardware, consult the National Highway Traffic Safety Administration equipment recalls database to ensure your parts are not subject to safety recalls.
- Match Materials: Ensure replacement panels use similar materials to the original for proper acoustic and structural performance. Lightweight composites improve efficiency but may differ in rigidity and sound absorption (DOE Materials Technologies).
For a comprehensive selection of panels, clips, and related hardware, visit the Interior Trim Panel (Gate/Lid) section at AutoPartEx.
Advanced Diagnostics: When the Rattle Persists
If you’ve followed all standard procedures and the noise remains, try these expert-level techniques:
Acoustic Localization Tools
- Mechanic’s Stethoscope: Pinpoint vibration sources by listening along the hatch perimeter.
- Wireless Chassis Ears: Attach sensors to suspect areas and monitor noise through headphones during a road test.
- Smartphone Apps: Use decibel meters or frequency analyzers to differentiate between plastic, metal, or glass-origin noises.
Structural Inspection
- Check for Hatch Panel Flex: Excessive flexing can indicate a weakened or warped panel.
- Inspect Welds and Adhesives: Rarely, body welds or adhesive seams inside the hatch may fail, causing resonance.
Consult Technical Service Bulletins (TSBs)
- OEM TSBs: Manufacturers occasionally issue TSBs for known trim panel noises or mounting issues. Check your vehicle’s TSB database for model-specific fixes.
Safety and Regulatory Considerations
Replacing or modifying interior trim panels isn’t just about comfort—proper installation is also crucial for safety. According to the National Highway Traffic Safety Administration, improperly secured trim can interfere with rear visibility, airbag deployment, or emergency hatch release mechanisms. Always:
- Follow OEM Procedures: Use manufacturer-recommended torque specs and reassembly steps.
- Test Functionality: After repair, verify that all latches, lights, and safety releases operate correctly.
- Check for Recalls: Confirm that no safety recalls affect your trim panel or hardware.
Professional Tips: Ensuring a Lasting, Rattle-Free Repair
AutoPartEx experts recommend these additional best practices:
- Use Panel Removal Tools: Minimize the risk of breaking clips or marring surfaces by using plastic trim tools.
- Replace All Fasteners: Don’t reuse old, fatigued clips—new hardware ensures a snug fit.
- Document Your Work: Take photos during disassembly to aid reassembly and future troubleshooting.
- Test Before Final Assembly: Temporarily reinstall the panel and test for noise before securing all fasteners.
- Consult the Service Manual: Always reference your specific vehicle’s repair manual for torque specs, clip locations, and electrical diagrams.
When to Seek Professional Help
If you lack the tools, time, or confidence to tackle a persistent hatch panel noise, professional repair may be warranted. Experienced technicians have access to:
- Specialized Diagnostic Equipment: For pinpointing elusive vibration sources.
- OEM Parts and Fasteners: Ensuring correct fit and finish.
- Warranty Protection: Professional repairs may be covered by a service guarantee.
Don’t ignore persistent noises—left unchecked, they can signal deeper issues or lead to further damage.
Why Choose AutoPartEx for Your Interior Trim Panel Needs?
AutoPartEx stands as your trusted partner for diagnosing, sourcing, and repairing rear hatch trim panels. Our extensive catalog covers OEM and high-quality aftermarket parts for all major makes and models, including Acura, AMC, and Alfa. Our technical resources, step-by-step guides, and expert support empower you to:
- Identify the exact part you need
- Access installation and diagnostic documentation
- Find compatible fasteners and seals
- Get answers to complex fitment questions
Explore the full Interior Trim Panel (Gate/Lid) range, and leverage our expertise for a quieter, more comfortable vehicle.
Conclusion: Restore Quiet and Confidence to Your Rear Hatch
Rattles and noises in rear hatch panels are more than a nuisance—they can indicate underlying issues with fitment, fastening, or component wear. By following a systematic diagnostic approach, using quality replacement parts, and adhering to best installation practices, you can restore the original quiet and integrity of your vehicle’s interior. AutoPartEx is here to support you every step of the way, from diagnosis to sourcing and expert installation advice.