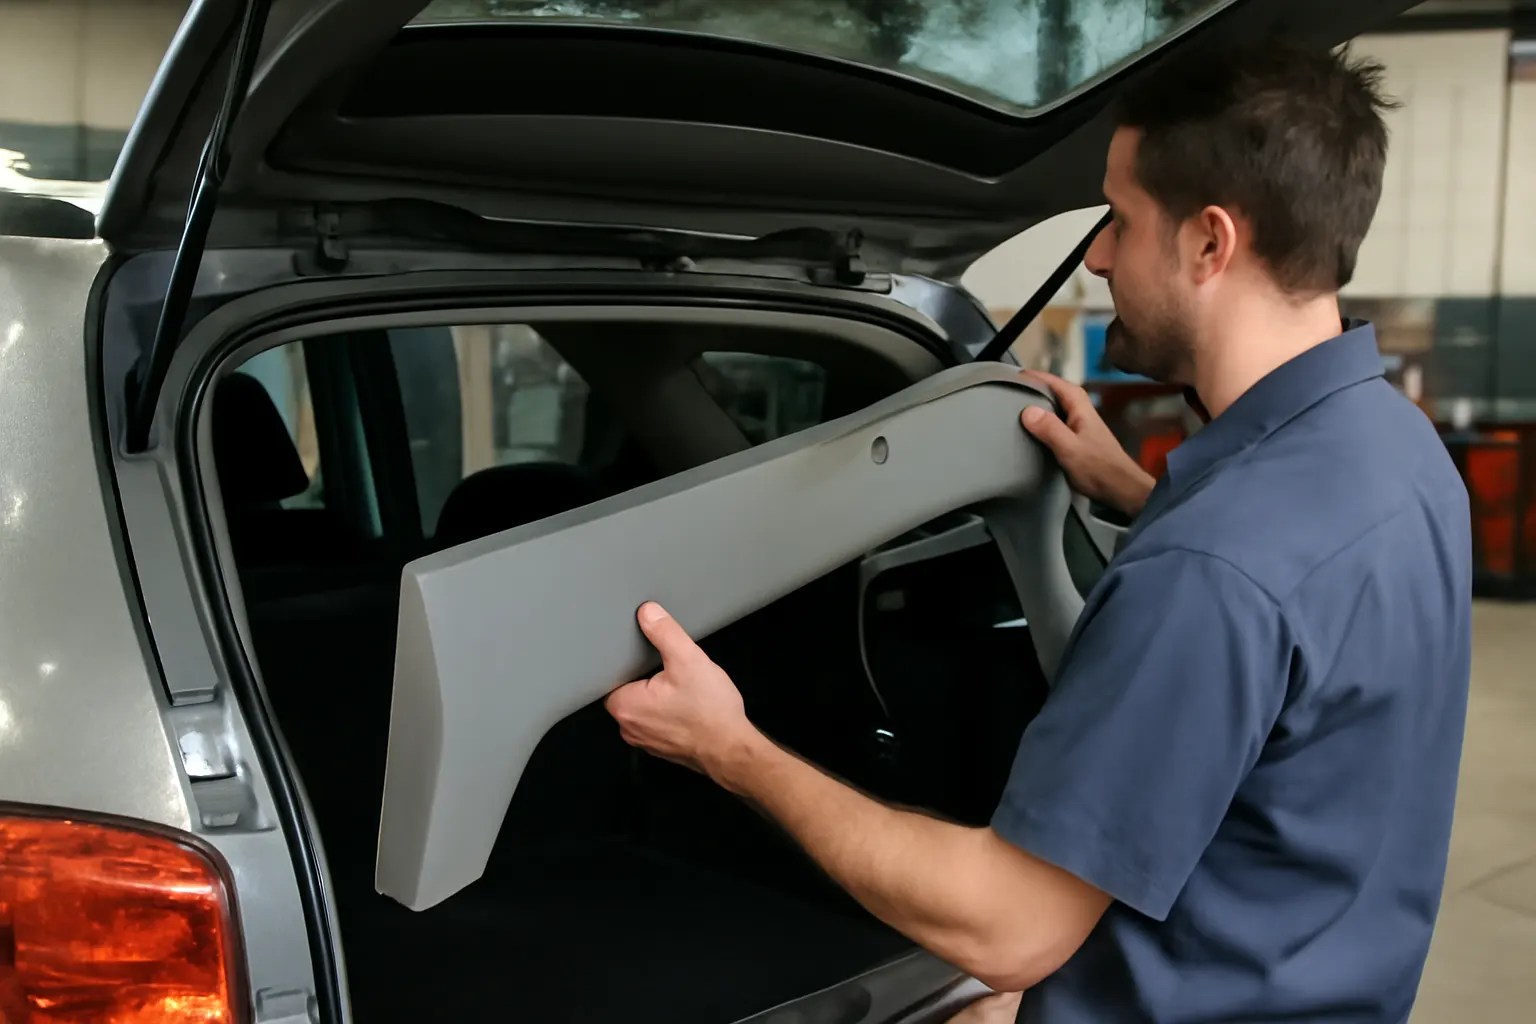
Preventing Water Leaks Through Rear Hatch Trim
Water leaks through the rear hatch trim are a common yet often overlooked source of interior damage, corrosion, and persistent odors in modern vehicles. Ensuring your interior trim panel (gate/lid) is properly installed, sealed, and maintained is essential to prevent water ingress and protect your vehicle’s interior investment. This article delivers a comprehensive, technical approach to identifying, preventing, and resolving rear hatch water leaks, with actionable guidance for DIYers, technicians, and fleet operators. For a deep dive into trim panel types and sourcing, see the Interior Trim Panel (Gate/Lid): Complete Technical Guide & Sourcing Solutions.
Why Water Leaks Through Rear Hatch Trim Demand Immediate Attention
Water ingress through the rear hatch trim is not just a nuisance—it’s a gateway to a host of hidden problems. Left unchecked, even a small leak can lead to:
- Mold and mildew growth, causing health risks and persistent odors
- Corrosion of body panels, wiring, and electronic modules
- Degradation of sound insulation and interior materials
- Increased risk of electrical shorts and faults
- Reduced resale value due to visible interior damage
Given the design complexity of modern hatchbacks, SUVs, and crossovers, the rear hatch area includes numerous seams, fasteners, and wiring pass-throughs—all potential points of failure. Early diagnosis and proactive maintenance are crucial.
The Hidden Problem: Why Rear Hatch Water Leaks Are So Common
Unlike doors, which have robust weatherstripping and clear drainage paths, rear hatches often integrate multiple trim panels, wiring harnesses, and latch mechanisms in a compact space. This complexity introduces several hidden risks:
- Trim Panel Gaps: Incorrect installation or worn-out fasteners can create micro-gaps where water can seep in.
- Aging Seals: Hatch perimeter seals degrade over time, losing elasticity and water resistance.
- Clogged Drains: Blocked or poorly designed drainage channels allow water to pool and overflow into the cargo area.
- Wiring Grommets: Electrical pass-throughs for rear lights, wipers, or cameras are frequent leak points if not sealed properly.
- Aftermarket Modifications: Drilling for accessories or installing non-OEM parts can compromise factory sealing.
Water may not always enter directly from above; capillary action and pressure differences can draw moisture into the trim panel’s hidden recesses, making diagnosis challenging.
Understanding Rear Hatch Trim Panel Construction and Vulnerabilities
To effectively prevent leaks, it’s important to understand the structure and function of the rear hatch trim panel:
- Panel Material: Most trim panels are made from injection-molded plastics or composite materials, chosen for their light weight and durability (Materials Technologies). However, these materials can warp or crack with age or impact.
- Attachment Method: Panels are typically secured with a combination of plastic clips, screws, and sometimes adhesive tapes. Improper reinstallation can leave gaps.
- Sealing Interfaces: The panel interfaces with the hatch sheet metal, weatherstripping, and often several wiring harnesses and fasteners.
- Acoustic and Moisture Barriers: Some panels feature integrated foam or felt layers to reduce noise and moisture intrusion, but these can become saturated or degraded.
Vulnerabilities arise when any of these elements fail, are improperly installed, or are replaced with inferior aftermarket components. For a technical comparison, see OEM vs Aftermarket Trim Panels: What Matters Most?.
Diagnosing Rear Hatch Water Leaks: Step-by-Step Checklist
Accurate diagnosis is the foundation for effective repair. Use this systematic approach to pinpoint the source of water ingress:
Rear Hatch Water Leak Diagnostic Checklist
-
Visual Inspection
- Check for visible water stains, rust, or mold around the cargo area and hatch trim.
- Inspect the hatch perimeter seal for cracks, flattening, or missing sections.
- Examine the trim panel for warping, loose edges, or missing fasteners.
-
Water Test
- With the hatch closed, use a hose to direct water around the perimeter and observe for leaks inside.
- Pay attention to the upper corners and latch area—common leak points.
-
Panel Removal
- Carefully remove the trim panel (How to Replace a Liftgate Interior Trim Panel) to inspect the backside and hatch sheet metal.
- Look for water trails, rust, or damp insulation.
-
Seal and Grommet Inspection
- Check all wiring pass-through grommets for signs of moisture or improper seating.
- Inspect latch and handle mechanisms for gaps or missing seals.
-
Drainage Channel Check
- Locate and clear any drainage holes at the hatch base.
- Use compressed air or a flexible wire to ensure channels are unobstructed.
-
Interior Moisture Check
- Feel under the cargo floor and inside side panels for hidden dampness.
- Use a moisture meter for a quantitative assessment.
-
Repeat Water Test
- After addressing any obvious issues, repeat the water test to confirm the leak’s location.
Pro Tip: Always document the location and pattern of water ingress for future reference and to guide repairs.
The Role of Proper Trim Panel Installation in Leak Prevention
Proper installation of the rear hatch trim panel is critical to maintaining the integrity of the hatch seal system. Key installation factors include:
- Correct Fastener Engagement: Each clip or screw must fully seat to ensure the panel lies flush against the hatch metal, preventing water from bypassing the seal.
- Alignment: The panel must be correctly aligned with the hatch contours to avoid stress points and micro-gaps.
- Seal Condition: Inspect and replace any worn or damaged foam or rubber seals on the panel itself.
- No Over-Tightening: Over-tightening screws or clips can deform the panel or strip mounting points, creating new leak paths.
- Use of OEM Parts: Whenever possible, use original equipment fasteners and seals, as aftermarket substitutes may not provide an exact fit.
For detailed removal and installation procedures, refer to How to Replace a Liftgate Interior Trim Panel.
Maintenance Strategies to Prevent Rear Hatch Leaks
Routine maintenance is often the difference between a watertight hatch and a persistent leak. Incorporate these practices into your regular vehicle care:
- Seal Lubrication: Use a silicone-based lubricant to keep hatch weatherstripping supple and water-repellent.
- Fastener Inspection: Periodically check that all trim panel fasteners are present and secure.
- Drain Cleaning: Clear hatch drainage channels at least twice a year, especially if you park under trees or in dusty environments.
- Panel Cleaning: Clean the trim panel and hatch area to remove debris that could compromise the seal.
- Early Leak Detection: At the first sign of moisture, investigate immediately rather than waiting for visible damage.
Common Rear Hatch Trim Leak Points and Their Technical Causes
Understanding where and why leaks occur enables targeted repairs. The most frequent leak points include:
- Upper Hatch Corners: Water runs along roof channels and can enter if the upper seal or corner grommets are compromised.
- Latch and Handle Area: The mechanical complexity of the latch/handle often means multiple pass-throughs and potential for seal failure.
- Wiring Harness Grommets: Over time, grommets harden and shrink, allowing moisture to track along wires into the cargo area.
- Panel Clip Holes: Missing or damaged clips leave open holes through the hatch metal.
- Aftermarket Accessory Holes: Unsealed holes from aftermarket camera or spoiler installations are notorious for leaks.
Each of these points requires a specific inspection and repair approach.
Technical Solutions: Repairing and Upgrading Rear Hatch Trim Seals
When leaks are found, the following technical solutions are recommended:
- Seal Replacement: Always use high-quality, vehicle-specific seals. Universal weatherstripping rarely matches OEM fit.
- Grommet Upgrades: Replace old wiring grommets with new, flexible rubber versions. Apply dielectric grease to further repel water.
- Clip and Fastener Renewal: Replace all missing or broken clips with OEM or high-quality aftermarket equivalents.
- Panel Realignment: If the panel is warped, heat and reshape or replace it to restore proper fit.
- Seam Sealing: Use automotive-grade seam sealer to address minor gaps or seams exposed during repairs.
- Rust Treatment: Treat any rust found under the trim with a rust converter and touch-up paint to prevent further corrosion.
Pro Tip: Document all repairs and part numbers for future reference, especially if your vehicle is subject to recalls or service bulletins (Vehicle, Car Seat, Tire, and Equipment Recalls).
Selecting the Right Replacement Trim Panel and Seals
Not all trim panels and seals are created equal. When sourcing replacements, consider:
- Material Quality: Look for panels made from high-grade ABS or polypropylene plastics with UV inhibitors (Materials Technologies).
- Fitment Accuracy: Choose parts specifically designed for your vehicle’s make, model, and year to ensure proper alignment and sealing.
- Clip and Fastener Compatibility: Verify that new panels include all necessary clips and fasteners, or source them separately.
- Seal Profile: Match the cross-sectional profile of replacement seals to the OE design.
- Supplier Reputation: Use reputable suppliers or the vehicle manufacturer to avoid fitment issues.
For a comprehensive overview of available trim panel options and sourcing strategies, visit the Interior Trim Panel (Gate/Lid): Complete Technical Guide & Sourcing Solutions.
Preventing Water Leaks After Aftermarket Modifications
Aftermarket installations (e.g., cameras, spoilers, lighting) can inadvertently create new leak paths. To prevent this:
- Seal All Drill Holes: Use rubber grommets and automotive-grade sealant on any new holes.
- Route Wires Carefully: Avoid pinching or stretching wiring harnesses that could compromise grommet seals.
- Recheck Panel Fit: After modification, verify that the trim panel sits flush and all fasteners are reinstalled.
- Water Test: Always perform a water test post-installation to confirm no leaks have been introduced.
If you’re uncertain about the impact of an aftermarket modification on your hatch sealing, consult with an experienced technician or refer to the manufacturer’s technical bulletins.
The Impact of Rear Hatch Leaks on Vehicle Safety and Performance
Water ingress is not merely an aesthetic issue; it has direct implications for vehicle safety and operational reliability:
- Electrical System Risk: Many modern vehicles route rear wiper motors, camera systems, and lighting through the hatch. Water exposure can cause intermittent faults or shorts (Vehicle Safety and Equipment).
- Corrosion: Moisture trapped under the trim accelerates corrosion of structural components, potentially weakening the hatch.
- Air Quality: Mold growth from persistent leaks can degrade cabin air quality, posing health risks to occupants.
- Noise Intrusion: Water-damaged insulation loses its sound-deadening properties, increasing cabin noise.
- Resale Value: Documented water damage significantly reduces resale and trade-in value.
Proactive leak prevention is a core aspect of vehicle maintenance, especially for owners of hatchbacks, SUVs, and crossovers.
Advanced Diagnostic Tools and Techniques
While a visual inspection and water test are effective for most leaks, advanced tools can expedite diagnosis:
- Moisture Meters: Digital meters provide quantitative readings of hidden dampness.
- Borescopes: Flexible cameras allow inspection behind trim panels without full removal.
- UV Dye Tests: Adding a UV-reactive dye to water can help trace elusive leaks under UV light.
- Infrared Thermography: Thermal cameras can detect moisture by identifying cooler areas after water exposure.
These tools are especially useful in professional or fleet maintenance settings where rapid, accurate diagnosis is essential.
Professional vs. DIY Rear Hatch Leak Repairs
Many rear hatch leaks can be addressed by a careful DIYer with basic tools and patience. However, certain scenarios call for professional intervention:
- Complex Electrical Integration: Leaks affecting wiring for advanced driver-assistance systems (ADAS) or rear sensors should be handled by qualified technicians.
- Severe Rust or Structural Damage: Extensive corrosion may require welding or panel replacement.
- Persistent or Elusive Leaks: If repeated DIY repairs fail, a professional water intrusion specialist can perform advanced diagnostics.
When in doubt, consult your vehicle’s service manual or seek advice from a certified technician.
AutoPartEx: Your Partner in Leak Prevention and Interior Trim Solutions
AutoPartEx provides technical guidance and a curated selection of OEM and high-quality aftermarket interior trim panels, seals, and fasteners. Our expertise extends from diagnosis to sourcing, ensuring you have the right part for your vehicle and the knowledge to install it correctly. Explore our Interior Trim Panel (Gate/Lid): Complete Technical Guide & Sourcing Solutions for detailed fitment information, part compatibility, and sourcing strategies tailored to your make and model.
For troubleshooting related issues, such as panel noises or rattles, see Diagnosing Rattles and Noises in Rear Hatch Panels.
Expert Action Steps: Preventing and Resolving Rear Hatch Water Leaks
- Inspect: Regularly check your rear hatch trim panel, seals, and drainage channels for early signs of wear or leaks.
- Diagnose: Use systematic water tests and advanced diagnostic tools to pinpoint leak sources.
- Repair: Address leaks with high-quality, vehicle-specific seals, grommets, and fasteners. Replace damaged panels as needed.
- Maintain: Lubricate seals, clear drains, and inspect fasteners as part of your routine vehicle care.
- Source Wisely: Choose OEM or high-quality aftermarket parts for best fit and durability.
- Document: Keep detailed records of repairs and part numbers for future reference.
By following these steps and leveraging technical resources, you can ensure your vehicle’s rear hatch remains watertight and your interior protected for years to come.